Google Calendar is a fantastic tool for managing schedules and sharing them with others. By adding a Google Calendar widget to your website, you can let visitors check your availability without leaving your site. In this guide, I’ll show you how to add Google Calendar widget using Poper as a floating widget or popup.
Step 1: Sign Up for a Poper Account
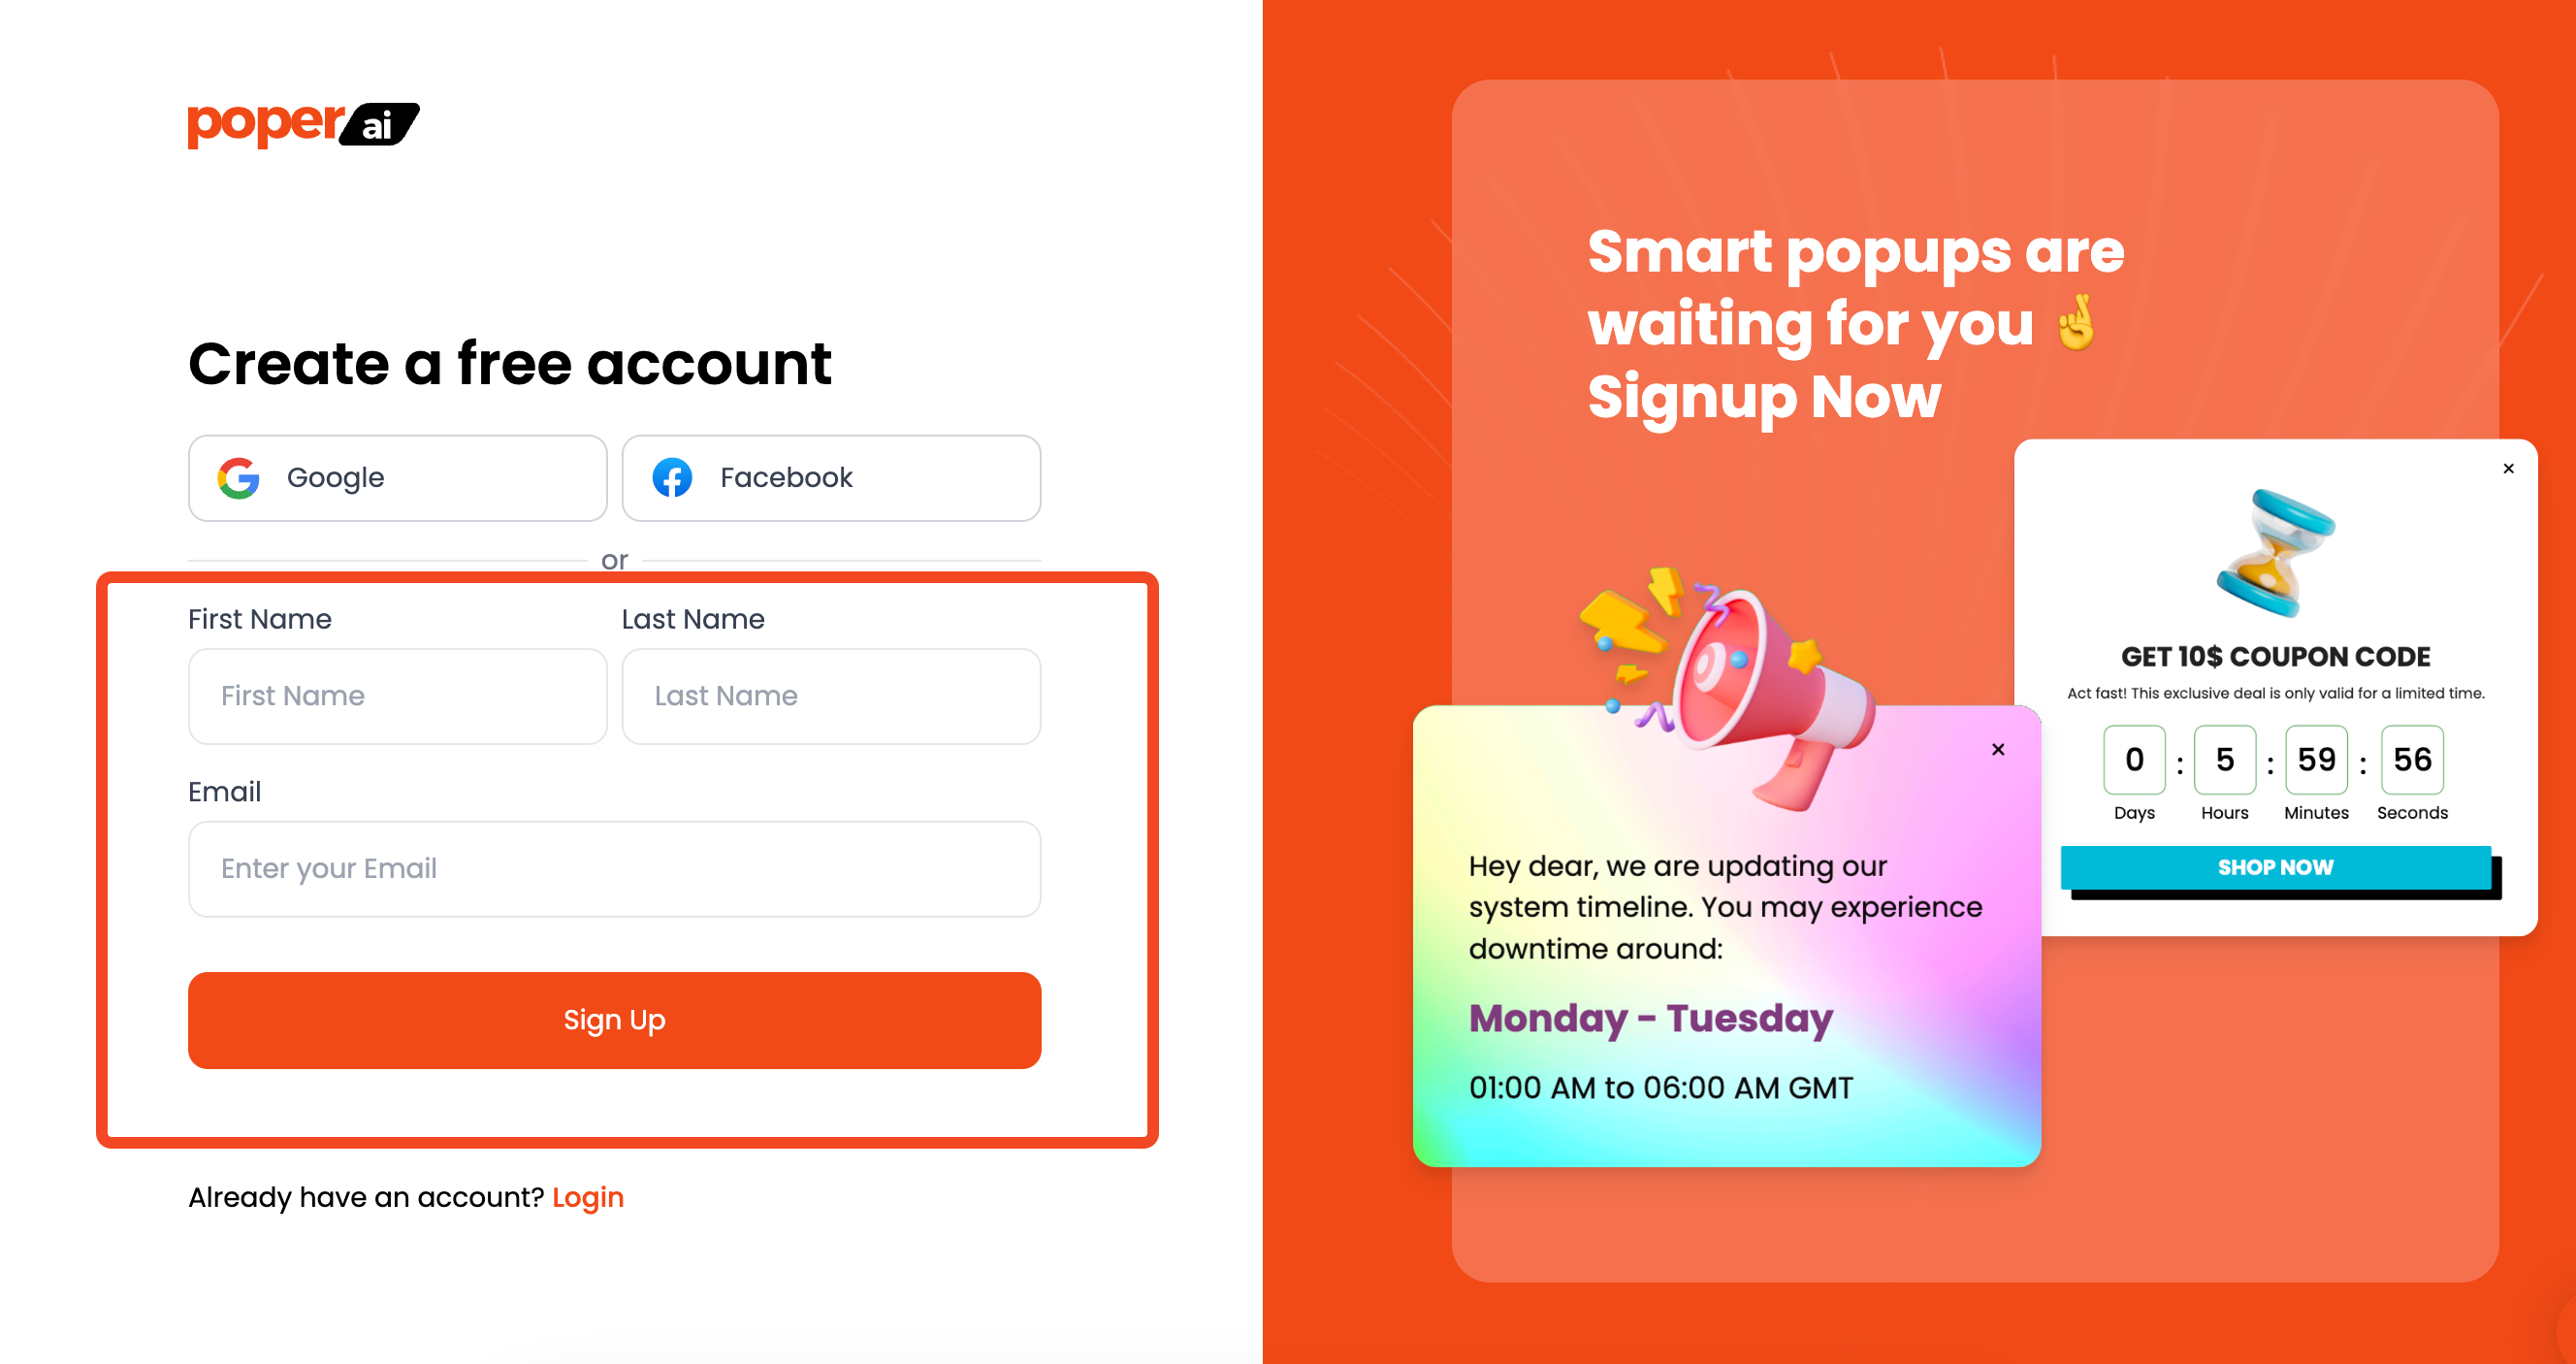
First things first, you'll need a Poper account. Head over to our signup page and create an account.
With Poper, you can create various popups and widgets that seamlessly integrate with your website.
Step 2: Add Your Domain and Create a New Popup
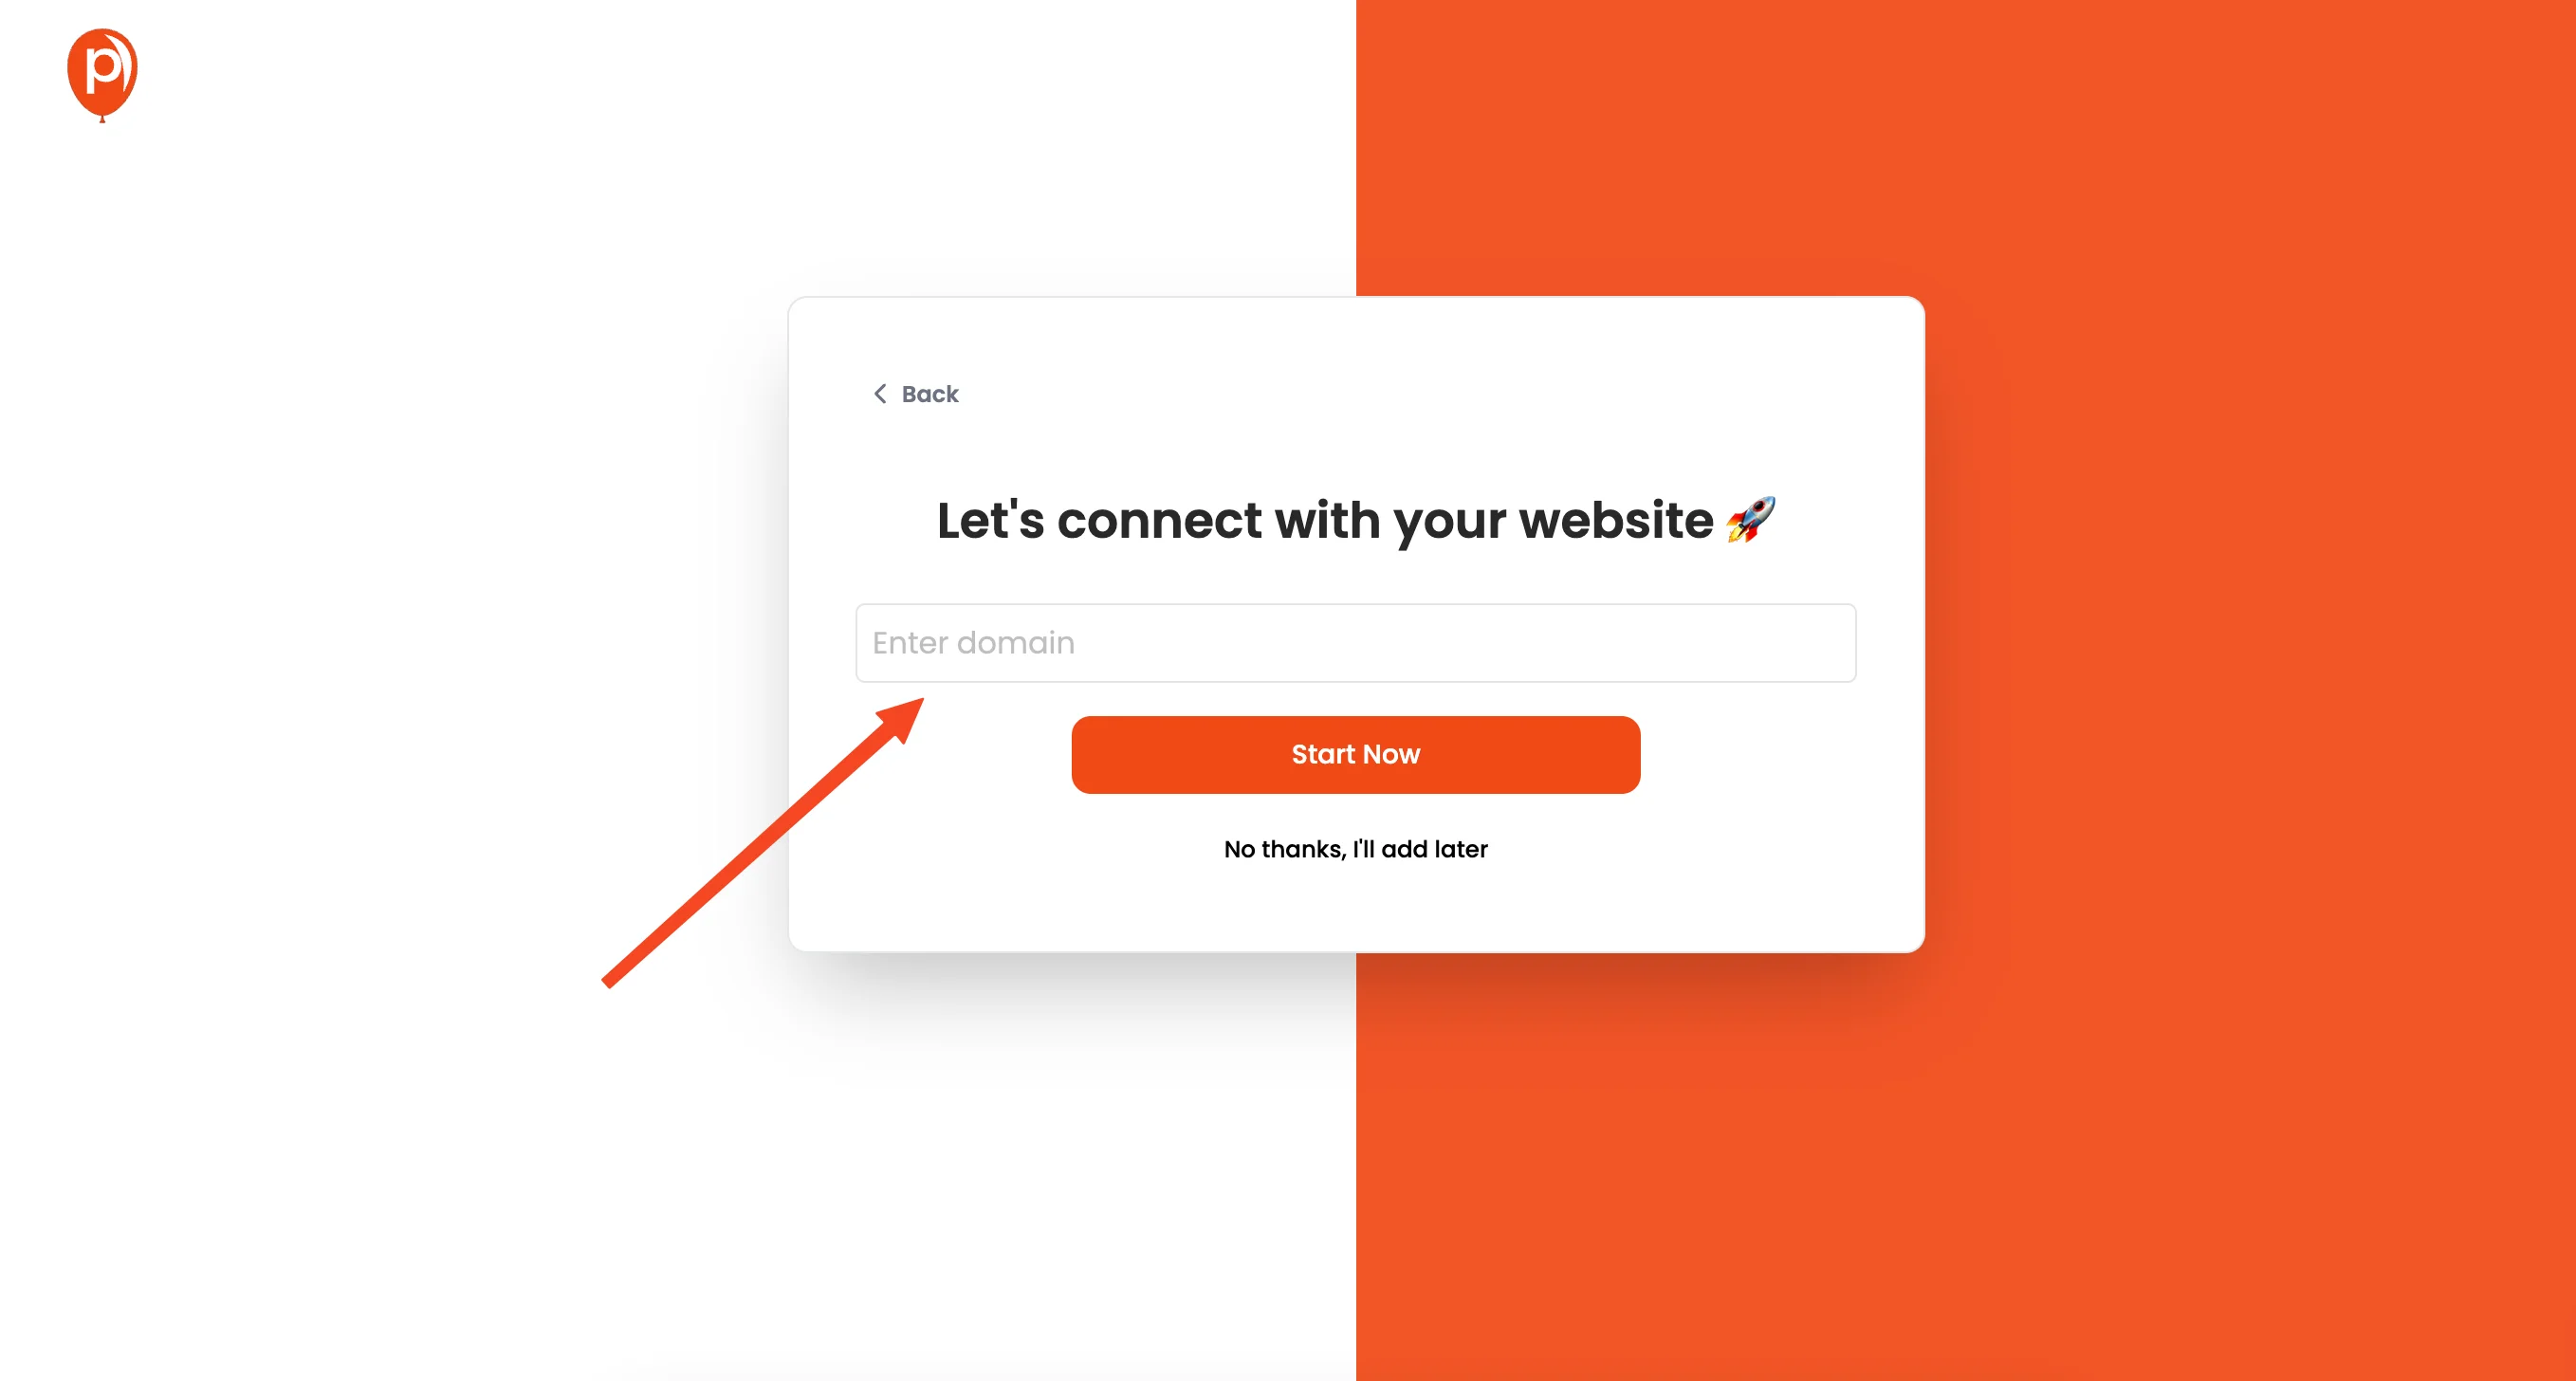
Once you're logged in, add your website's domain to your Poper workspace. Now, let's create a new popup.
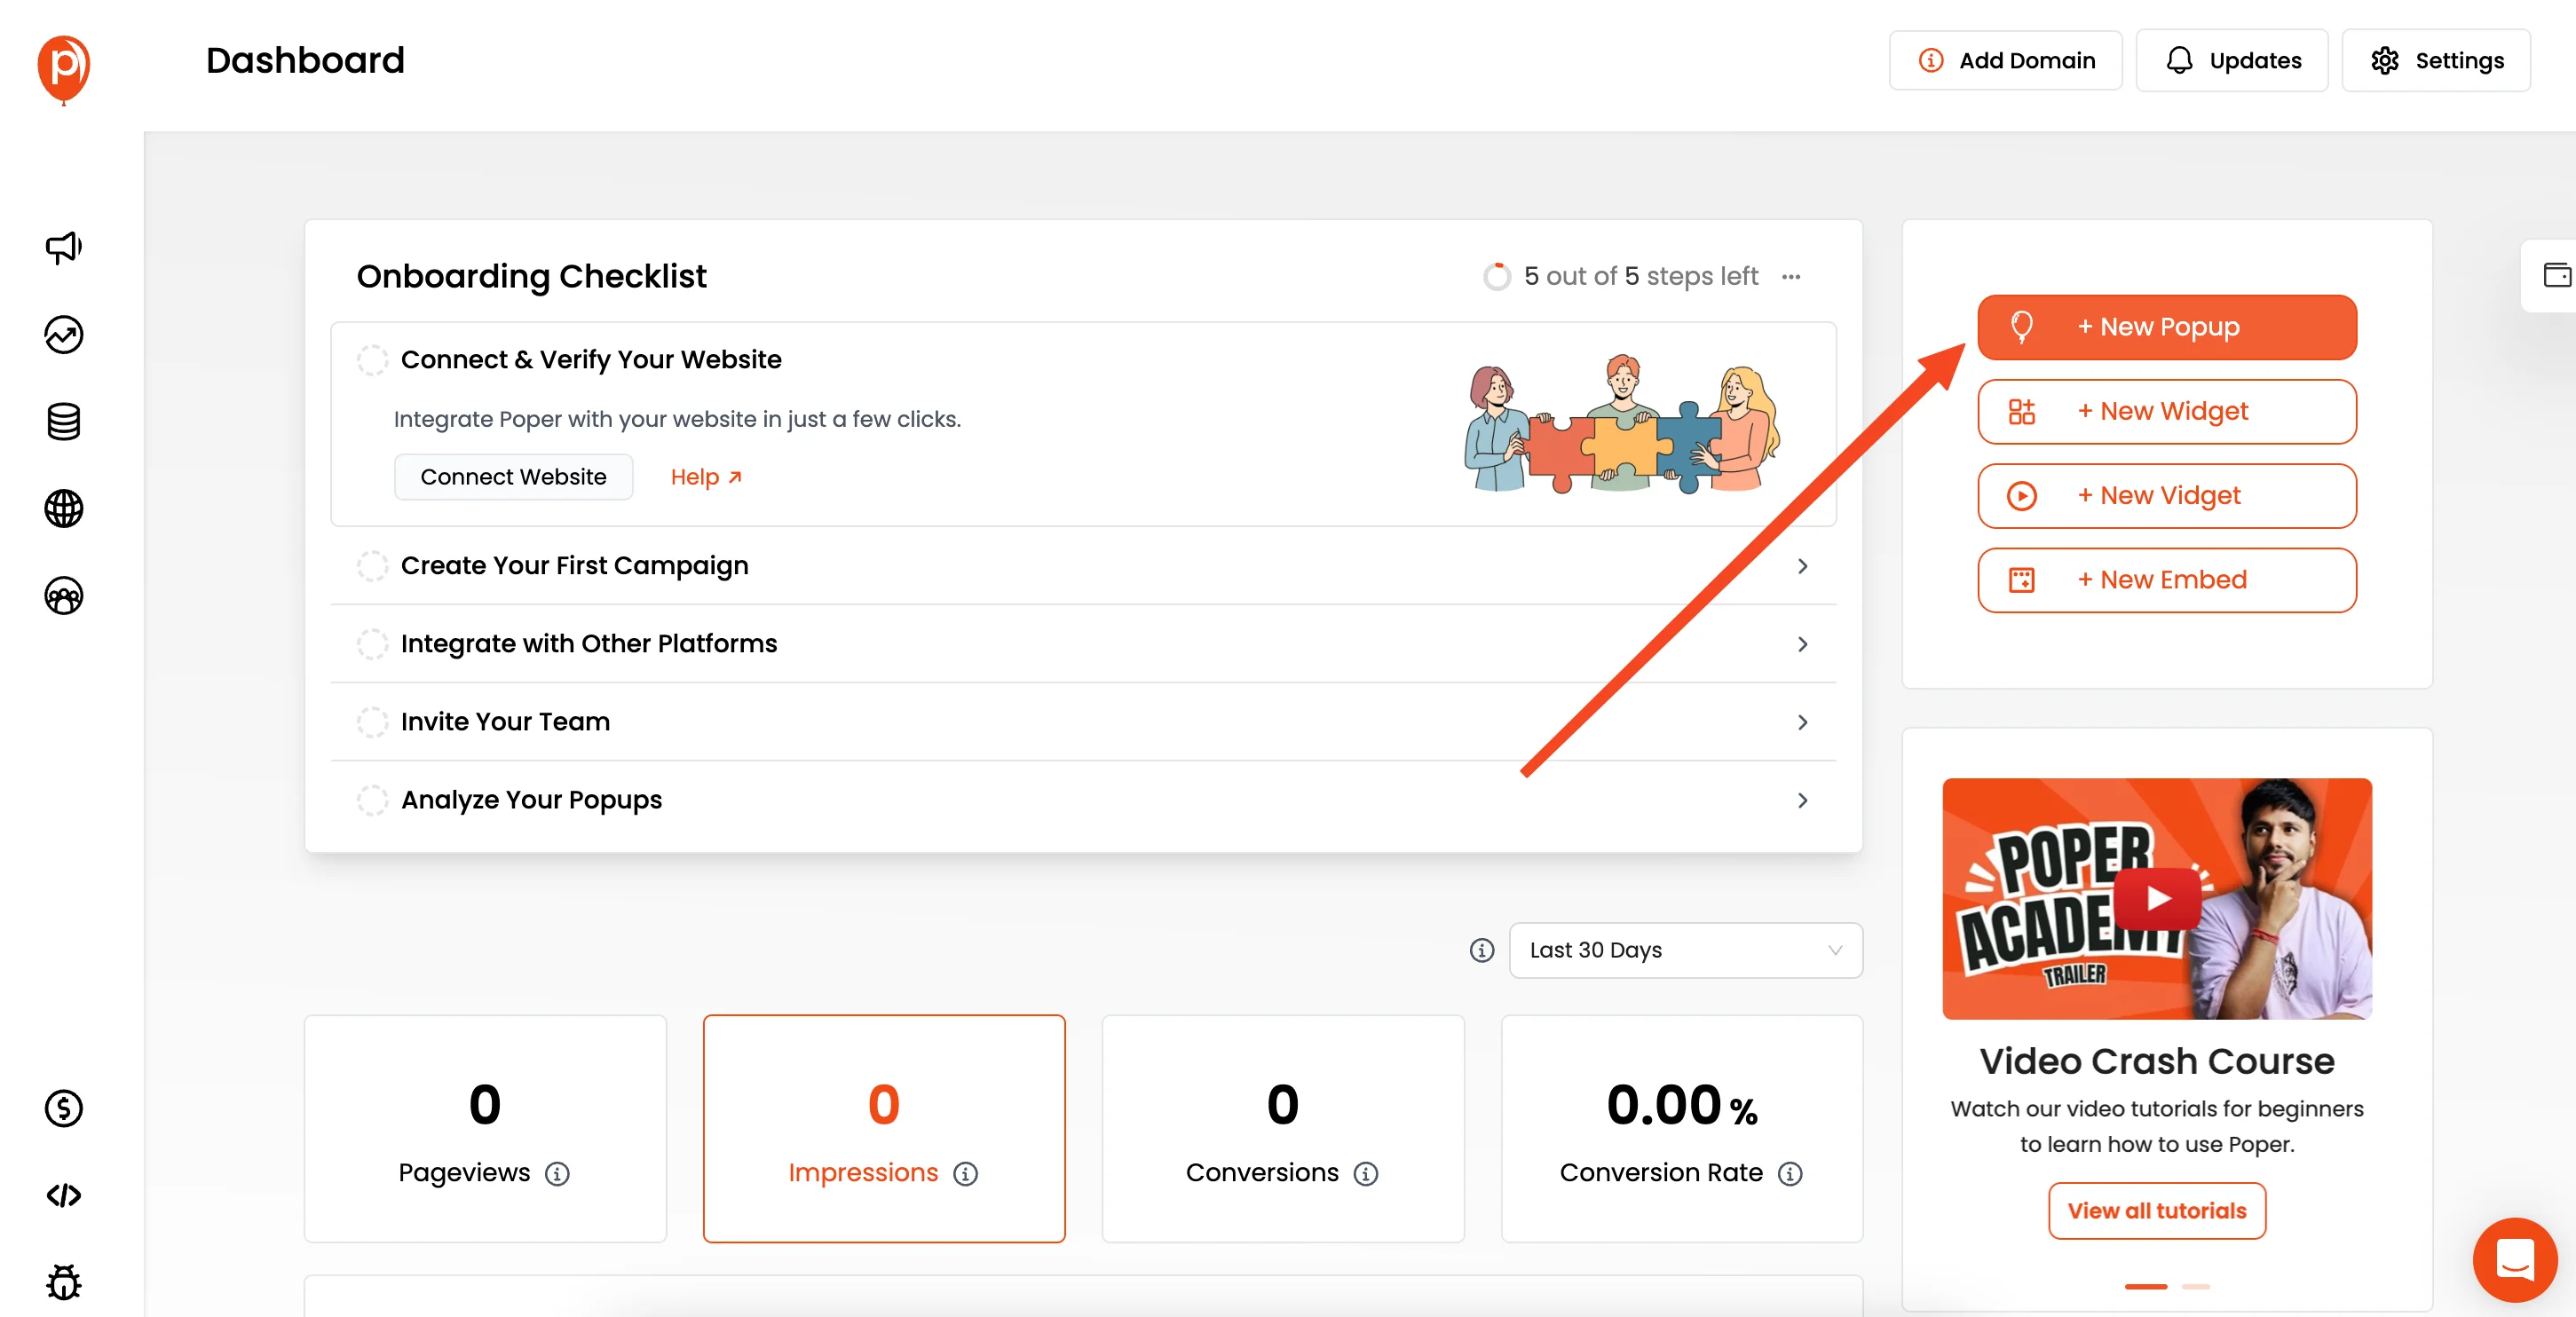
Click the "New Popup" button and select "Start from Scratch." Starting from scratch gives you full control over the look and feel of your calendar embed.
Note: You can convert your Popup to Widget later using Remove Background setting.
Step 3: Grab the Embed Code from Google Calendar
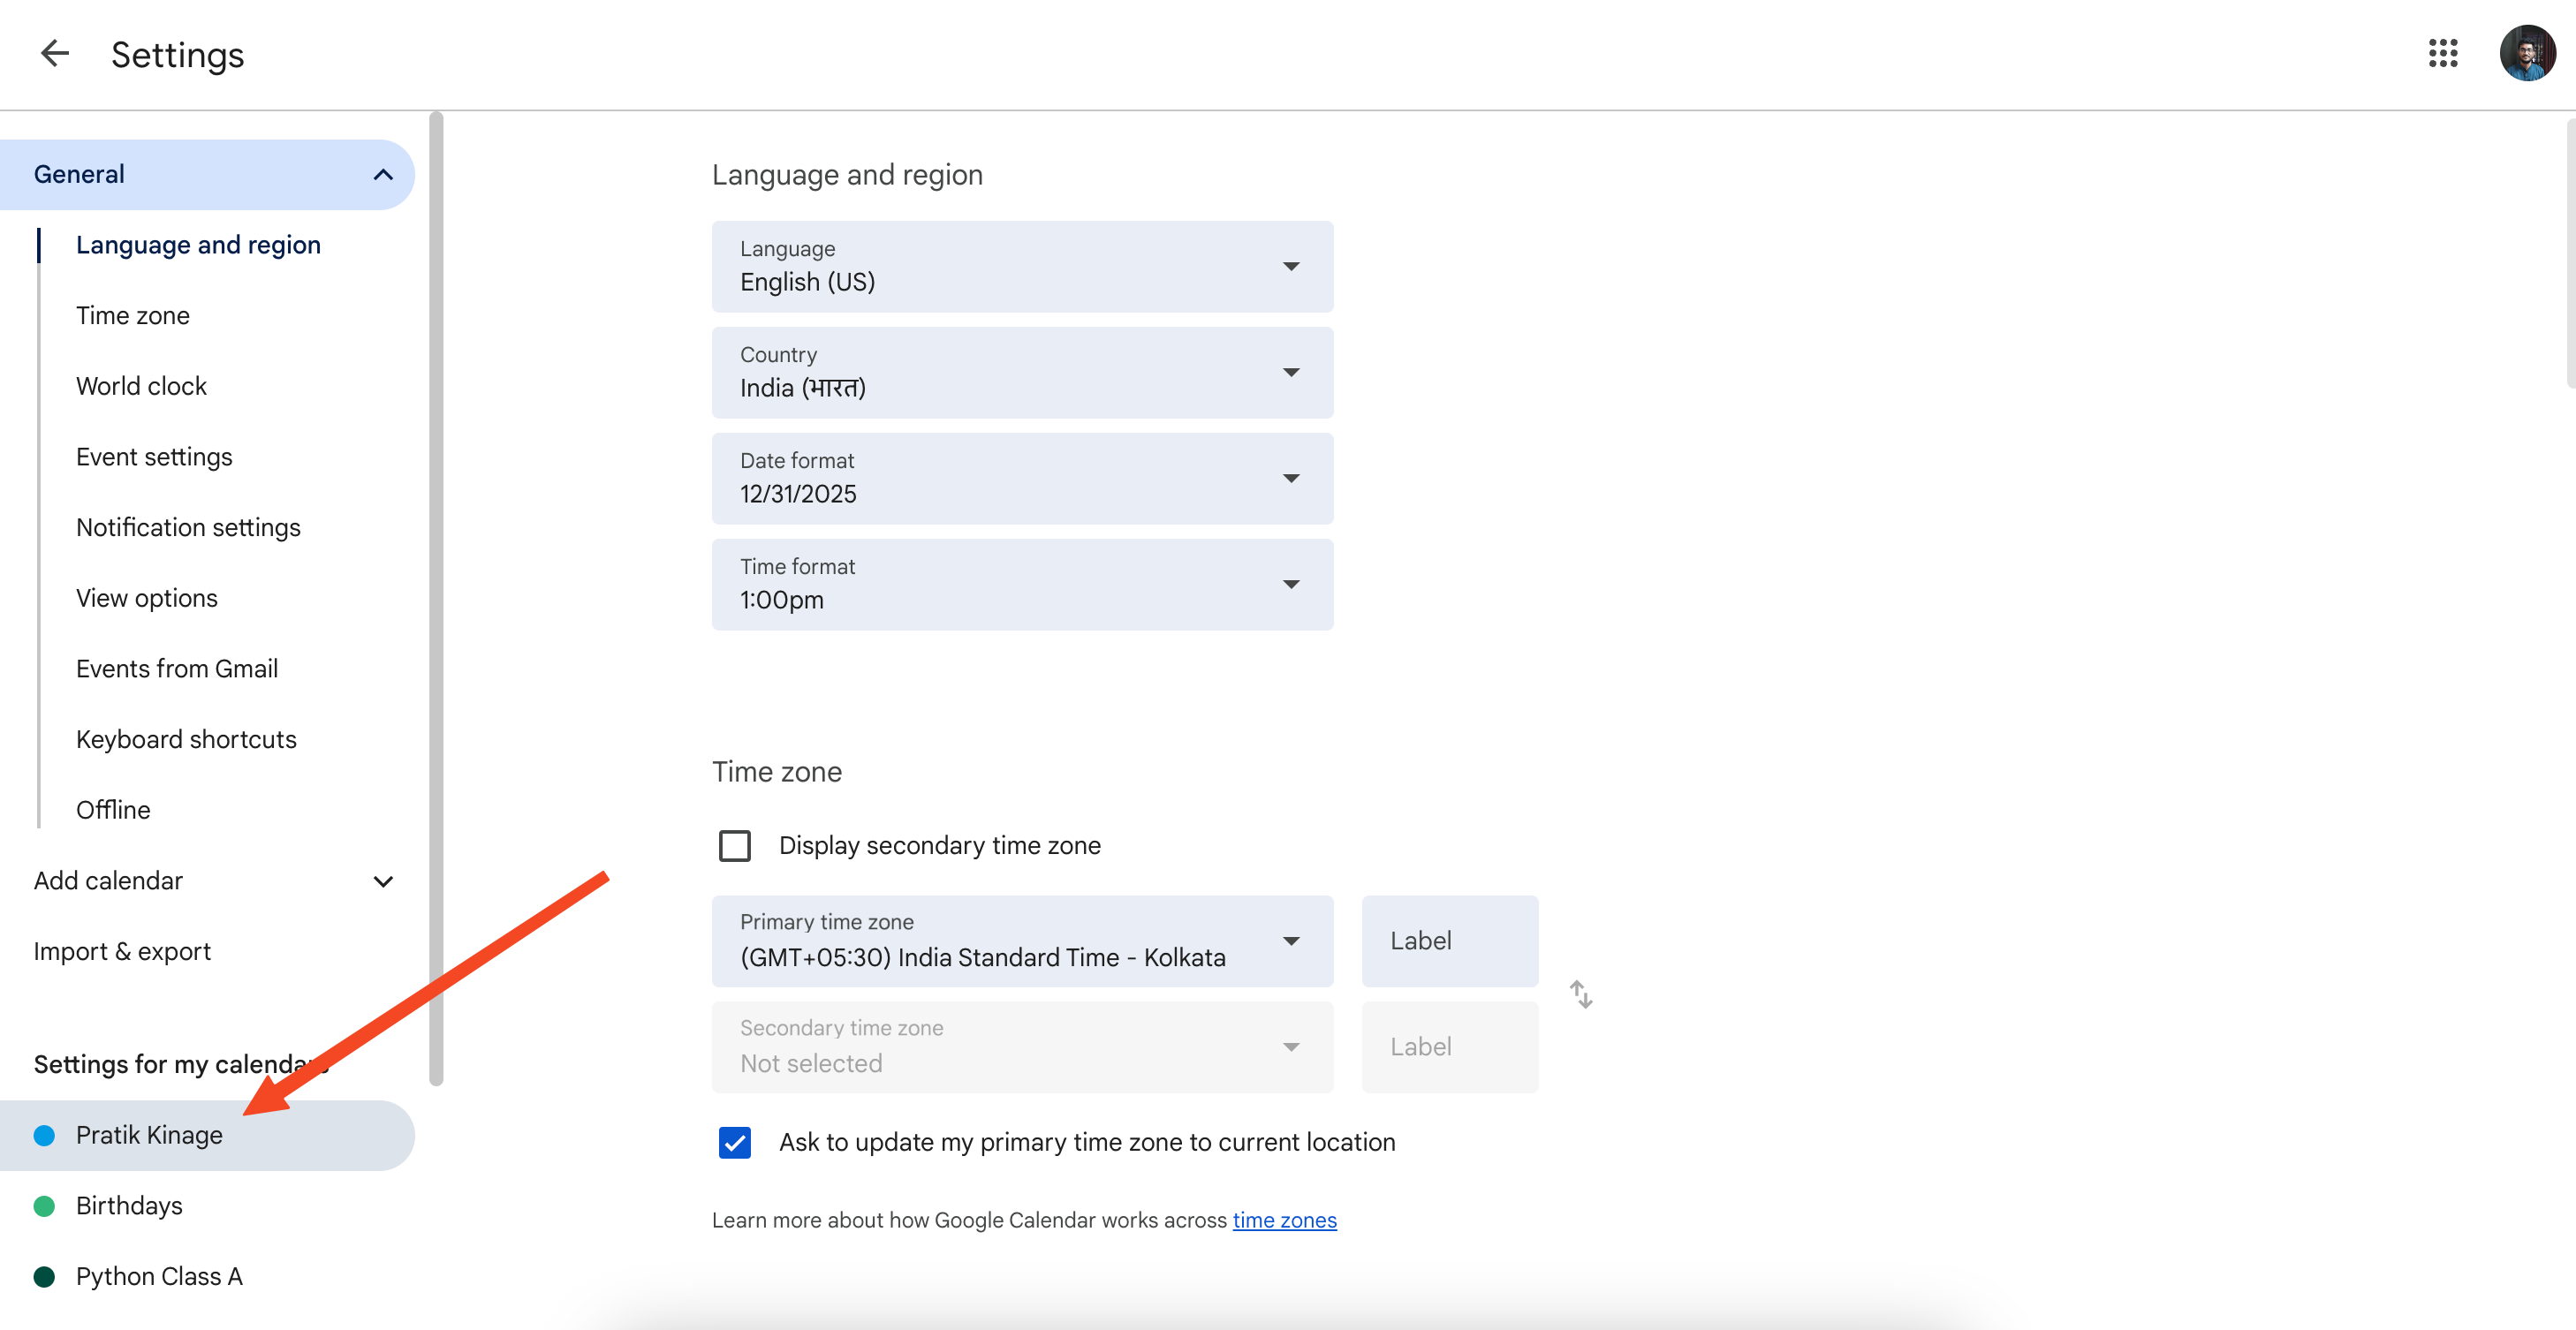
In a new browser tab, open your Google Calendar. Go to "Settings," then click on the specific calendar you want to embed.
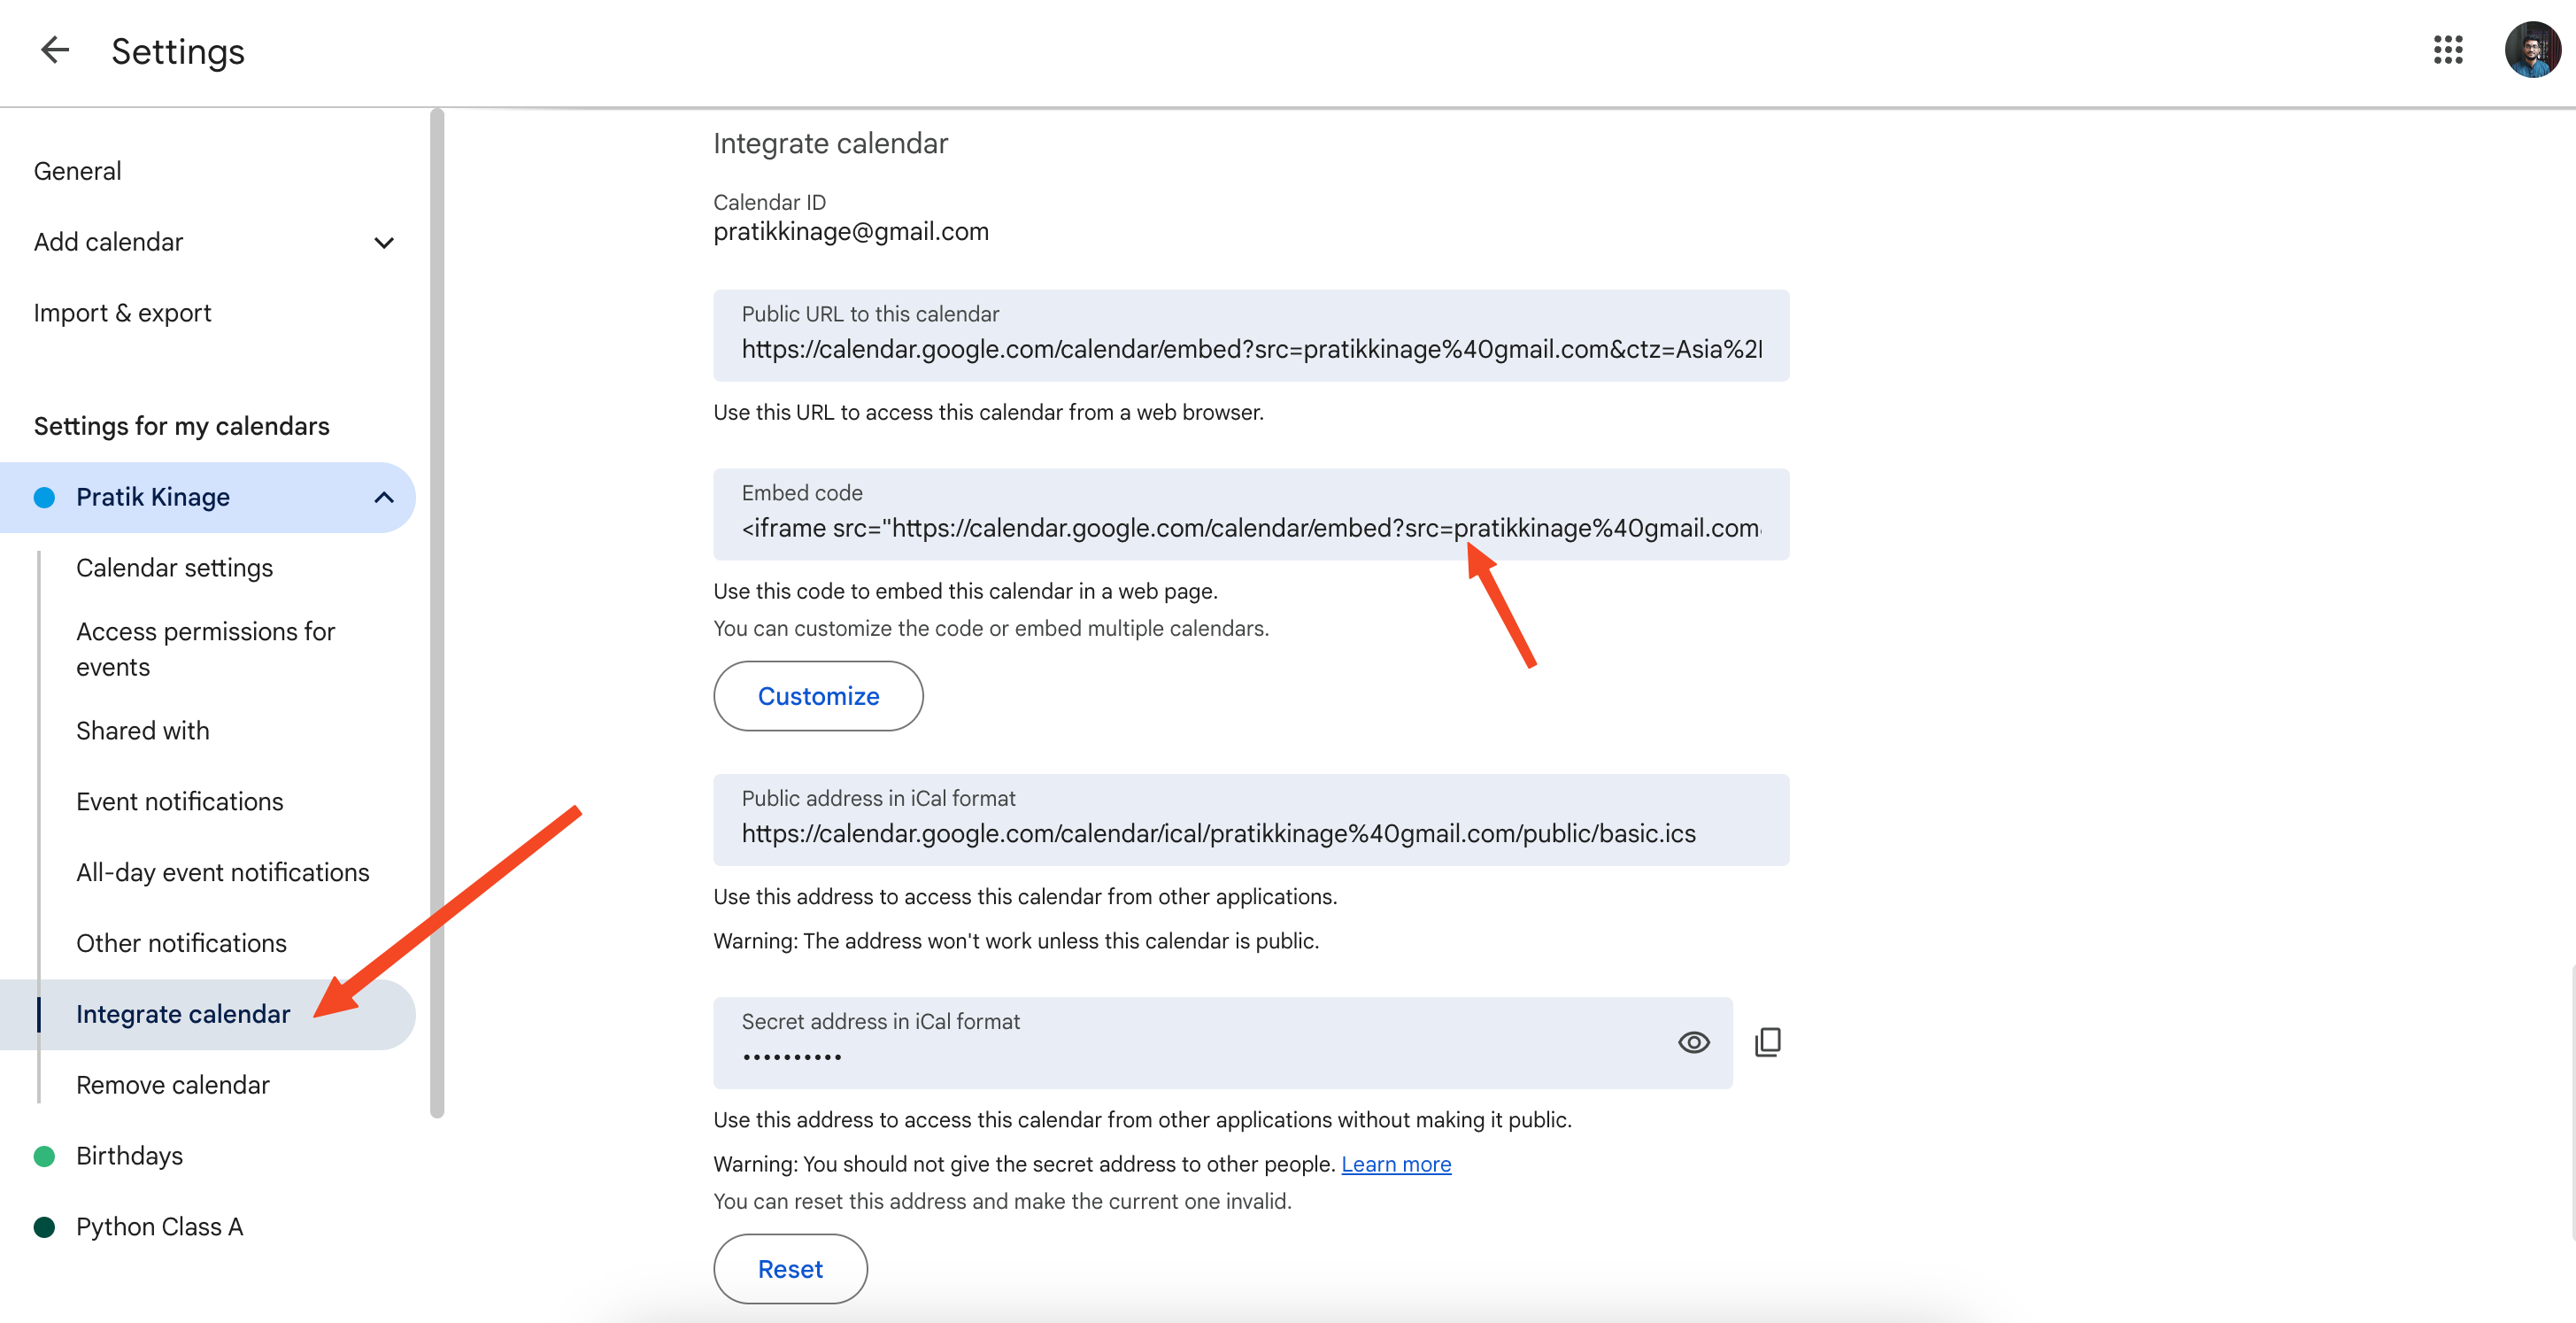
Scroll down to the "Integrate calendar" section and copy the embed code provided. Keep this code handy!
Step 4: Add an HTML Element in Poper's Popup Editor
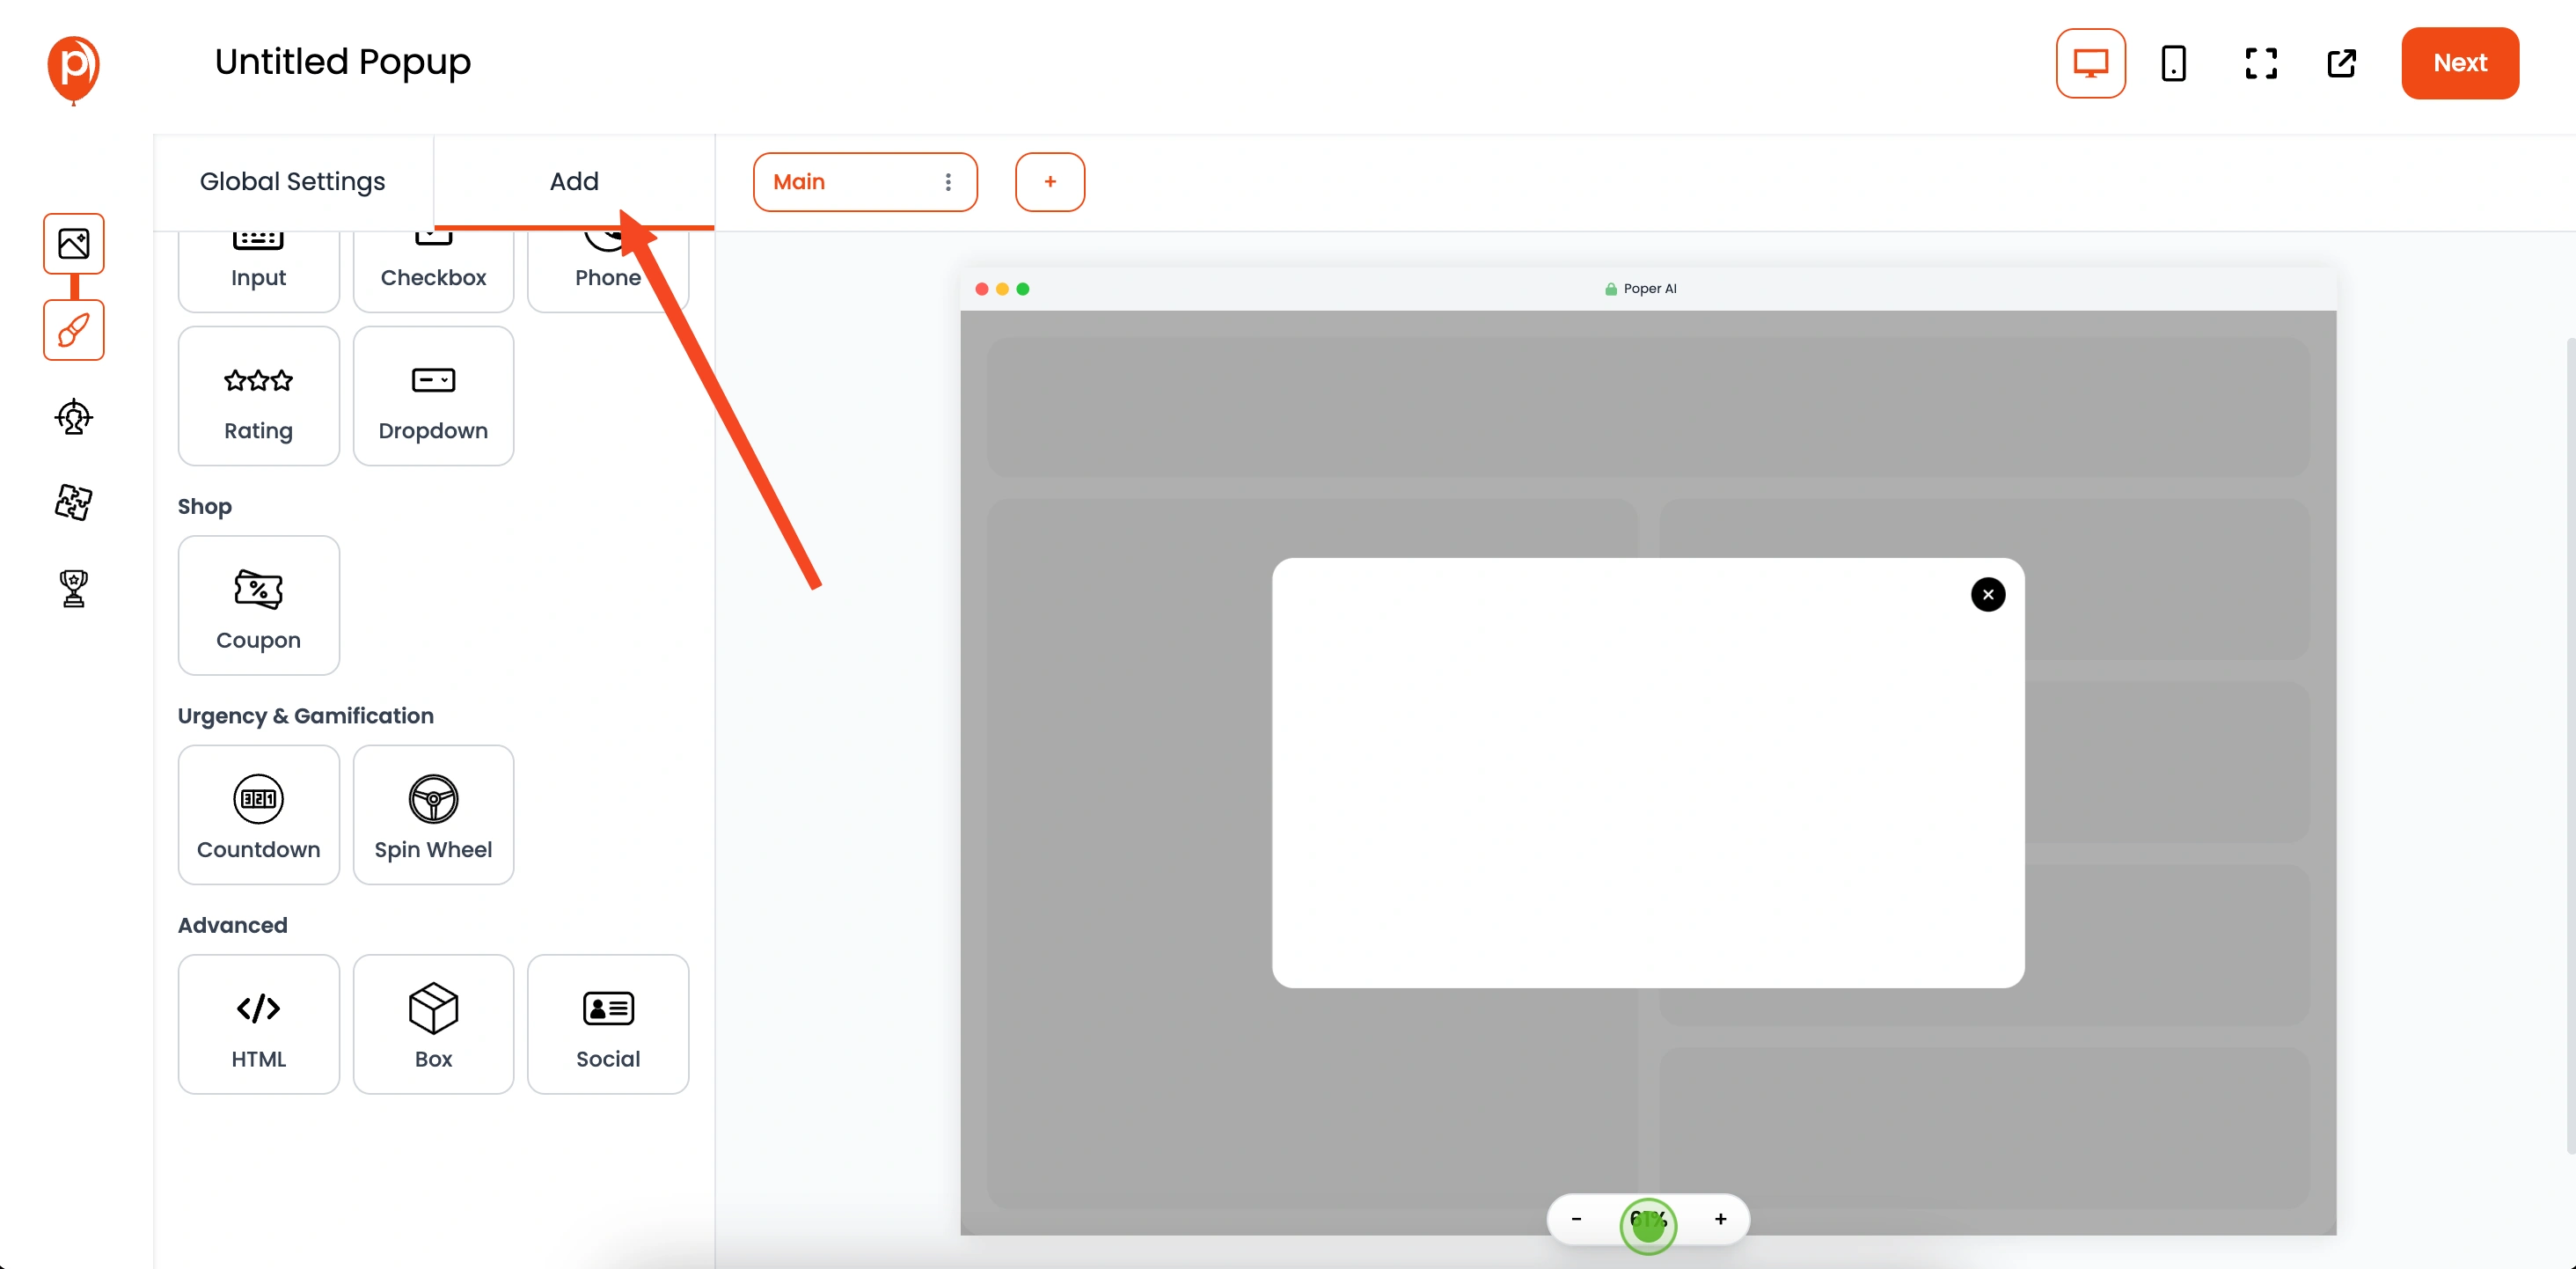
Back in Poper's popup editor, look for the "Add" tab on the left-hand sidebar. This will display all the elements you can add to your popup.
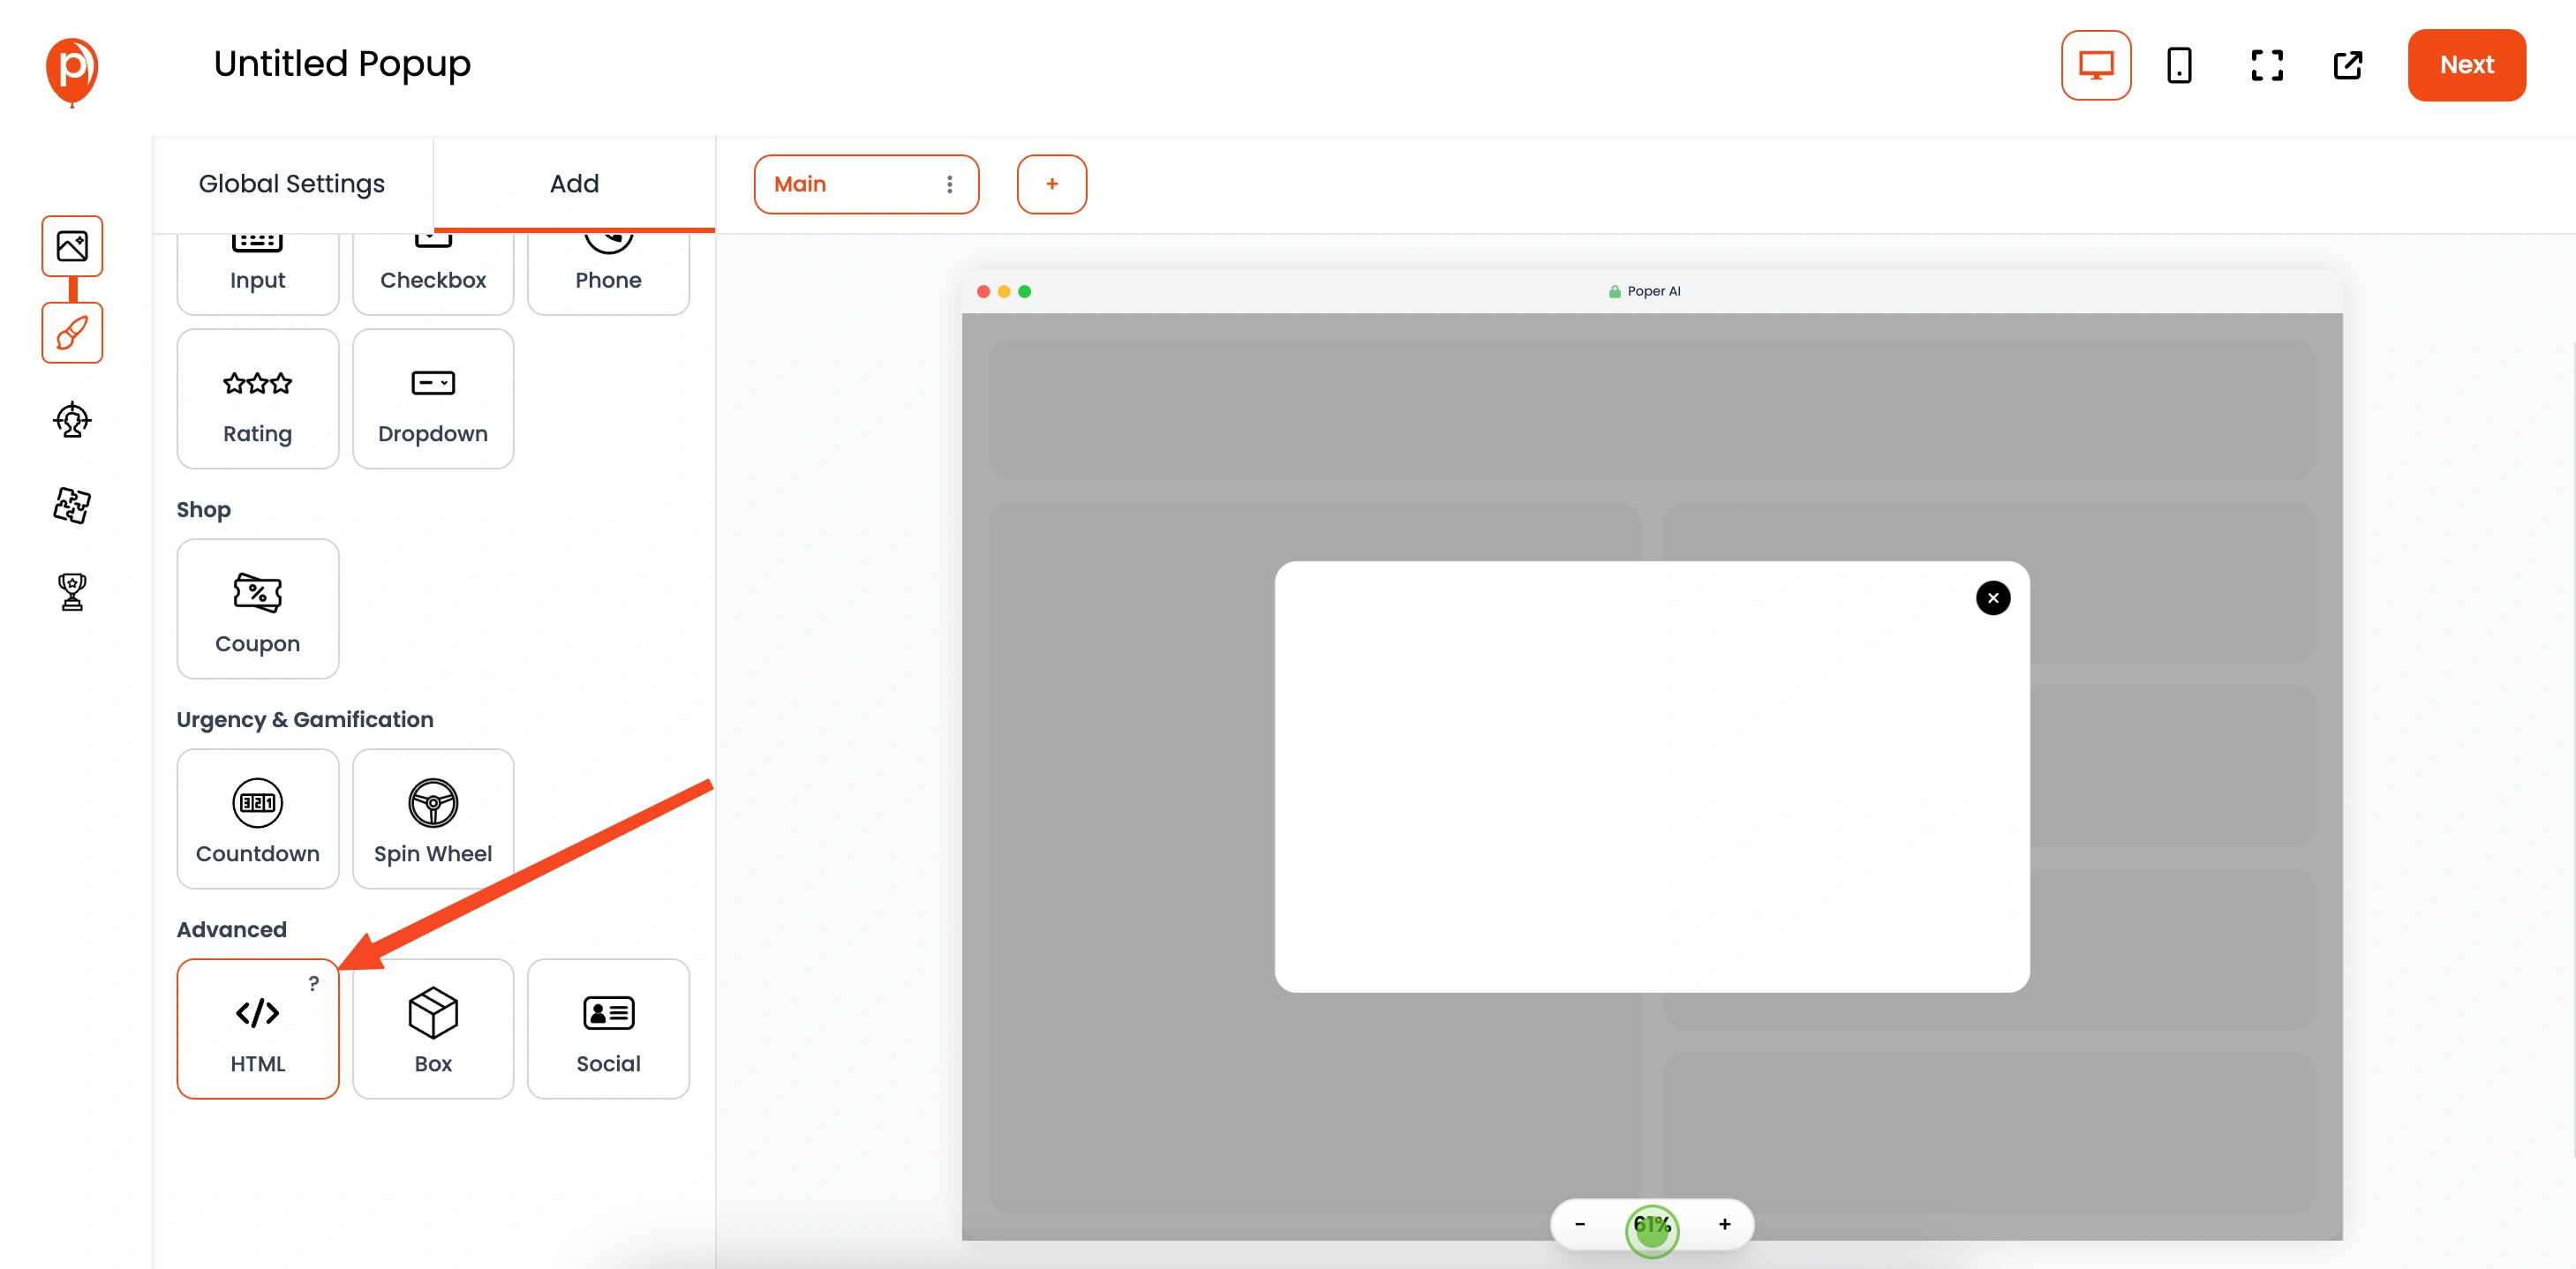
Click on "HTML". This element lets you insert custom HTML code, perfect for embedding your Google Calendar.
Step 5: Paste the Google Calendar Embed Code
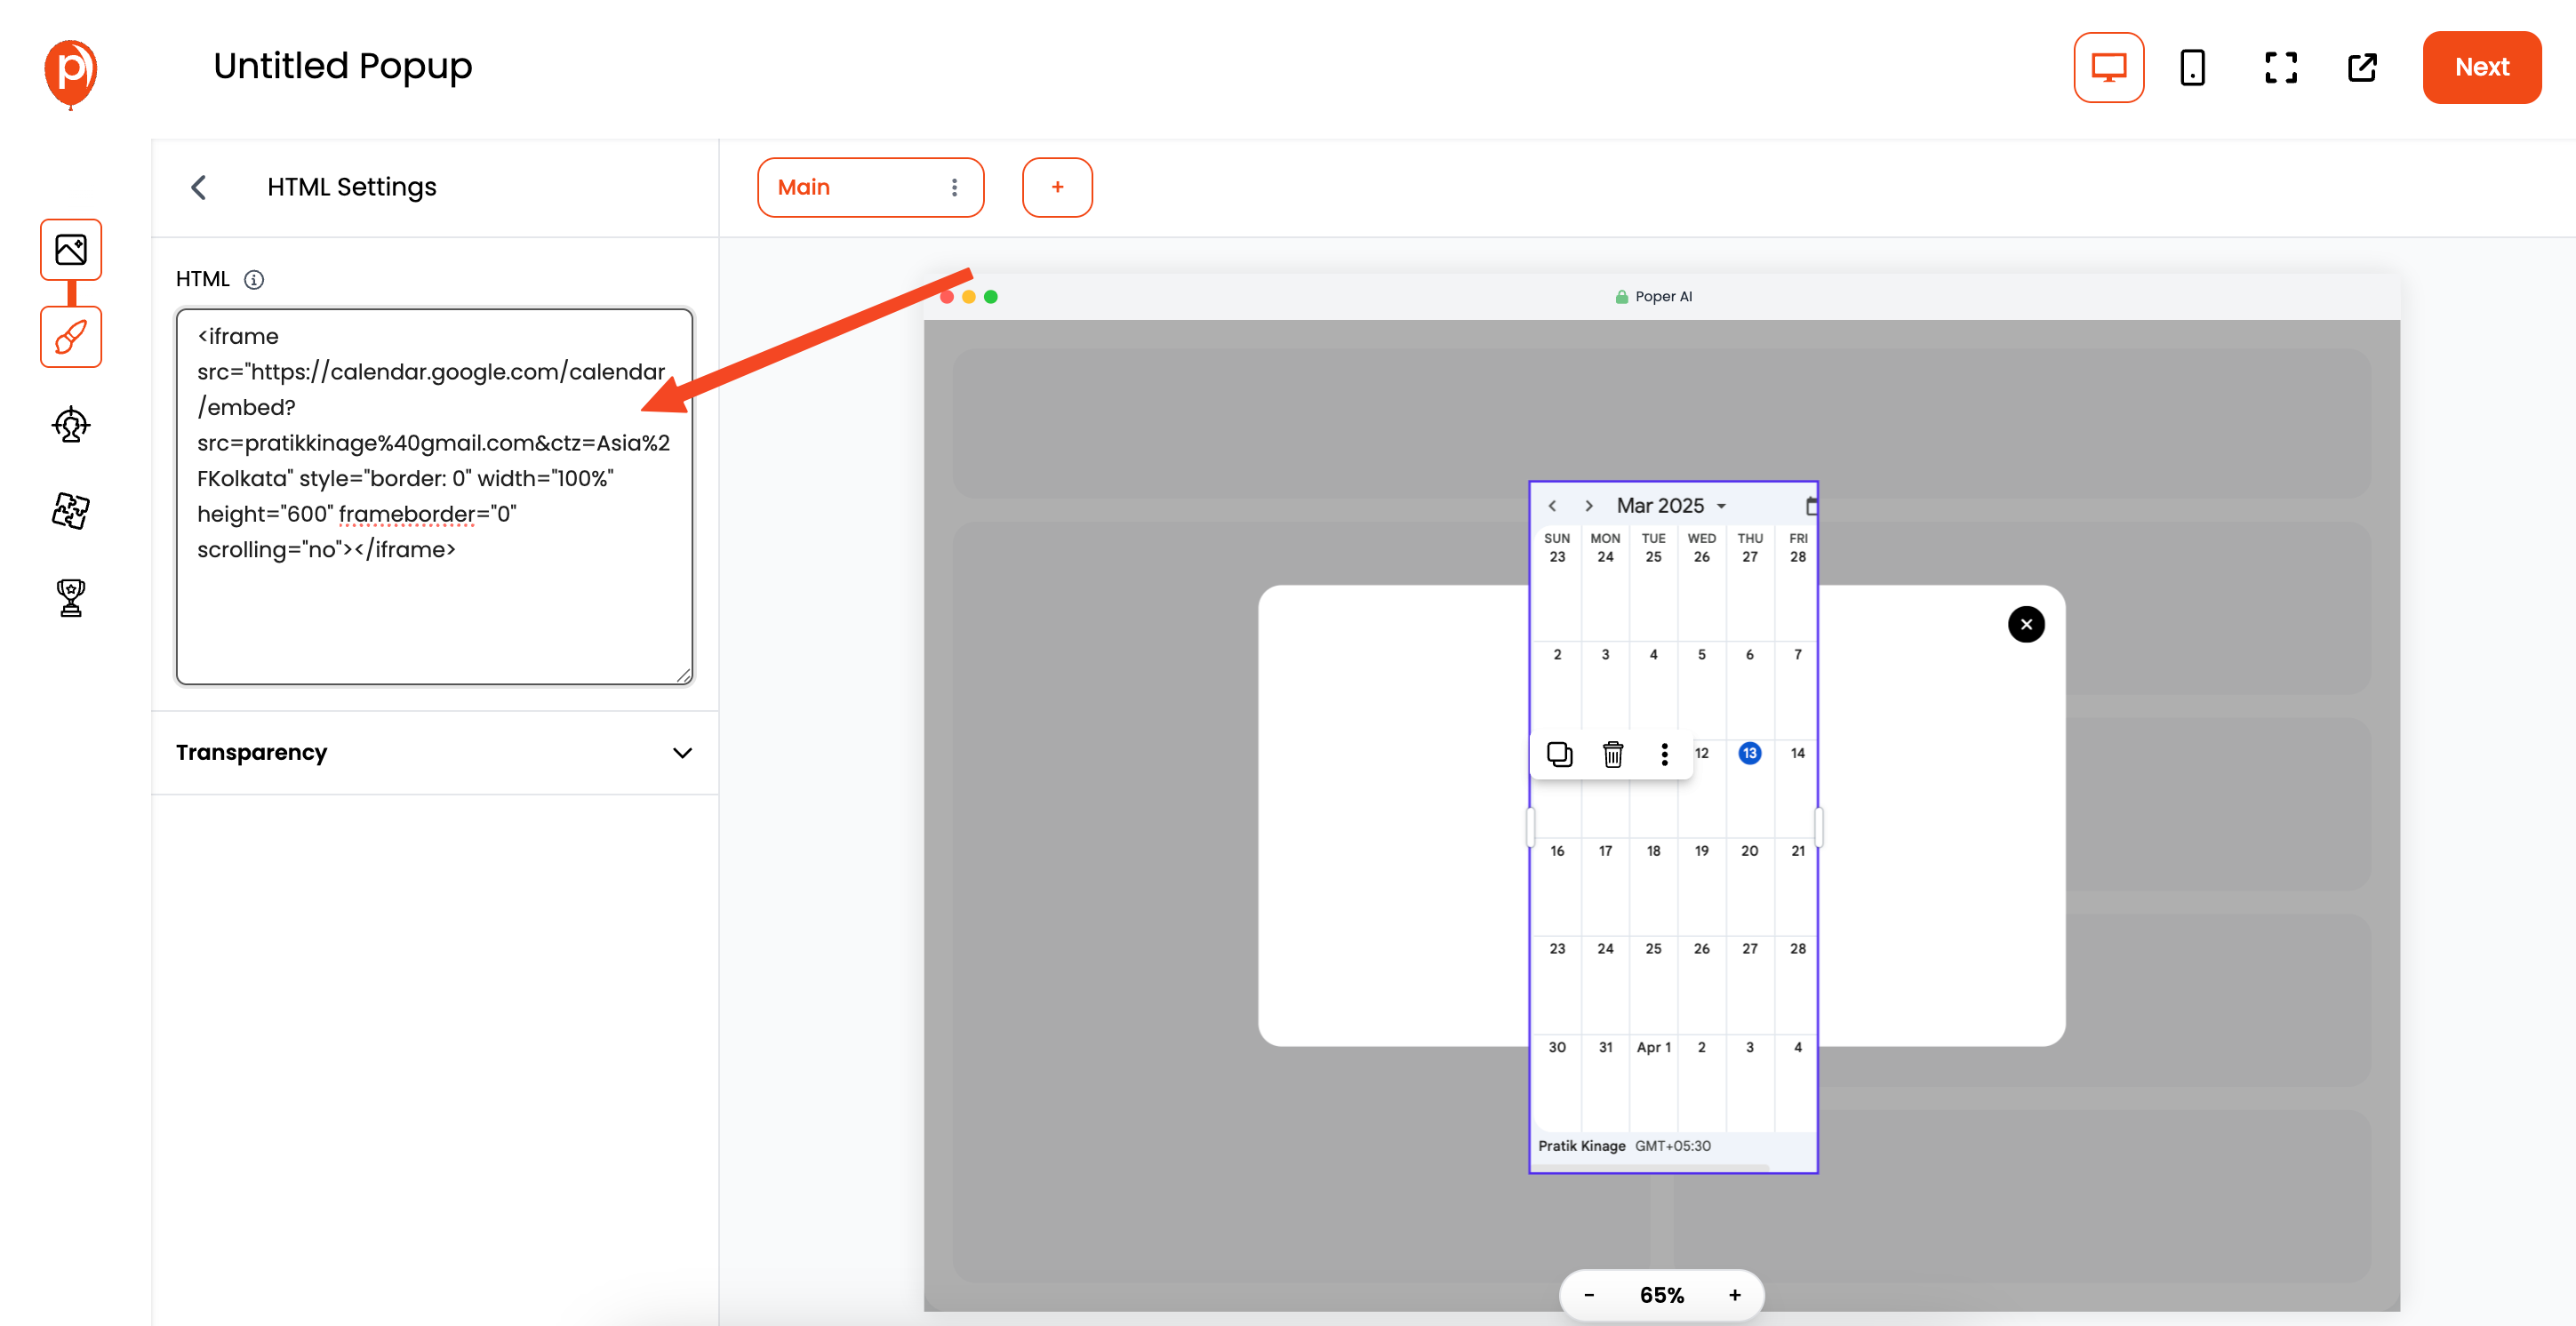
In the left-hand sidebar, you'll see a box where you can paste your HTML code. Paste the Google Calendar embed code you copied earlier into this box.
Step 6: Adjust the Width and Height
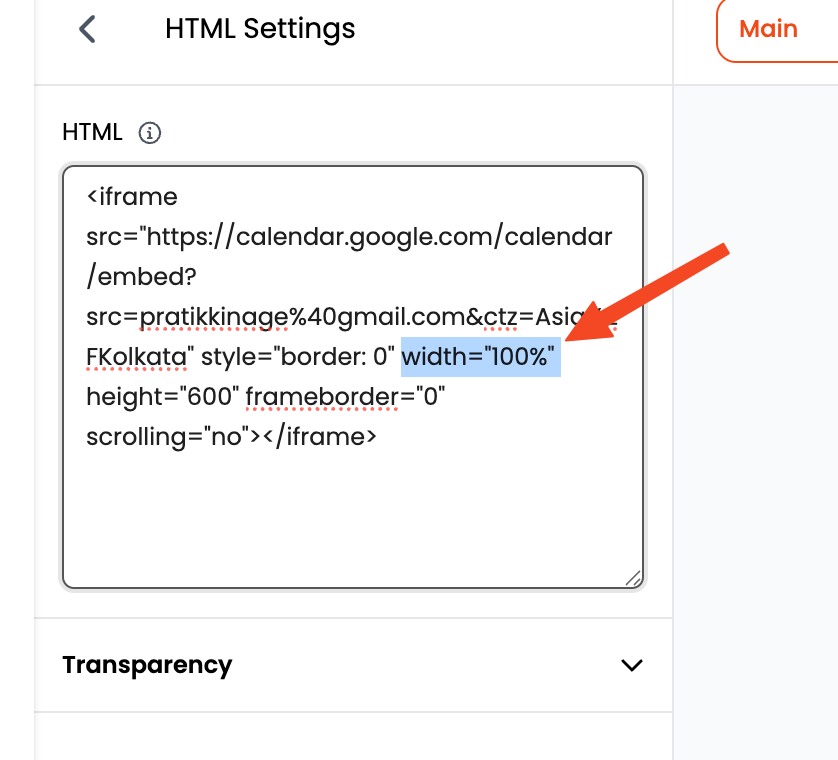
Now, let's make sure the calendar fits nicely within your popup. In the HTML code you just pasted, find the width and height attributes. Change width="800" to width="100%".
I recommend removing the height attribute altogether so the calendar automatically adjusts its height based on its content. Alternatively, you can set a specific height if you prefer.
Step 7: Center the Google Calendar Embed
Drag the HTML element containing your Google Calendar embed to the center of your popup or widget. This will ensure it looks balanced and is easy to find.
Step 8: Set Overflow to Hidden for Rounded Corners (Optional)
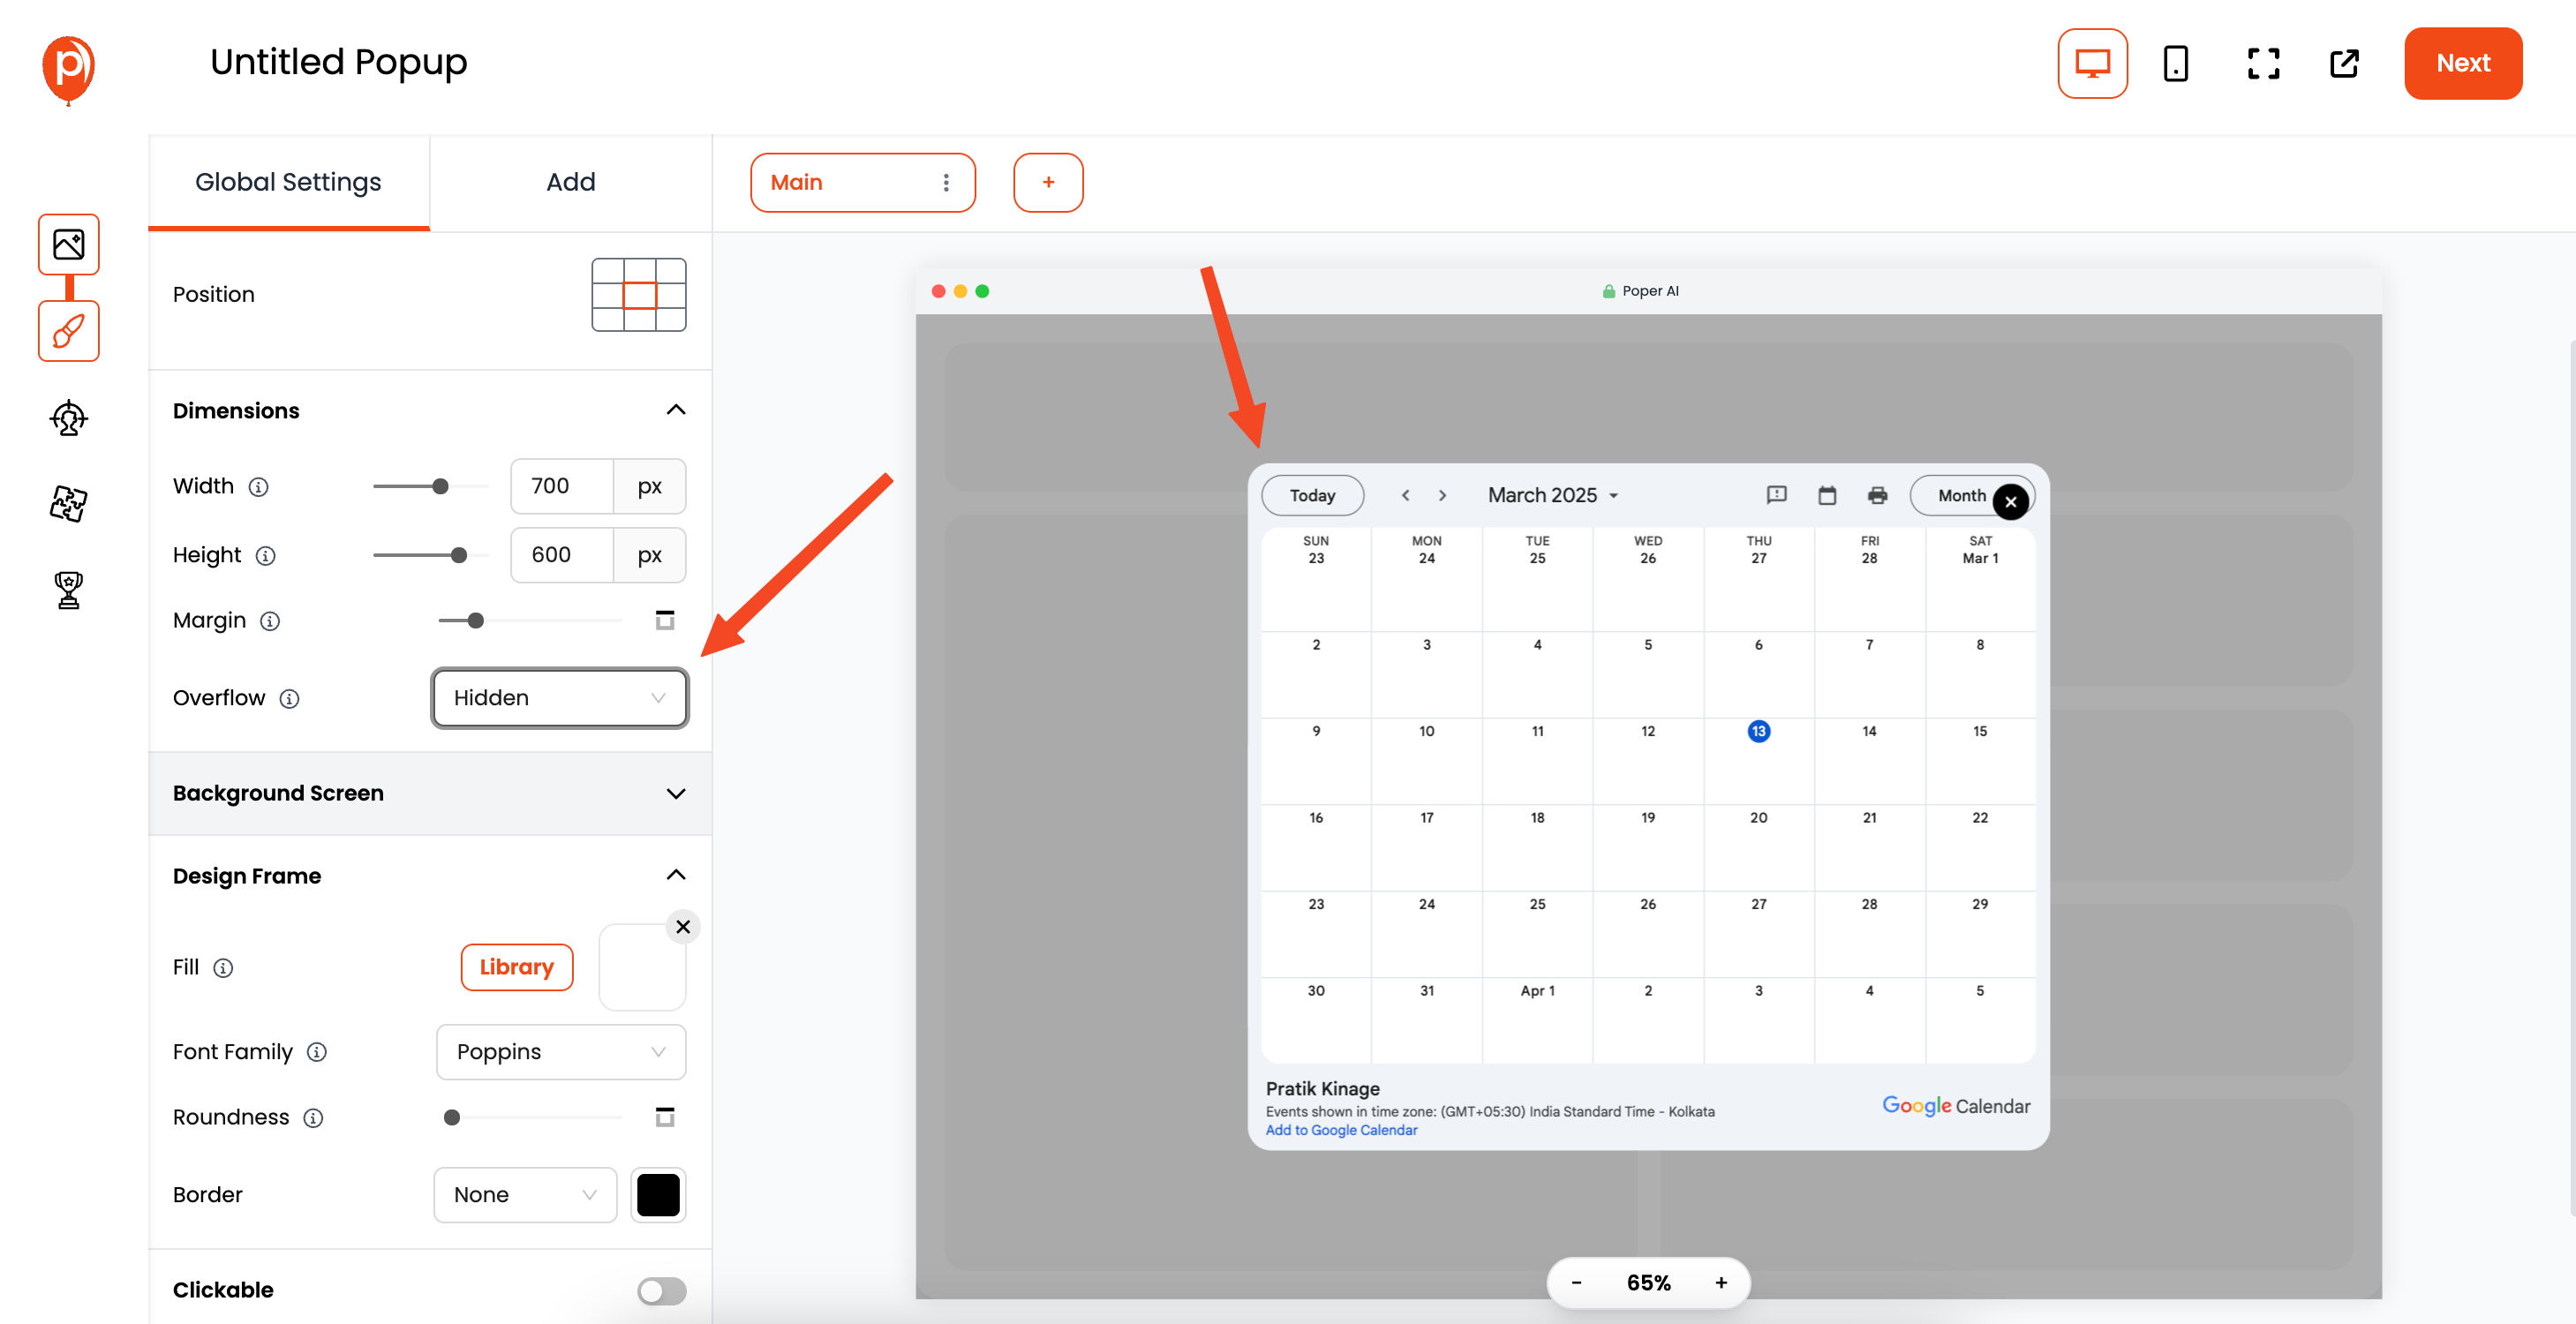
If you want rounded corners on your popup, go to "Global Settings," then "Dimensions," and set the "Overflow" to "Hidden." This will clip any content that extends beyond the popup's borders, creating a clean, rounded look.
You can keep the Google Calender as a popup, or you can turn on the Remove Background option in the Background Screen to make it a floating widget.
Step 9: Configure Display Conditions
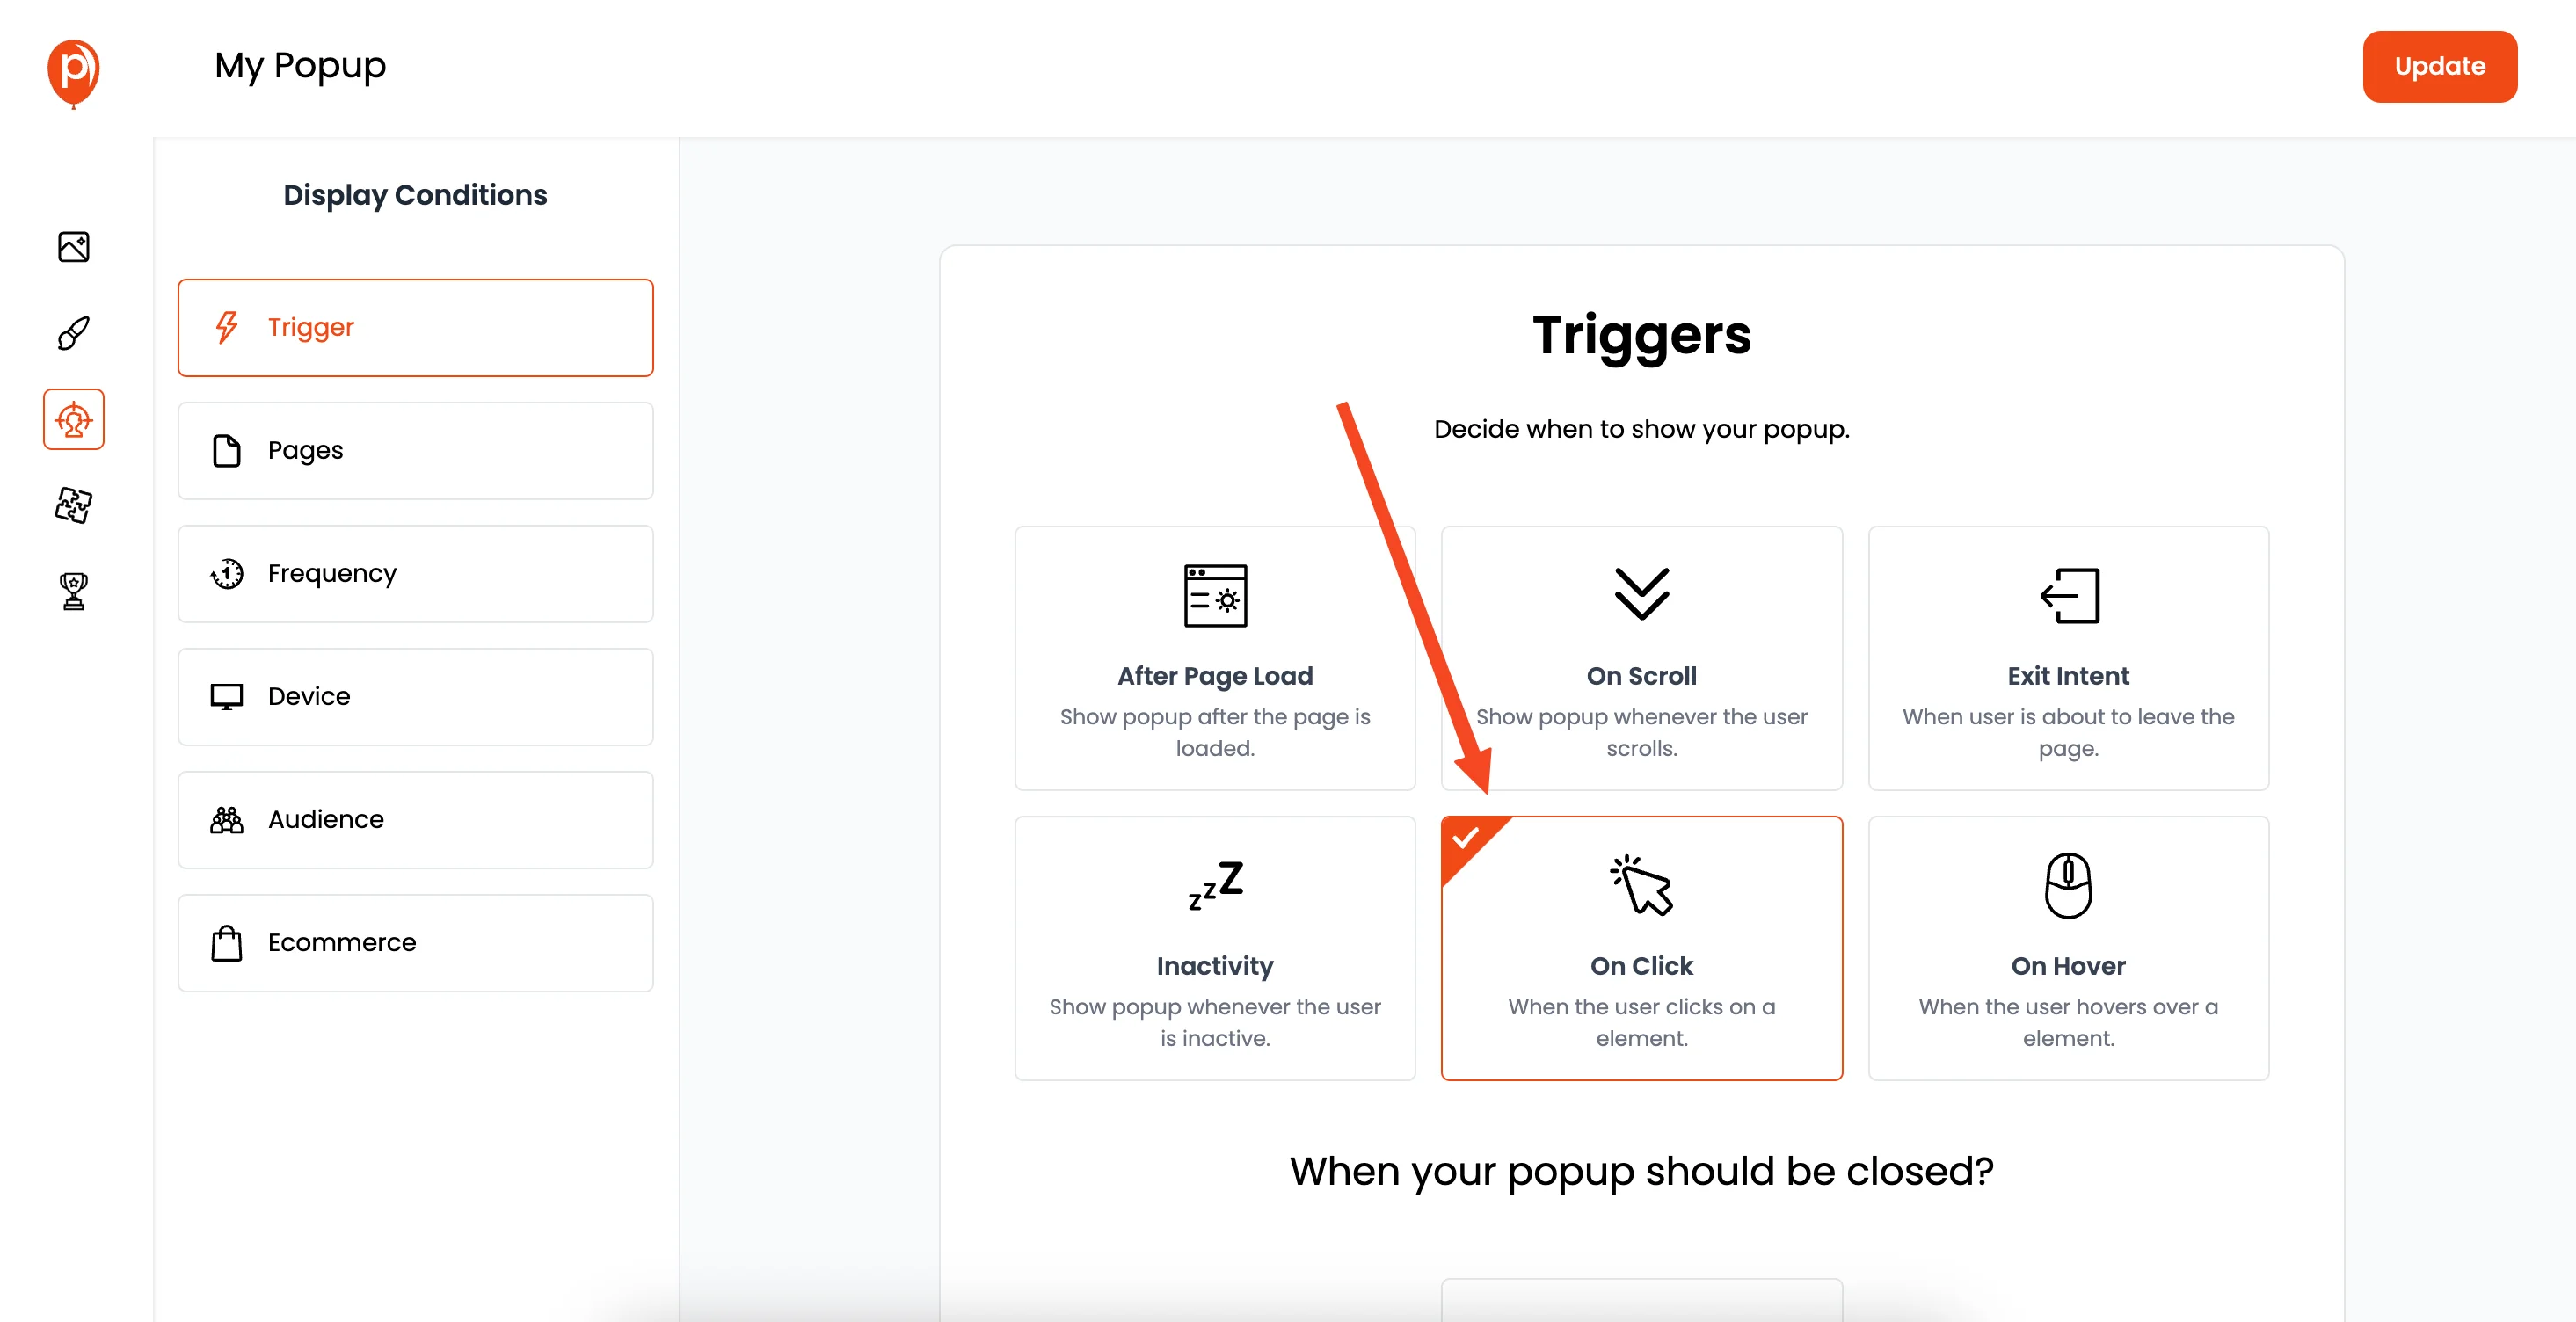
Click "Next" to move to the "Display Conditions" page. Here, you can control when and where your Google Calendar widget appears. While "On Page Load" is an option, I often recommend using an "On Click" trigger. For example, you could create a button that says "View My Calendar" and have it open the popup when clicked.
You can also target specific pages, audience demographics, and more to fine-tune who sees the popup. This ensures your calendar is shown to the most relevant users.
Once you're happy with your customizations and display conditions, click "Save & Publish". Your popup is now live!
Step 11: Paste the Poper Code Snippet into Your Website
Finally, you need to add the Poper code snippet to your website's HTML. This snippet connects your website to your Poper workspace. Go to the "Code" section in the left navigation bar of your Poper dashboard. Select your website platform and follow the instructions to complete the setup.
Step 12: Deploy and Test
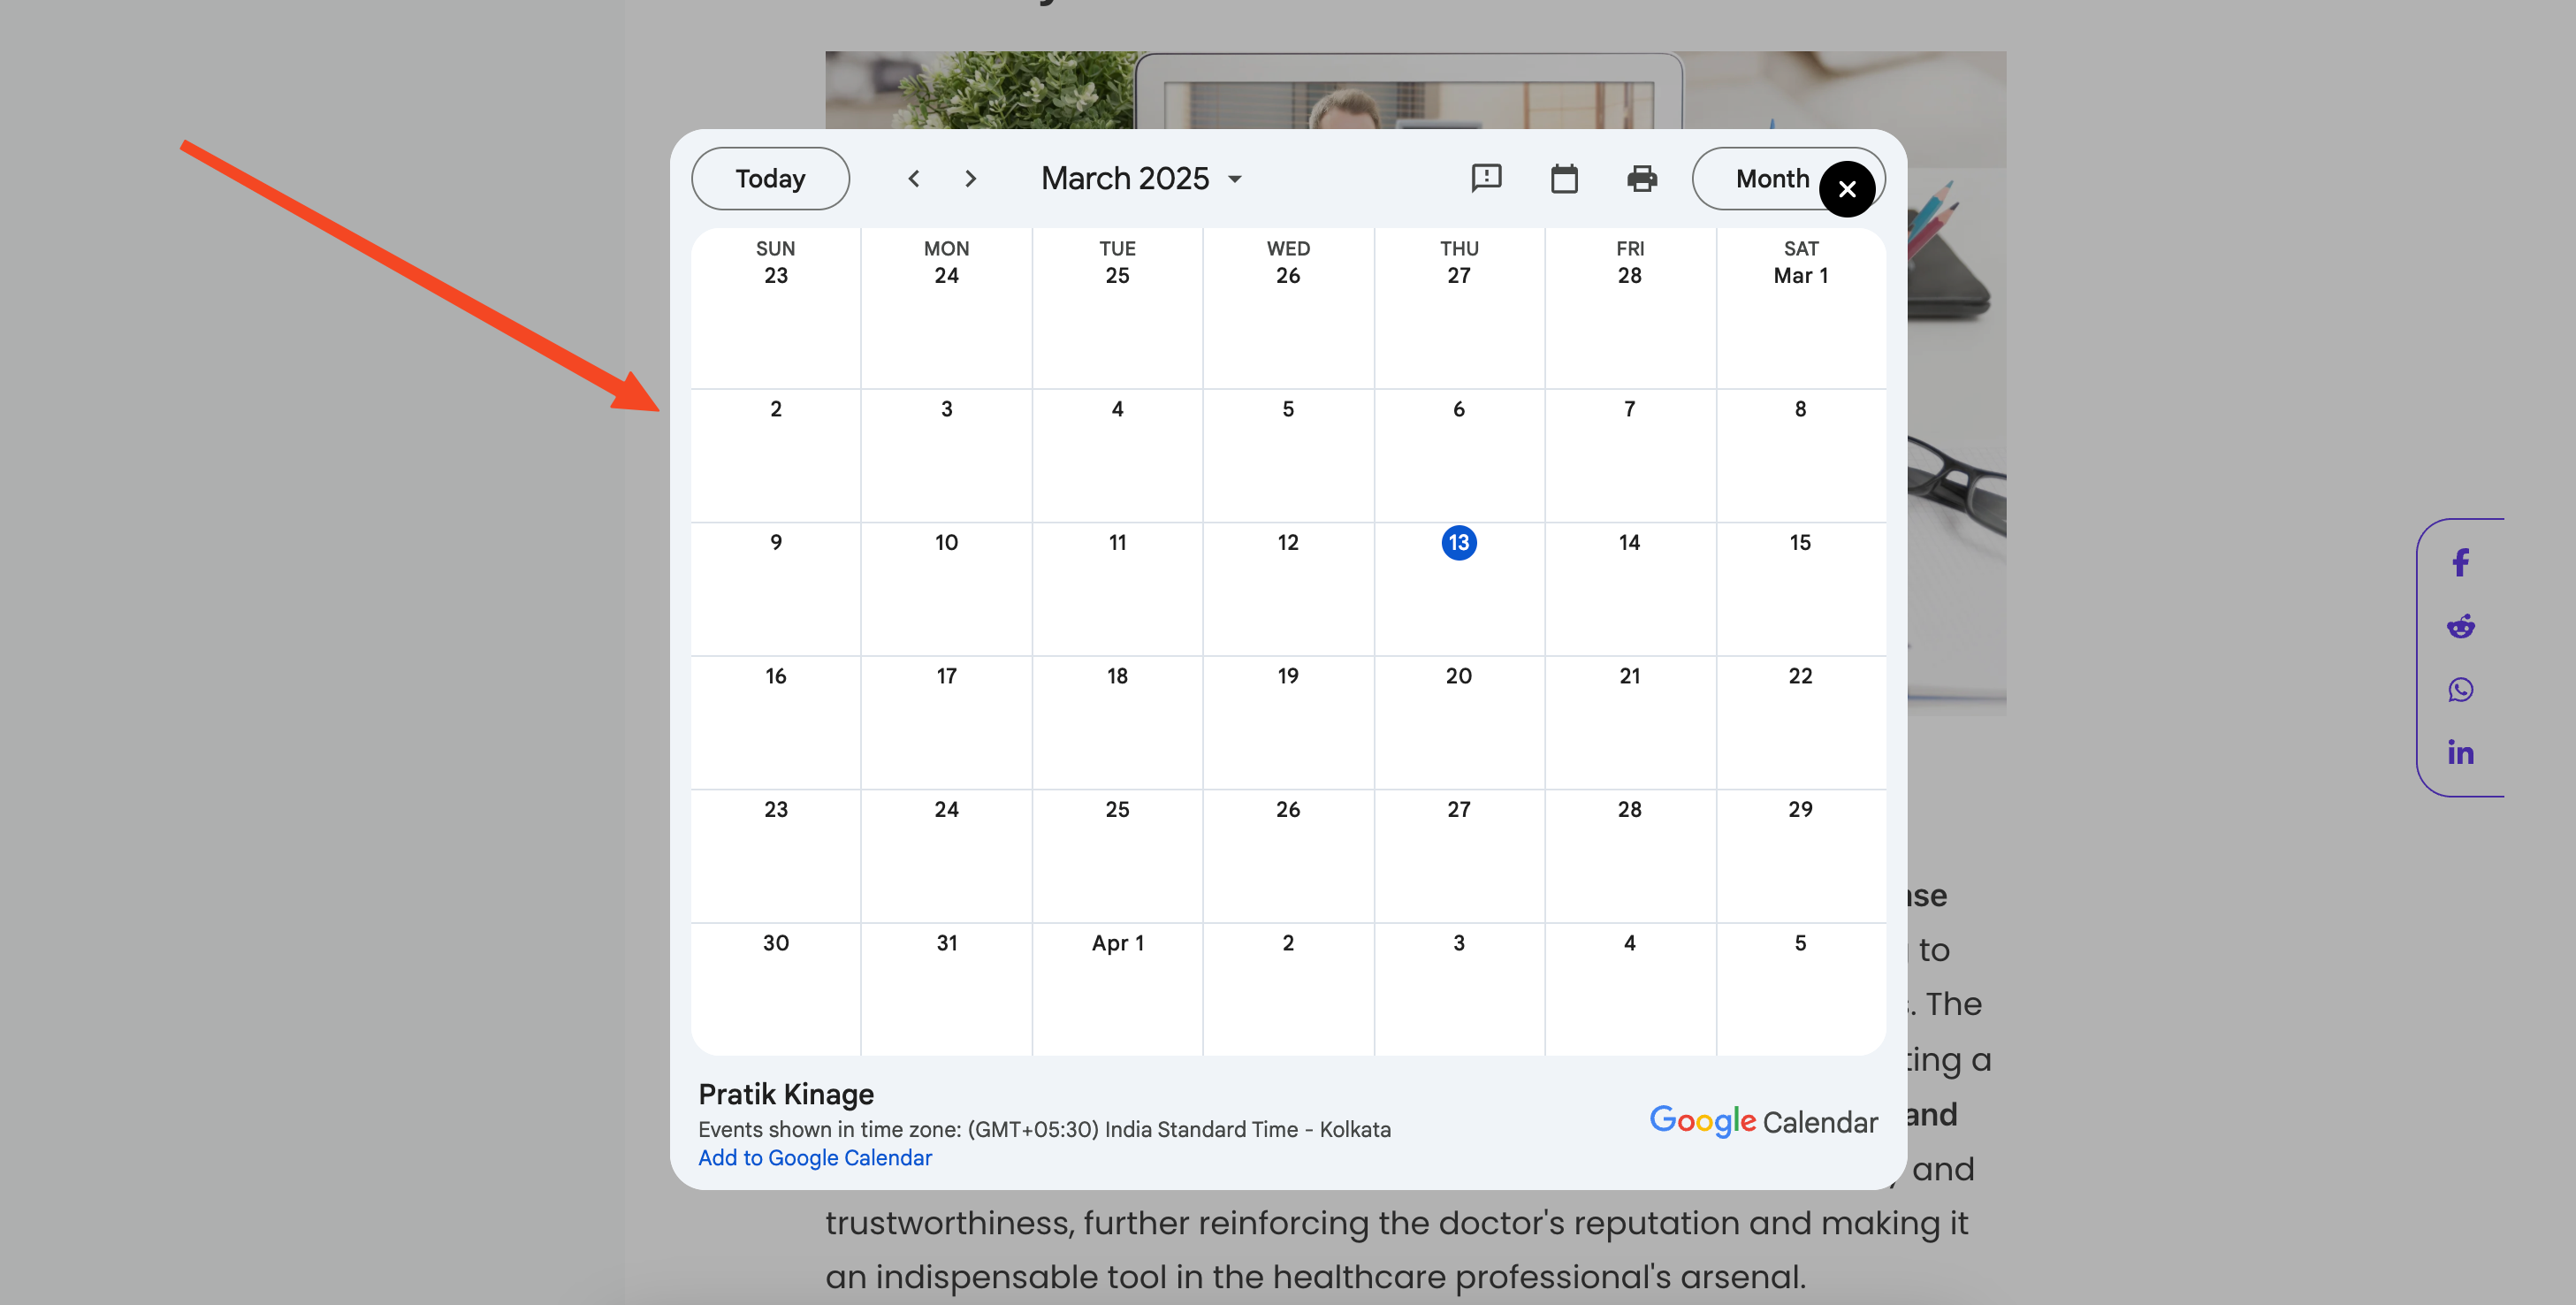
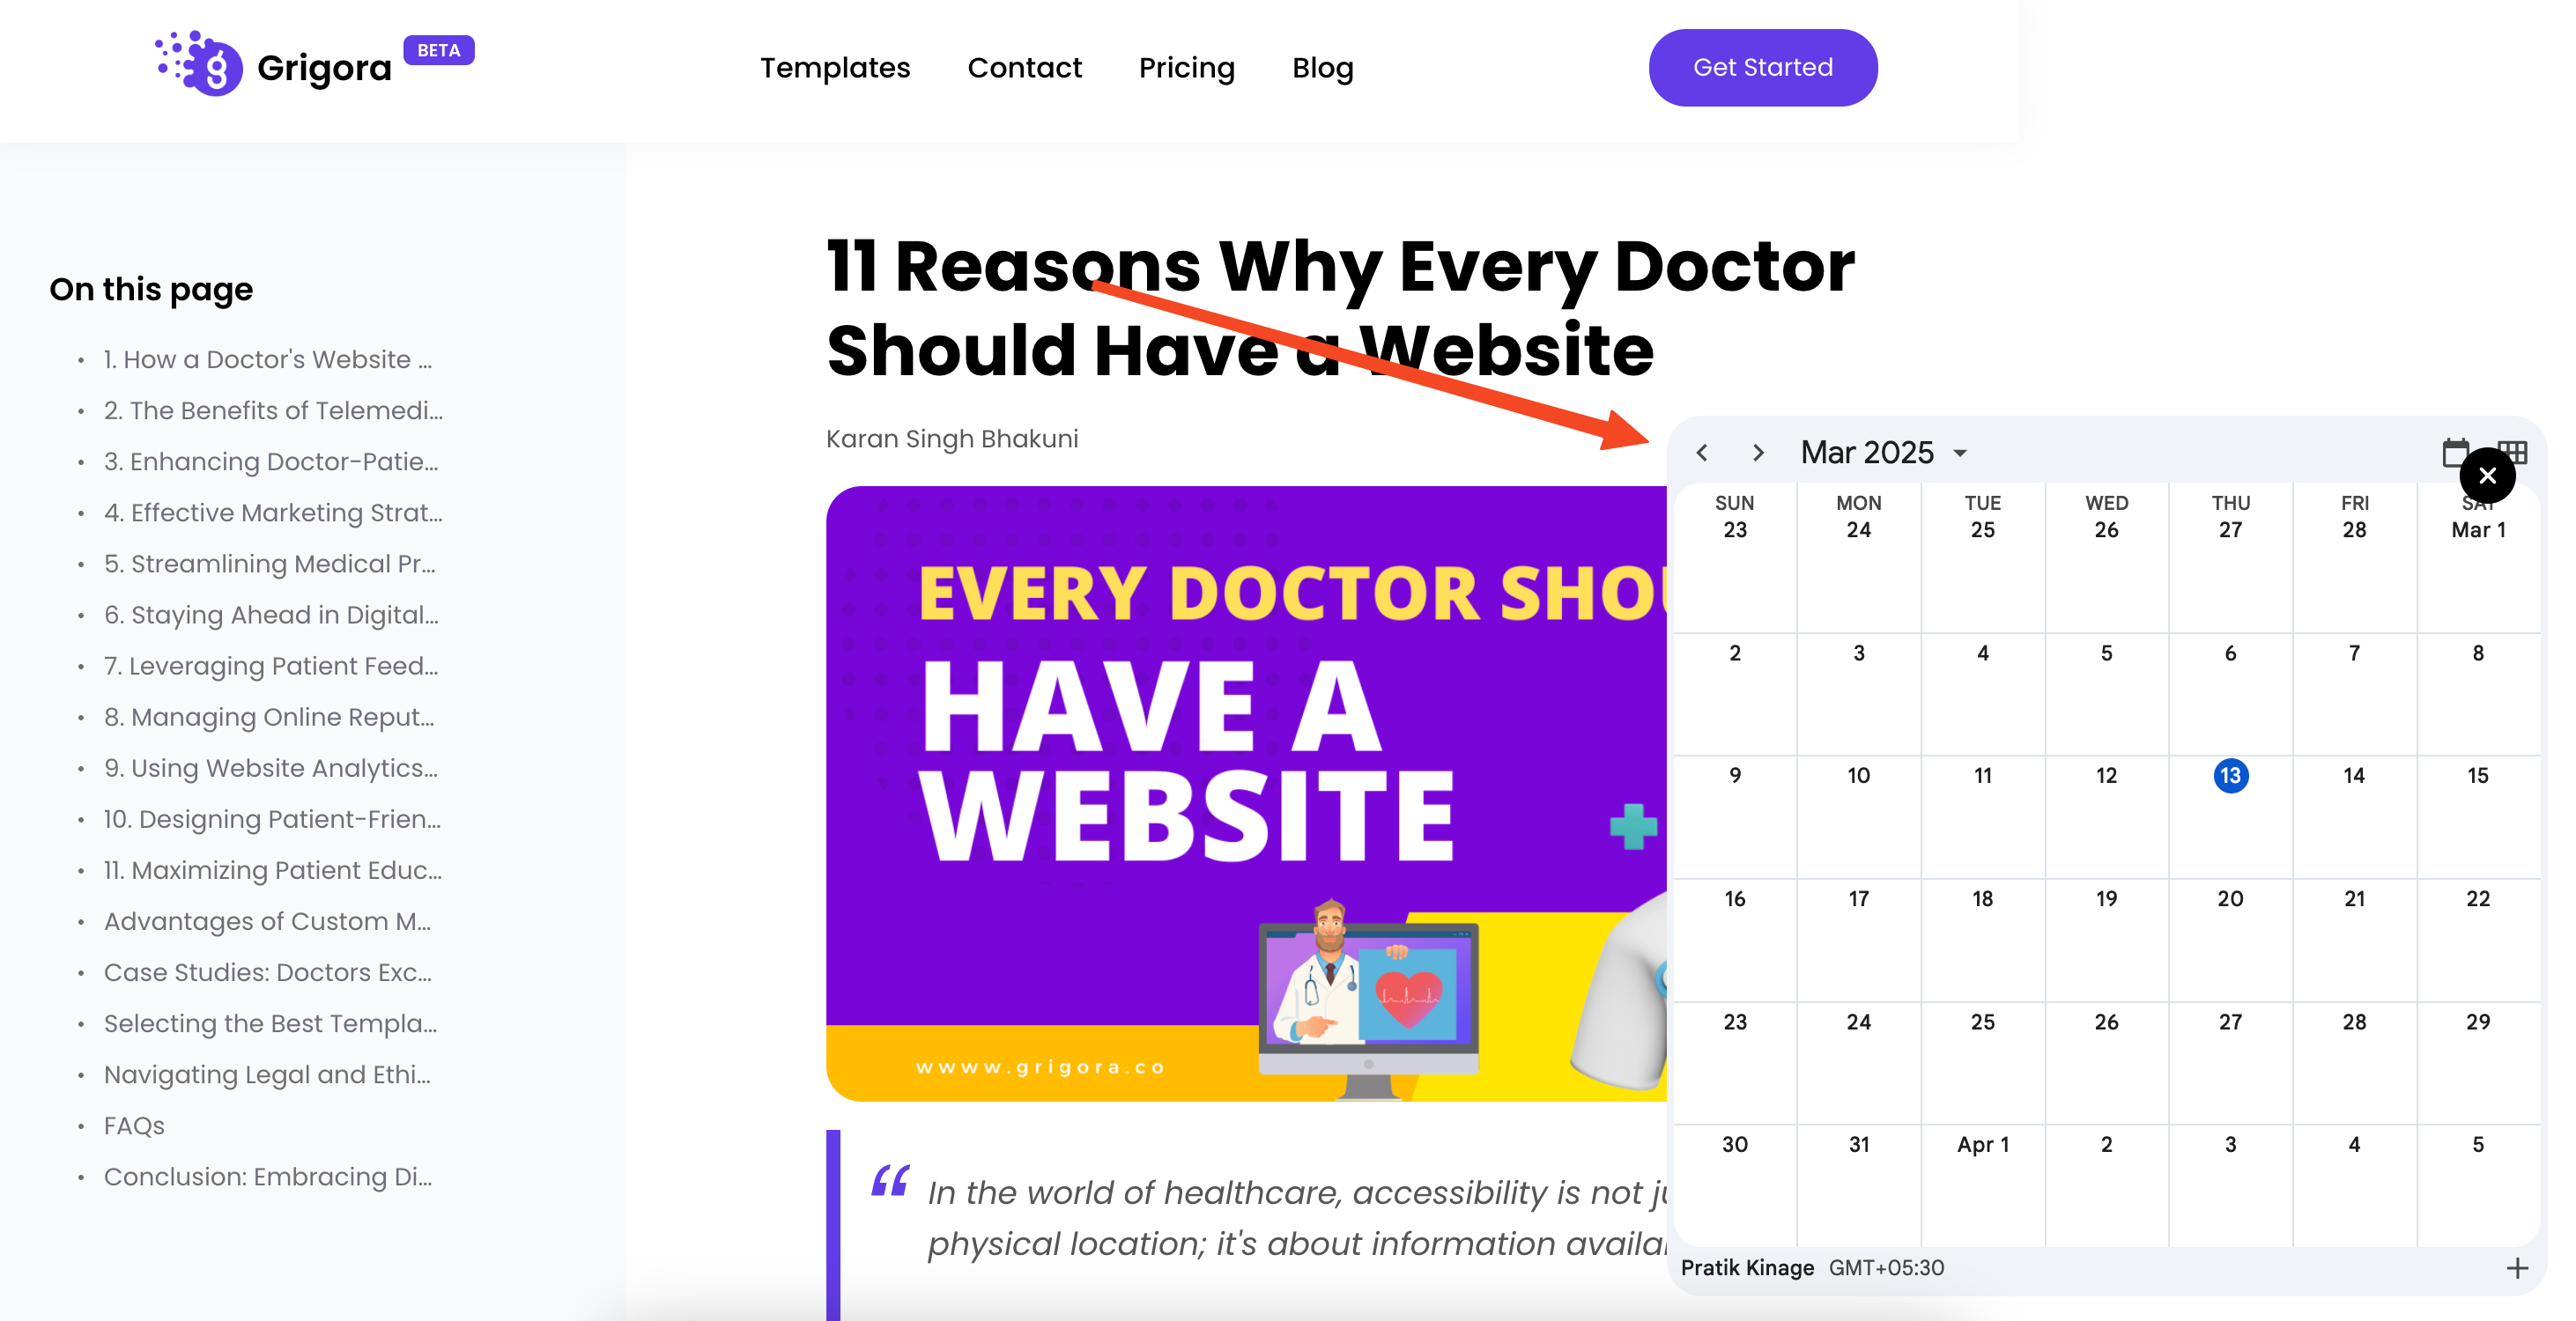
After adding the code snippet, deploy the changes to your website and test the integration. Make sure your Google Calendar widget appears as expected and that the "On Click" trigger (if you set one up) works correctly.
Why Add Google Calendar Widget to Your Website?
Embedding Google Calendar on your site makes it easier for visitors to engage with your content and stay updated. Here’s why it’s beneficial:
✅ Seamless User Experience: Visitors can check your availability without leaving your site.
✅ Increased Engagement: Keeping users informed about your schedule boosts interaction.
✅ Faster Scheduling: Users can quickly book meetings or join events without hassle.
Pro Tips to Optimize Your Google Calendar Widget
To ensure your Google Calendar widget works perfectly, follow these tips:
🎨 Use Floating Widget Mode: Switch to a floating widget for better visibility and engagement.
🖥️ Set Trigger Conditions: Use the "On Click" trigger to avoid auto-loading and improve user interaction.
📏 Optimize Widget Dimensions: Set a responsive width (e.g.,
width="100%") to fit various device screens.
Frequently Asked Questions (FAQs)
How do I add Google Calendar as a floating widget?
To add Google Calendar as a floating widget, use Poper’s "Remove Background" setting and embed the calendar in an HTML element within your popup.
Can I trigger the Google Calendar popup on button click?
Yes, you can configure Poper to trigger the Google Calendar widget on button click by using the "On Click" trigger under display conditions.
Is Google Calendar responsive when embedded using Poper?
Yes, by setting the width to 100% in the embed code, the Google Calendar will be responsive and fit different screen sizes.
That’s it! You've successfully embedded your Google Calendar into your website using Poper. Now your visitors can easily check your availability and stay informed about your schedule.

