

Having a way to grow your Mailchimp email list is crucial for any online store. It allows you to connect with your audience, share offers, and create a better shopping experience.
Popups, small widgets, and other forms can be highly effective for this.
So, how do you add a Mailchimp popup to your Shopify store?
There are two main ways: through Poper popups (which I believe is the easier route) or directly through Mailchimp. Let's dive into both options.
Adding a Mailchimp Popup Using Poper (The Easy Way)
I believe using Poper is the quickest and easiest way to get a great looking and highly functional Mailchimp popup on your store. Here's how you do it:
1. Create a Poper Account
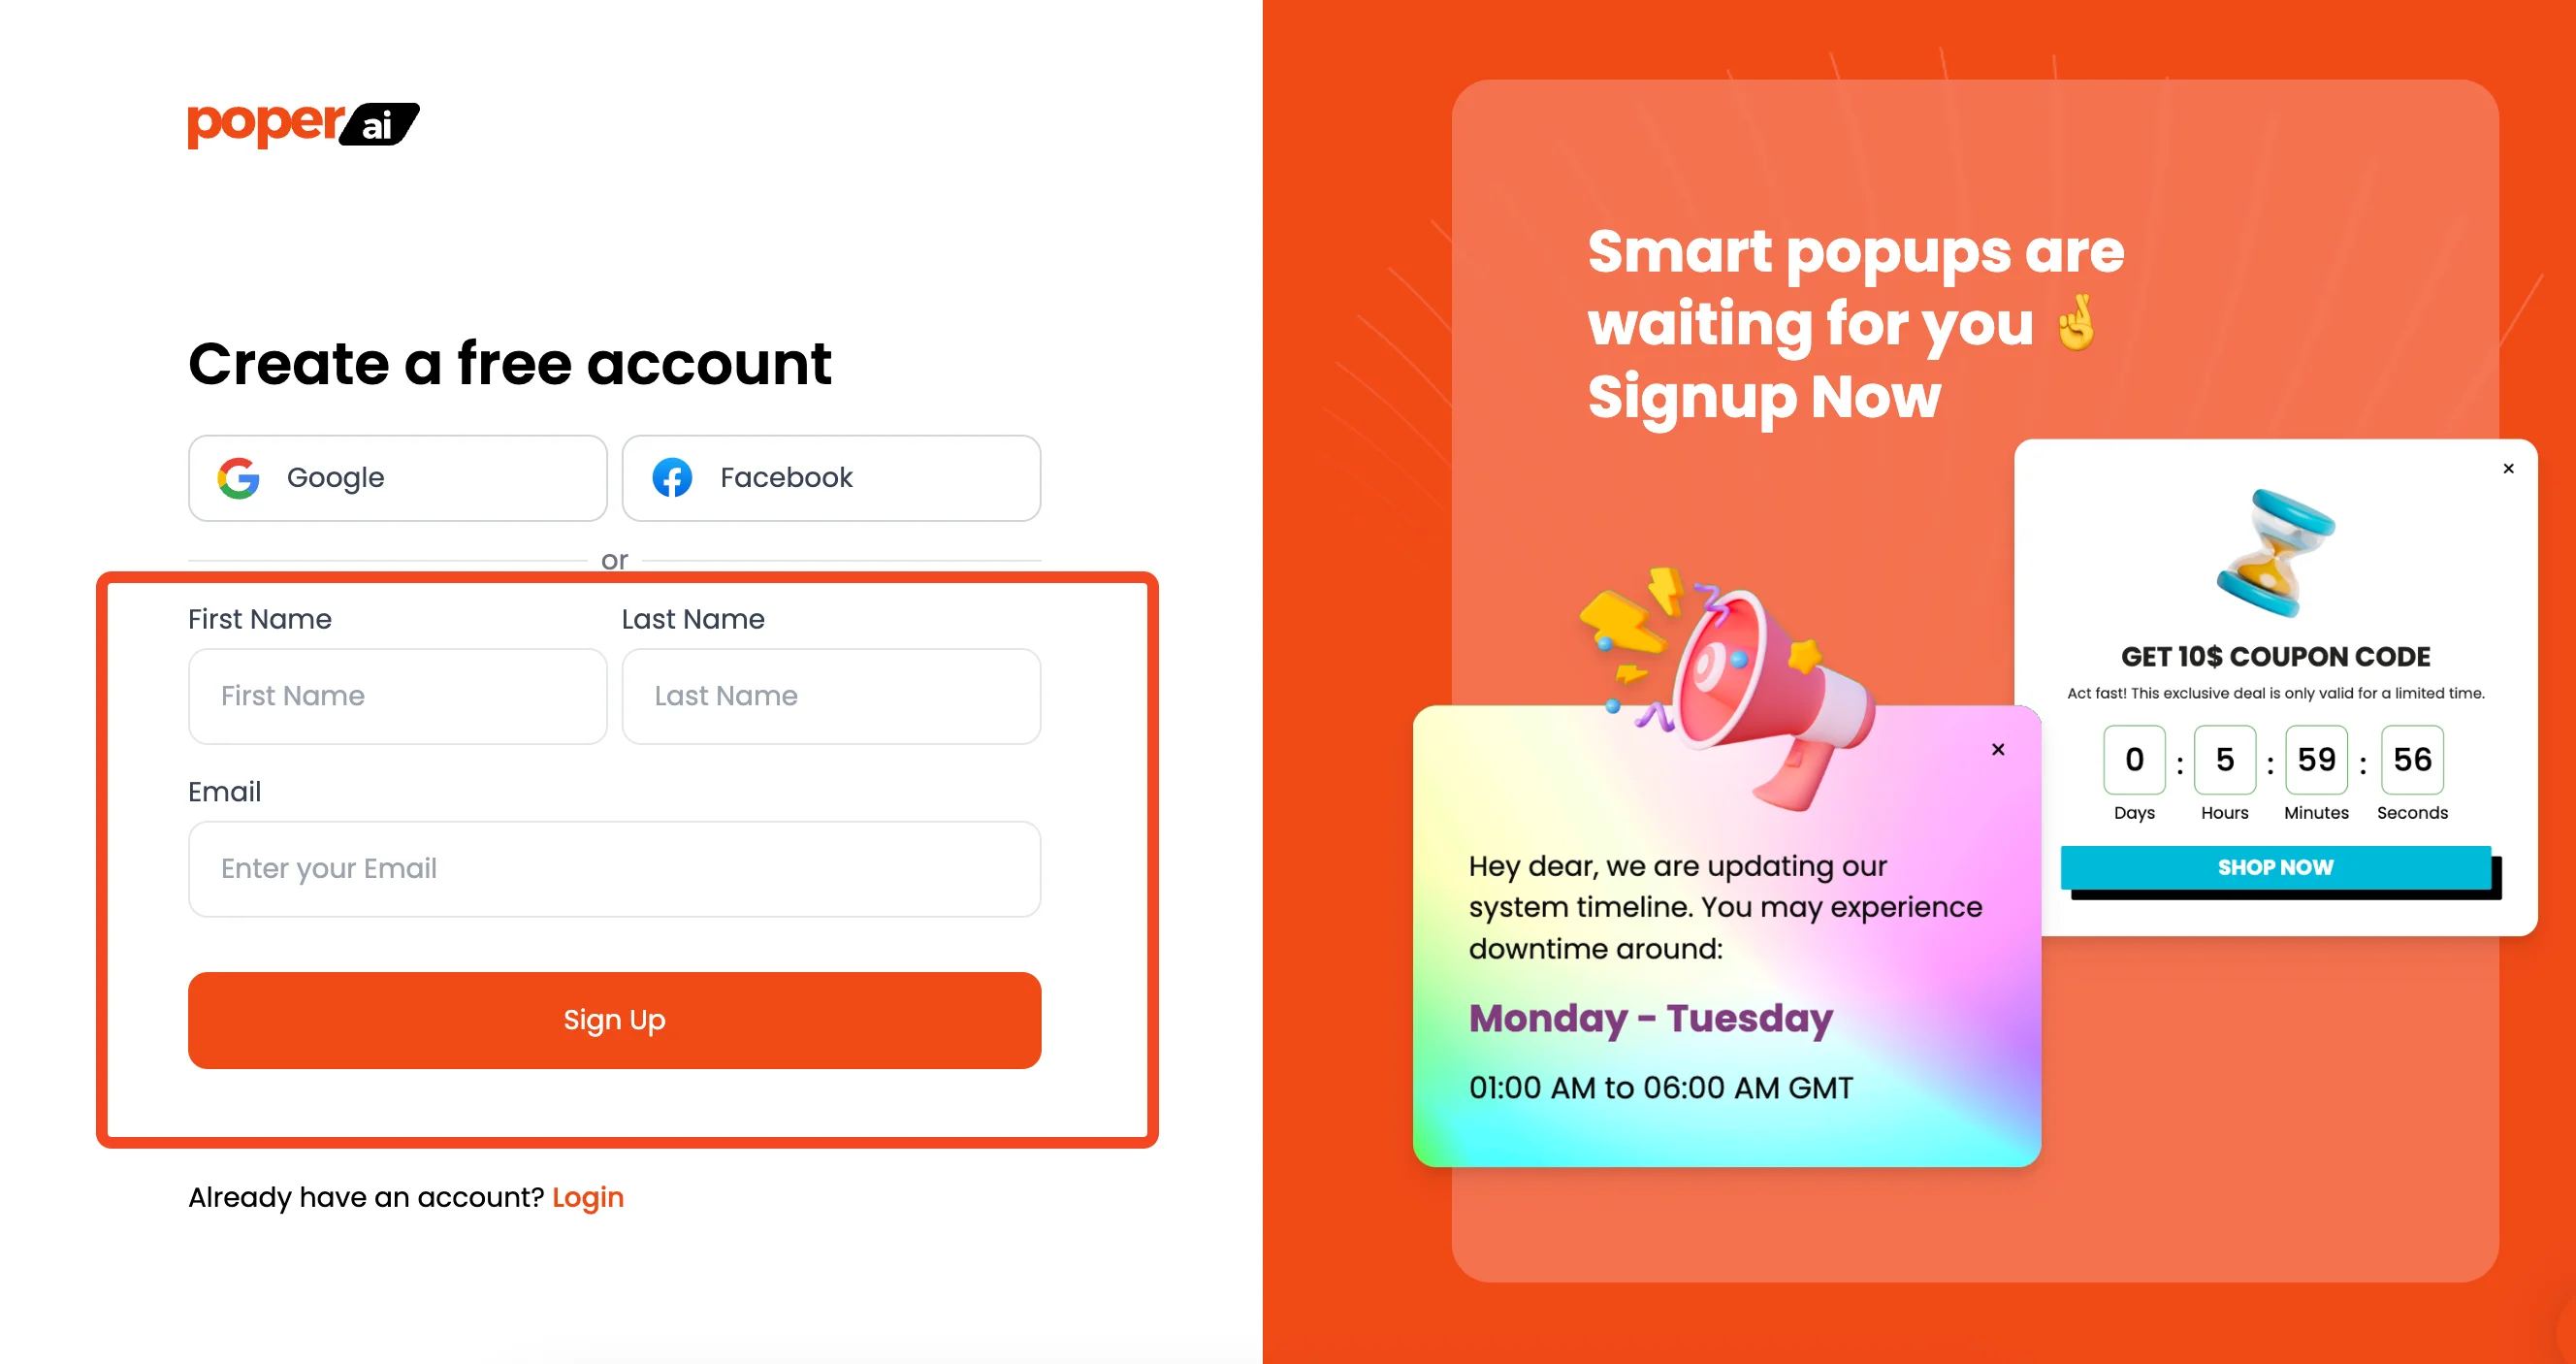
First things first, you need to sign up for a Poper account. This is where you'll create your popups and connect them to your Shopify store and Mailchimp account.
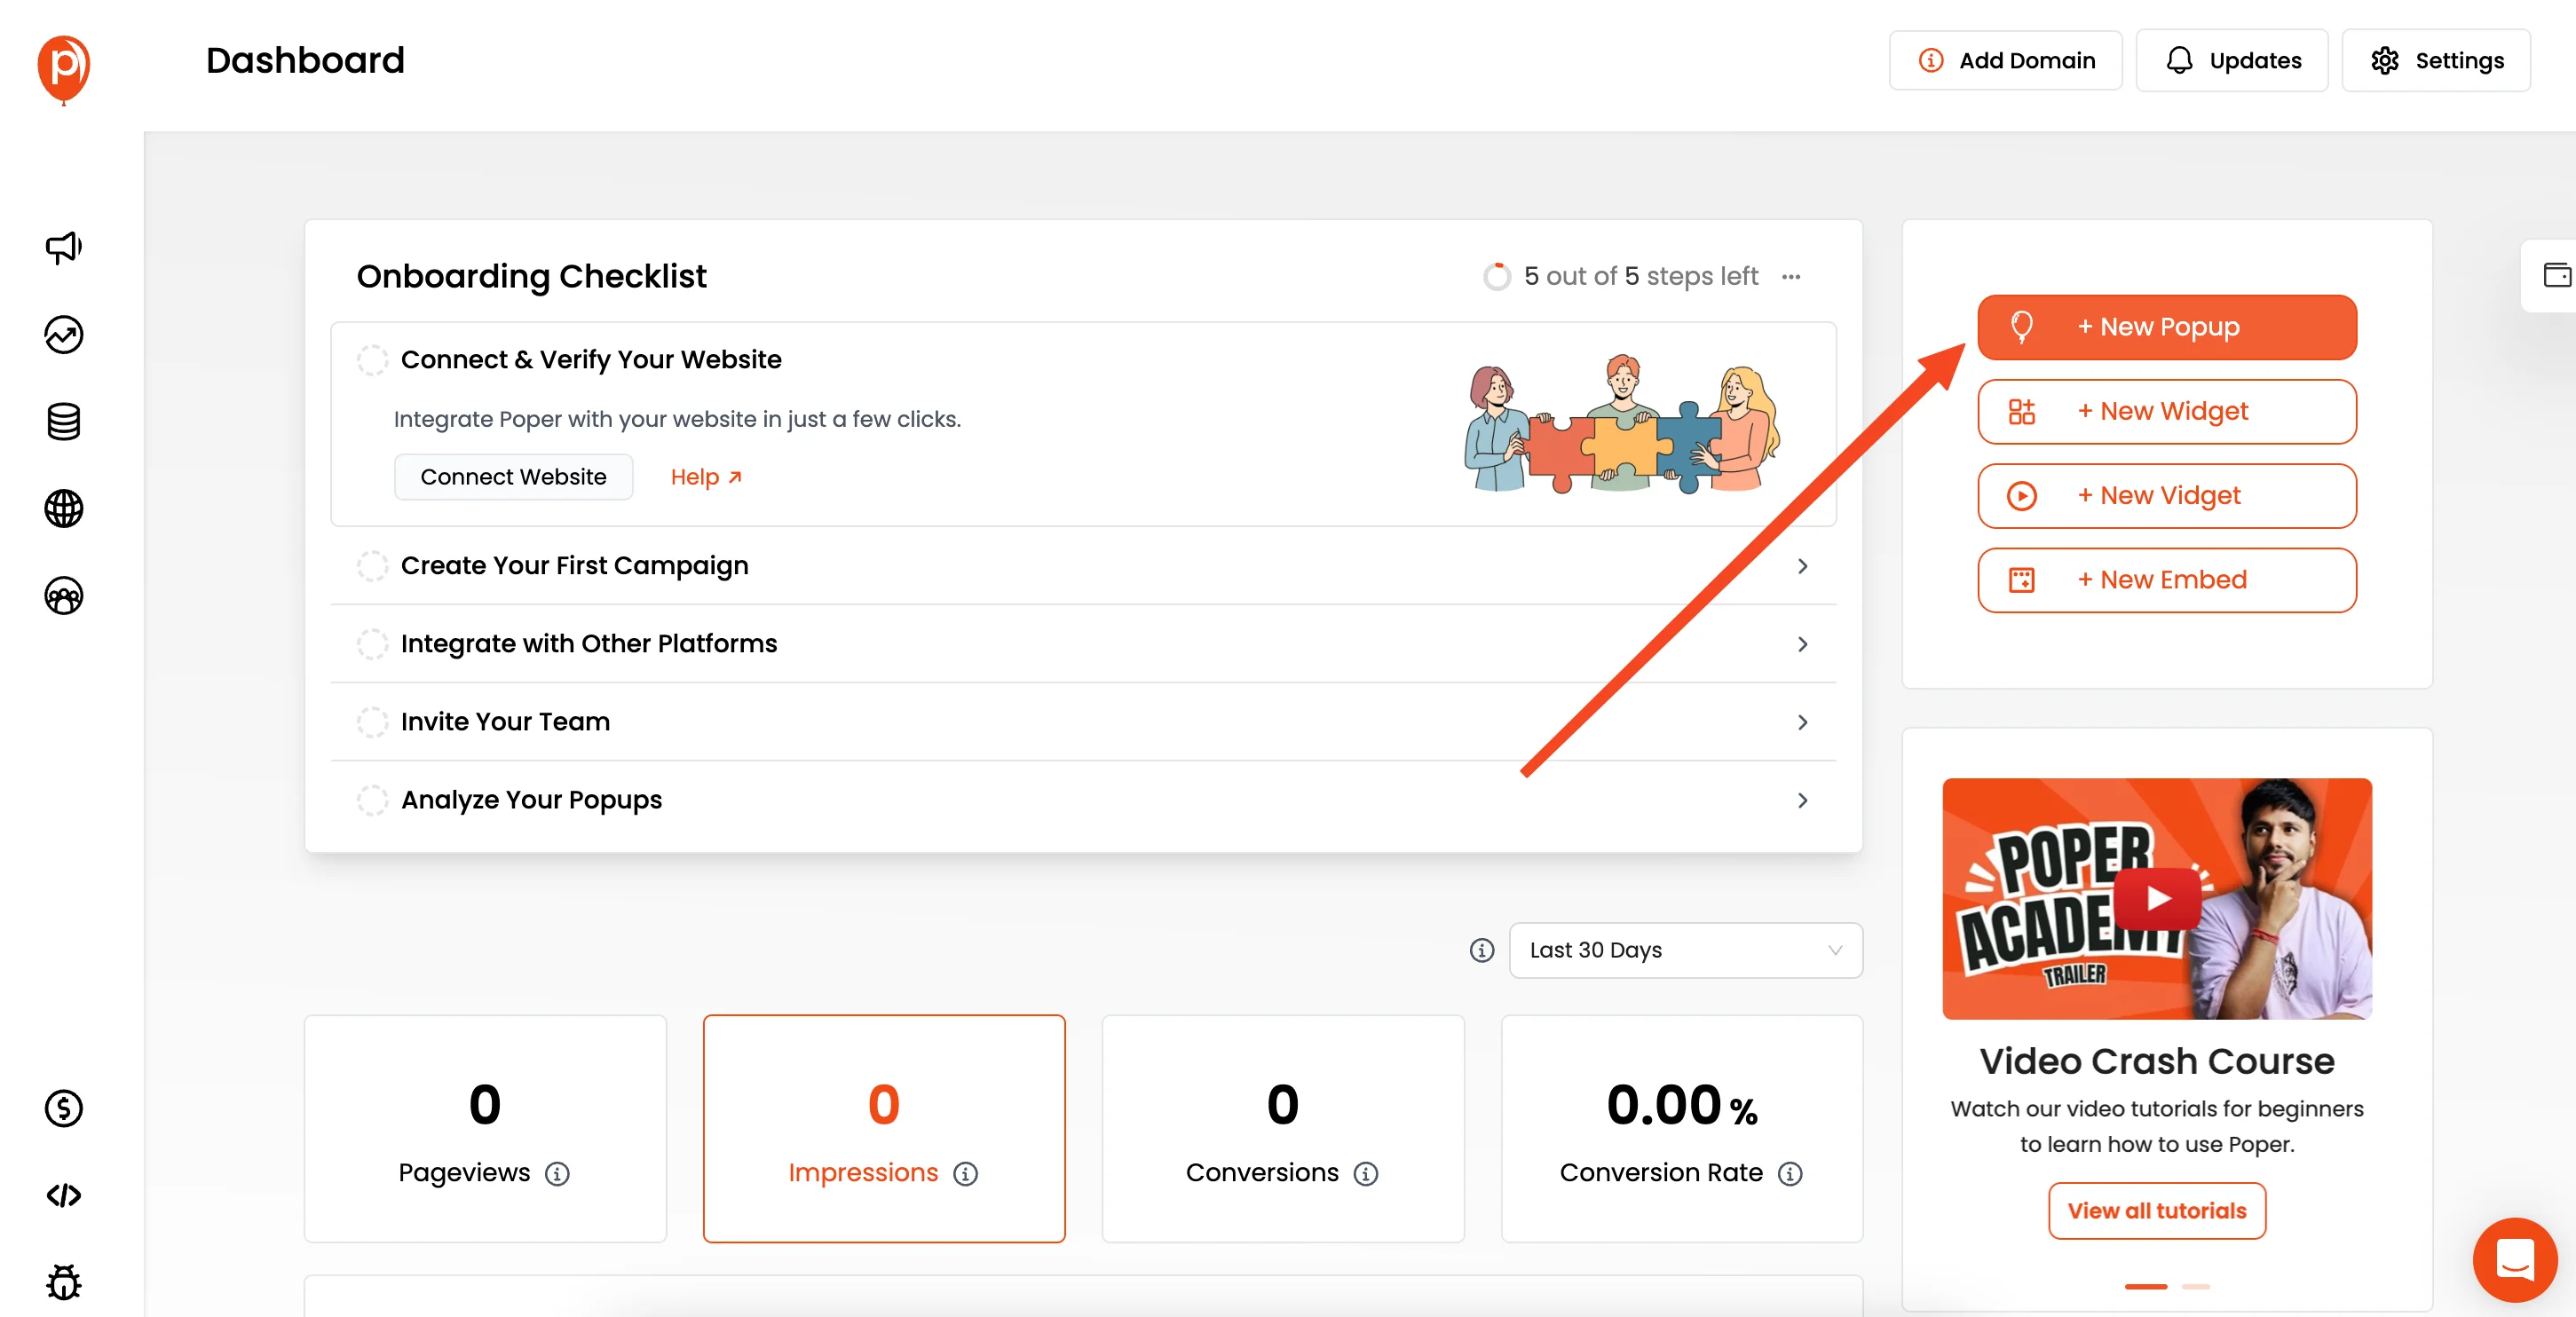
2. Add Your Store Domain and Create a New Popup
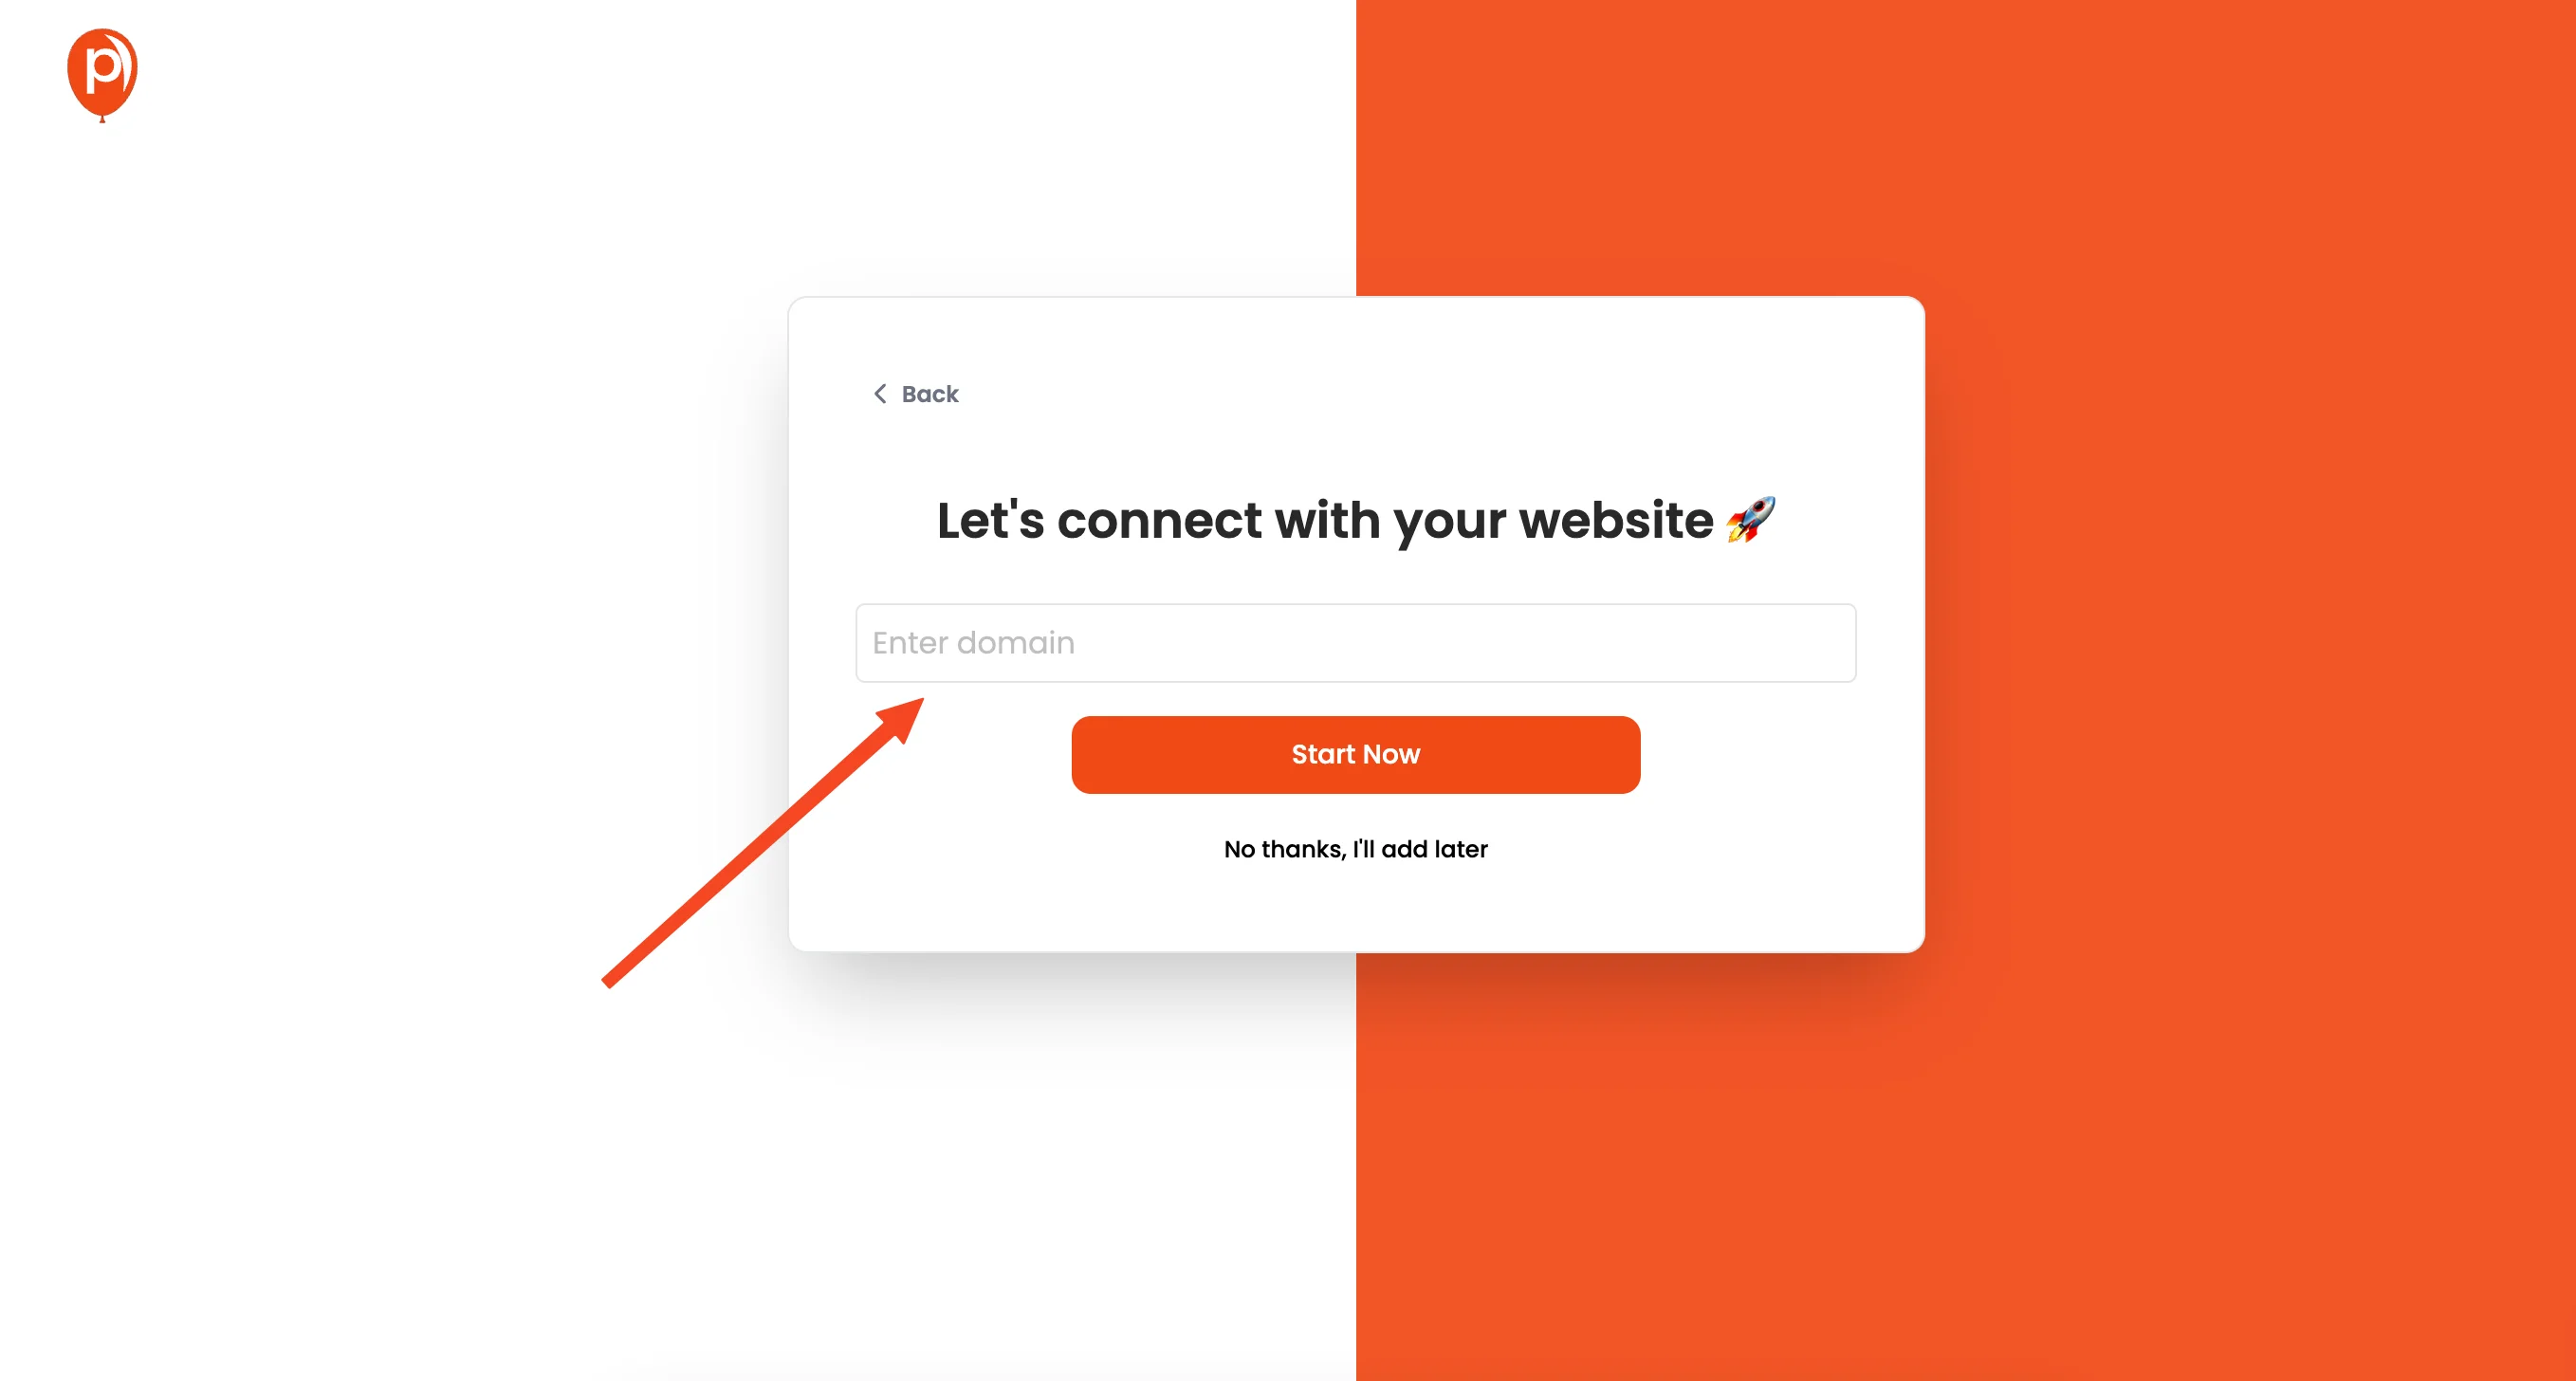
Once you're logged in, you'll need to add your Shopify store's domain to Poper. After that, you can start by clicking the "New Popup" button.
3. Choose a Template
When you click the button, you'll be asked to choose from templates. There are lots of options, so I recommend searching for "newsletter" for email signup popups.
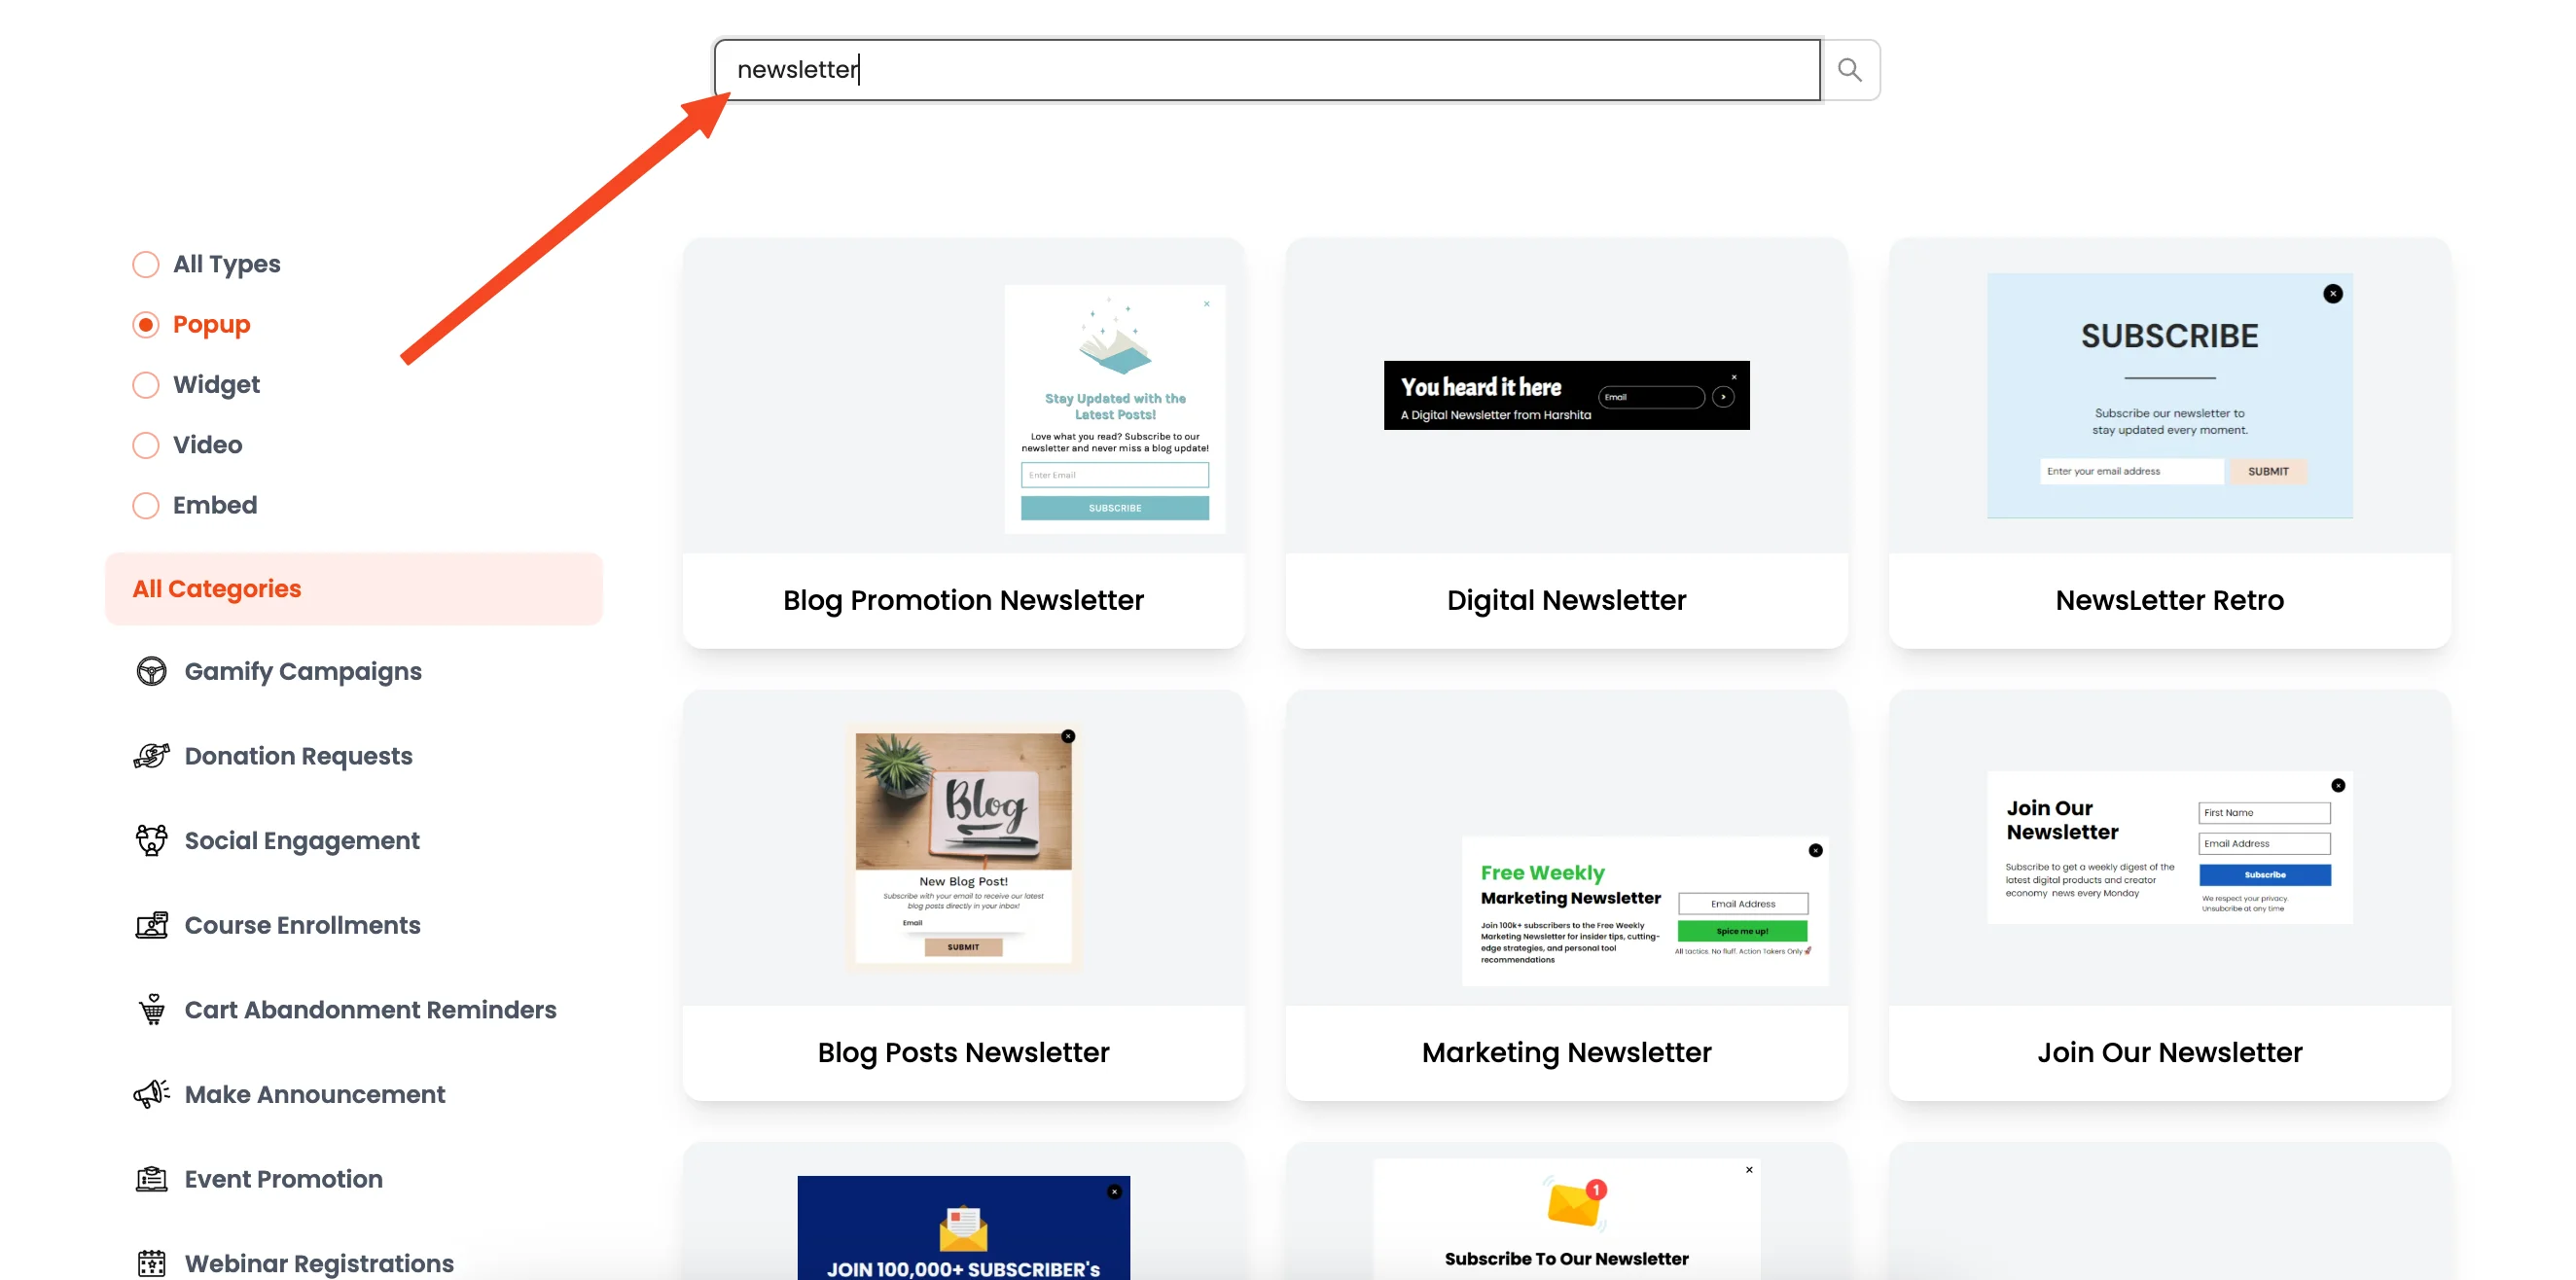
You will find a wide variety of newsletter templates that are a good starting point. Pick the one that best fits your store's look and feel.
4. Customize Your Popup
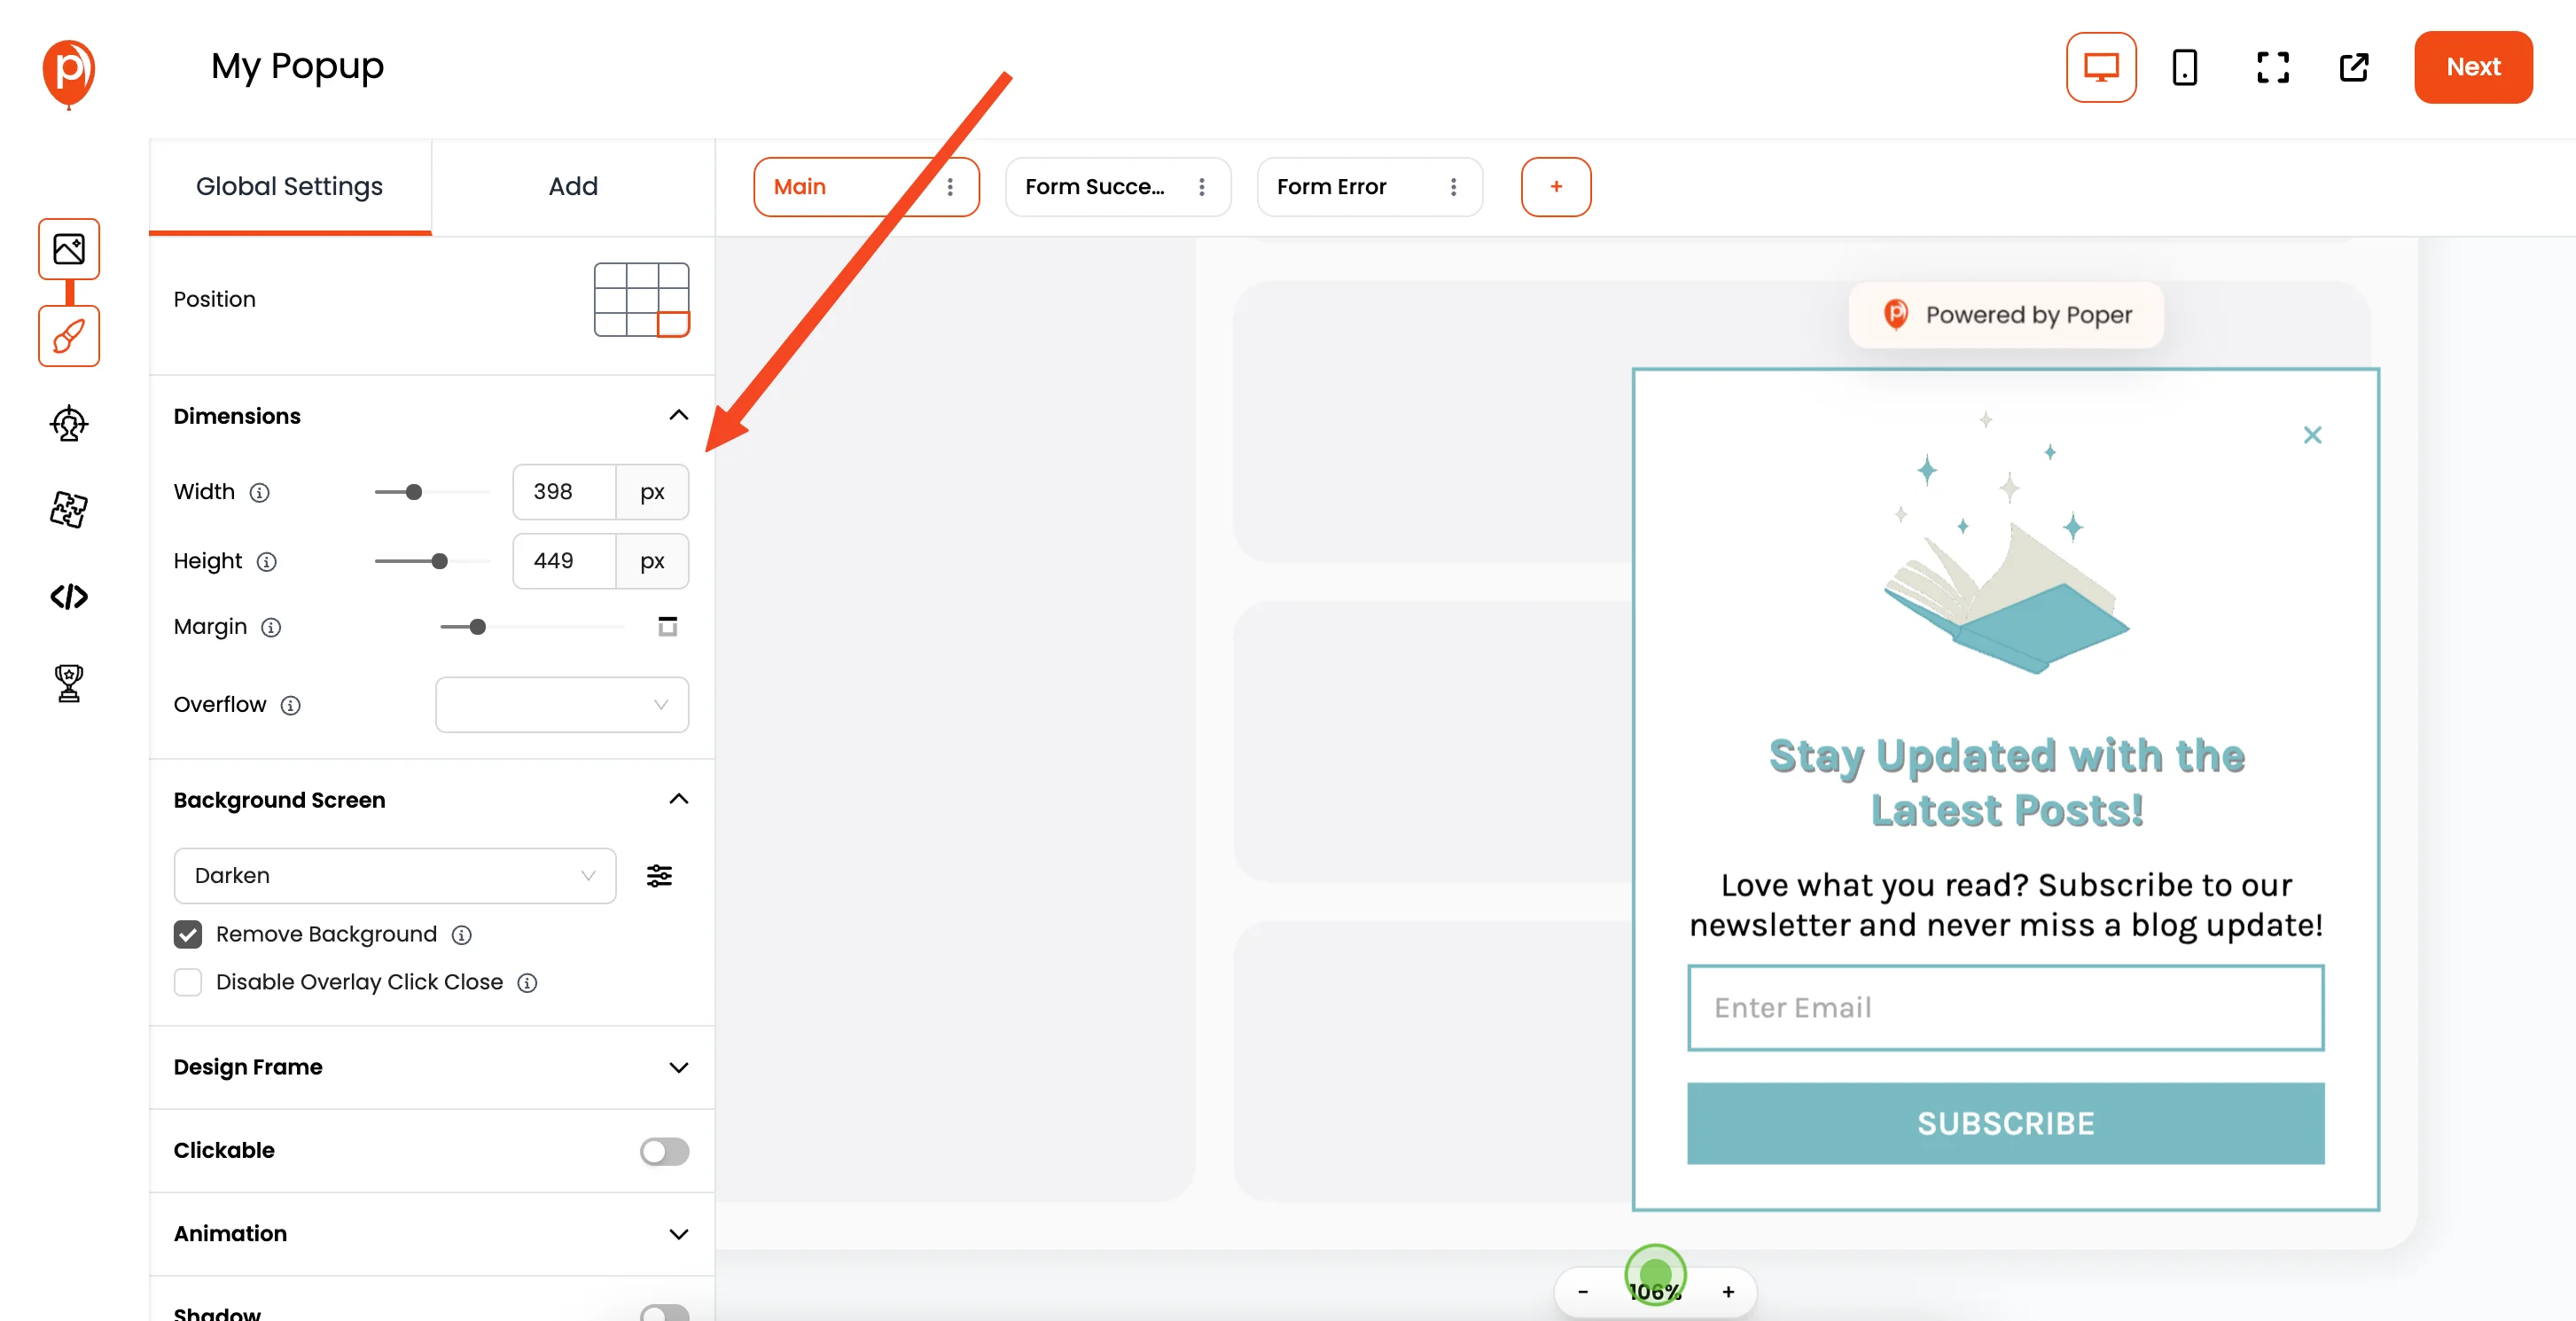
Once you've selected a template, the popup editor will open up. Here, you can customize just about anything – fonts, colors, images, and more. Take the time to make sure it matches your branding and message.
5. Set Display Conditions

After you have customized the design, click "Next" and you will arrive at display conditions. This step is crucial for targeting the right audience. Set the pages where you want the popup to appear, set audience demographics and more to target the popups to specific users.
6. Integrate with Mailchimp
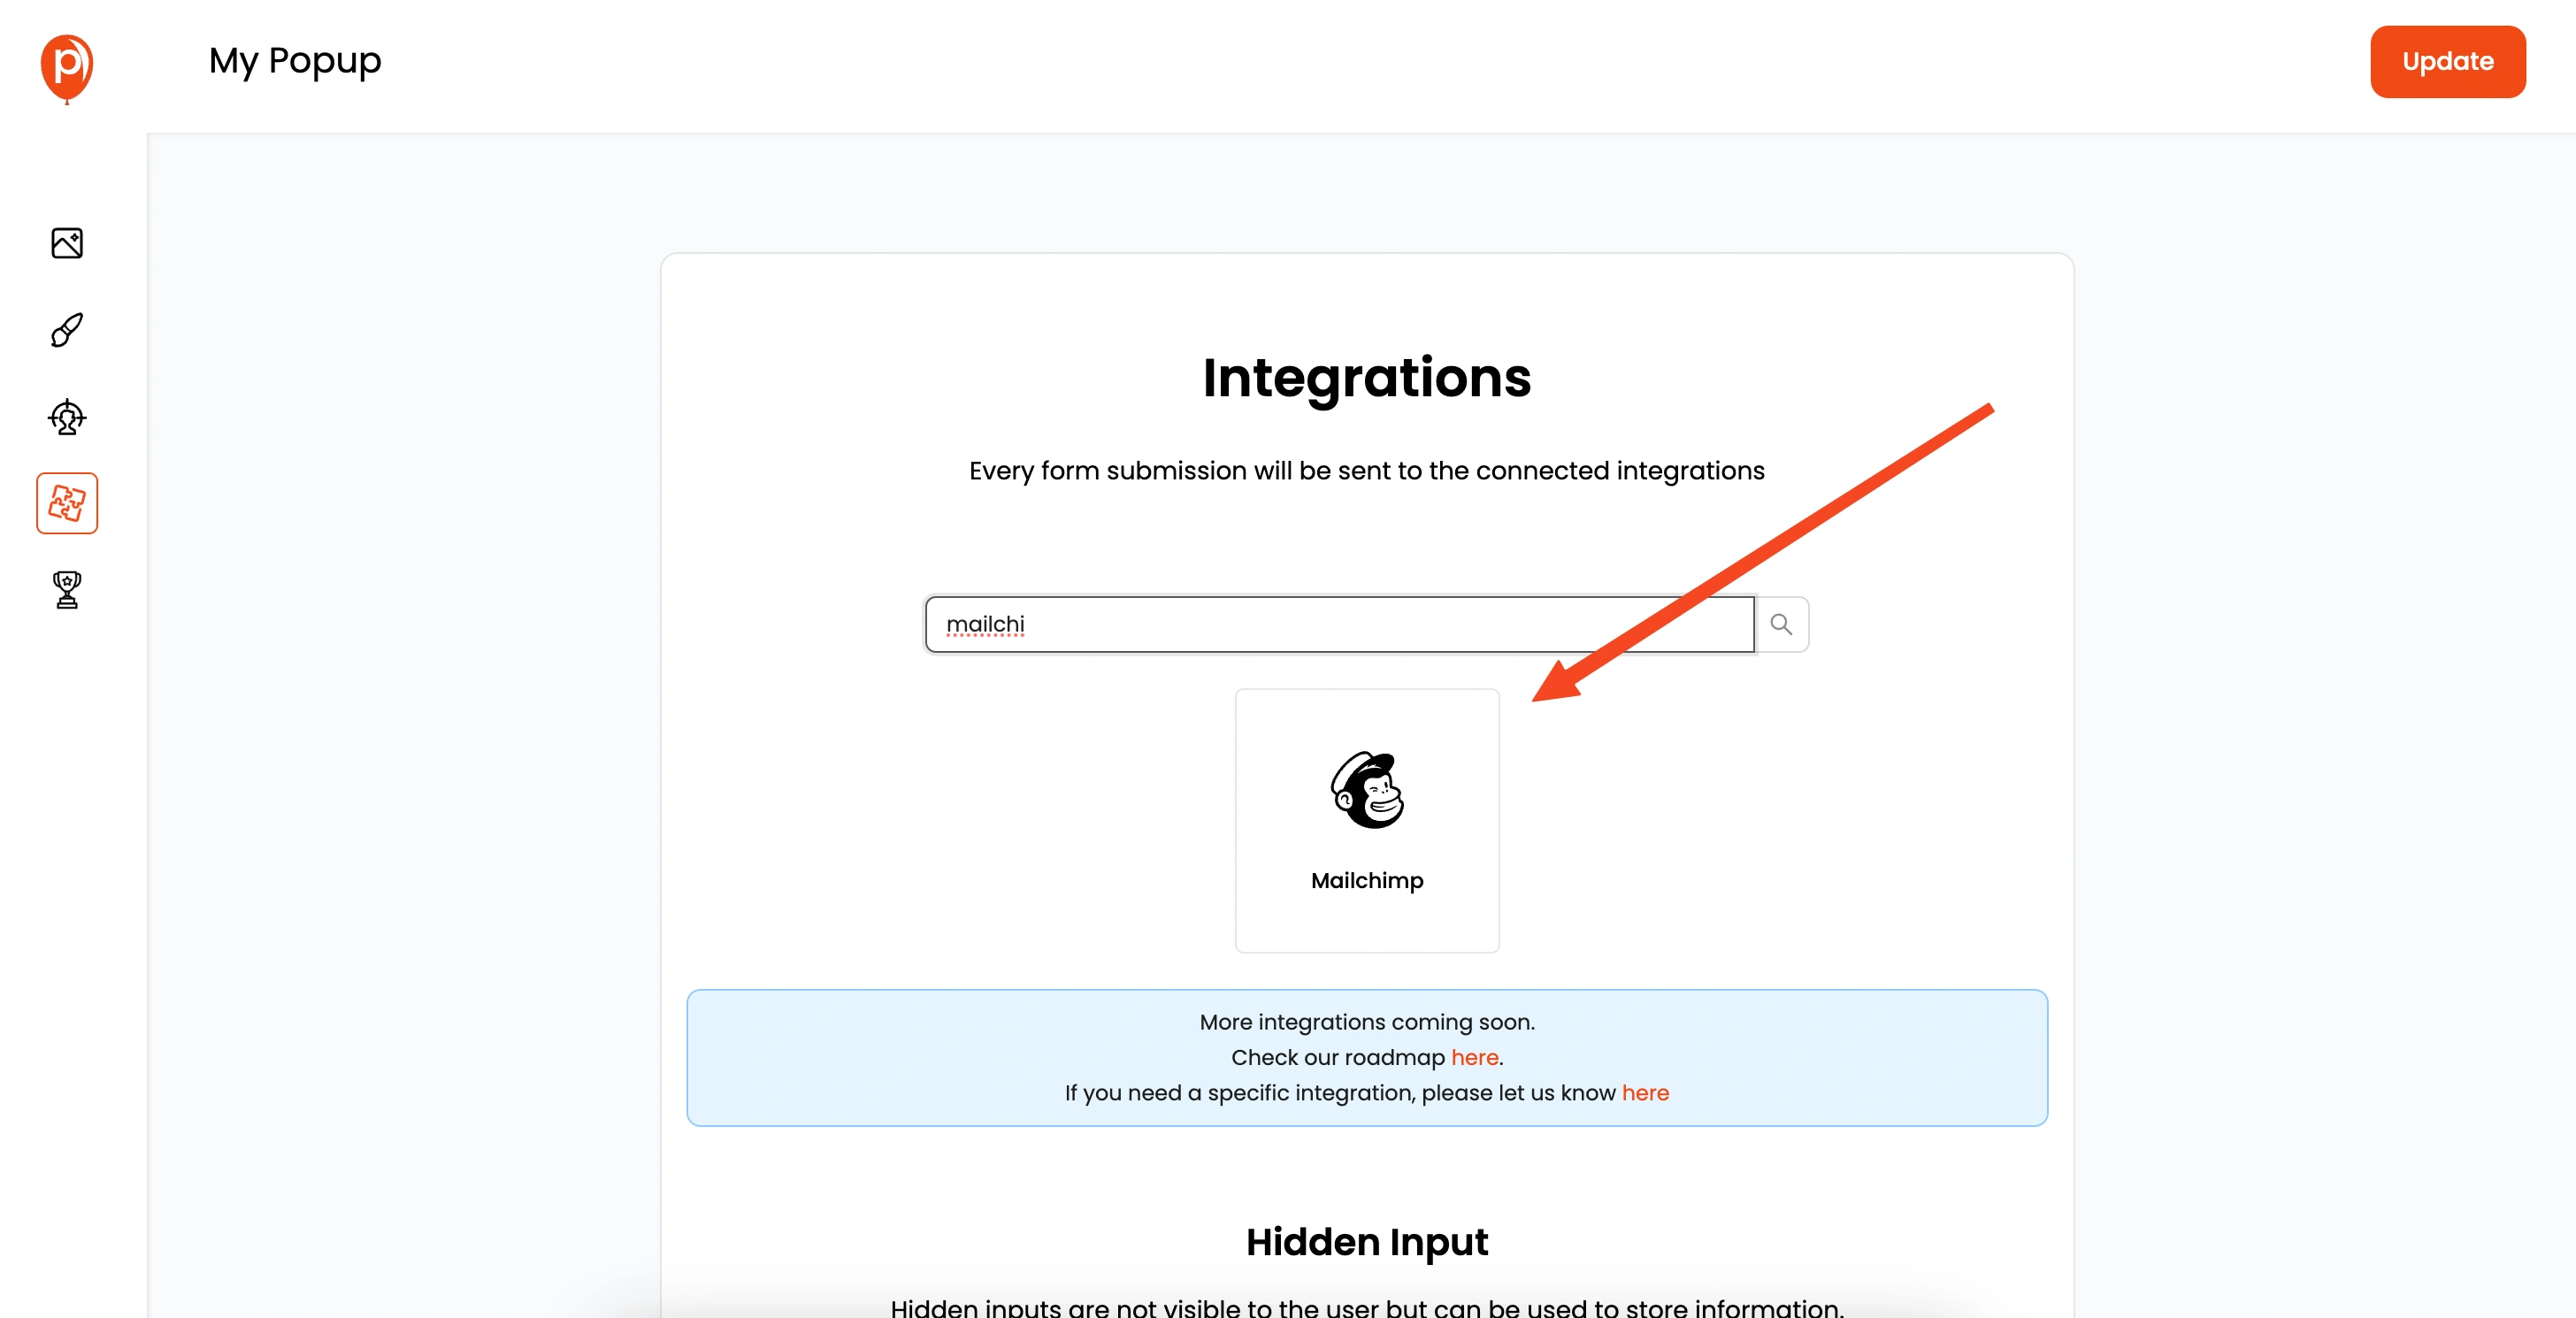
Click "Next" again to go to the integrations section. From the list of integrations, select Mailchimp.
7. Connect Your Mailchimp Account
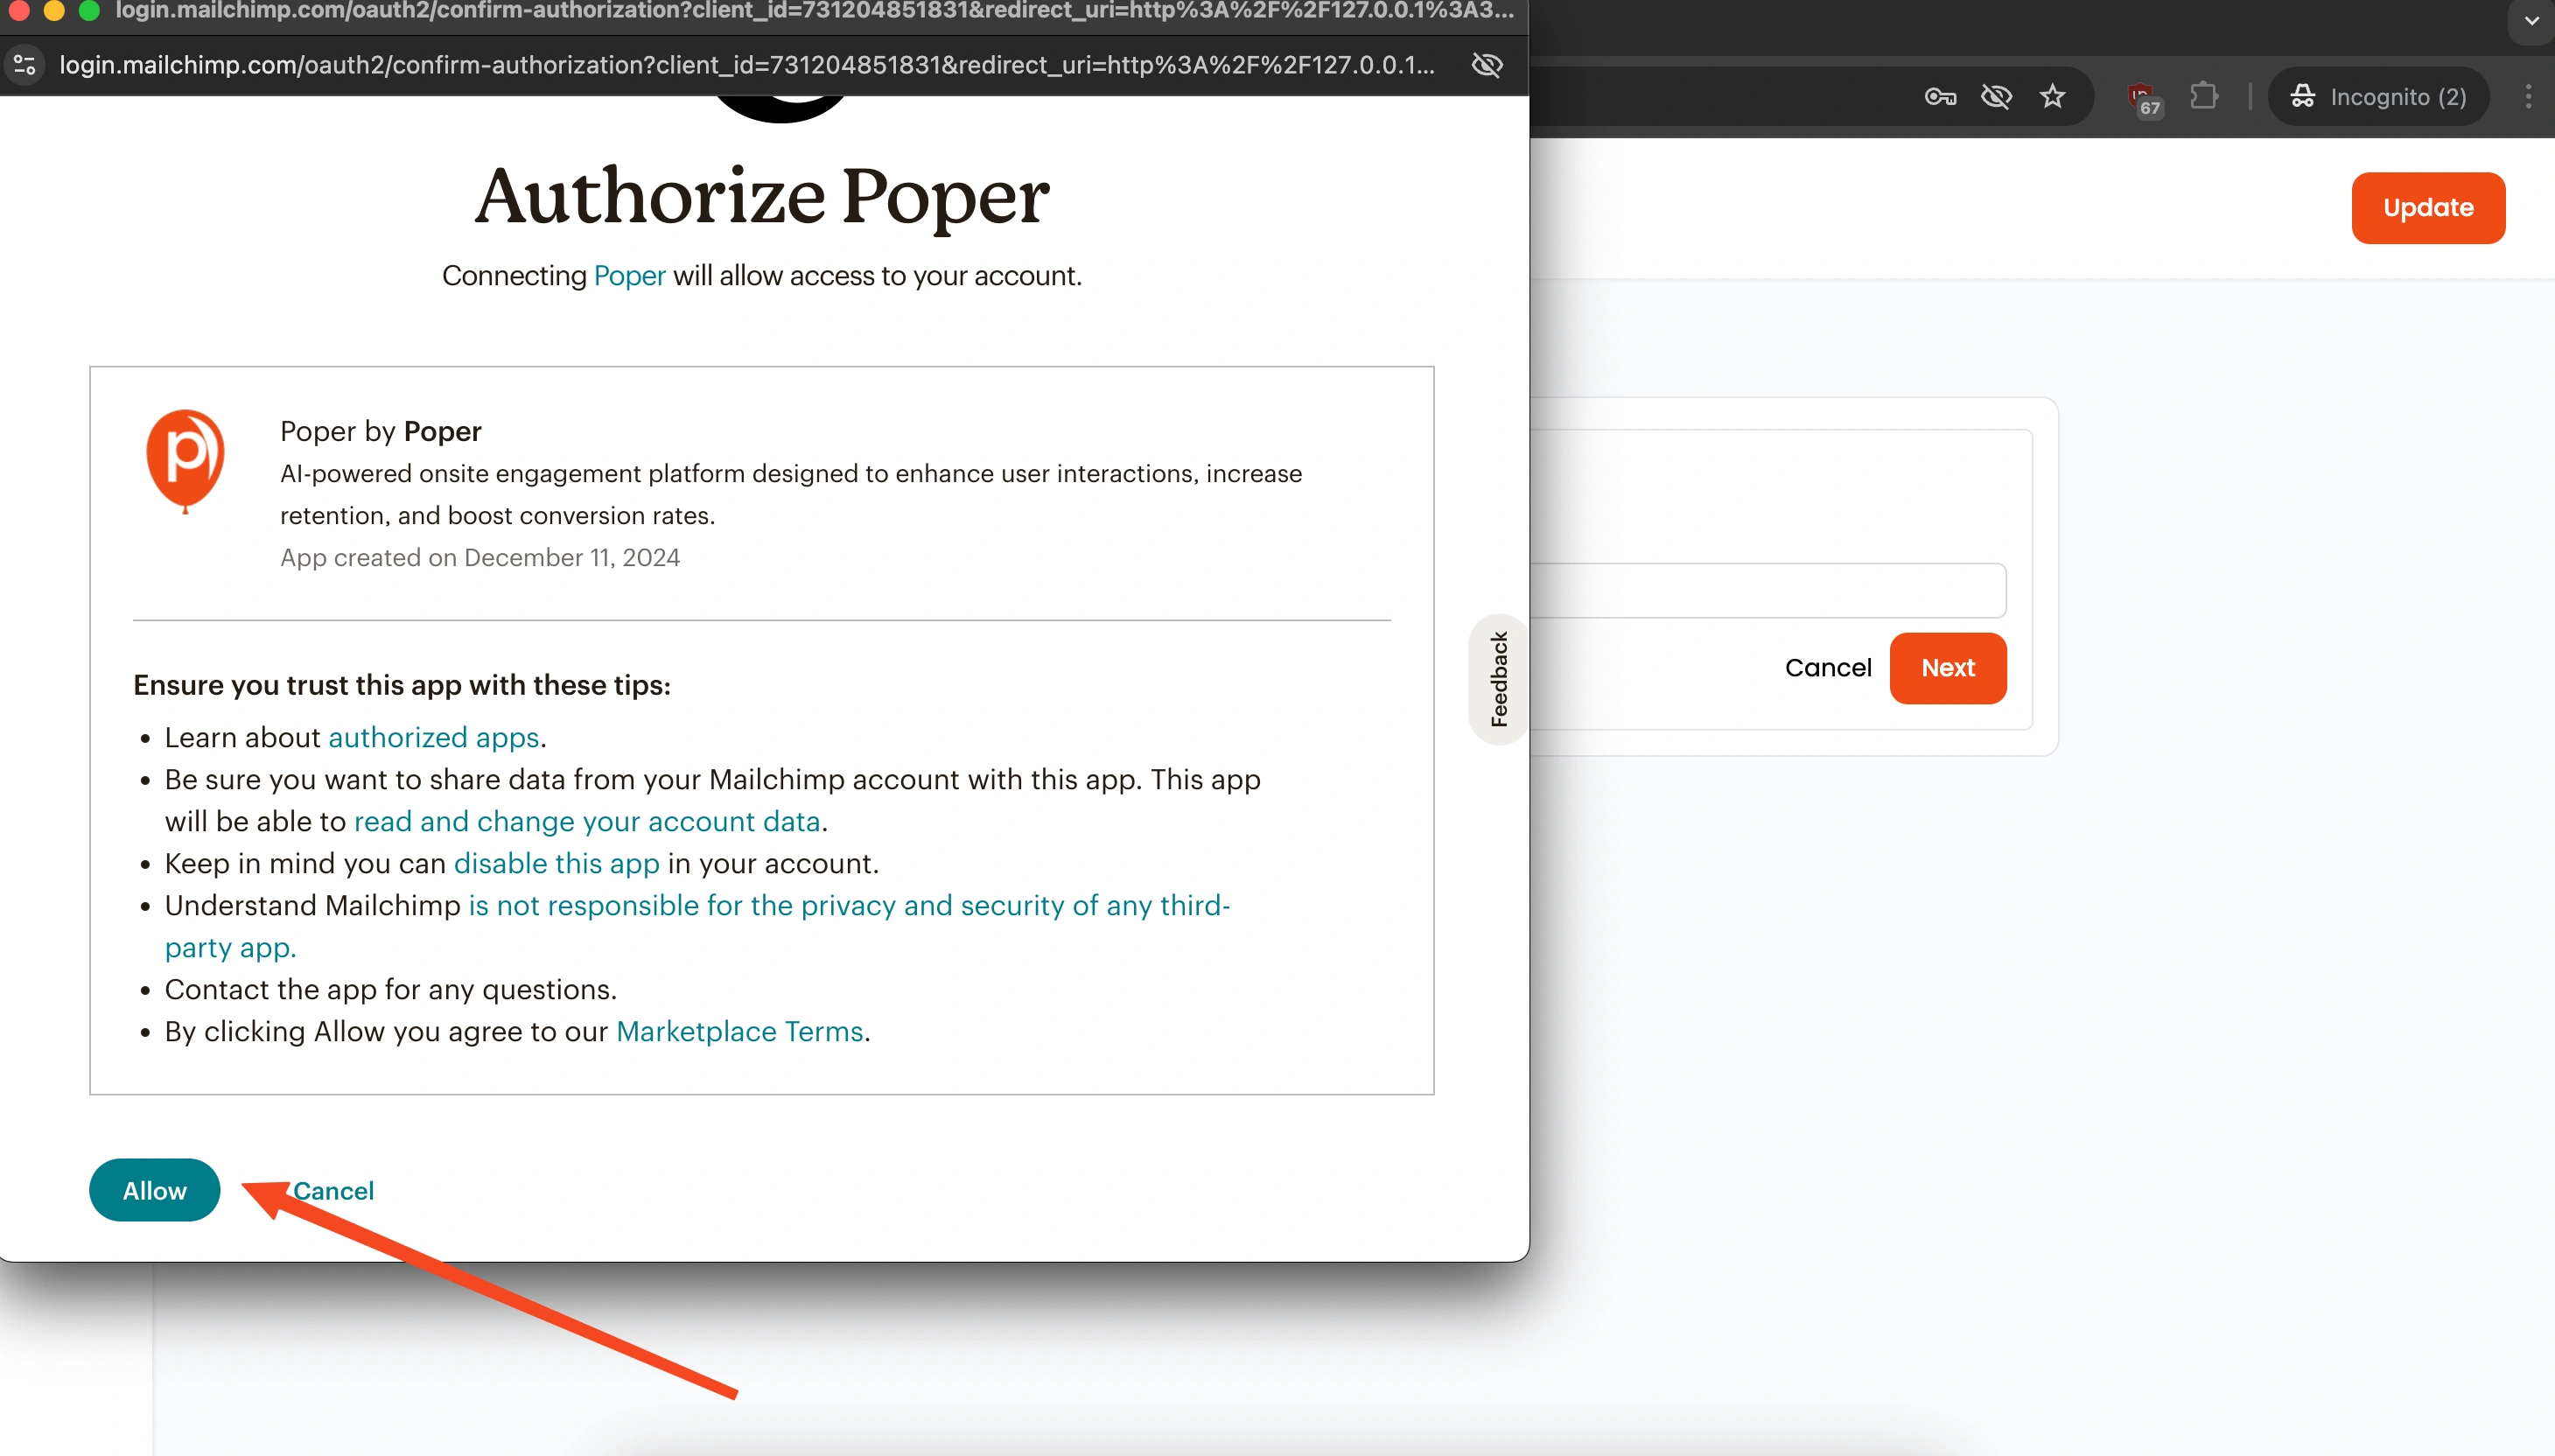
When prompted, you will be asked to enter your Mailchimp account name and click next. It will ask you to login to your Mailchimp account. This will securely connect your Mailchimp account with your Poper account.
8. Configure Your Mailchimp List and Tags
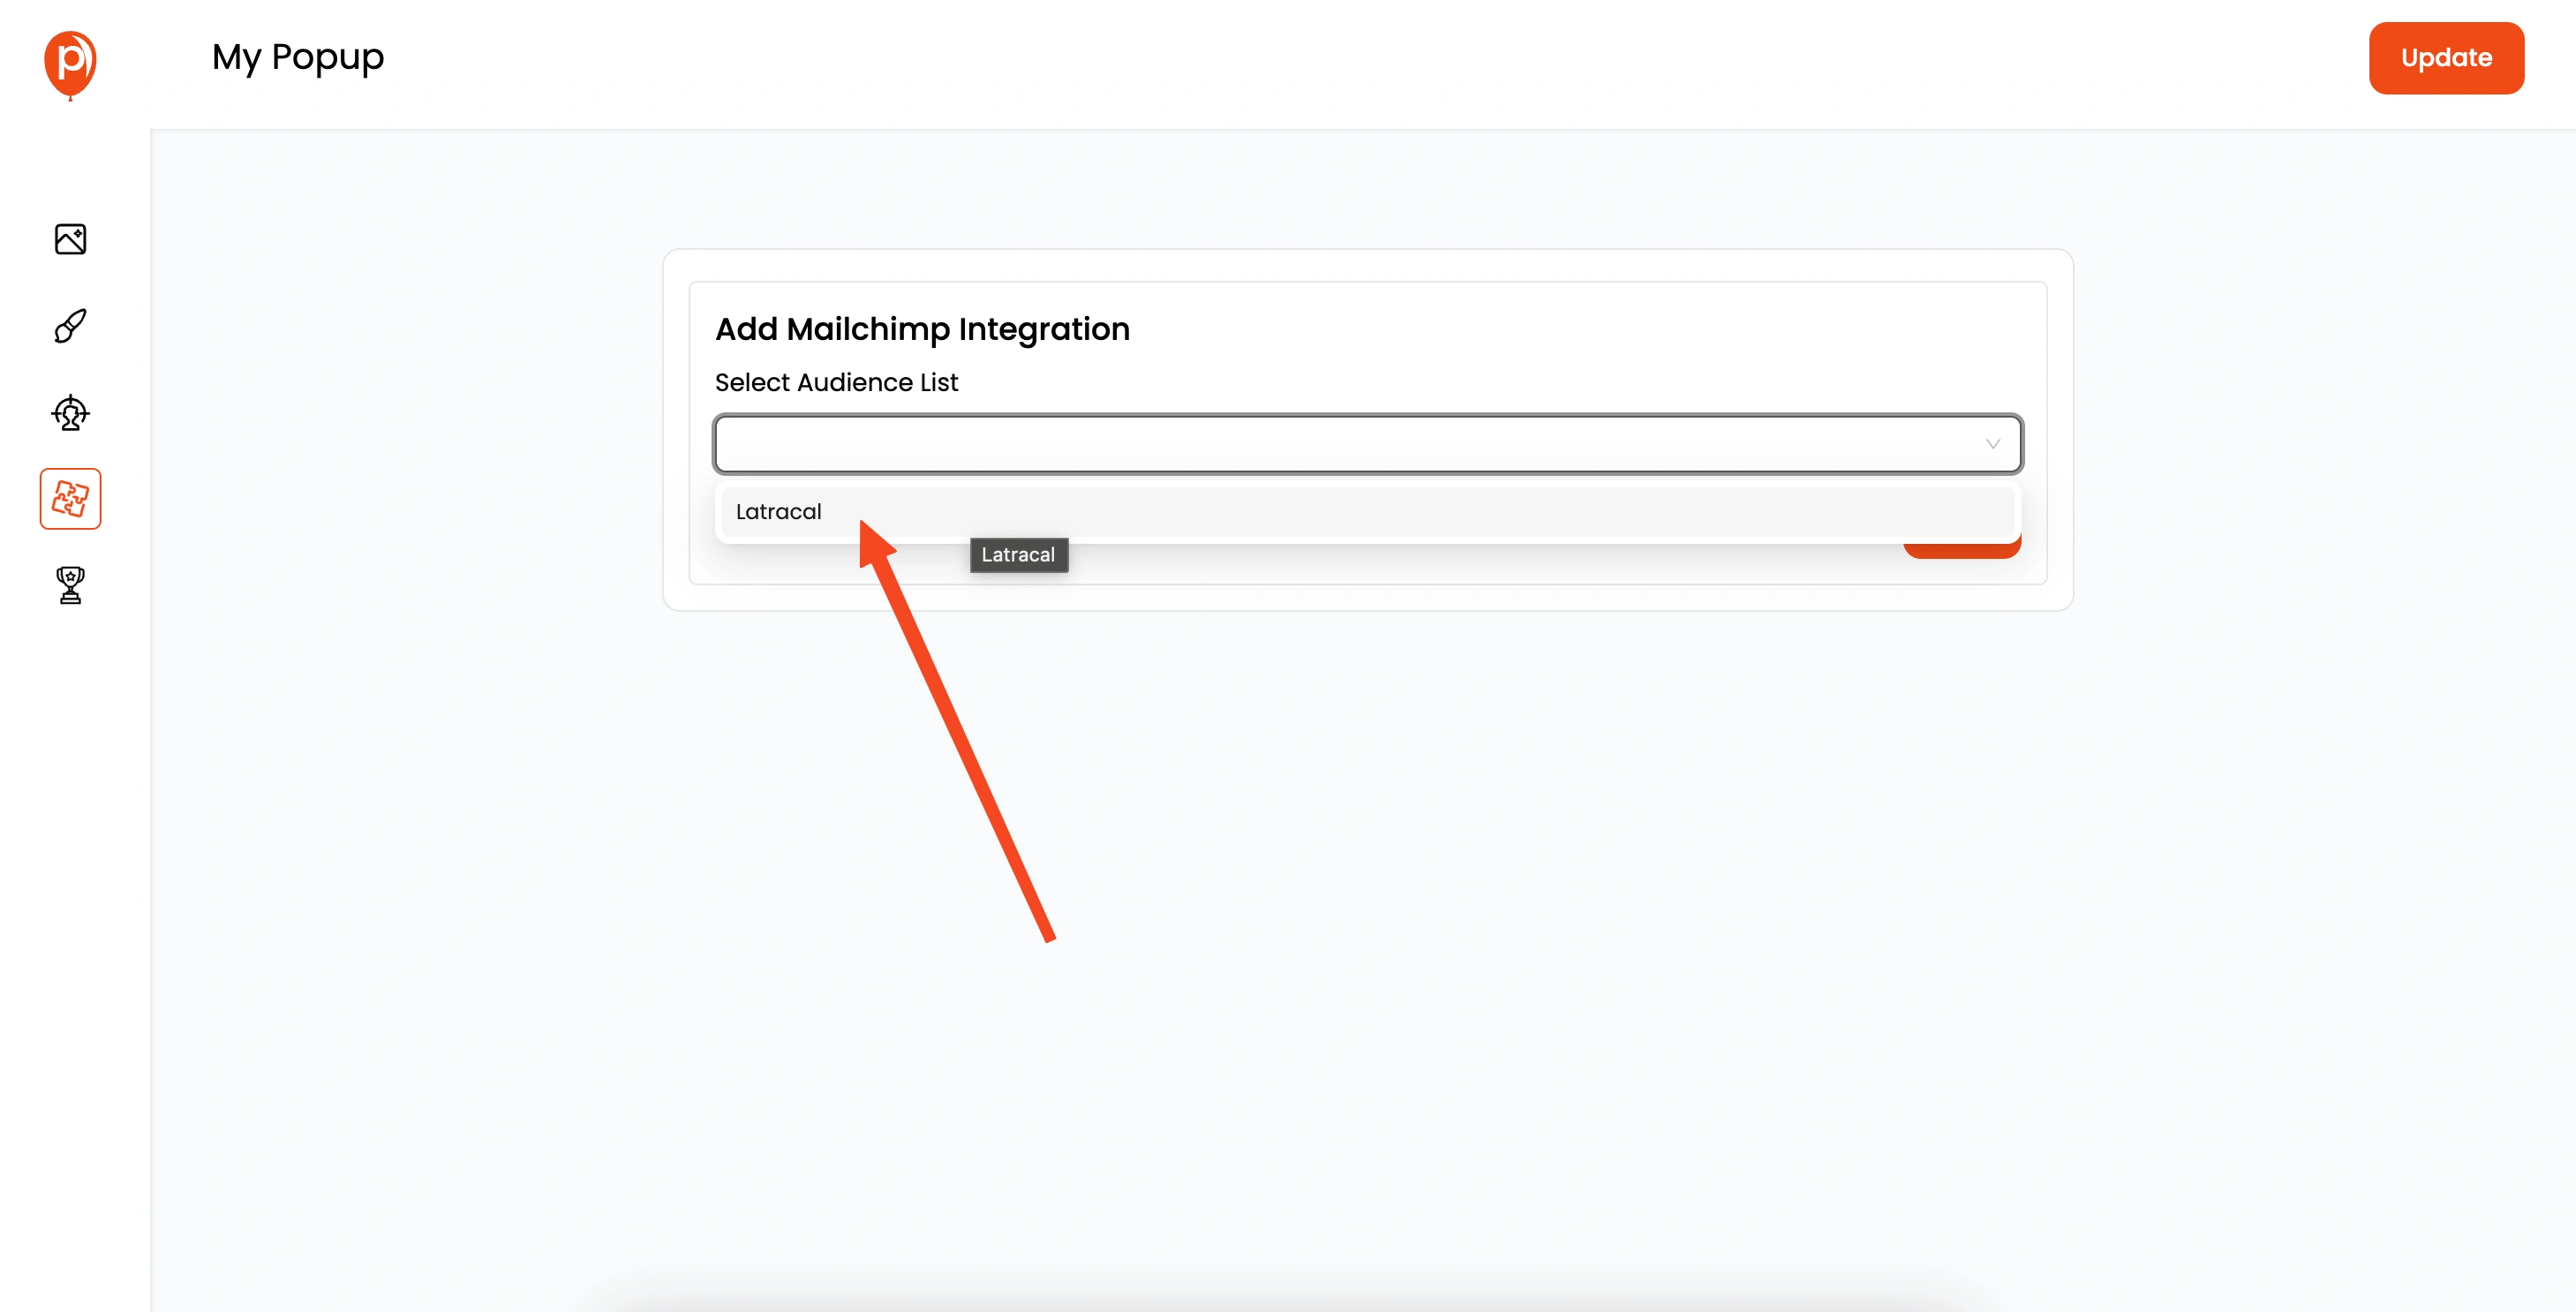
Select the Mailchimp list you want to add new subscribers to. You can also assign tags to your contacts to help segment your email list. If you'd like a more detailed walkthrough of this process, I've made a helpful guide that you can check out: Mailchimp Integration
9. Copy Your Poper Custom Code
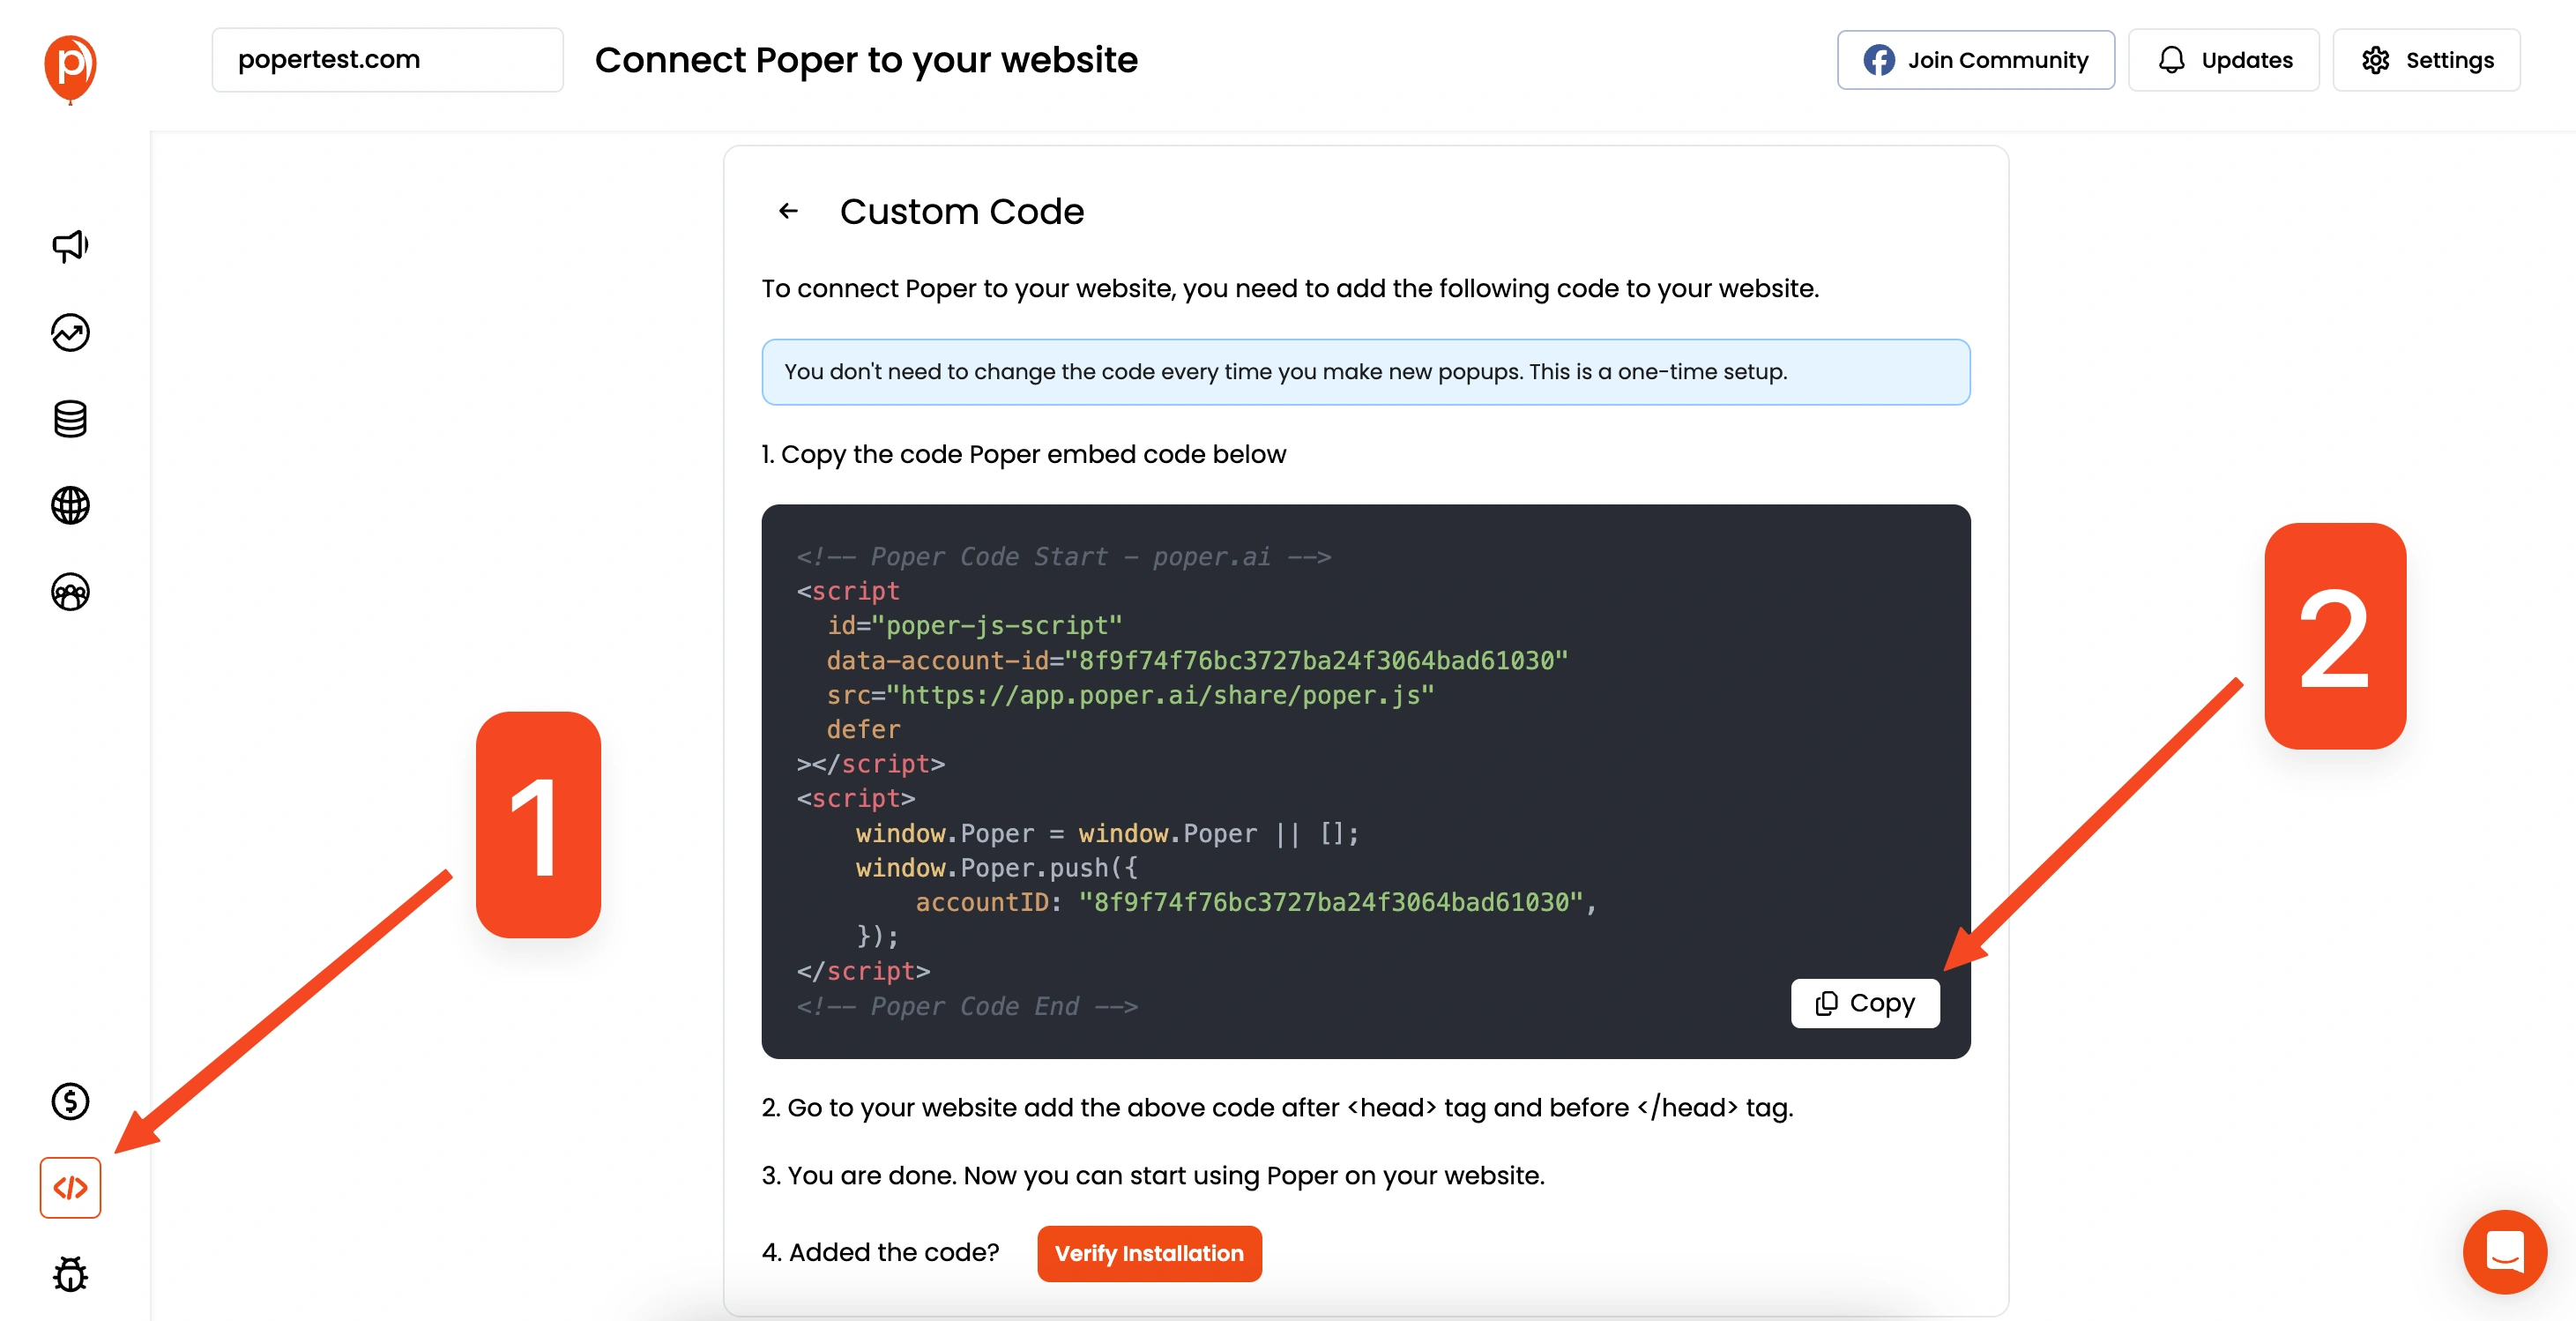
Now that the popup is set up, go to your Poper workspace and find the code section from the left navigation bar. Click on the custom code option and copy the custom code provided.
10. Paste the Code into Your Shopify Store
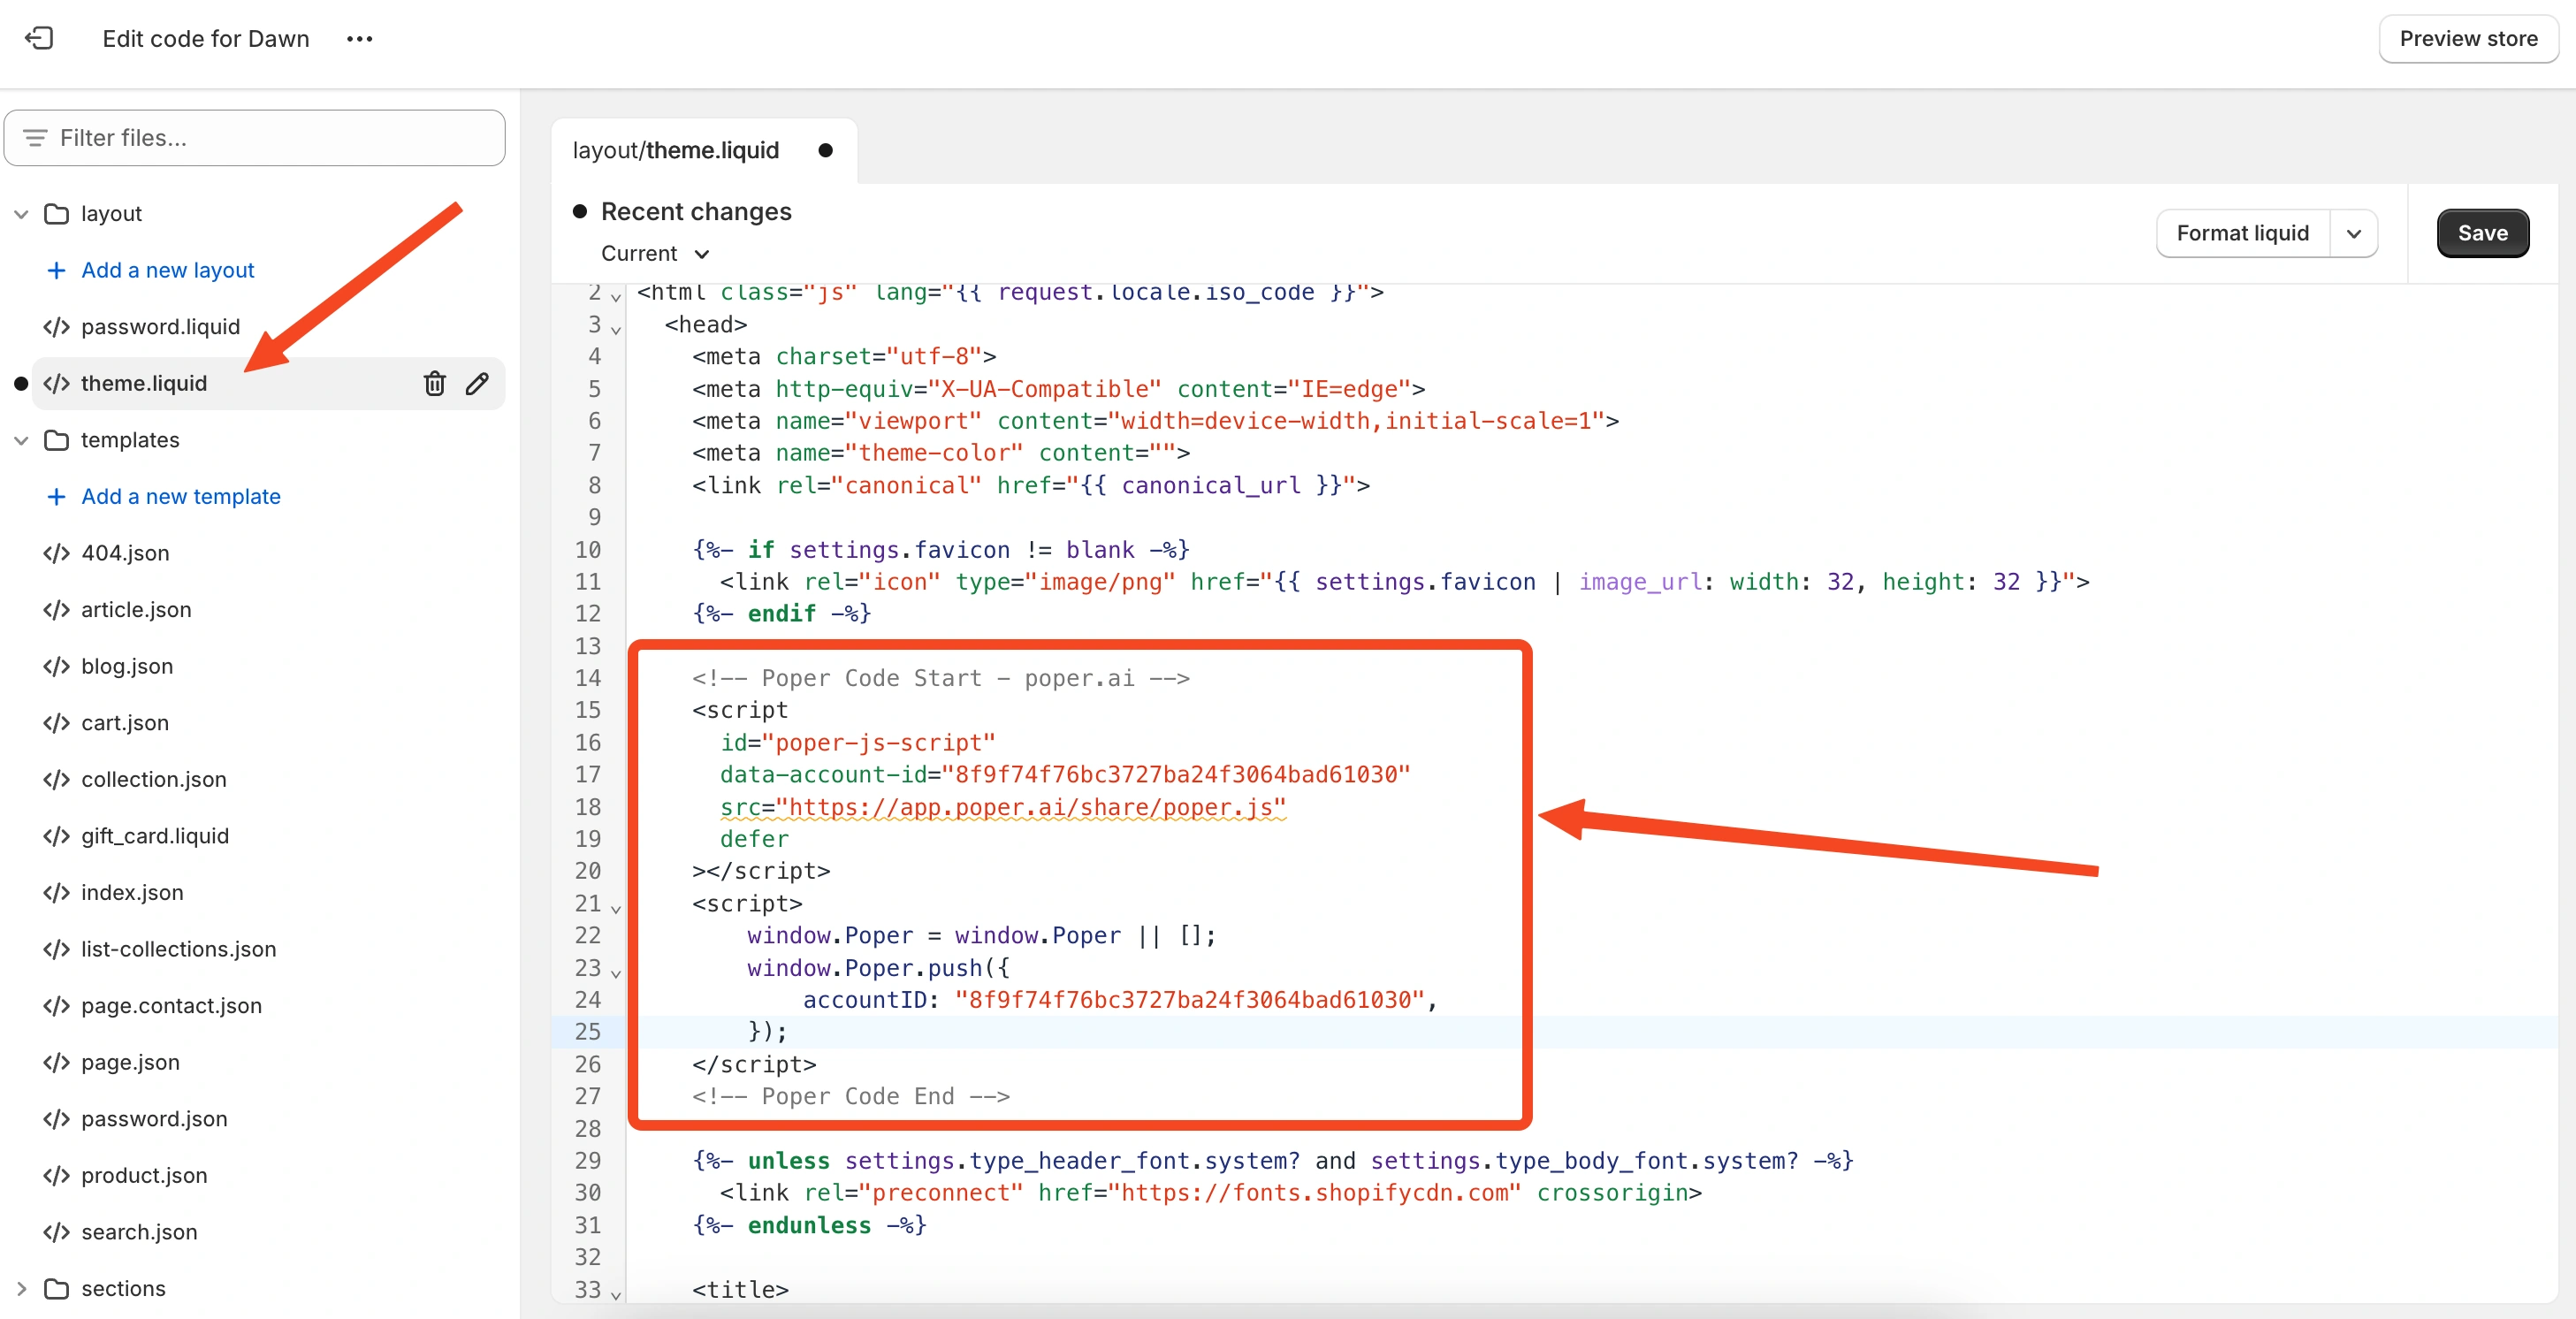
Go back to your Shopify store admin panel, and navigate to Online Store > Themes > Edit. Then, look for the header.liquid file and paste the code you copied from Poper into the <head> section.
11. Save Your Changes
Once you've pasted the code, make sure to click the "Save" button in Shopify.
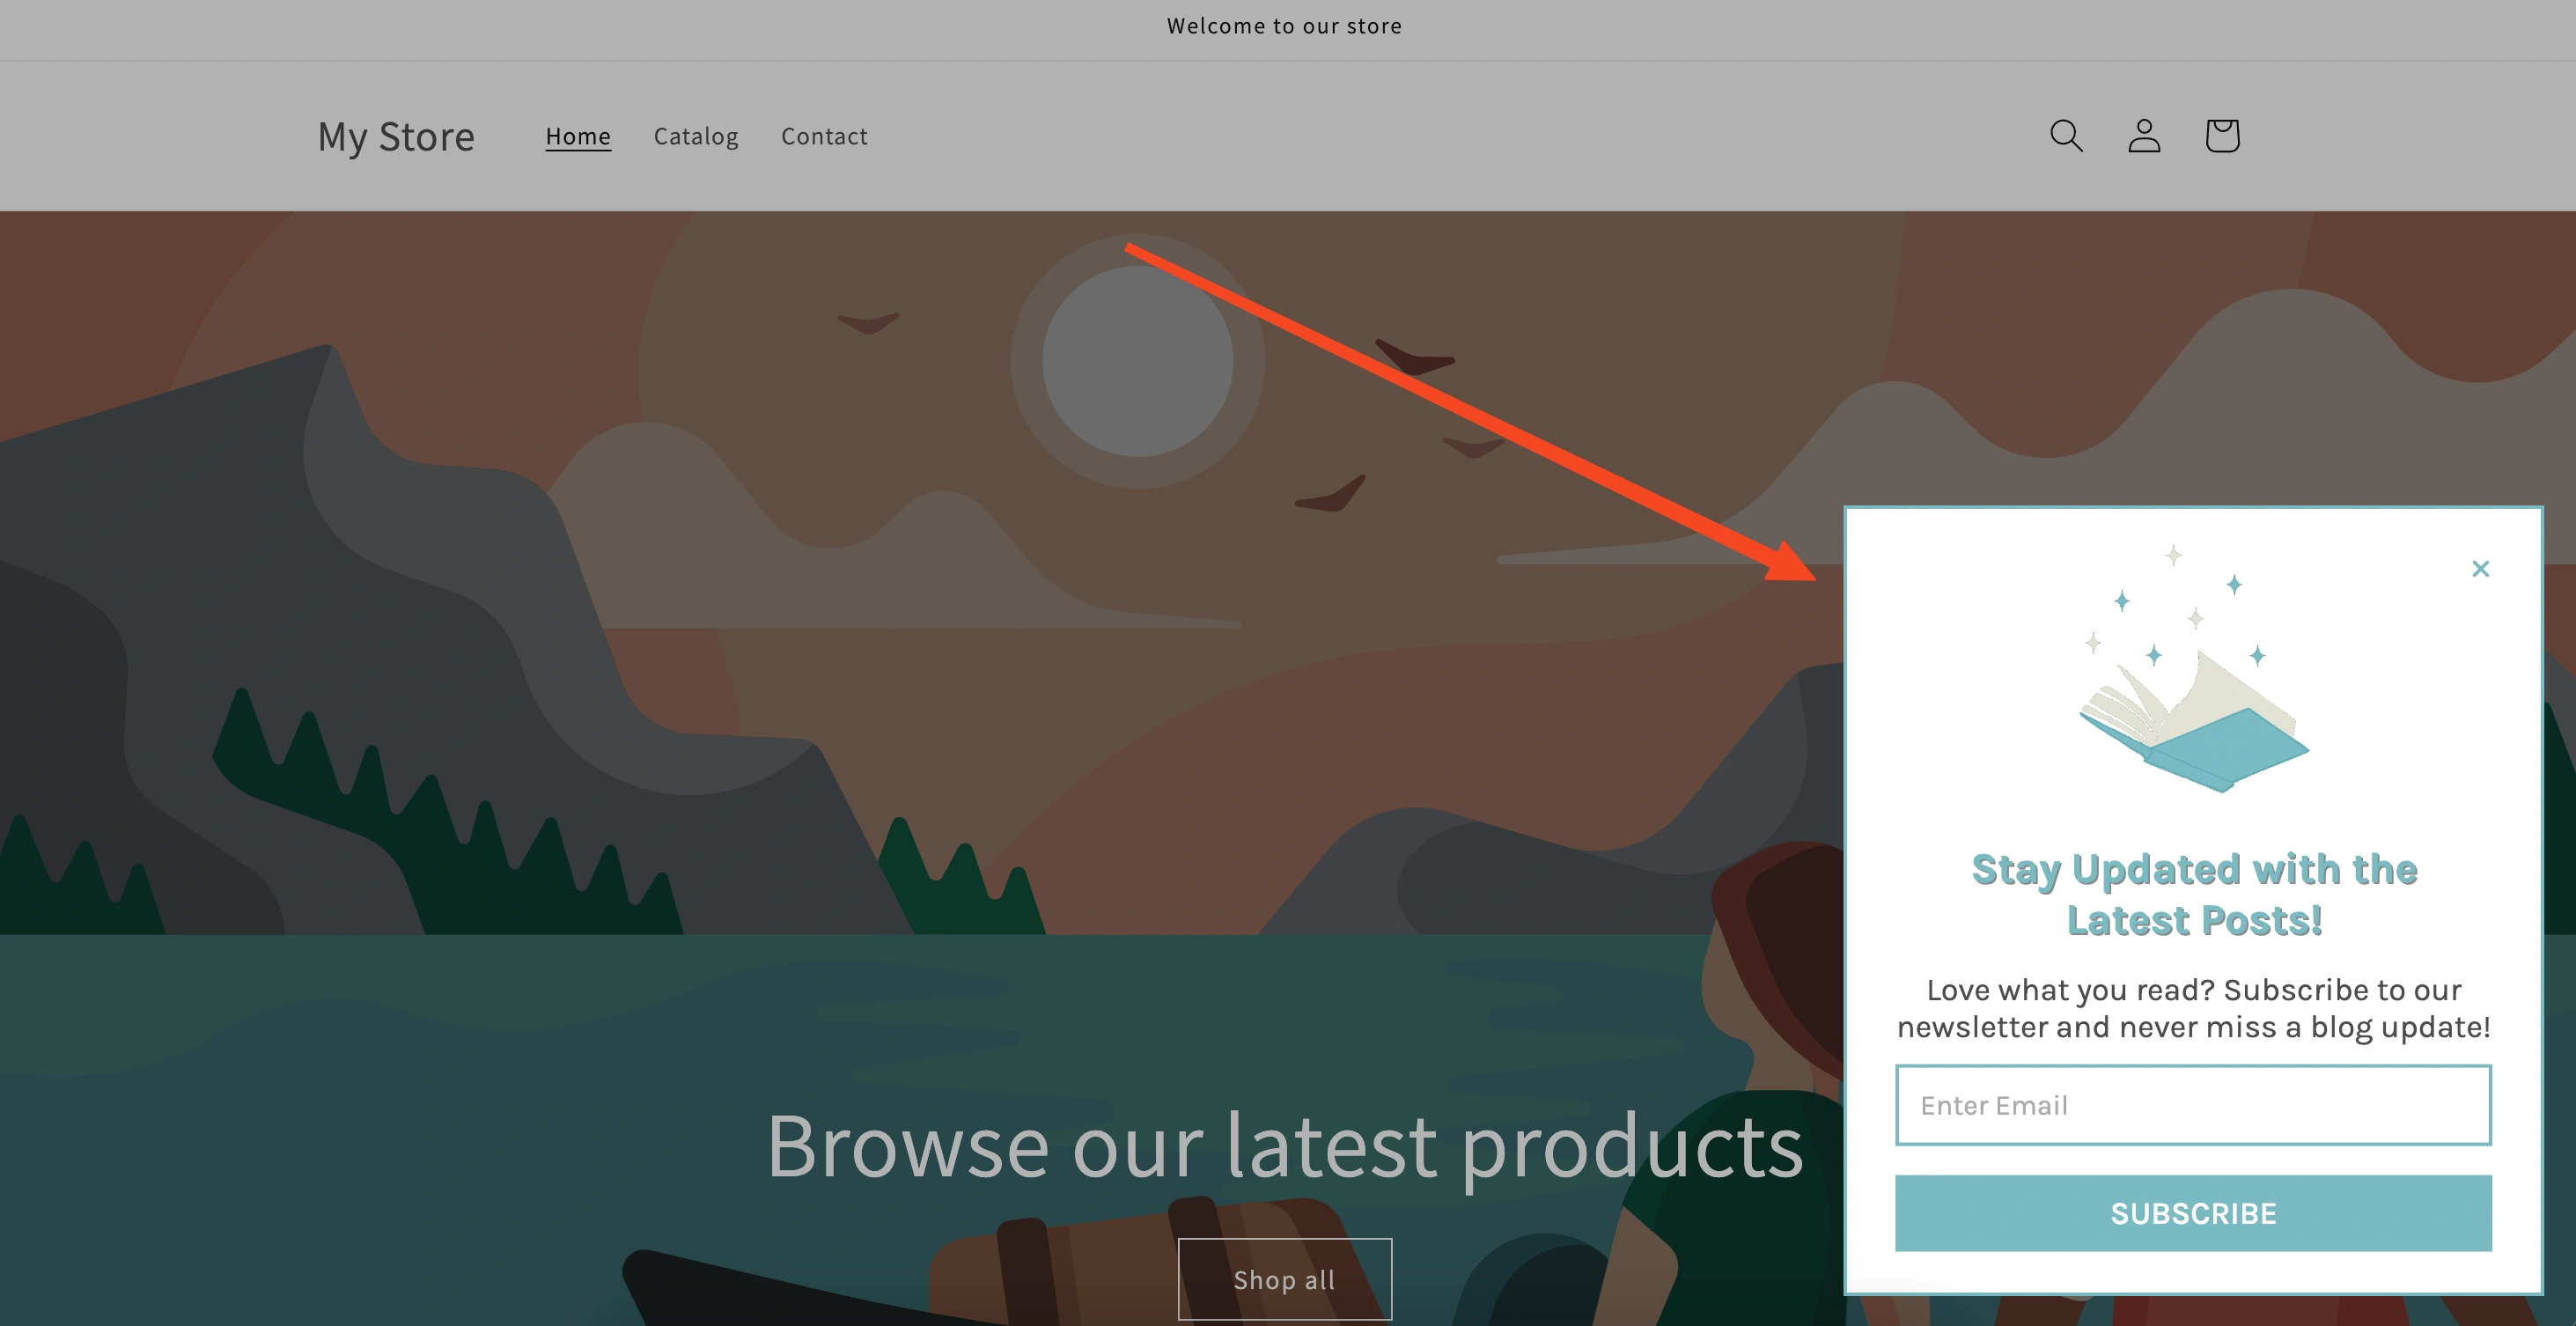
And that's it! Your newsletter popups created in Poper are now live on your Shopify store, and the integration will automatically sync new contacts to your Mailchimp list with the tags you configured.
Adding a Mailchimp Popup Directly Through Mailchimp
While I believe Poper is the easier and more flexible method, here’s how to add a popup directly from Mailchimp:
1. Go to Mailchimp Signup Forms
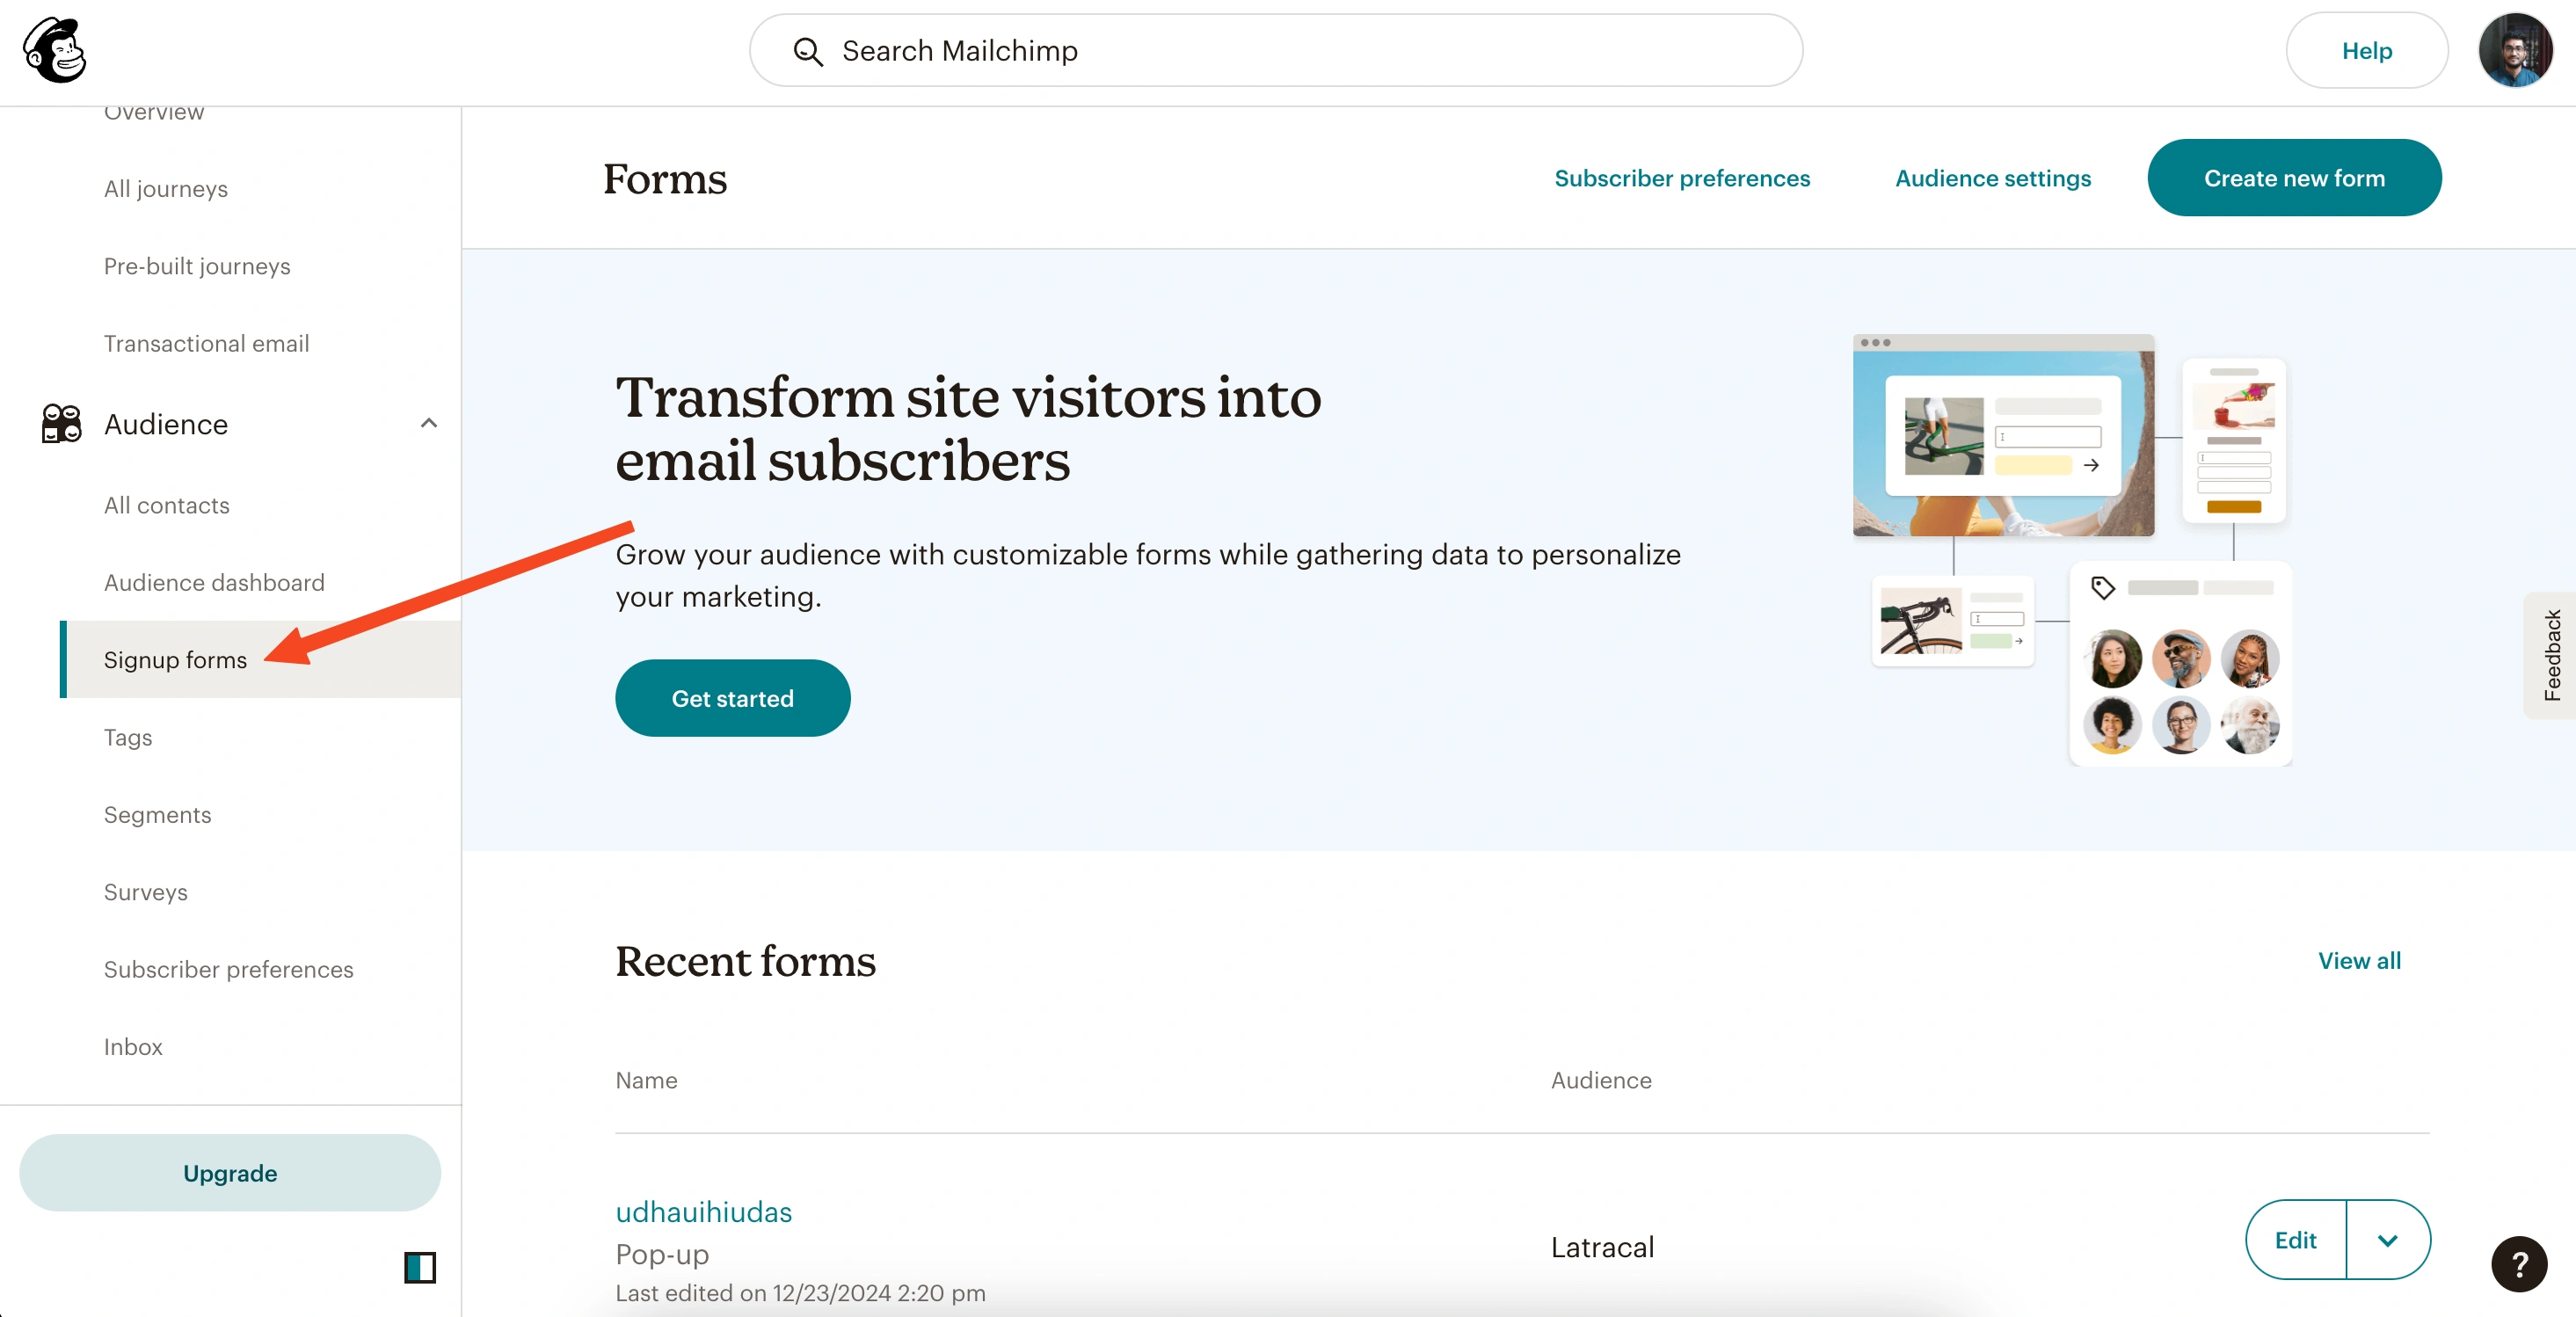
Log in to your Mailchimp dashboard and go to Audience > Signup forms.
2. Create a New Popup Form
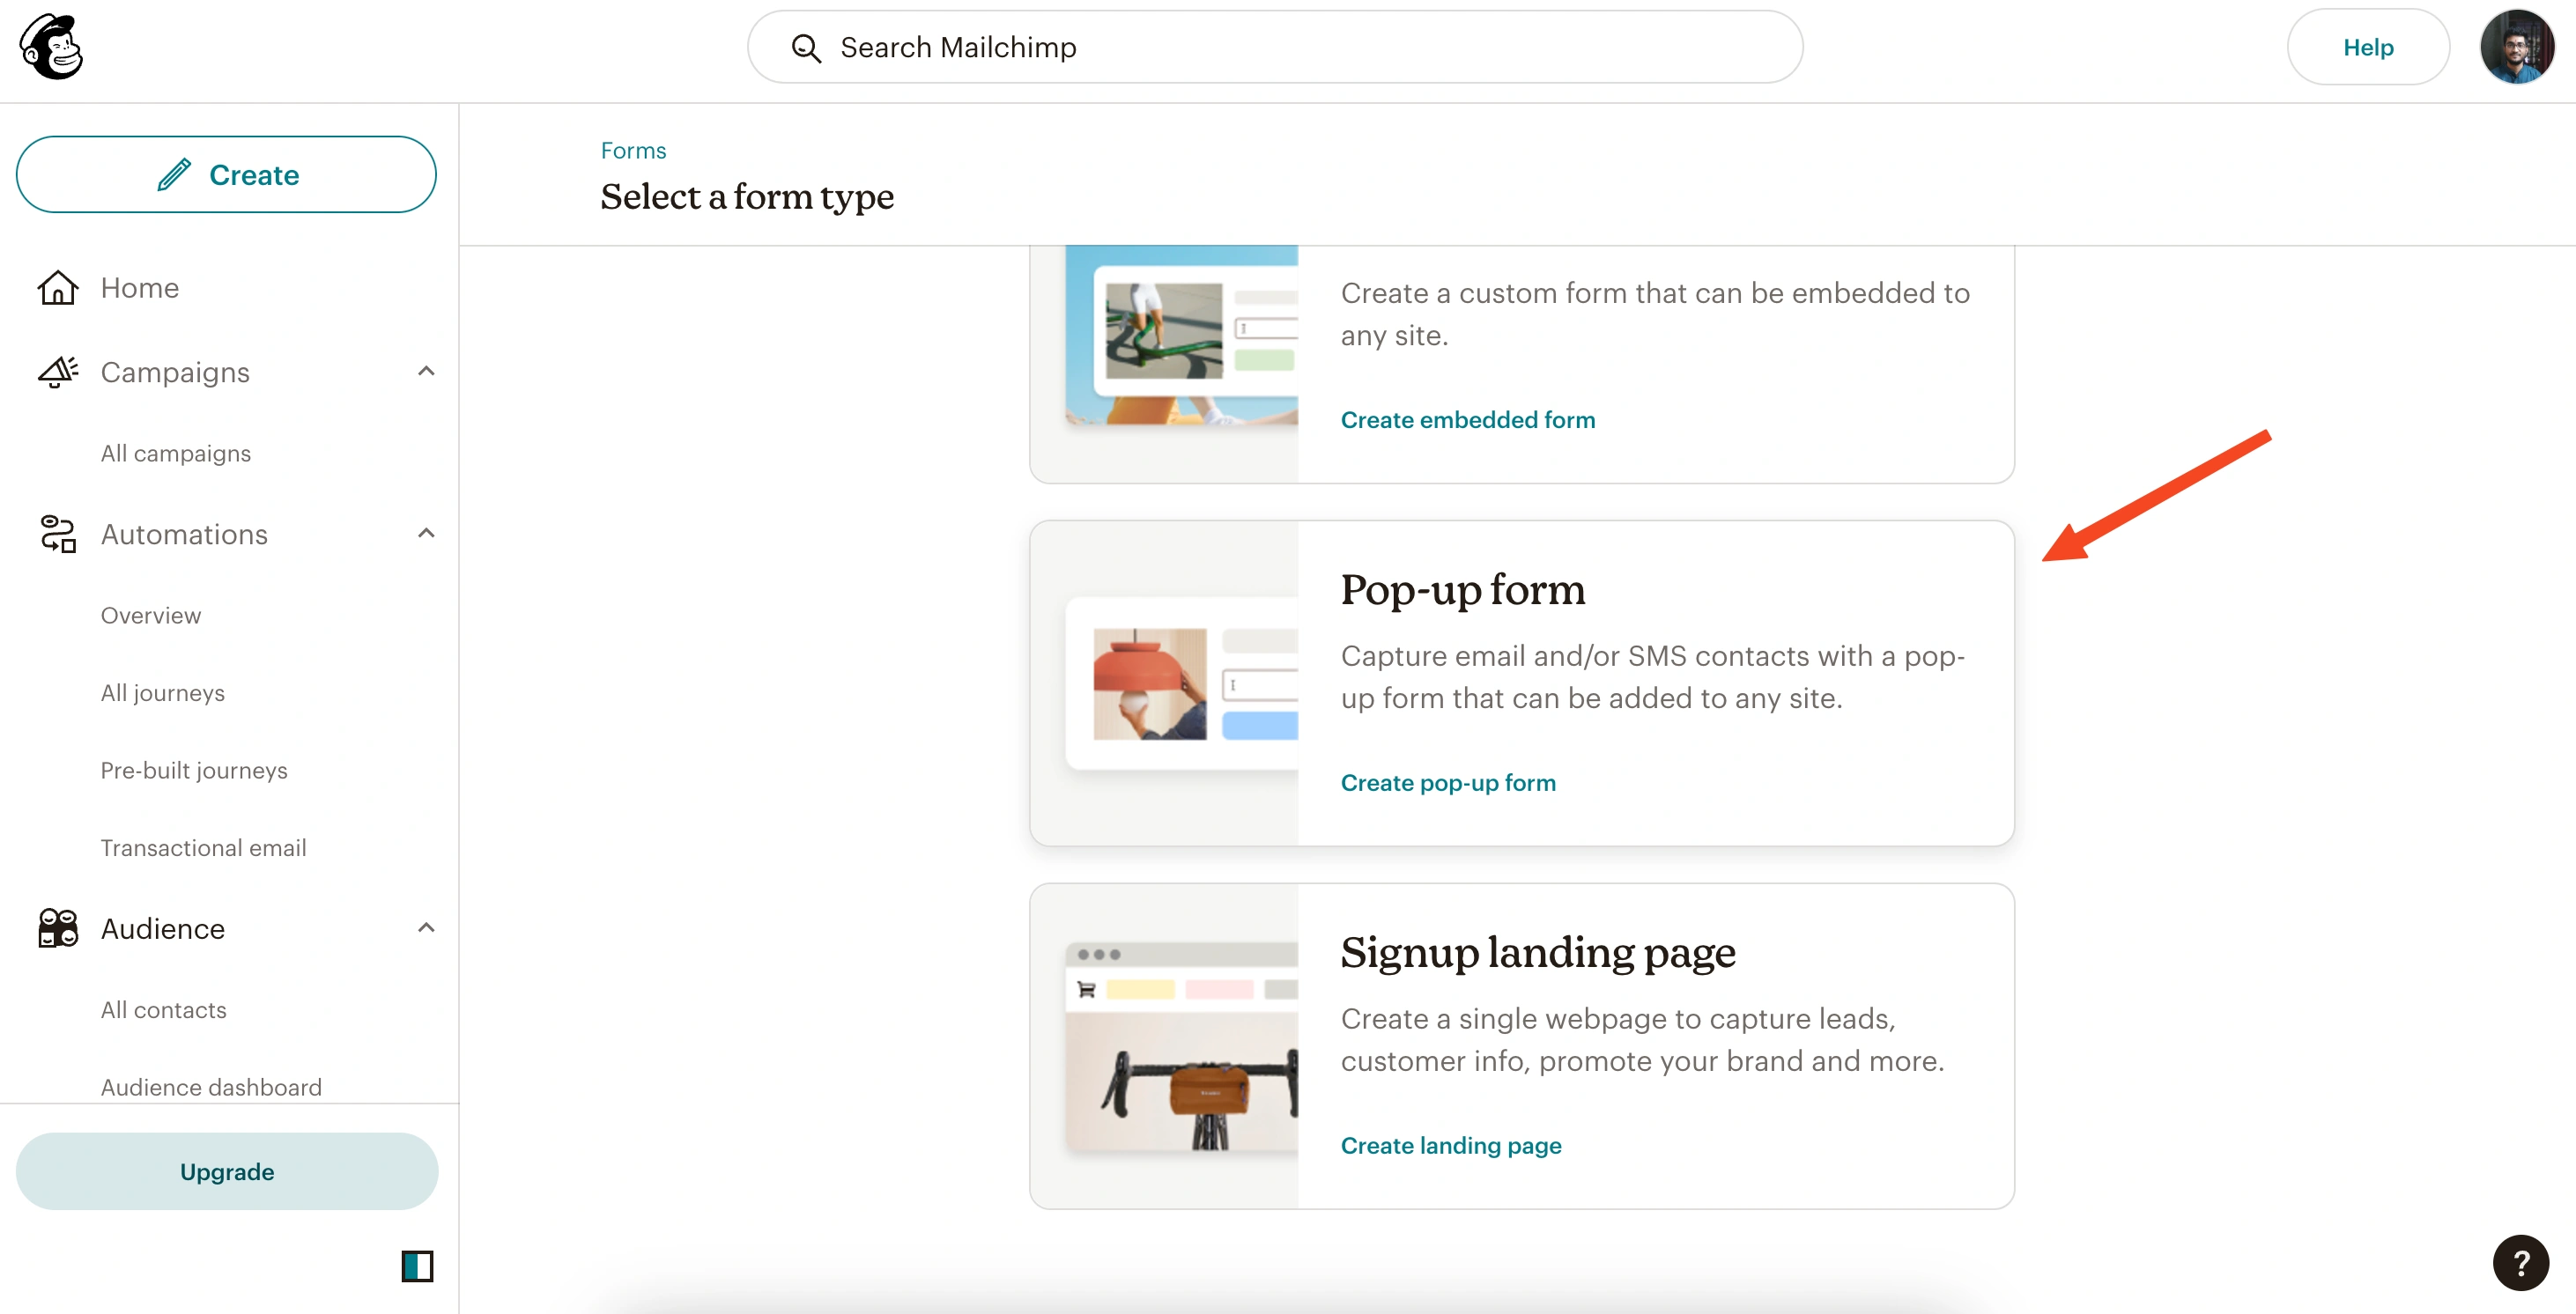
Click on Add New and choose the Popup Forms option.
3. Name Your Popup and Select Your Audience

Give your popup a descriptive name and select the specific audience list you want people to subscribe to.
4. Customize Your Popup
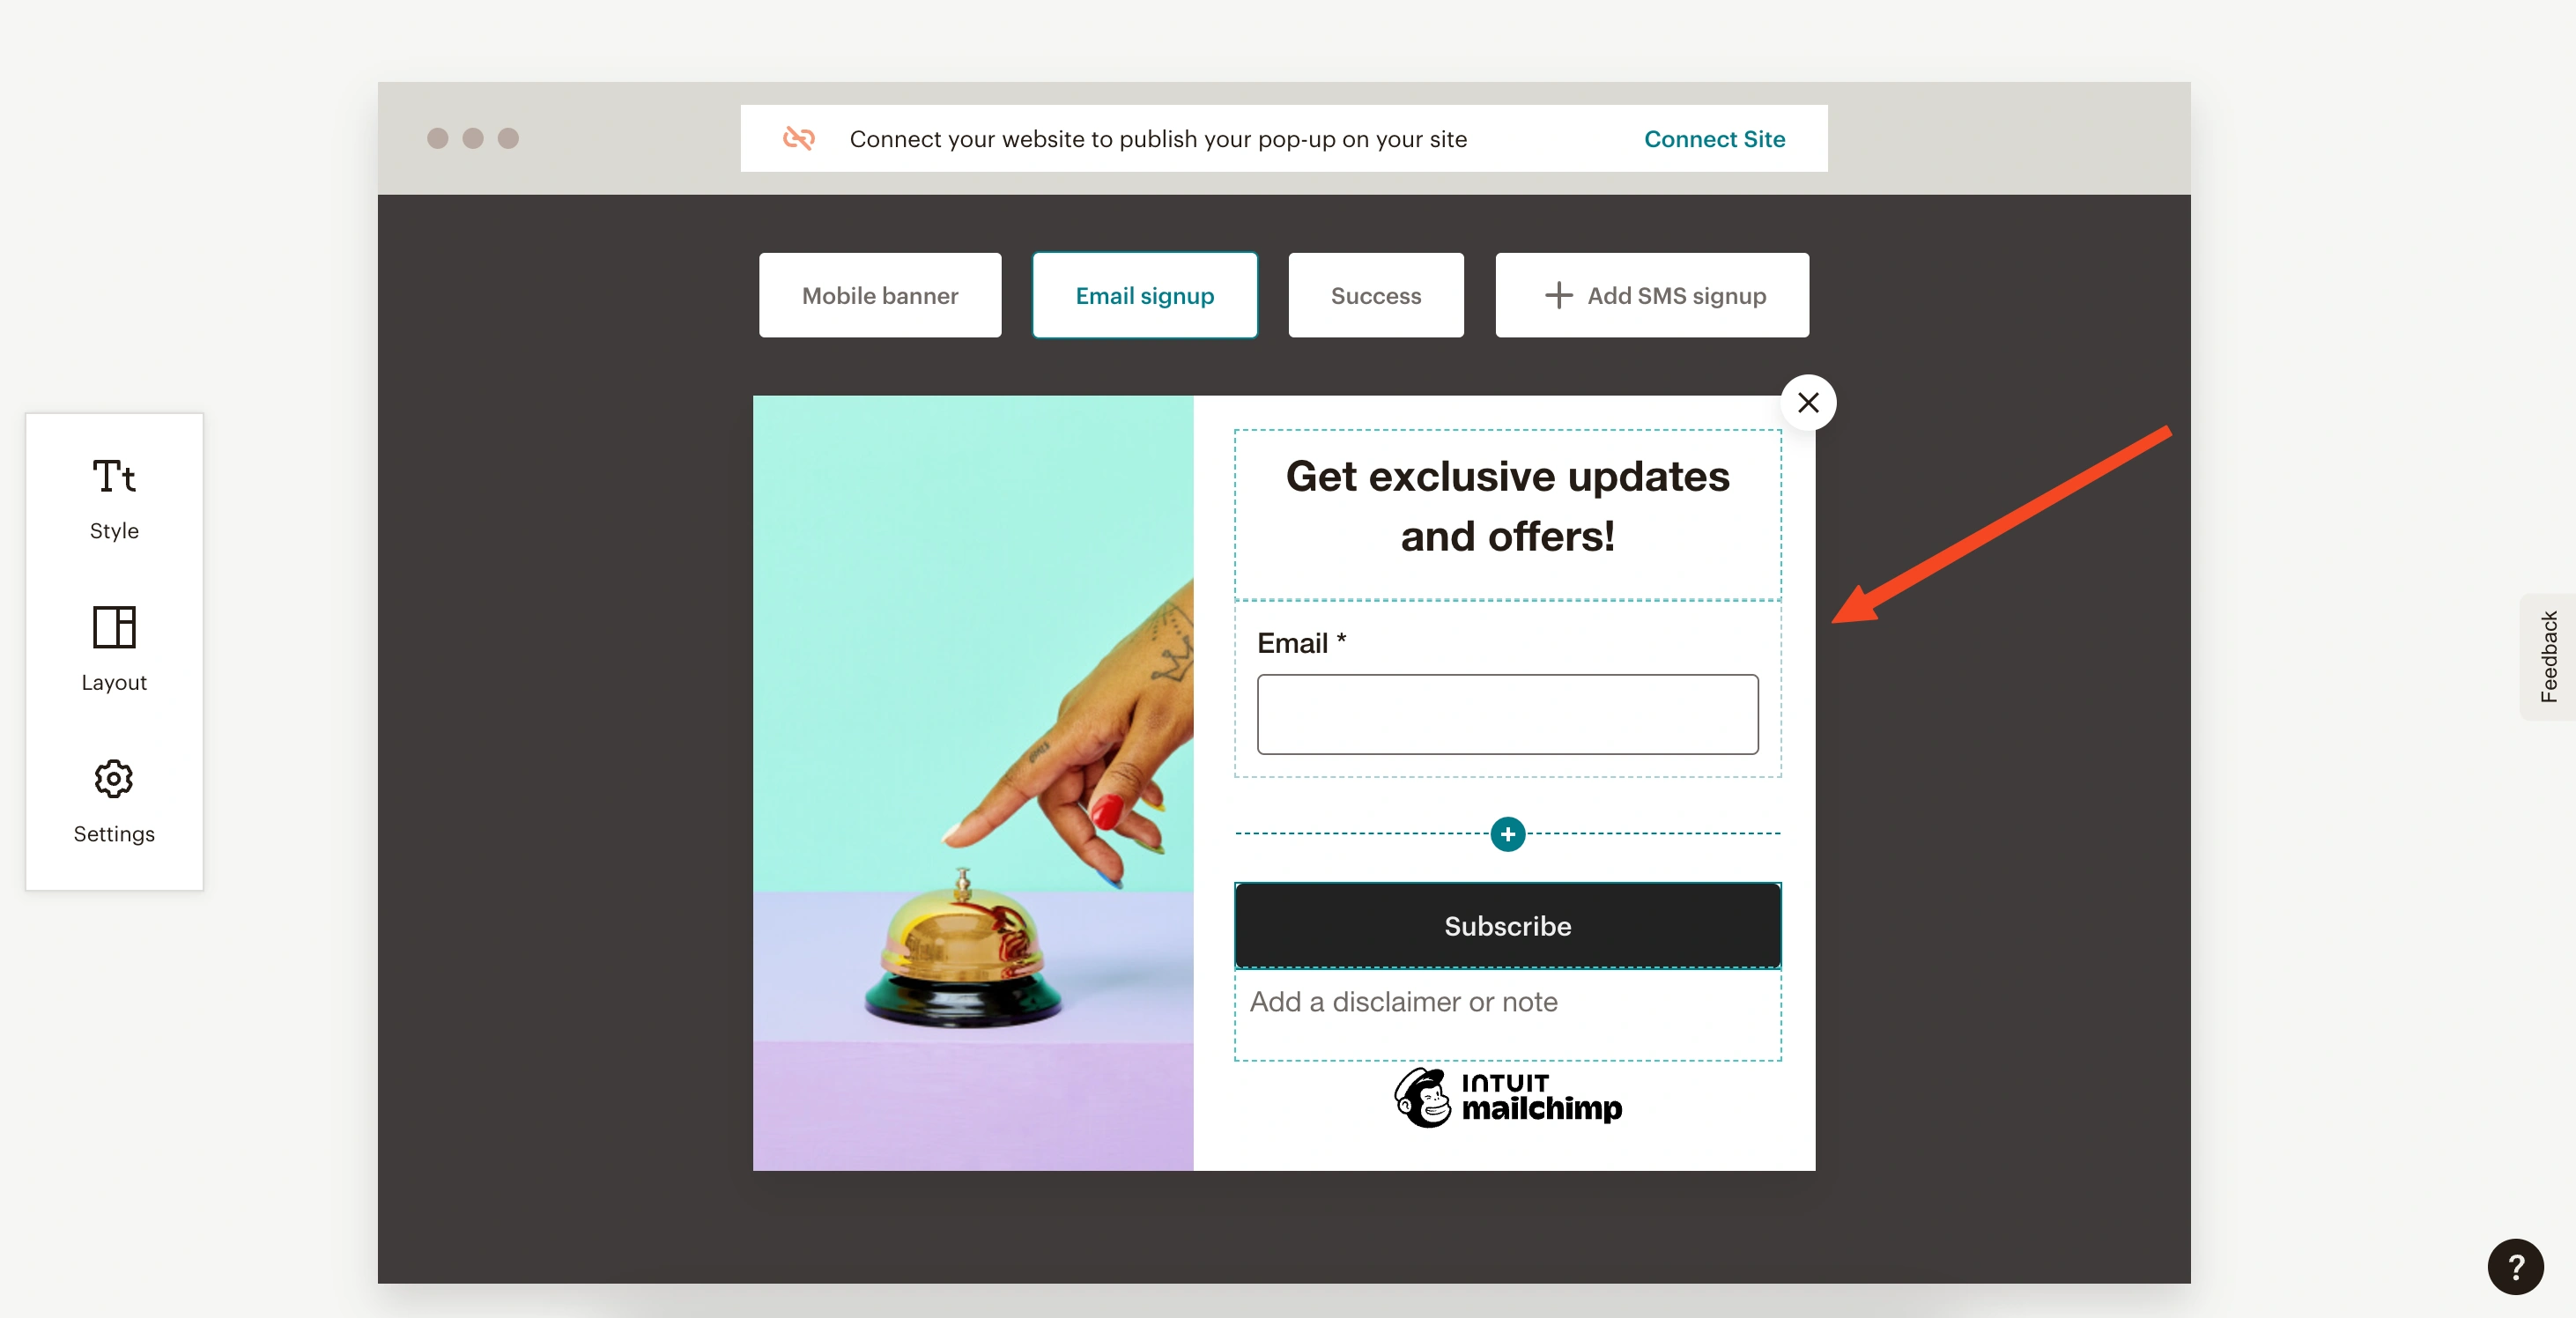
The popup editor will open up, allowing you to add input fields and customize the design to match your store's style.
5. Connect Your Website
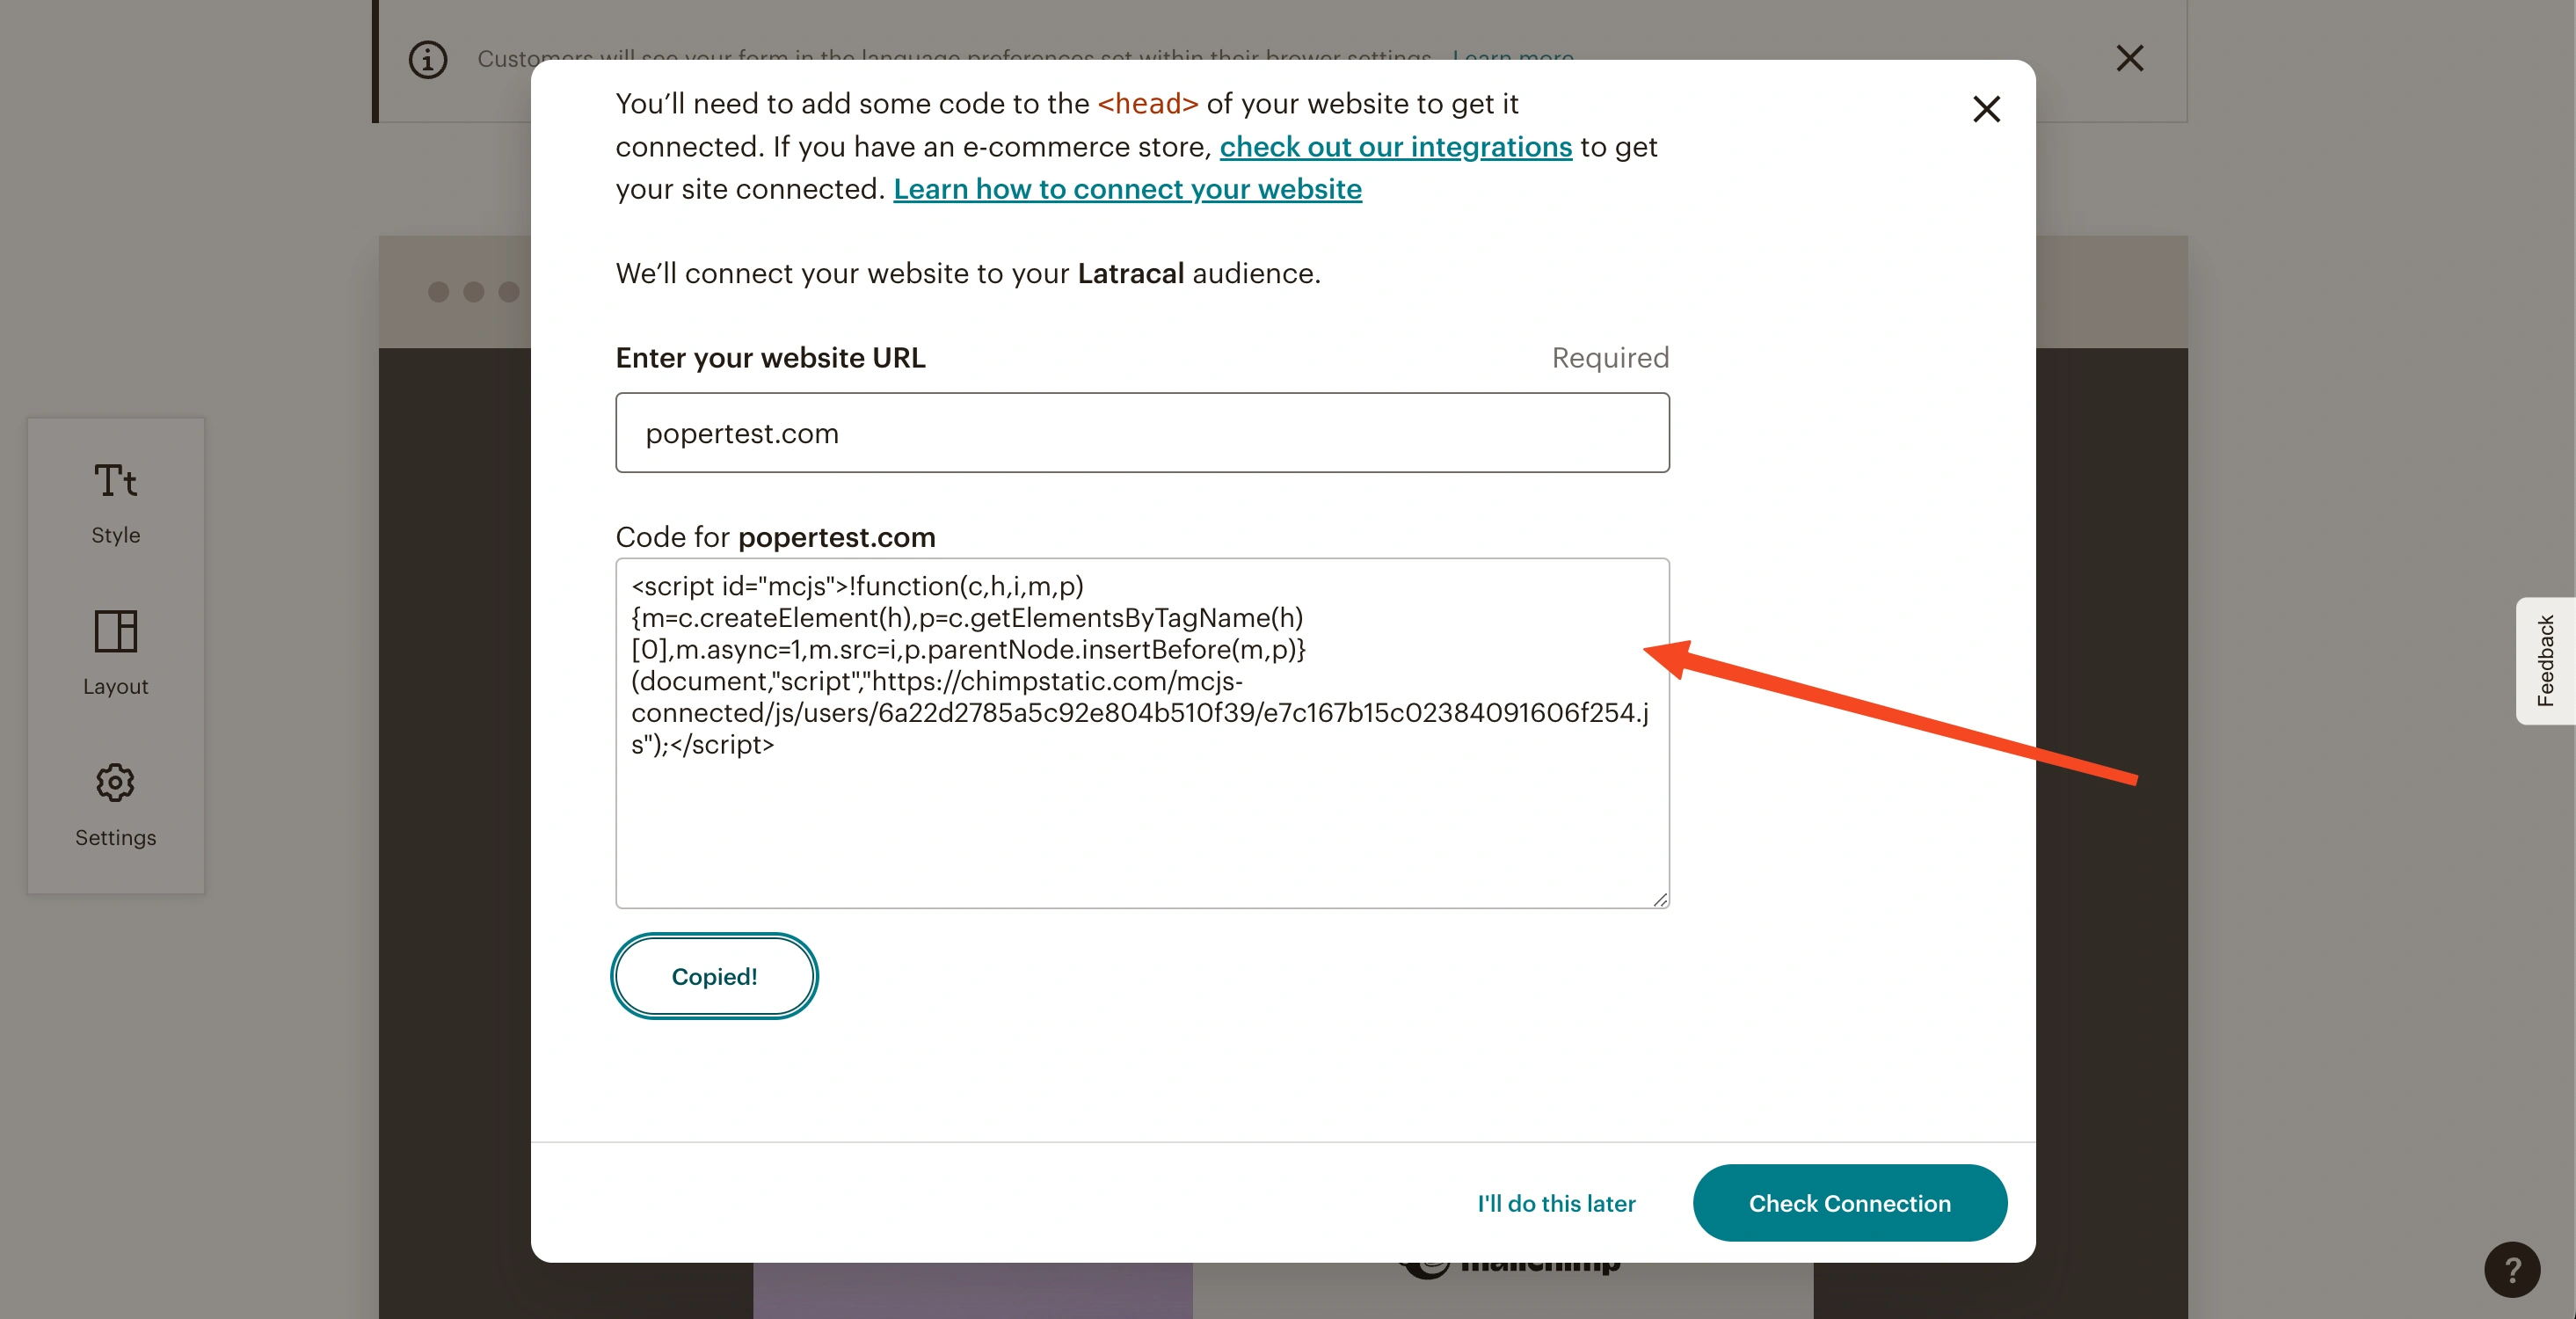
Click Continue in the top right corner, and then connect your website by adding your domain.
6. Add Mailchimp Code to Shopify
Mailchimp will give you a code that you’ll need to add to your Shopify website. You'll do this by going to Shopify > Online Store > Themes > Edit Theme > header.liquid or theme.liquid. Paste the code into the <head> section.
Once you save, your Mailchimp signup popup will be visible on your website.
A Note About Mailchimp Popups:
Keep in mind that Mailchimp popups tend to be less customizable compared to Poper. Some users might also find them less appealing. So, it's worth thinking about what level of control you need, and whether the ease of use of Poper or the simplicity of Mailchimp works best for you.
I hope this has helped! If you have any questions, feel free to reach out.

