
We all want to keep our Shopify store visitors engaged and informed, and a newsletter popup is a great way to do that. It helps you build your email list, share offers, and improve the overall shopping experience.
Instead of relying on complex apps, I'll show you how to do it using Poper, a tool I believe is the best for creating popups.
Let's dive right in and get started!
1. Create a Poper Account
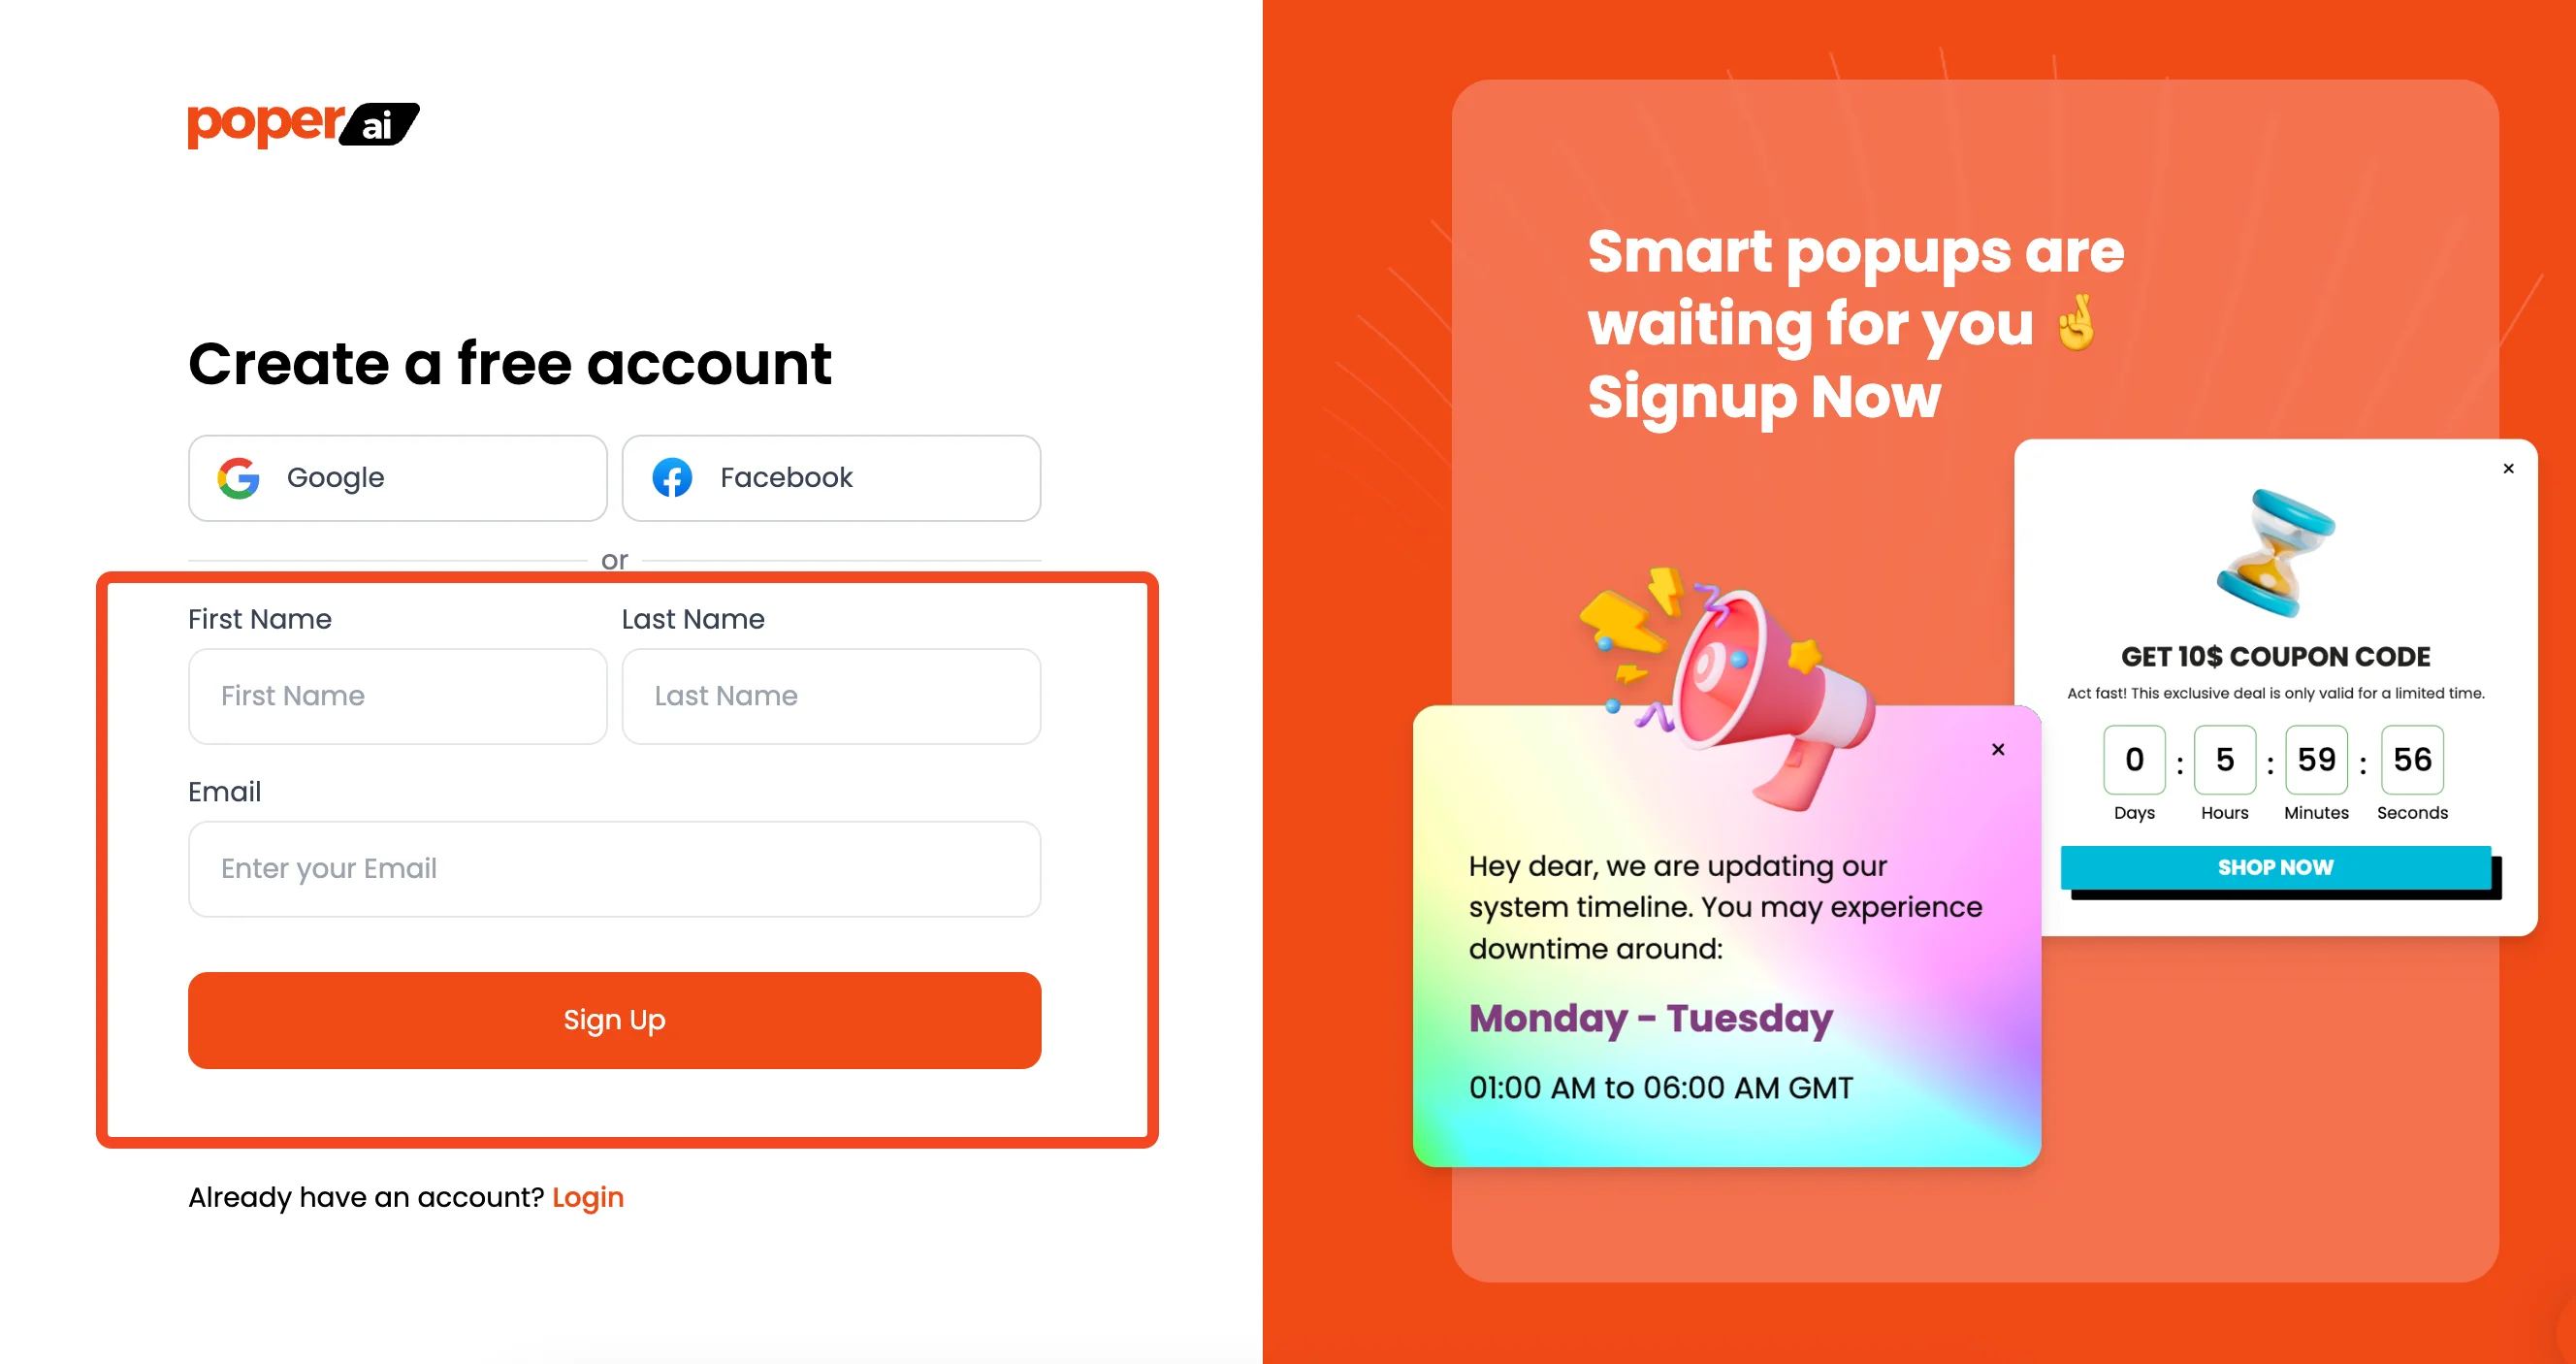
First, you need to sign up for a Poper account. This is where you’ll create and manage all your popups. Once you've created your account, you will be ready to connect your Shopify store and build engaging popups.
2. Add Your Store and Create a New Popup
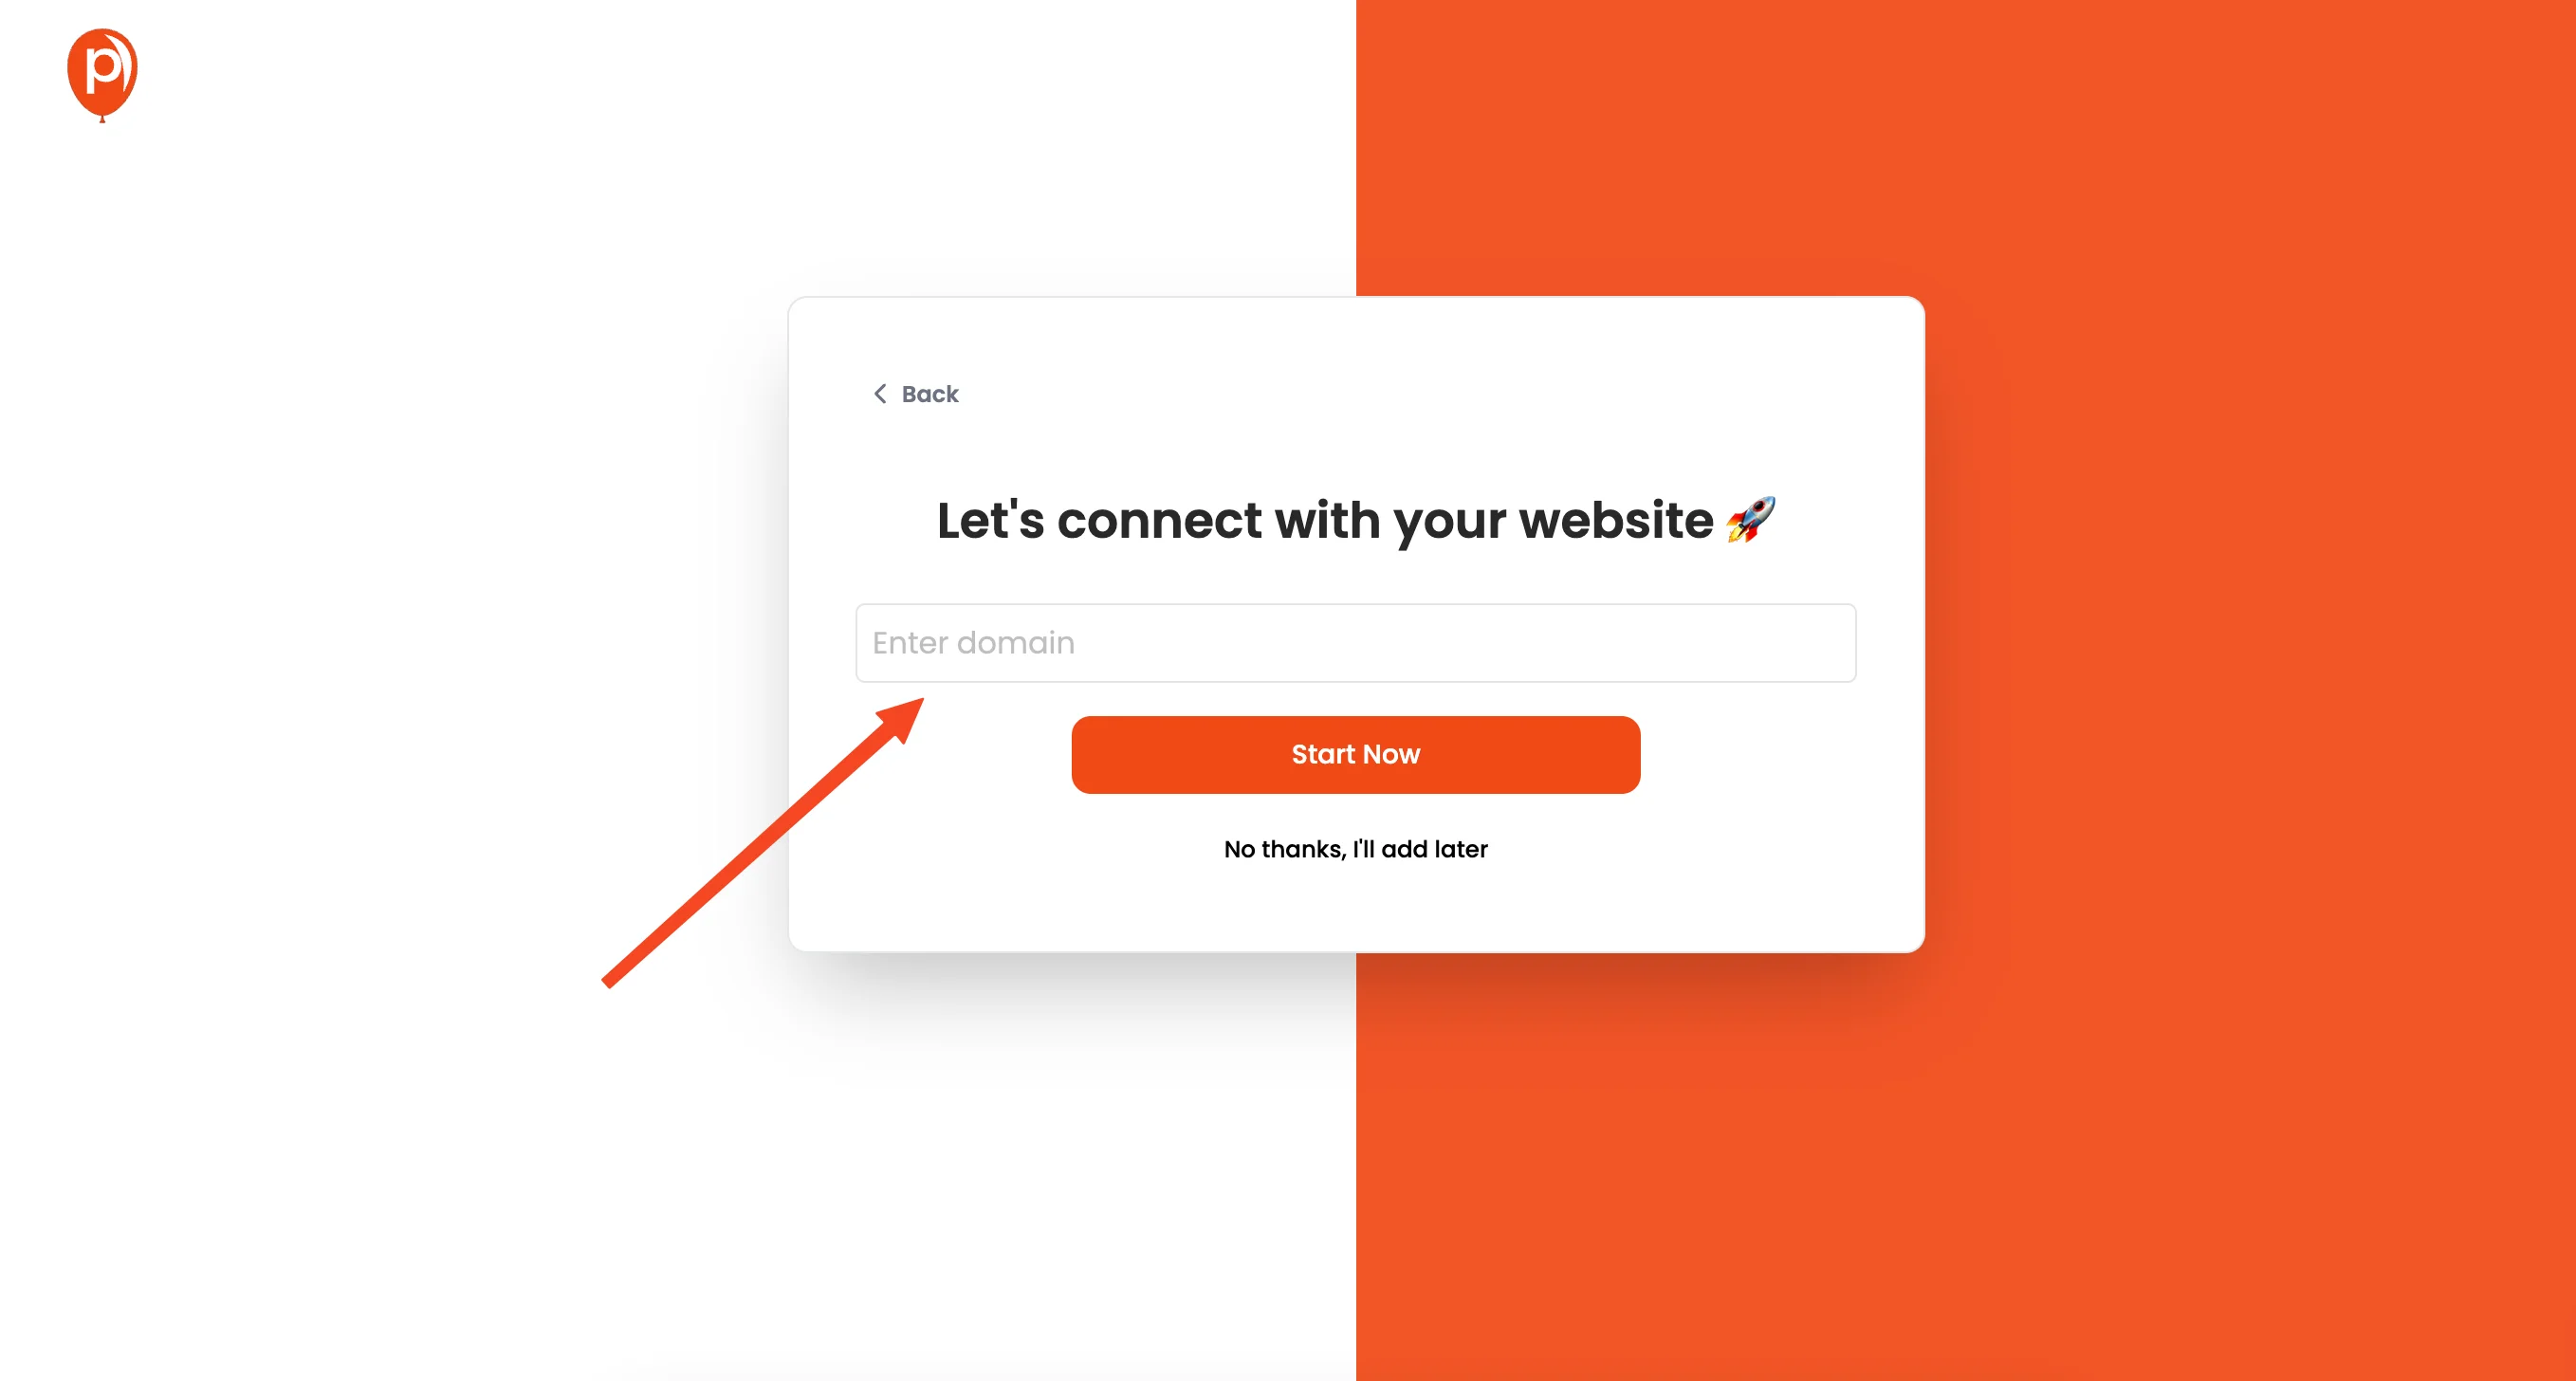
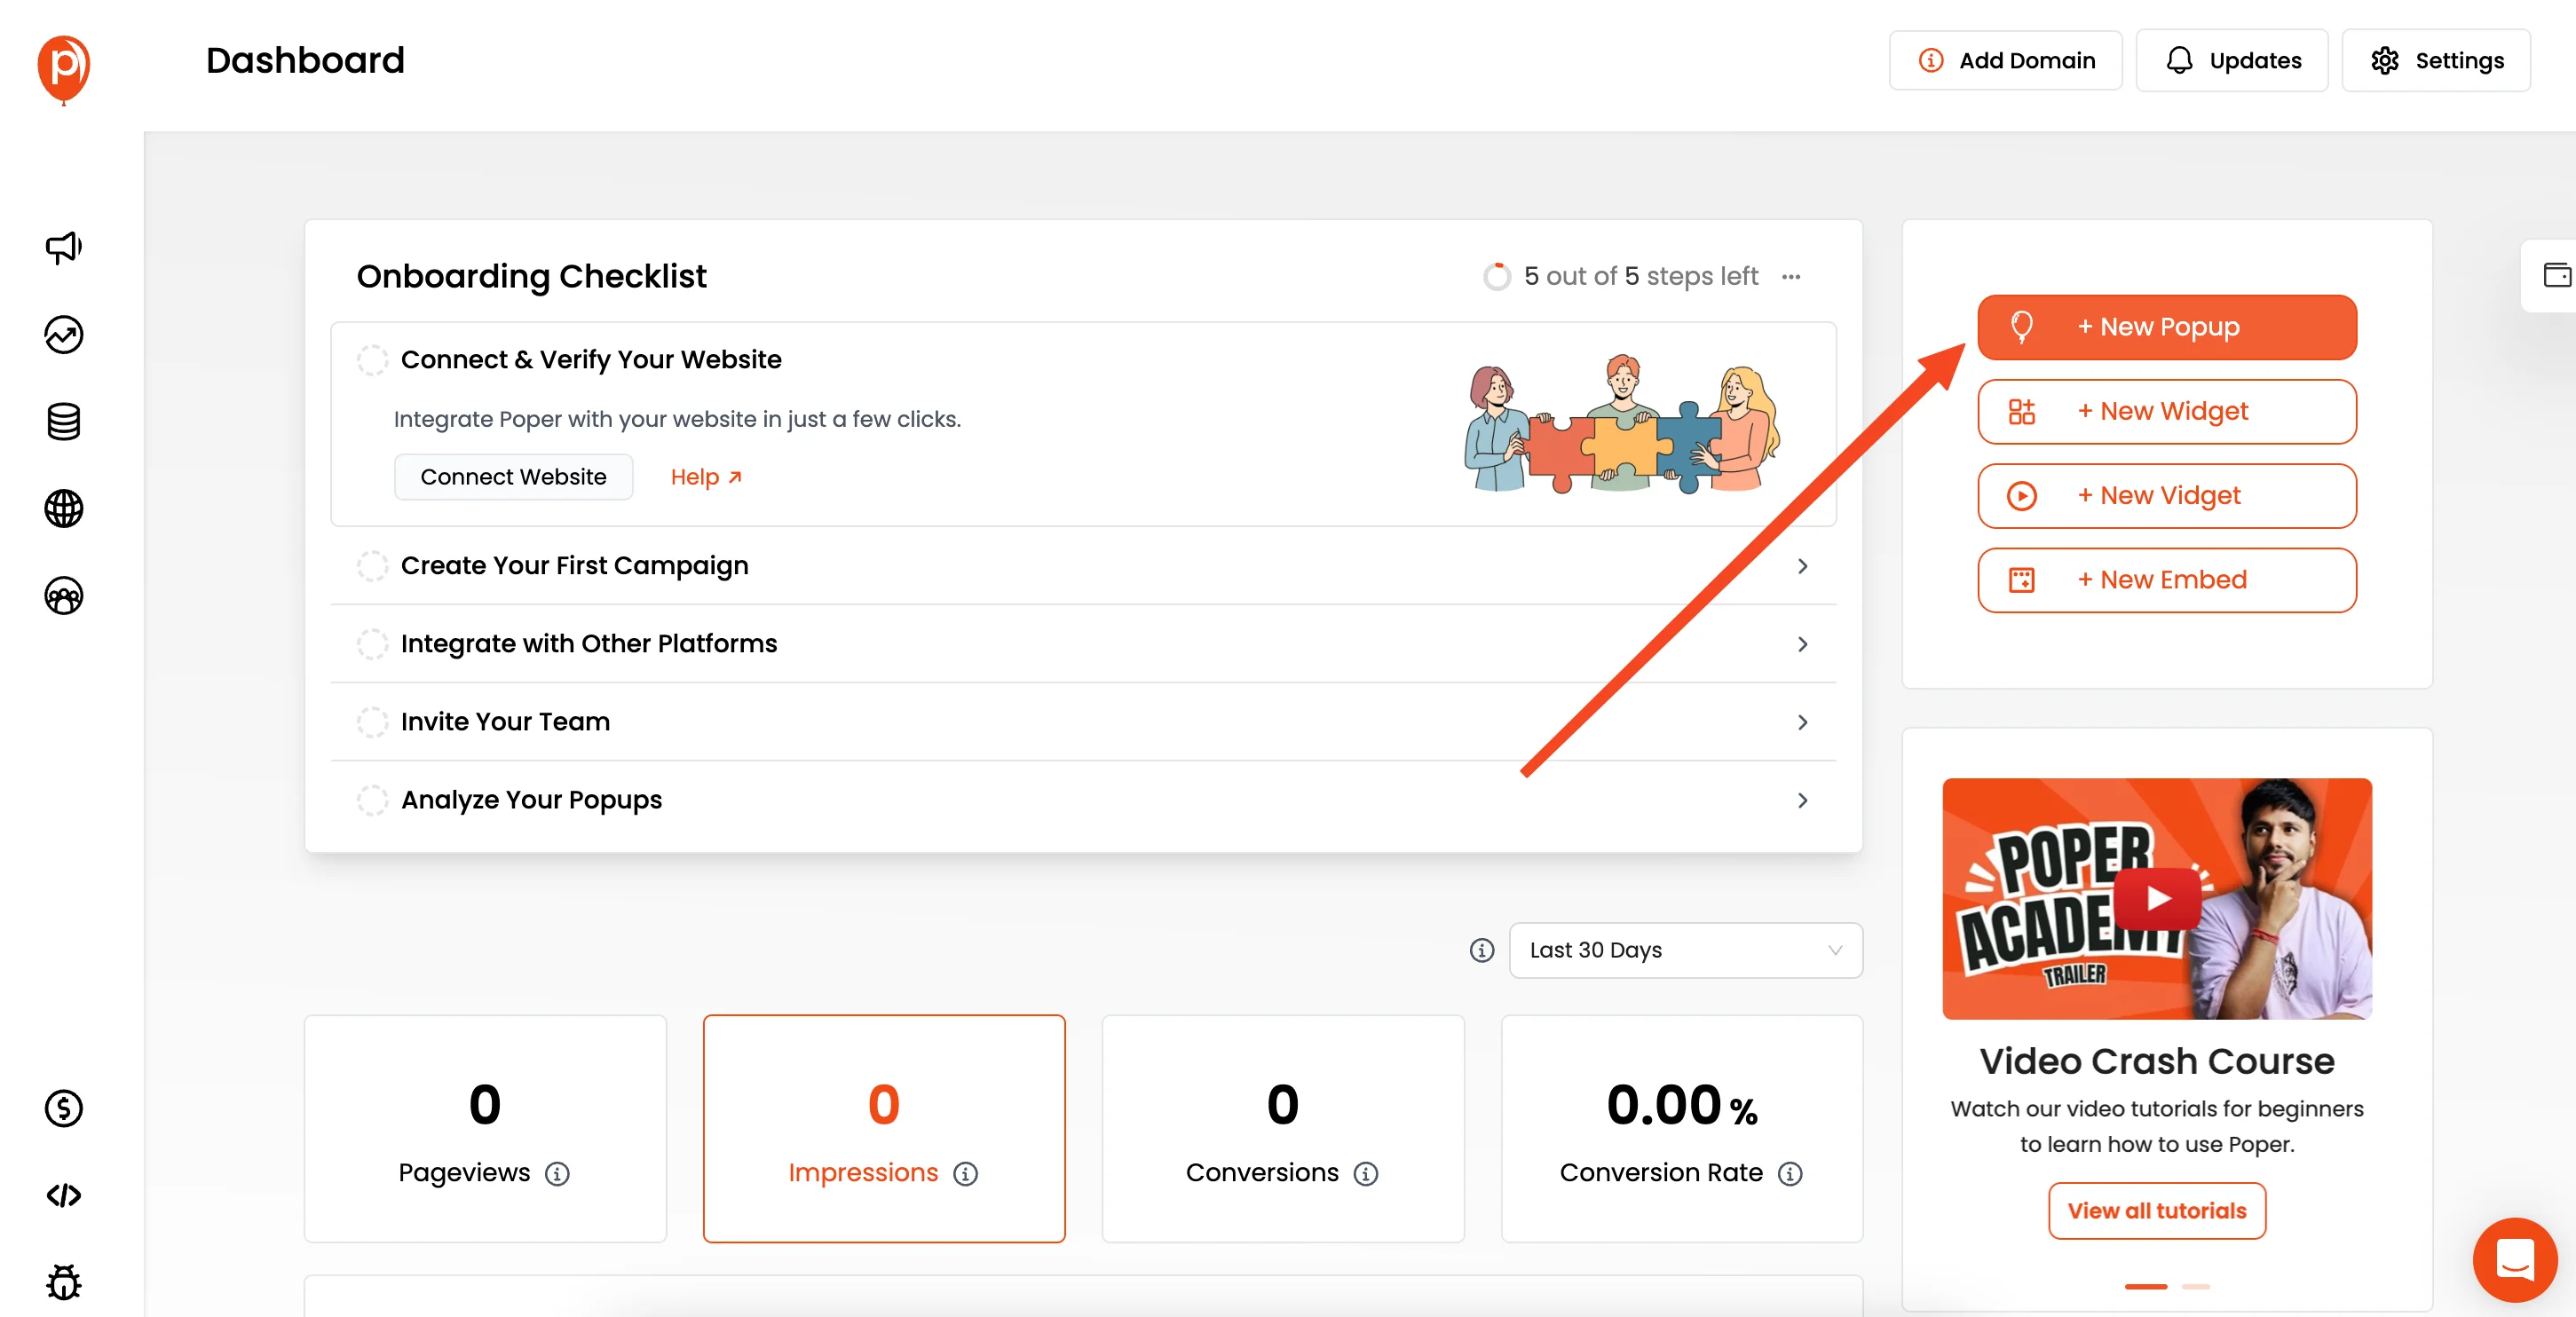
Once you have an account, the first step is to add your Shopify store domain to Poper. After that, you're ready to start creating your first popup! Look for the "New Popup" button and click it. This will take you to the next step where you will choose a template.
3. Choose a Template
In the next screen click on “Choose from templates.” You'll see a wide array of templates to pick from.
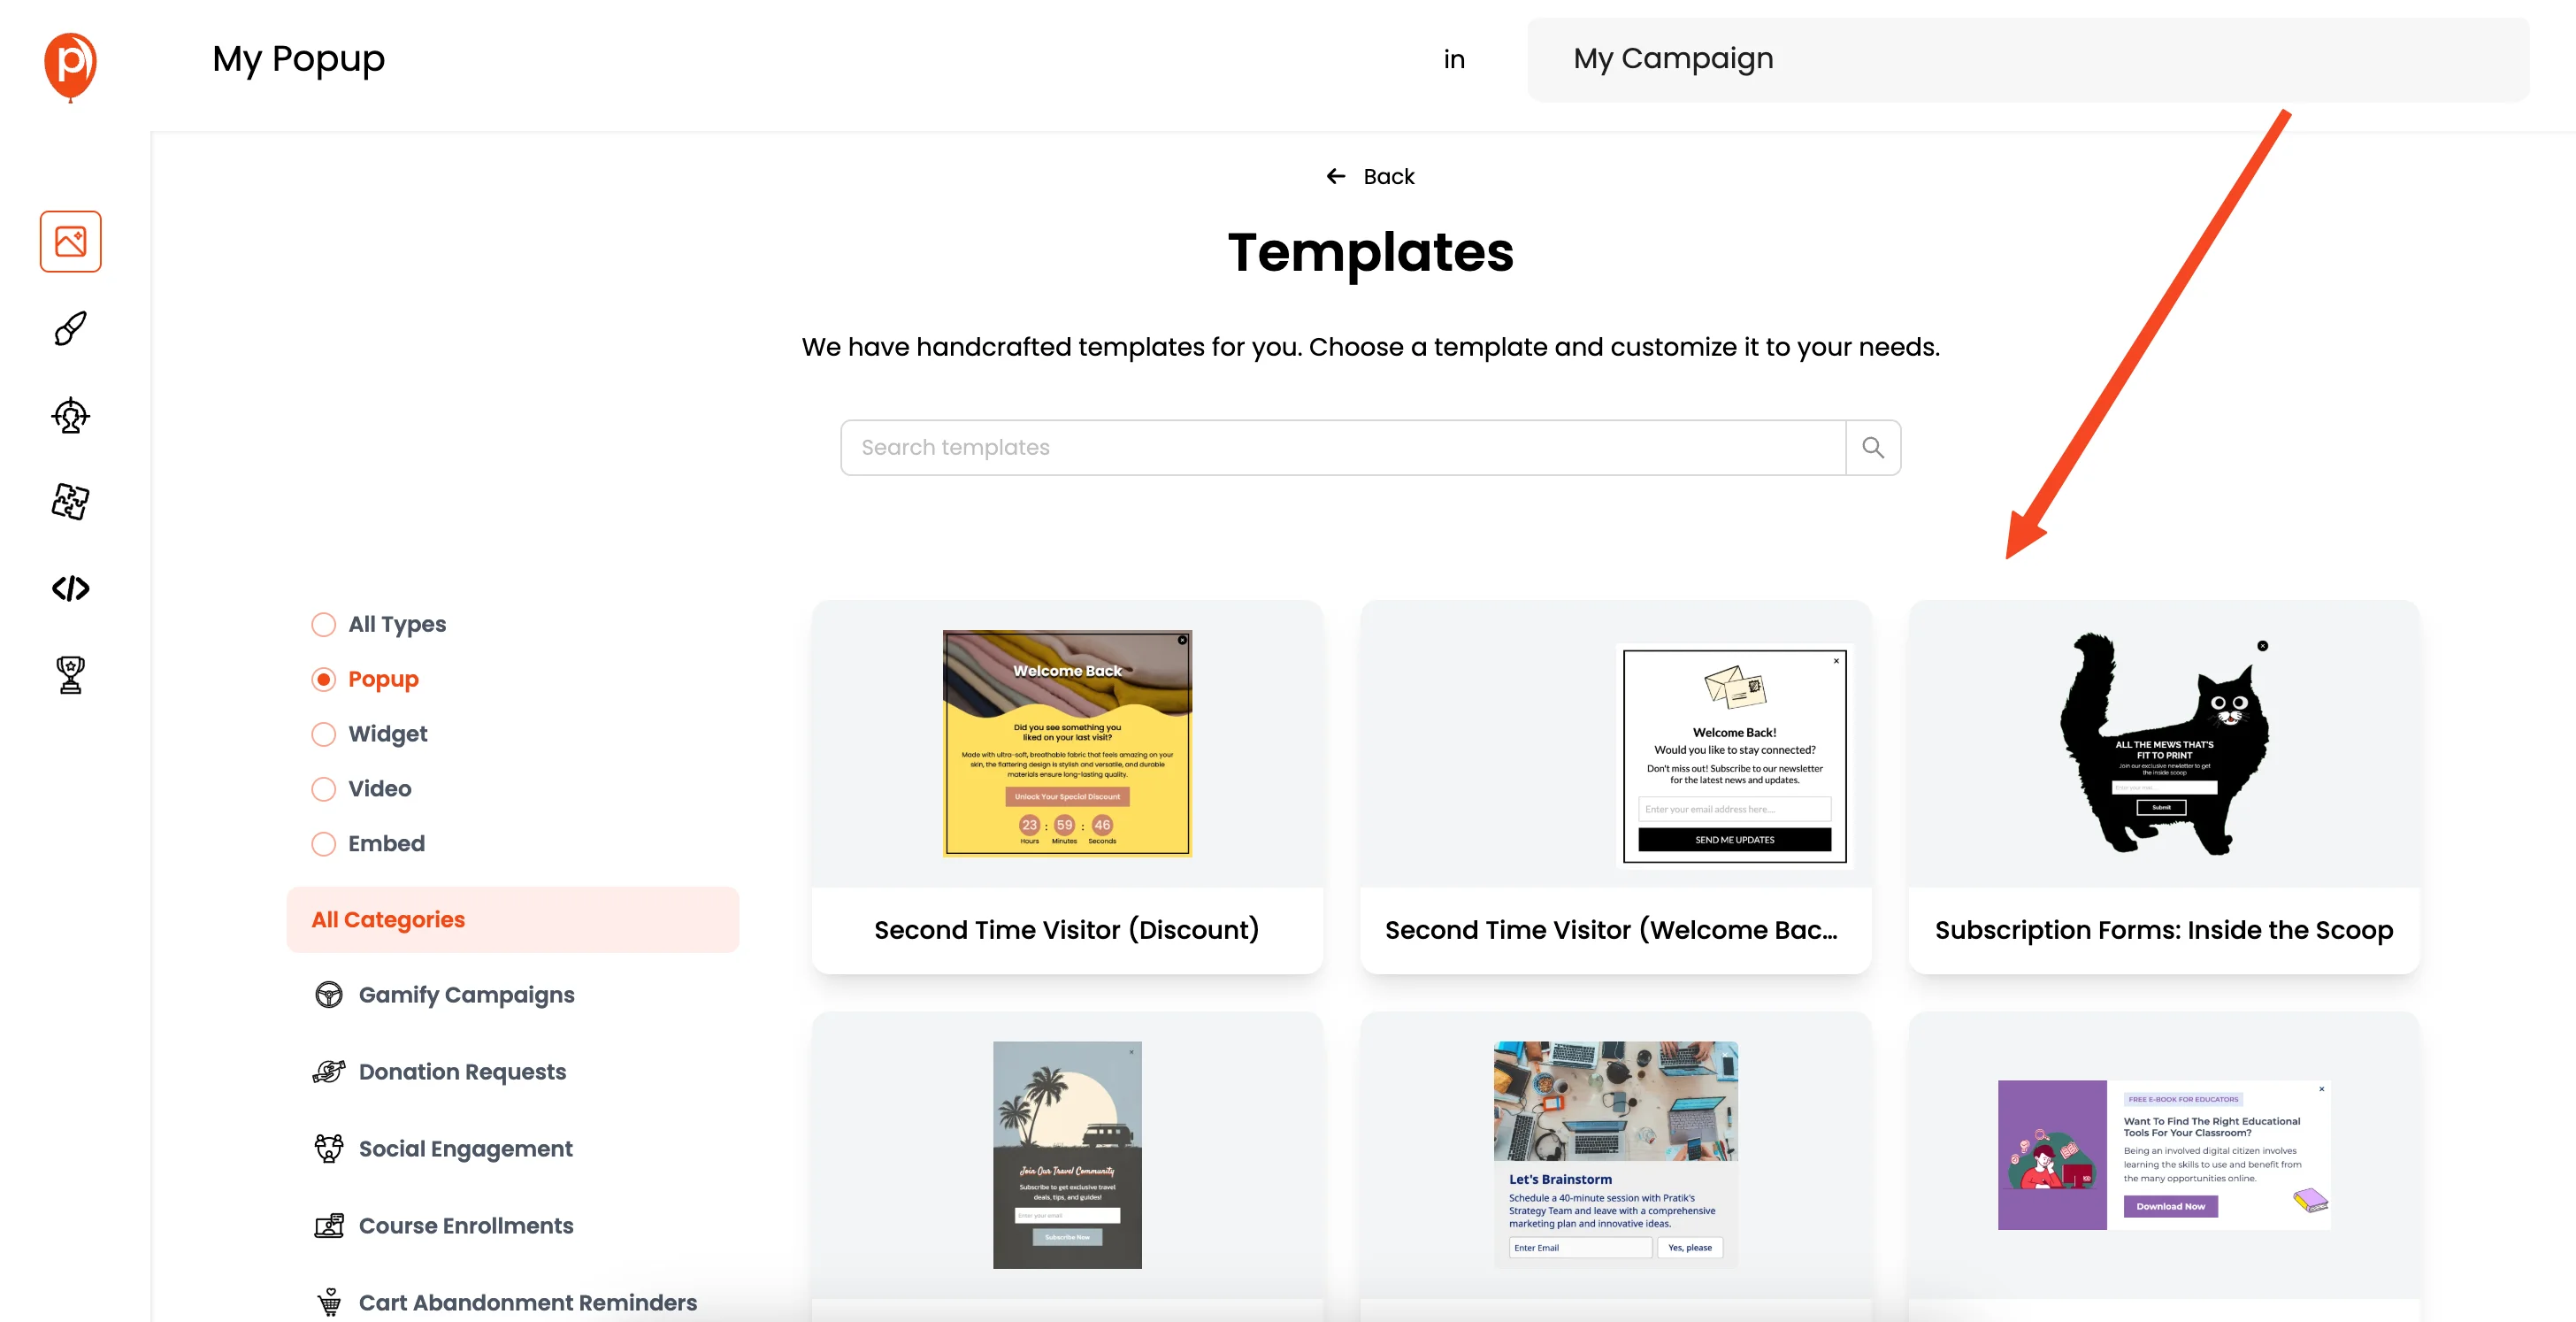
For this guide, you need to search for "newsletter" in the search bar, and you'll see many newsletter templates.
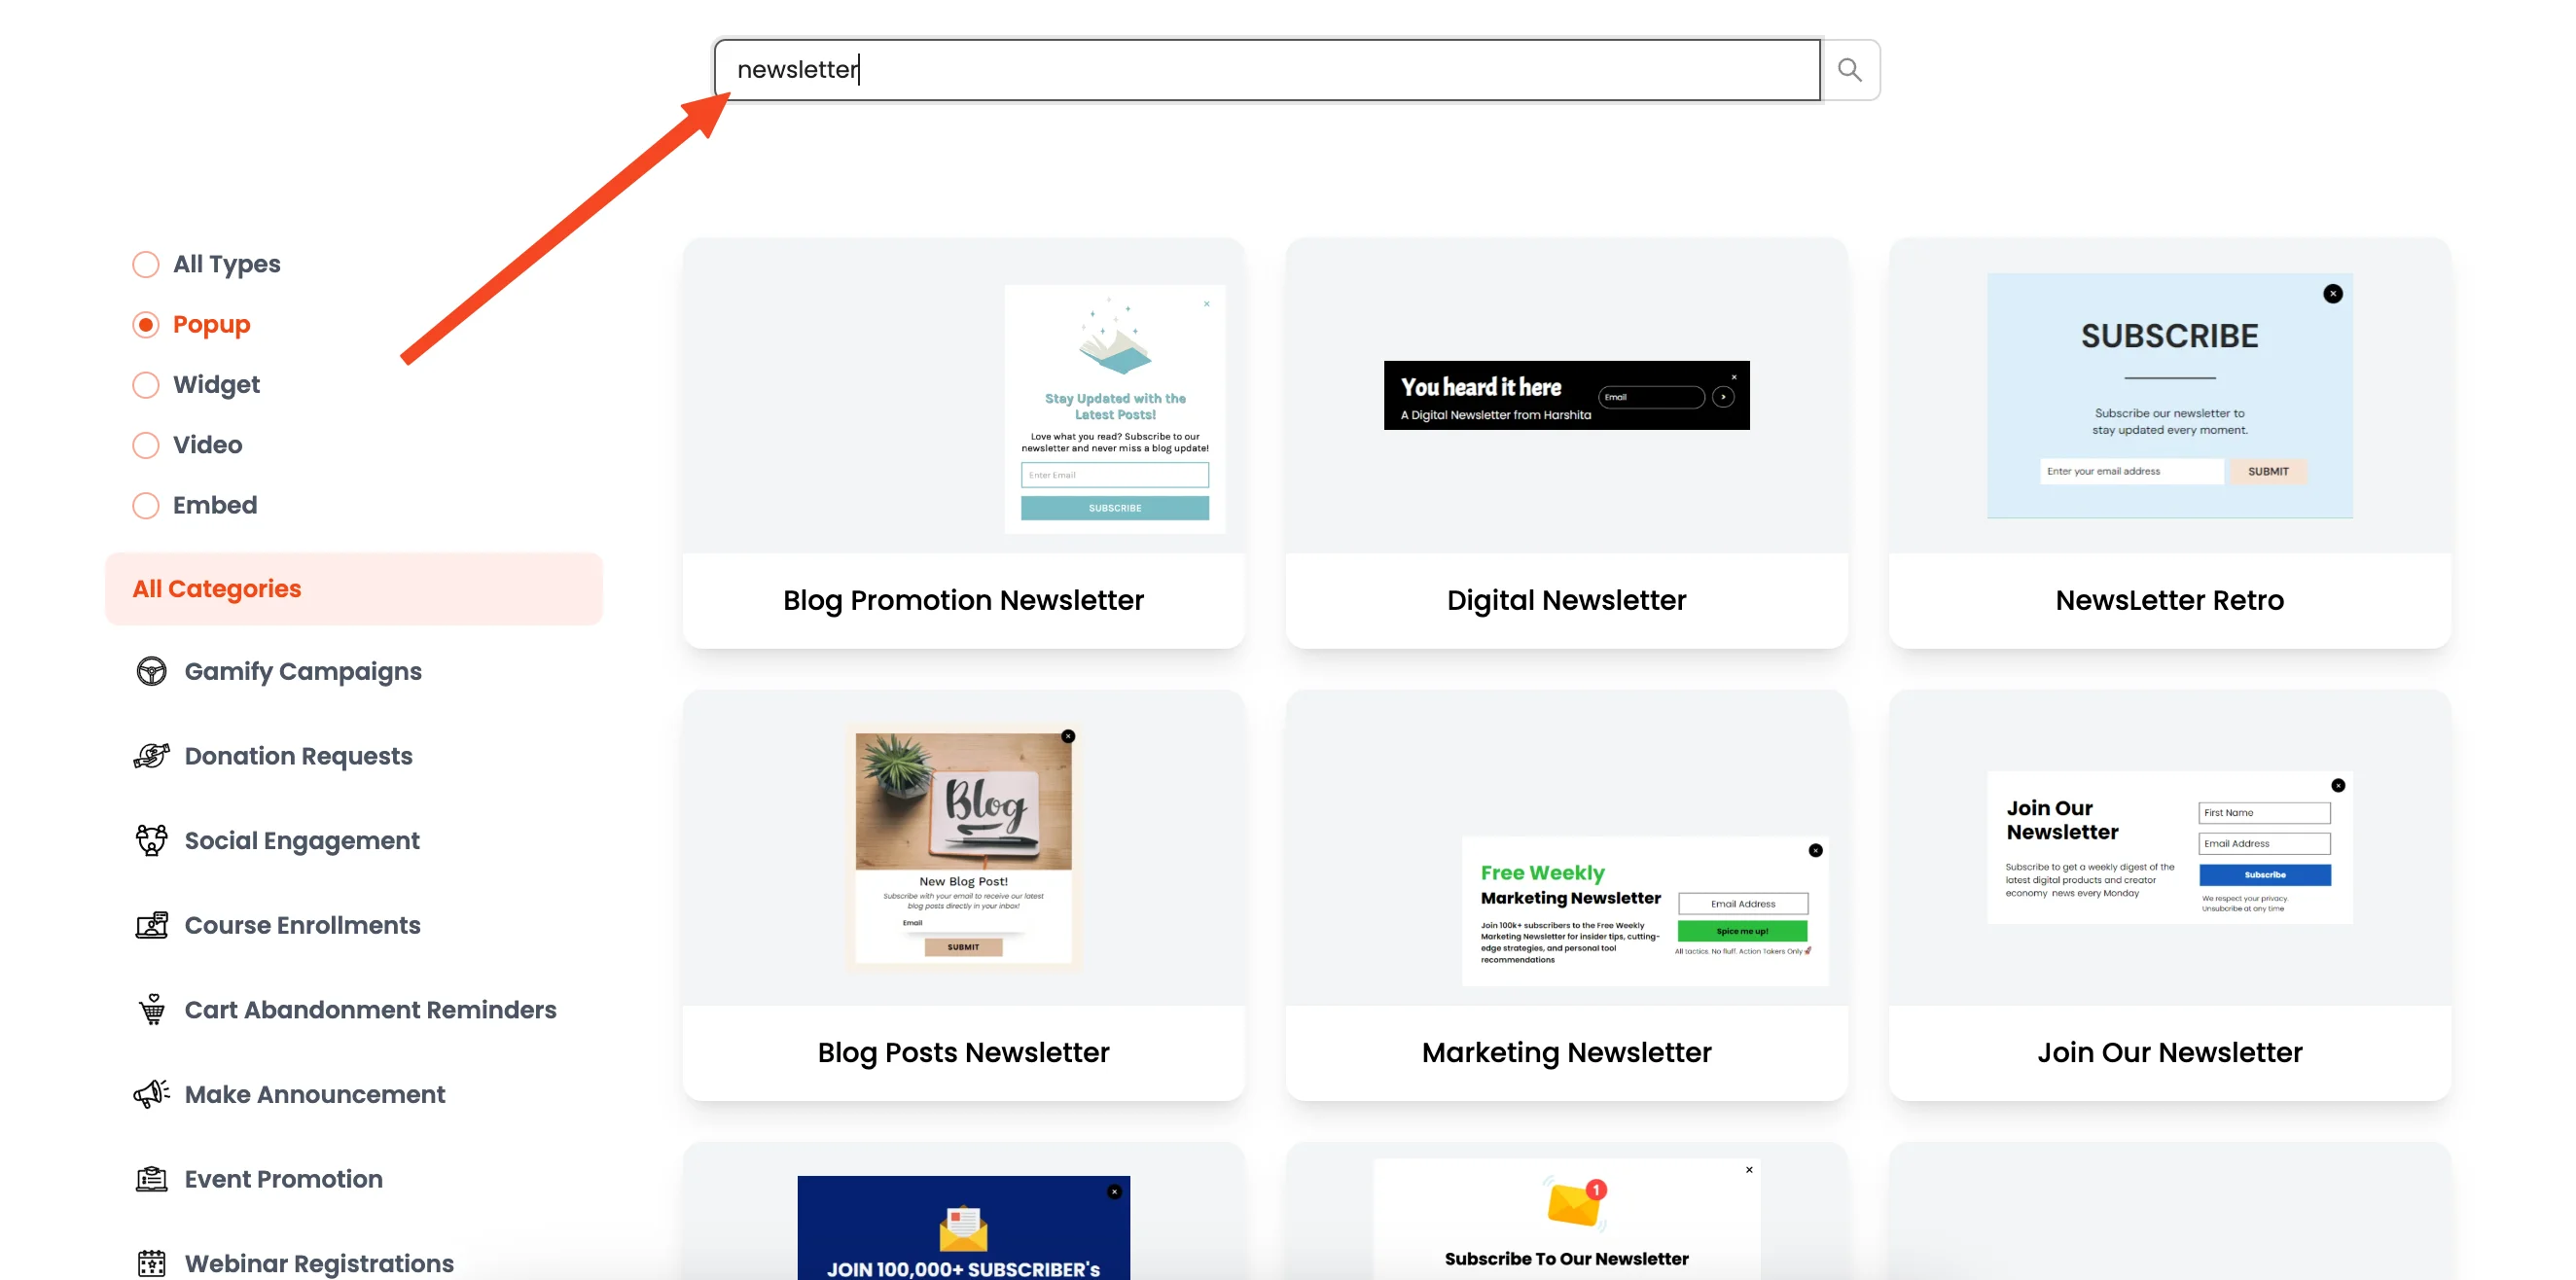
Go through them and select the template that matches your design style and preference.
4. Customize Your Popup
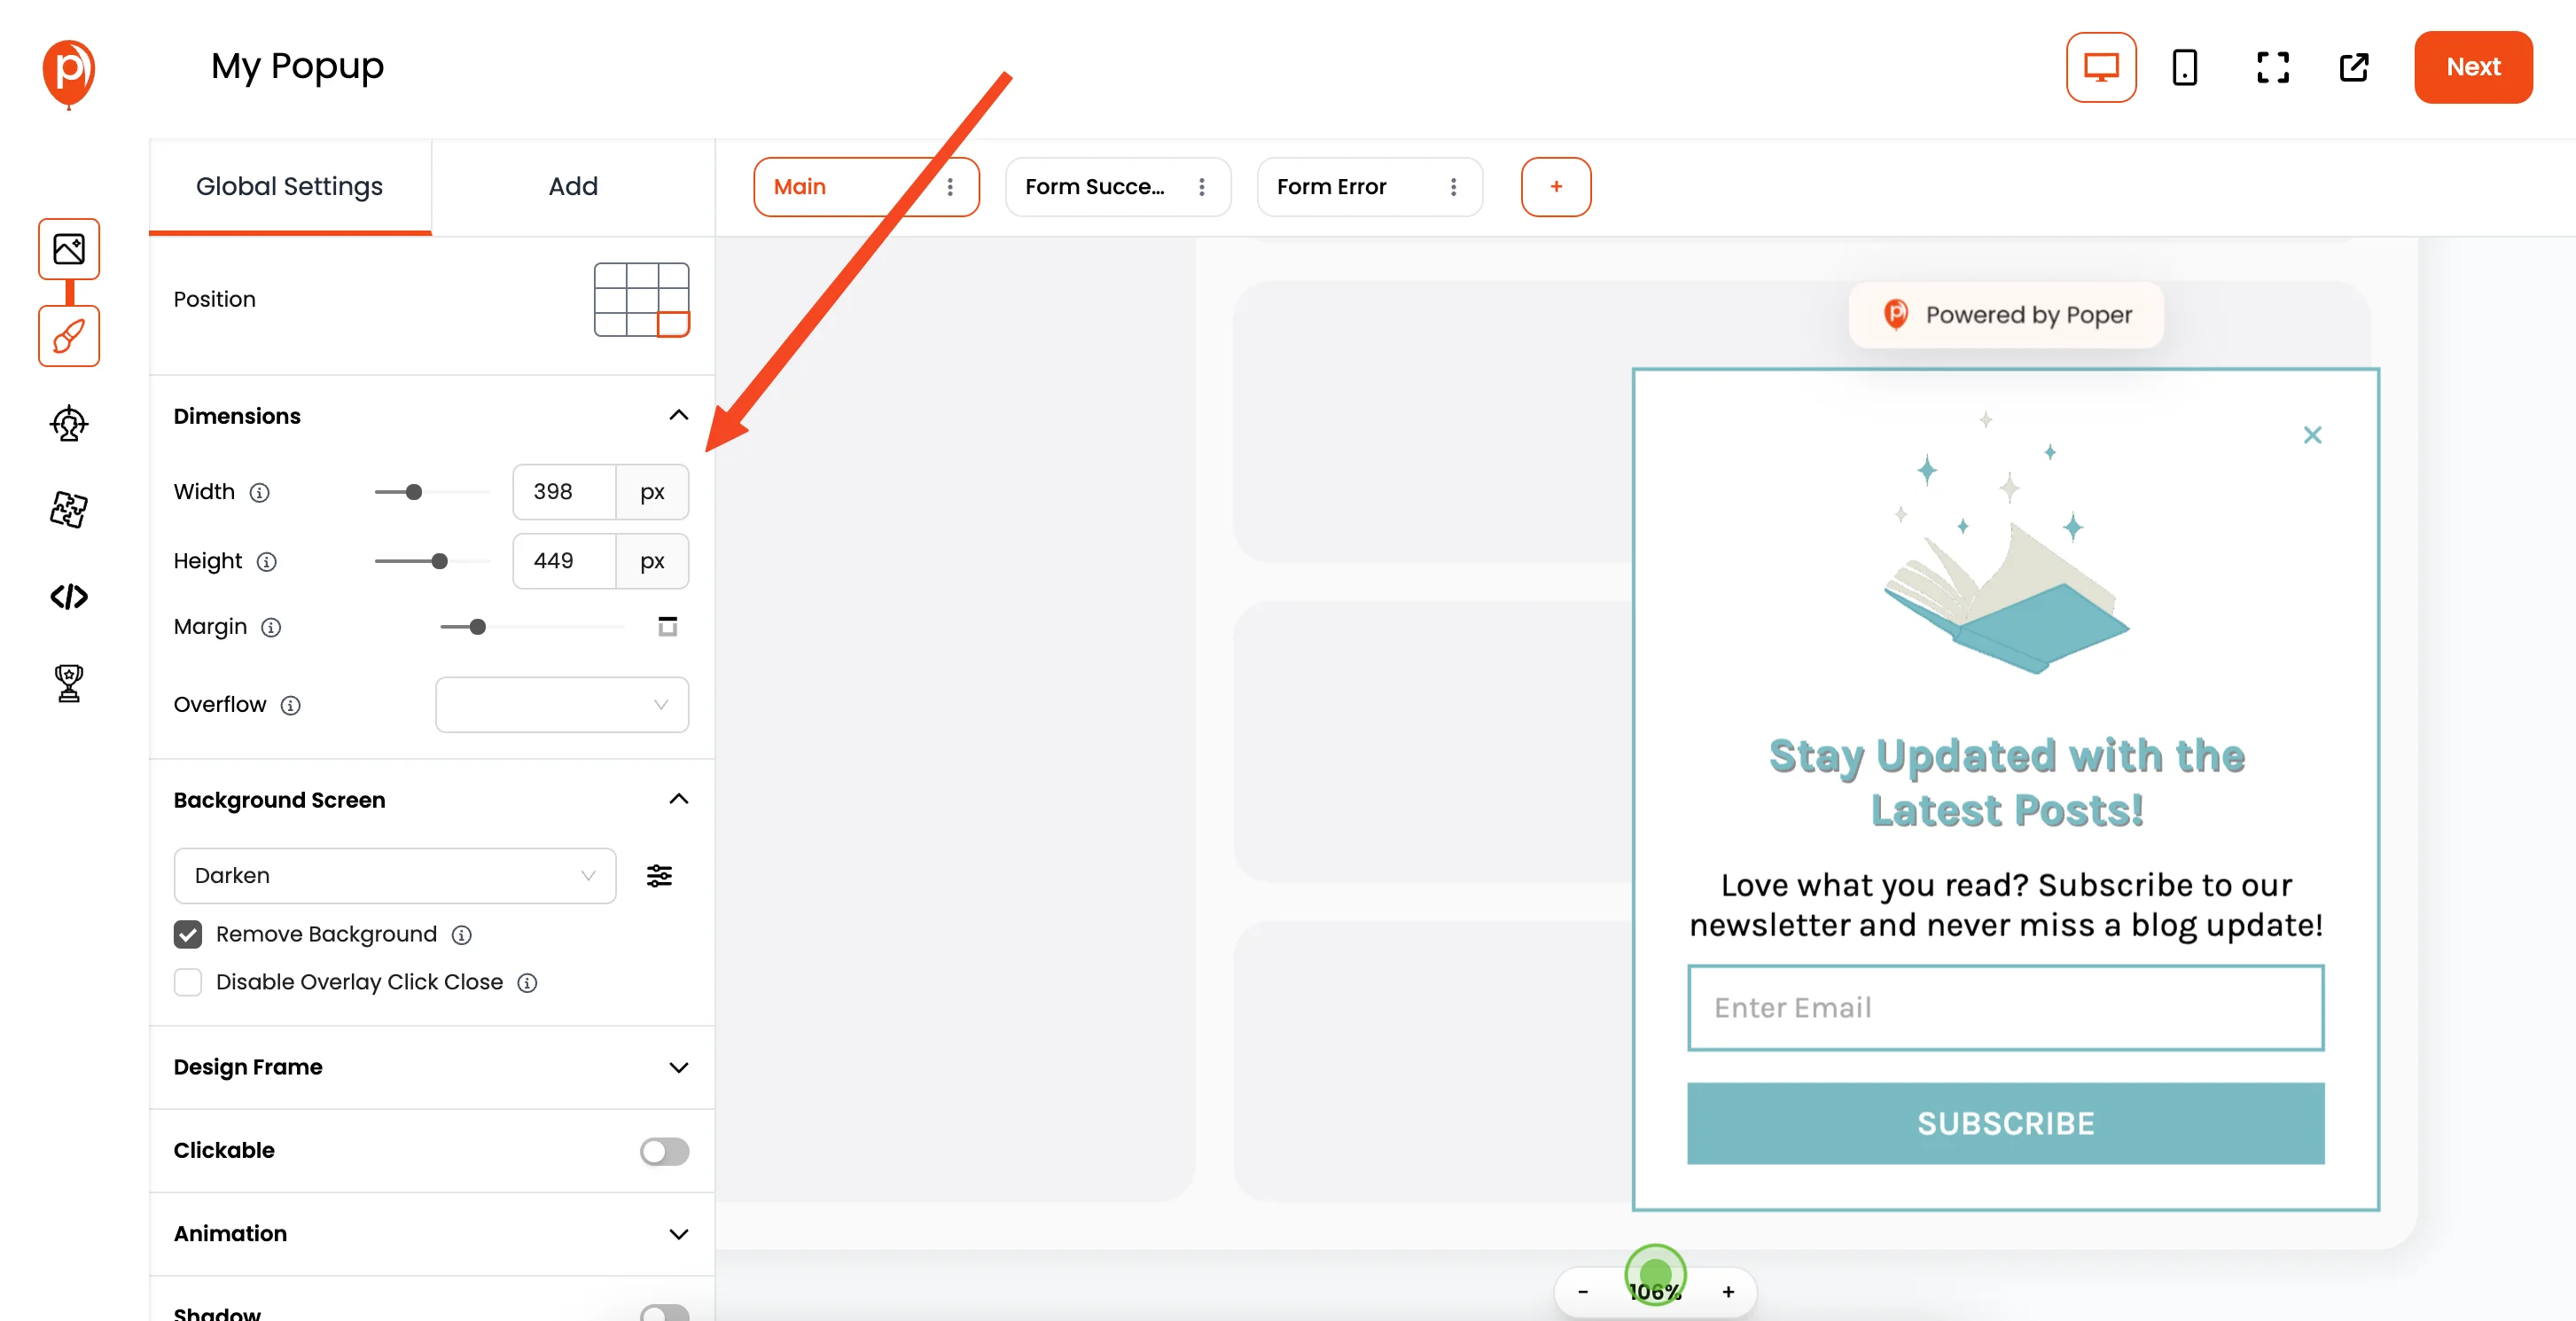
Once you've picked your template, it'll open in the popup editor. Here, you can customize every aspect of the popup. From fonts and colors to images and text, tweak everything to match your brand. Take your time and ensure the popup looks perfect.
5. Set Display Conditions
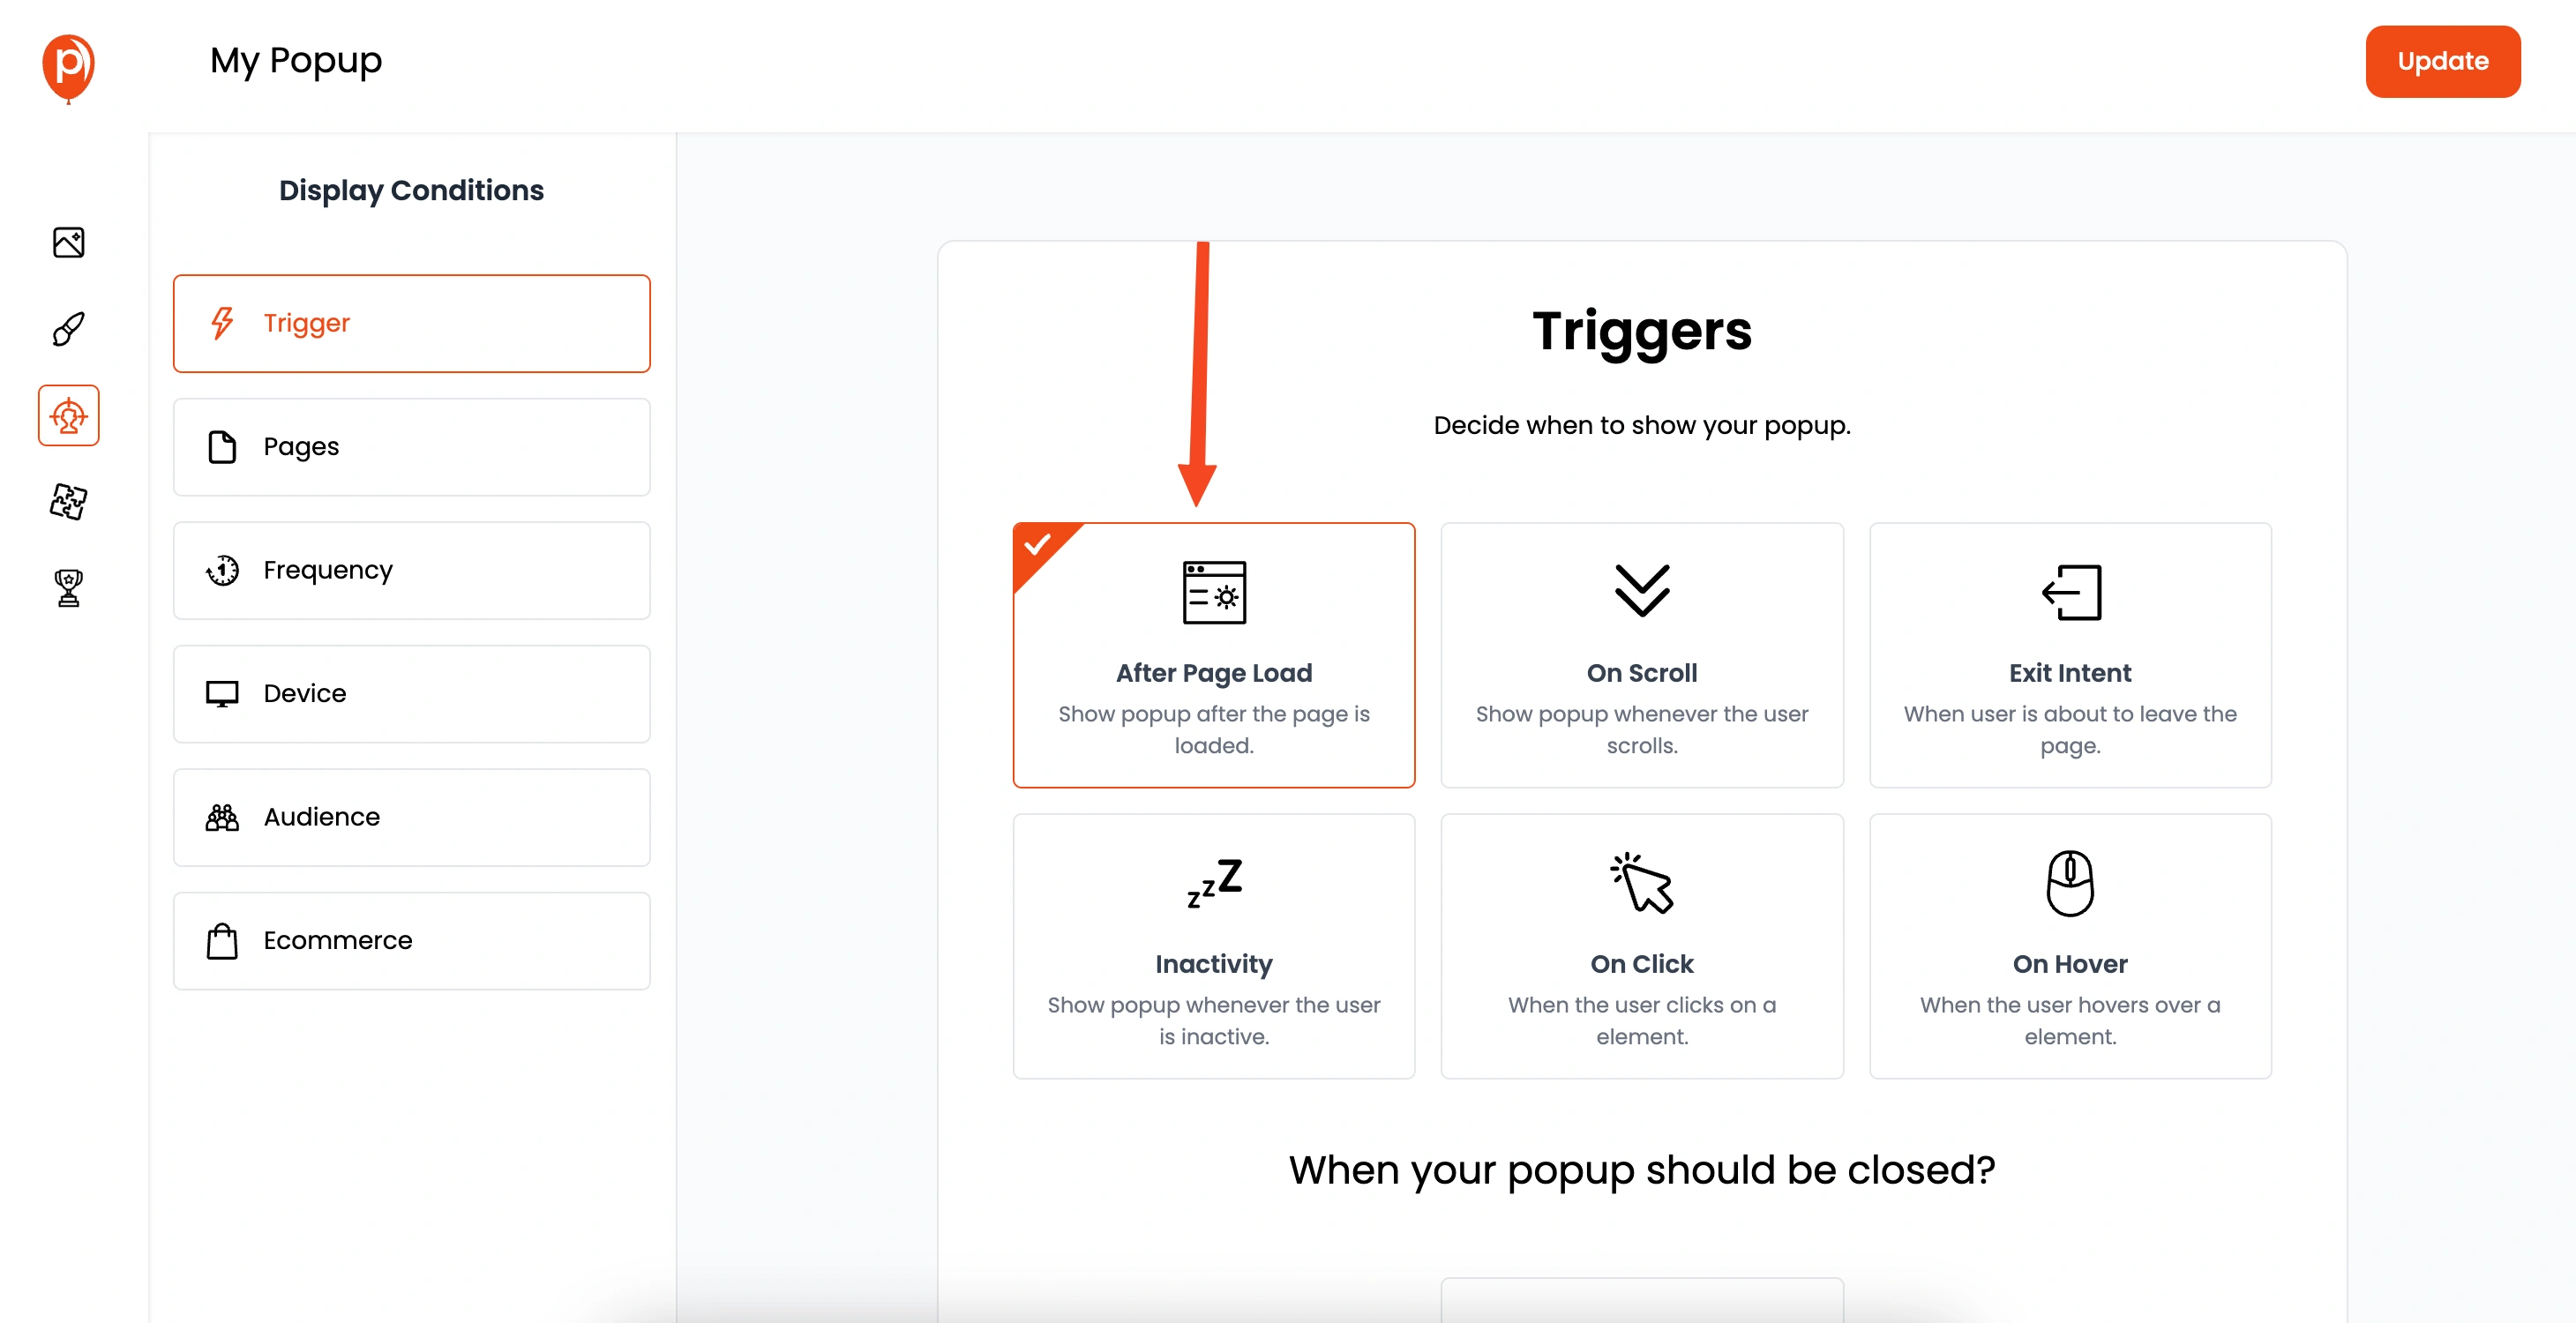
After you're done with the design, click "Next". This will take you to the "Display Conditions" settings. Here, you can decide when and where your popup should appear on your site.
You can target specific pages, user demographics, and more. This helps ensure your popup is shown to the right people at the right time.
6. Connect Your Email Tool
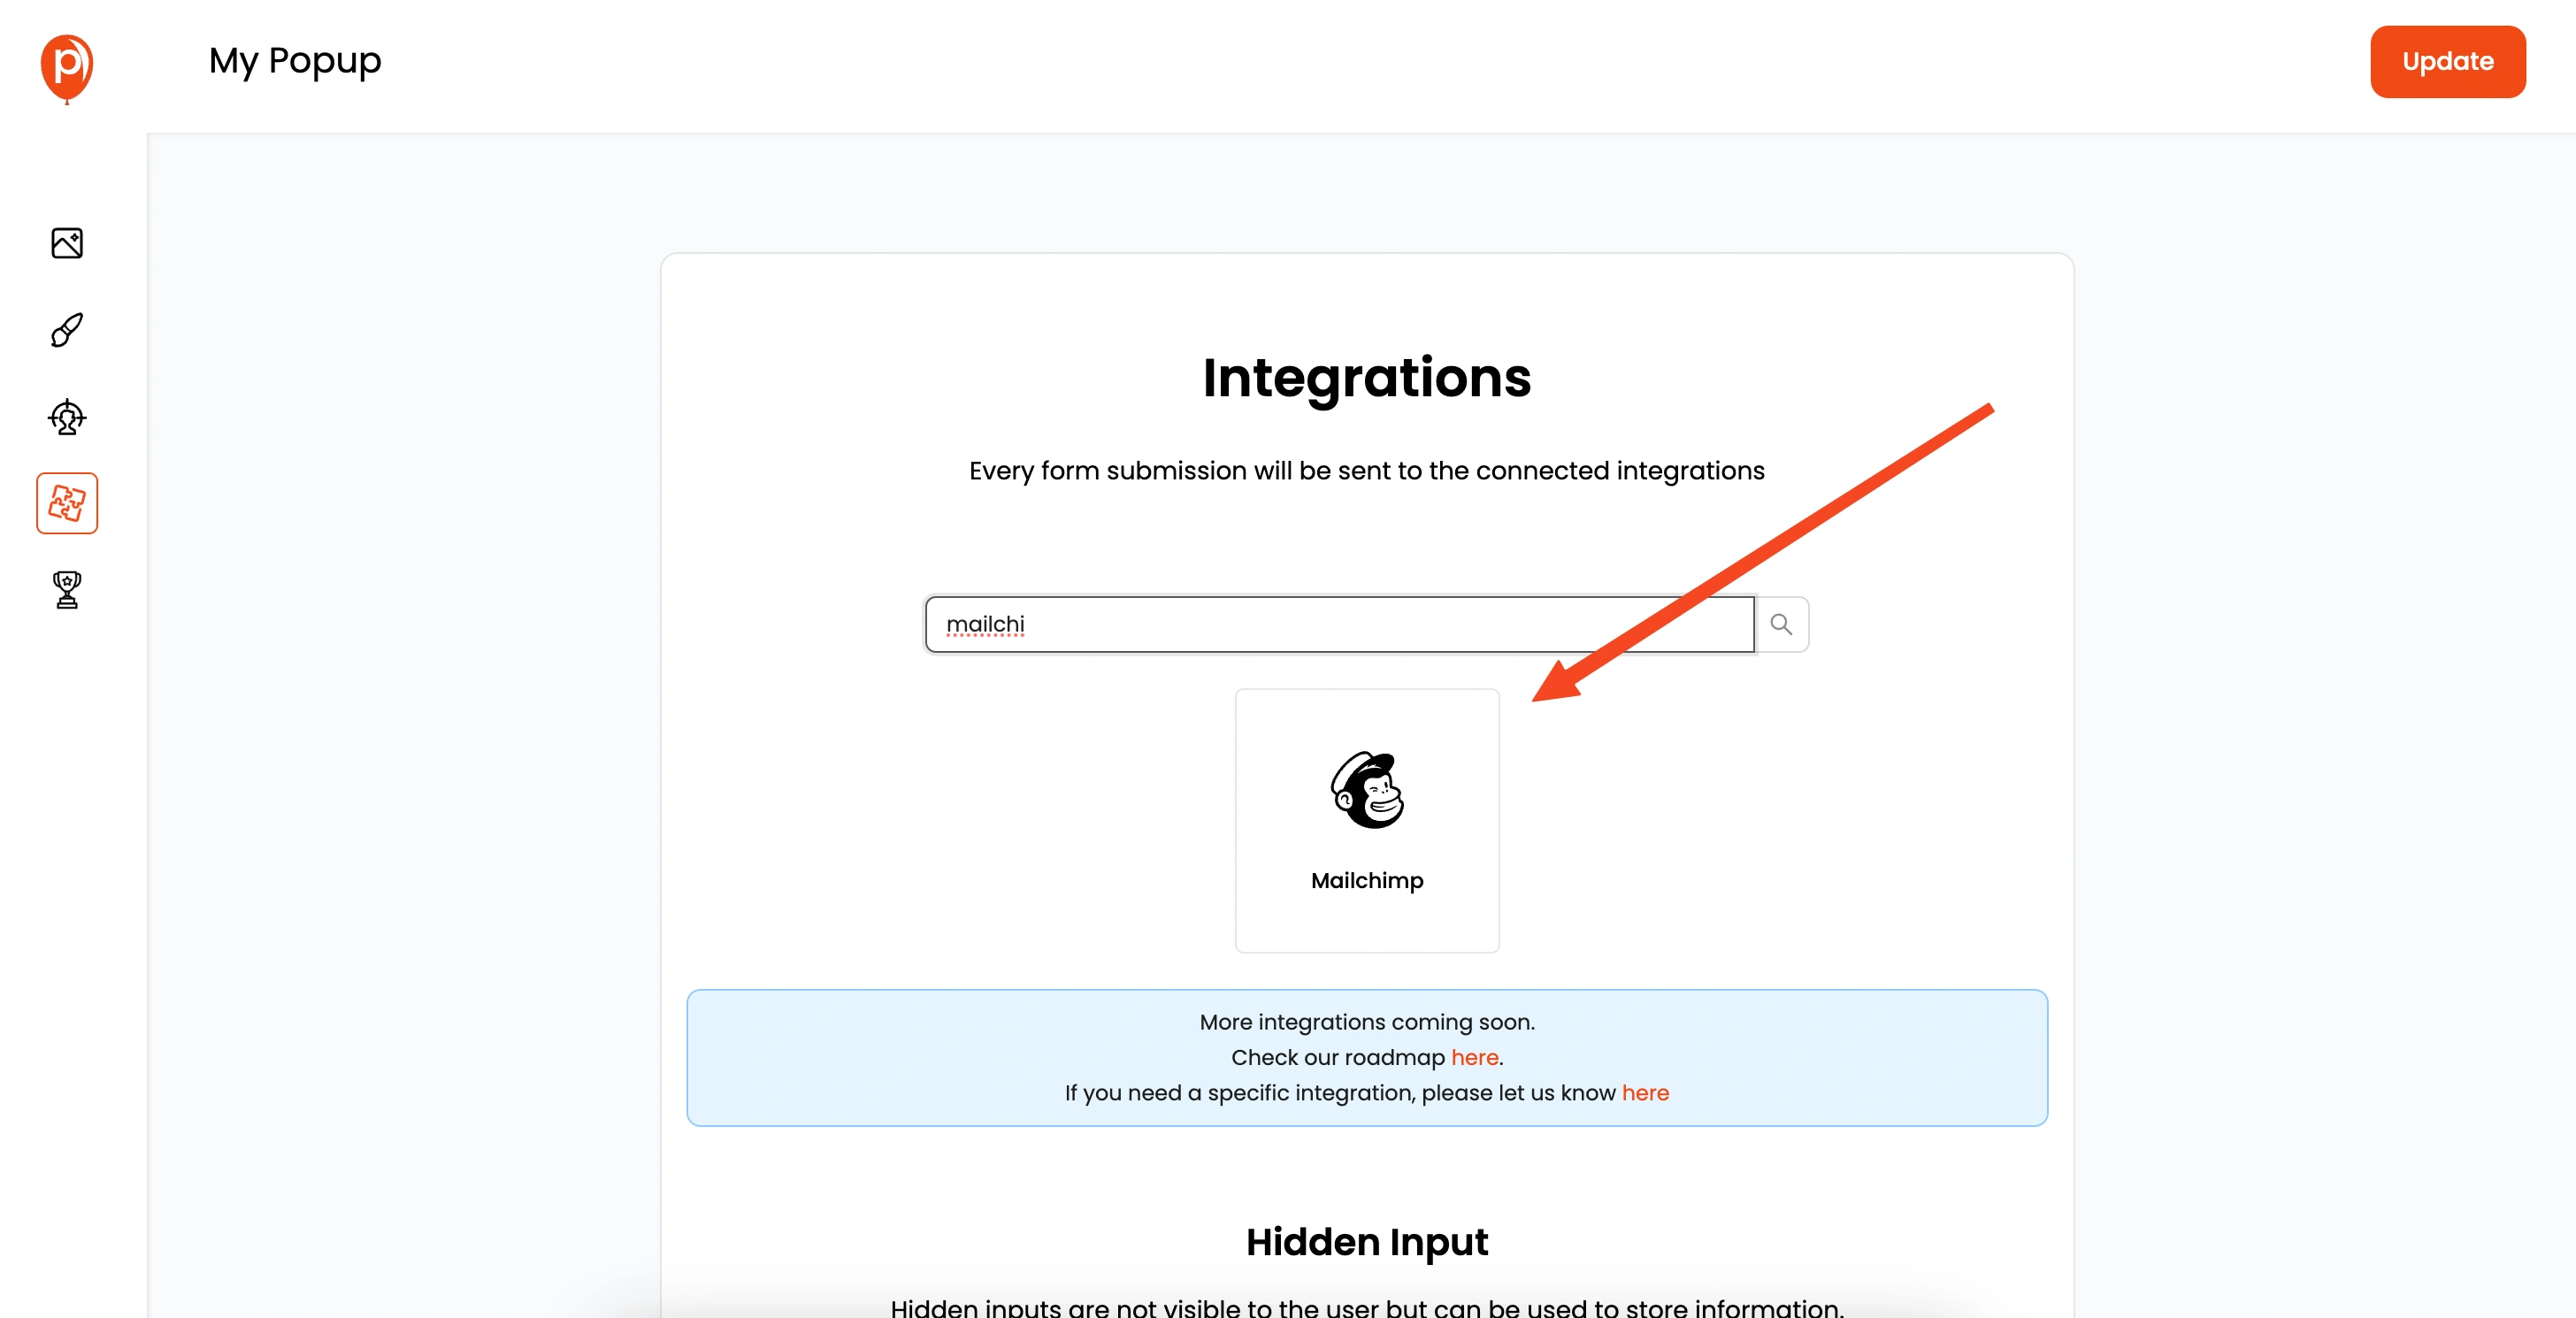
Once you’re done with Display Conditions, click "Next" again to get to integrations. Here you can connect the popup with your preferred email marketing platform.
Poper connects seamlessly with tools like Zapier, Mailchimp, Klaviyo, and more. Select the platform you use and complete the required steps to get everything connected.
7. Save and Publish

After setting up your email integration, it's time to save and publish your popup. Hit the "Save & Publish" button, and your newsletter popup is almost ready to go live.
8. Get Your Custom Code
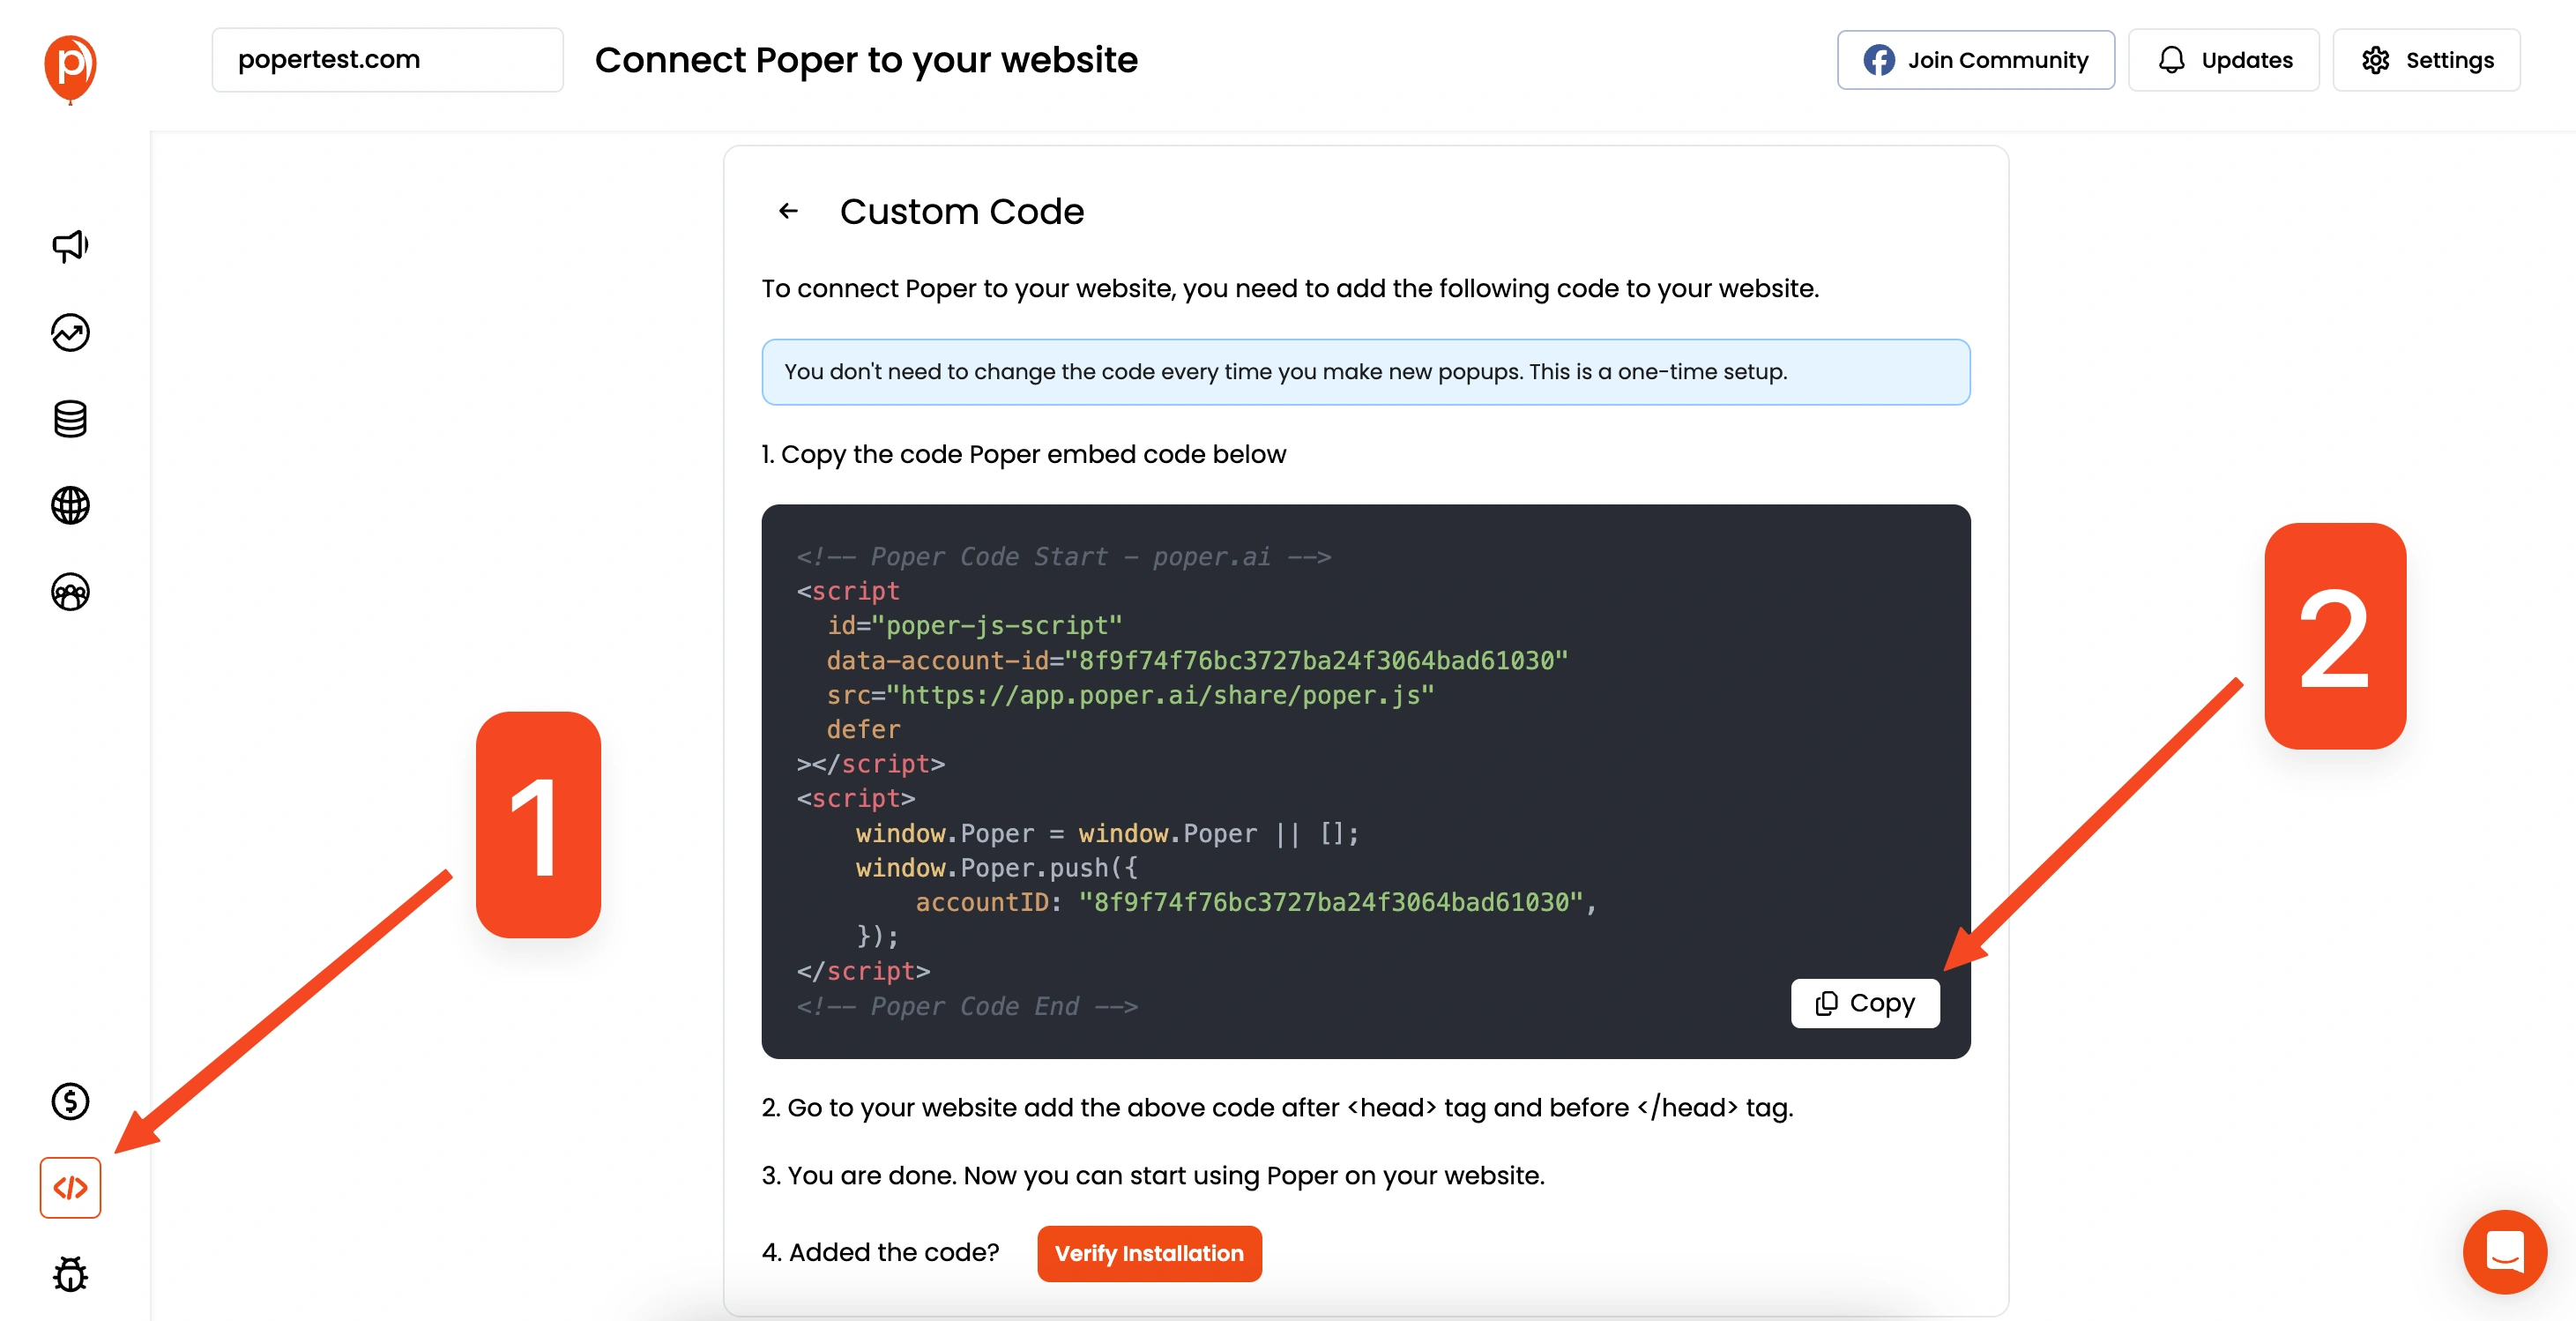
Now you need to add the Poper code to your Shopify store. Navigate to the code section on the left navigation bar of your Poper workspace. Select the "Custom Code" option and copy the code snippet provided. This code connects your Poper popups to your Shopify site.
9. Access Your Shopify Theme Code
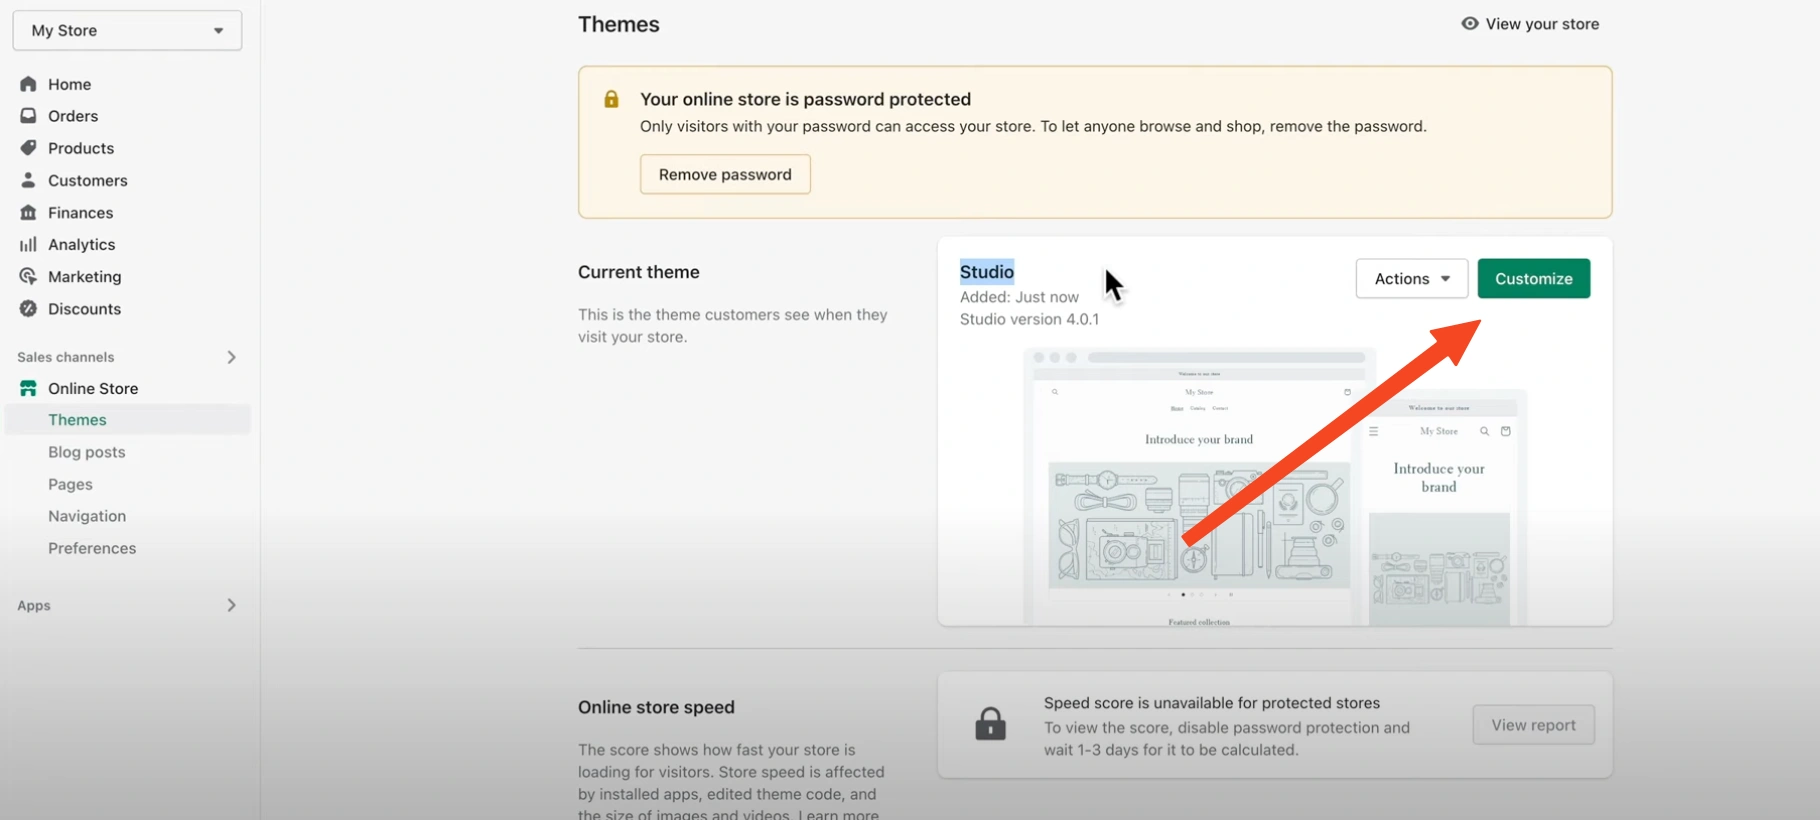
Now, switch back to your Shopify admin panel. Go to "Online Store", then "Themes", and click "Edit code" on your active theme. This is where you'll paste the code you copied from Poper.
10. Paste Code in Header
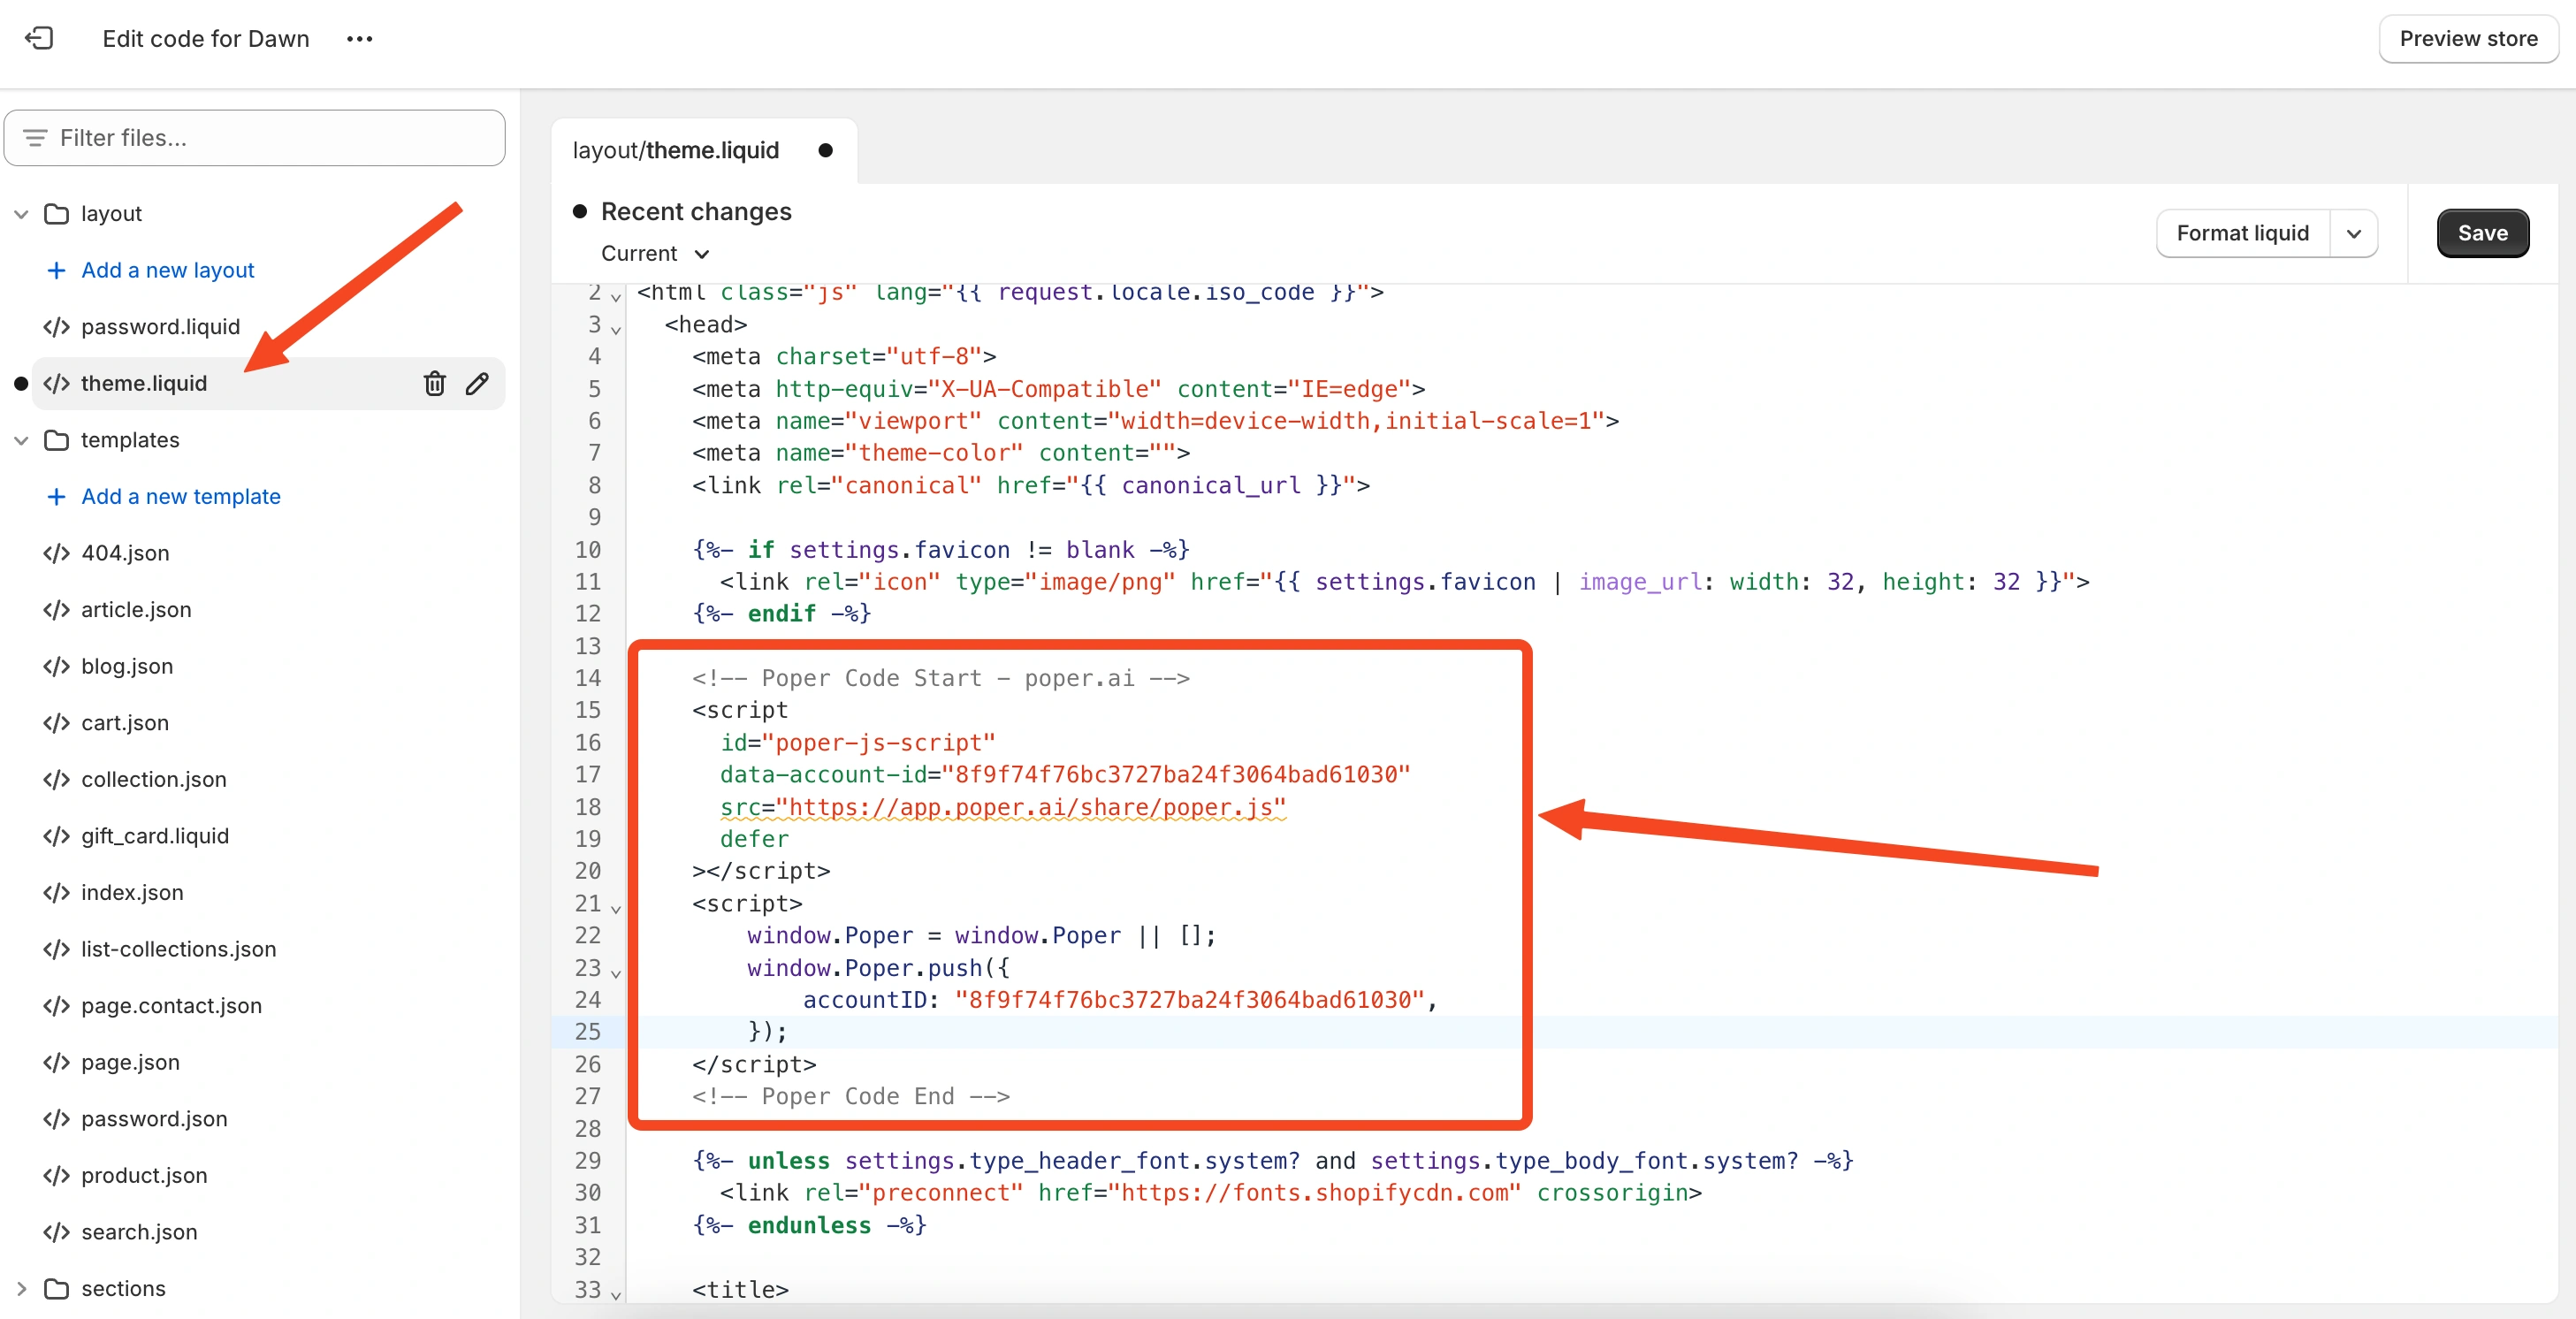
Inside the code editor, find the header.liquid file. Scroll down until you find the <head> section. Paste the Poper code you copied into the head section and click “Save”.
11. Check your Store
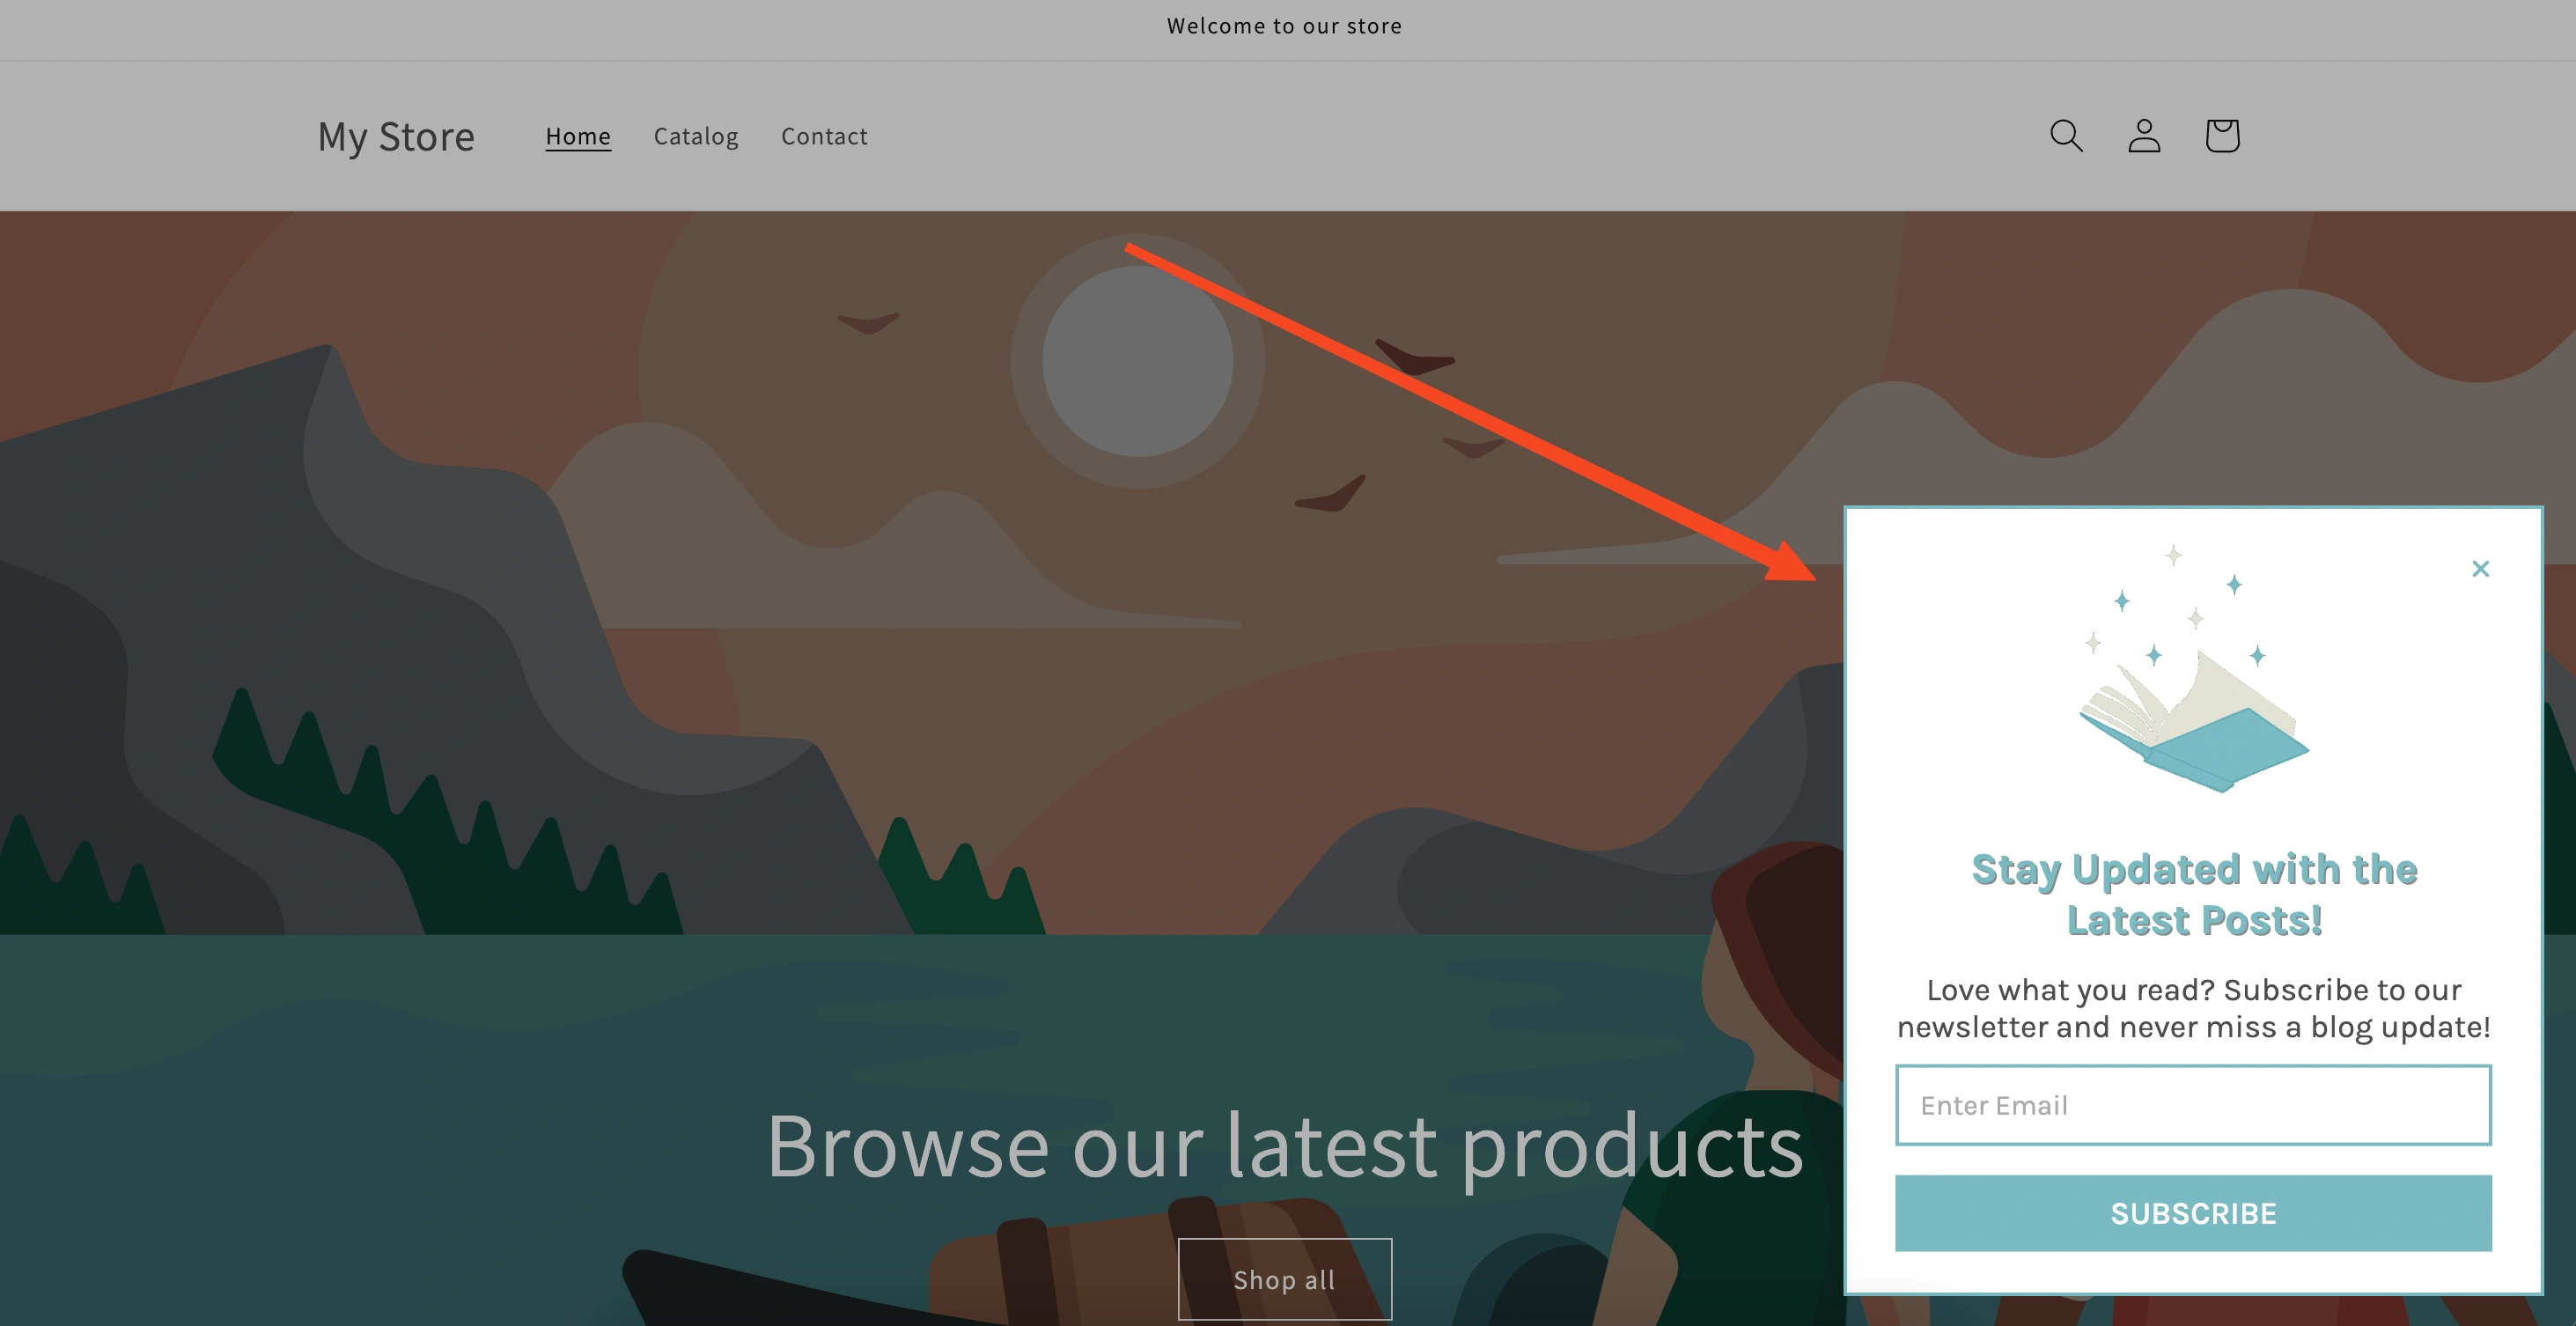
And that's it! Your newsletter popup should now be visible on your Shopify store. Visit your site and confirm the popup is working as expected.
By following these steps, you’ll have an engaging newsletter popup on your Shopify store, ready to collect emails and keep your customers updated. It's all about making the user experience better, and with Poper, it's easy to achieve.

