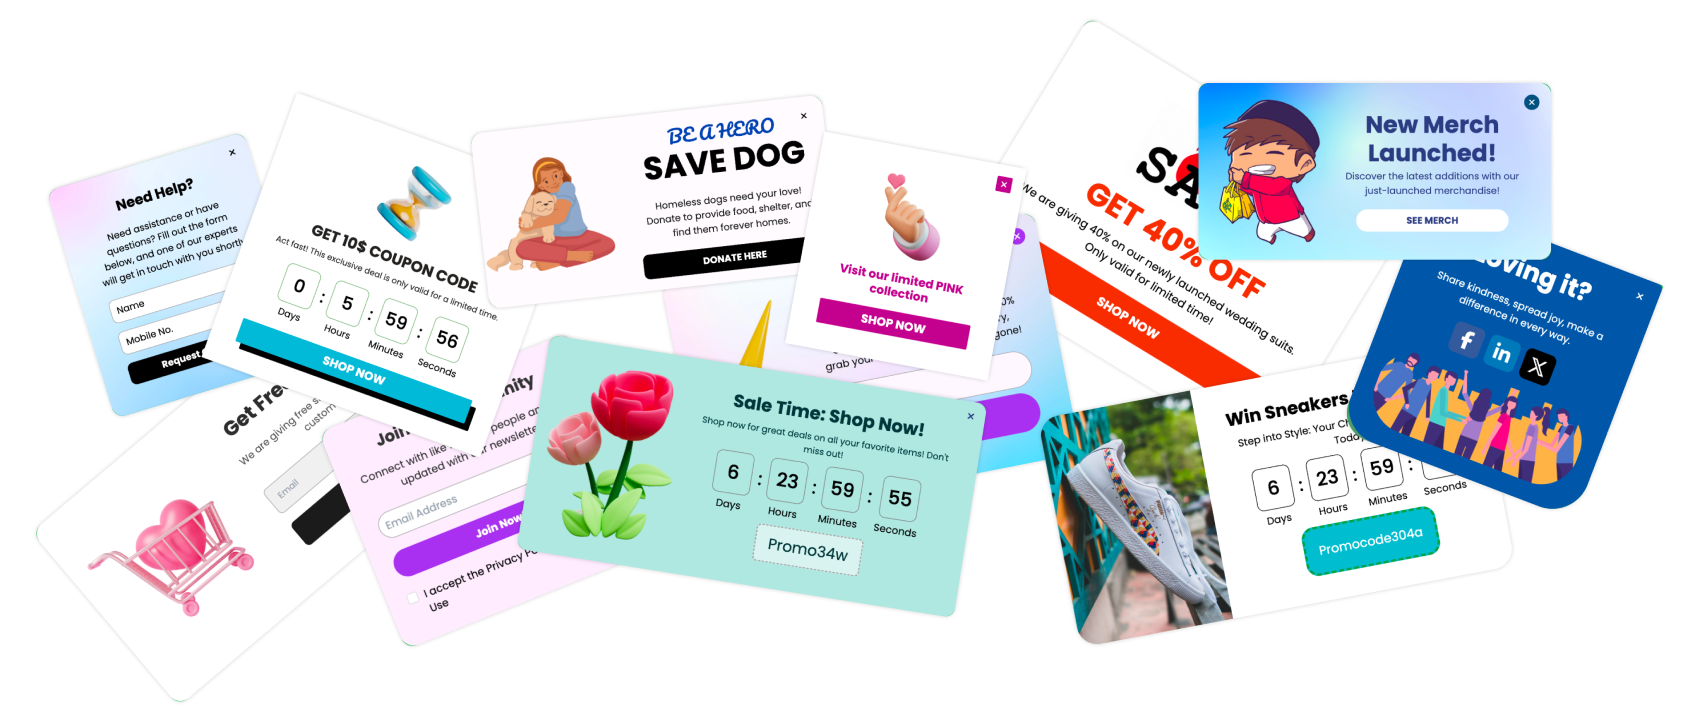
Creating popups in HTML can be hard. You could use different libraries but coding the logic for targeting the right users and setting triggers takes time and effort. I'm going to show you two ways to make a popup:
Using Poper
Using HTML code
Let's get started!
The Easy Way: Using Poper
If your HTML website is hosted on a domain, you can easily use Poper to display smart popups.
1. Create a Poper Account
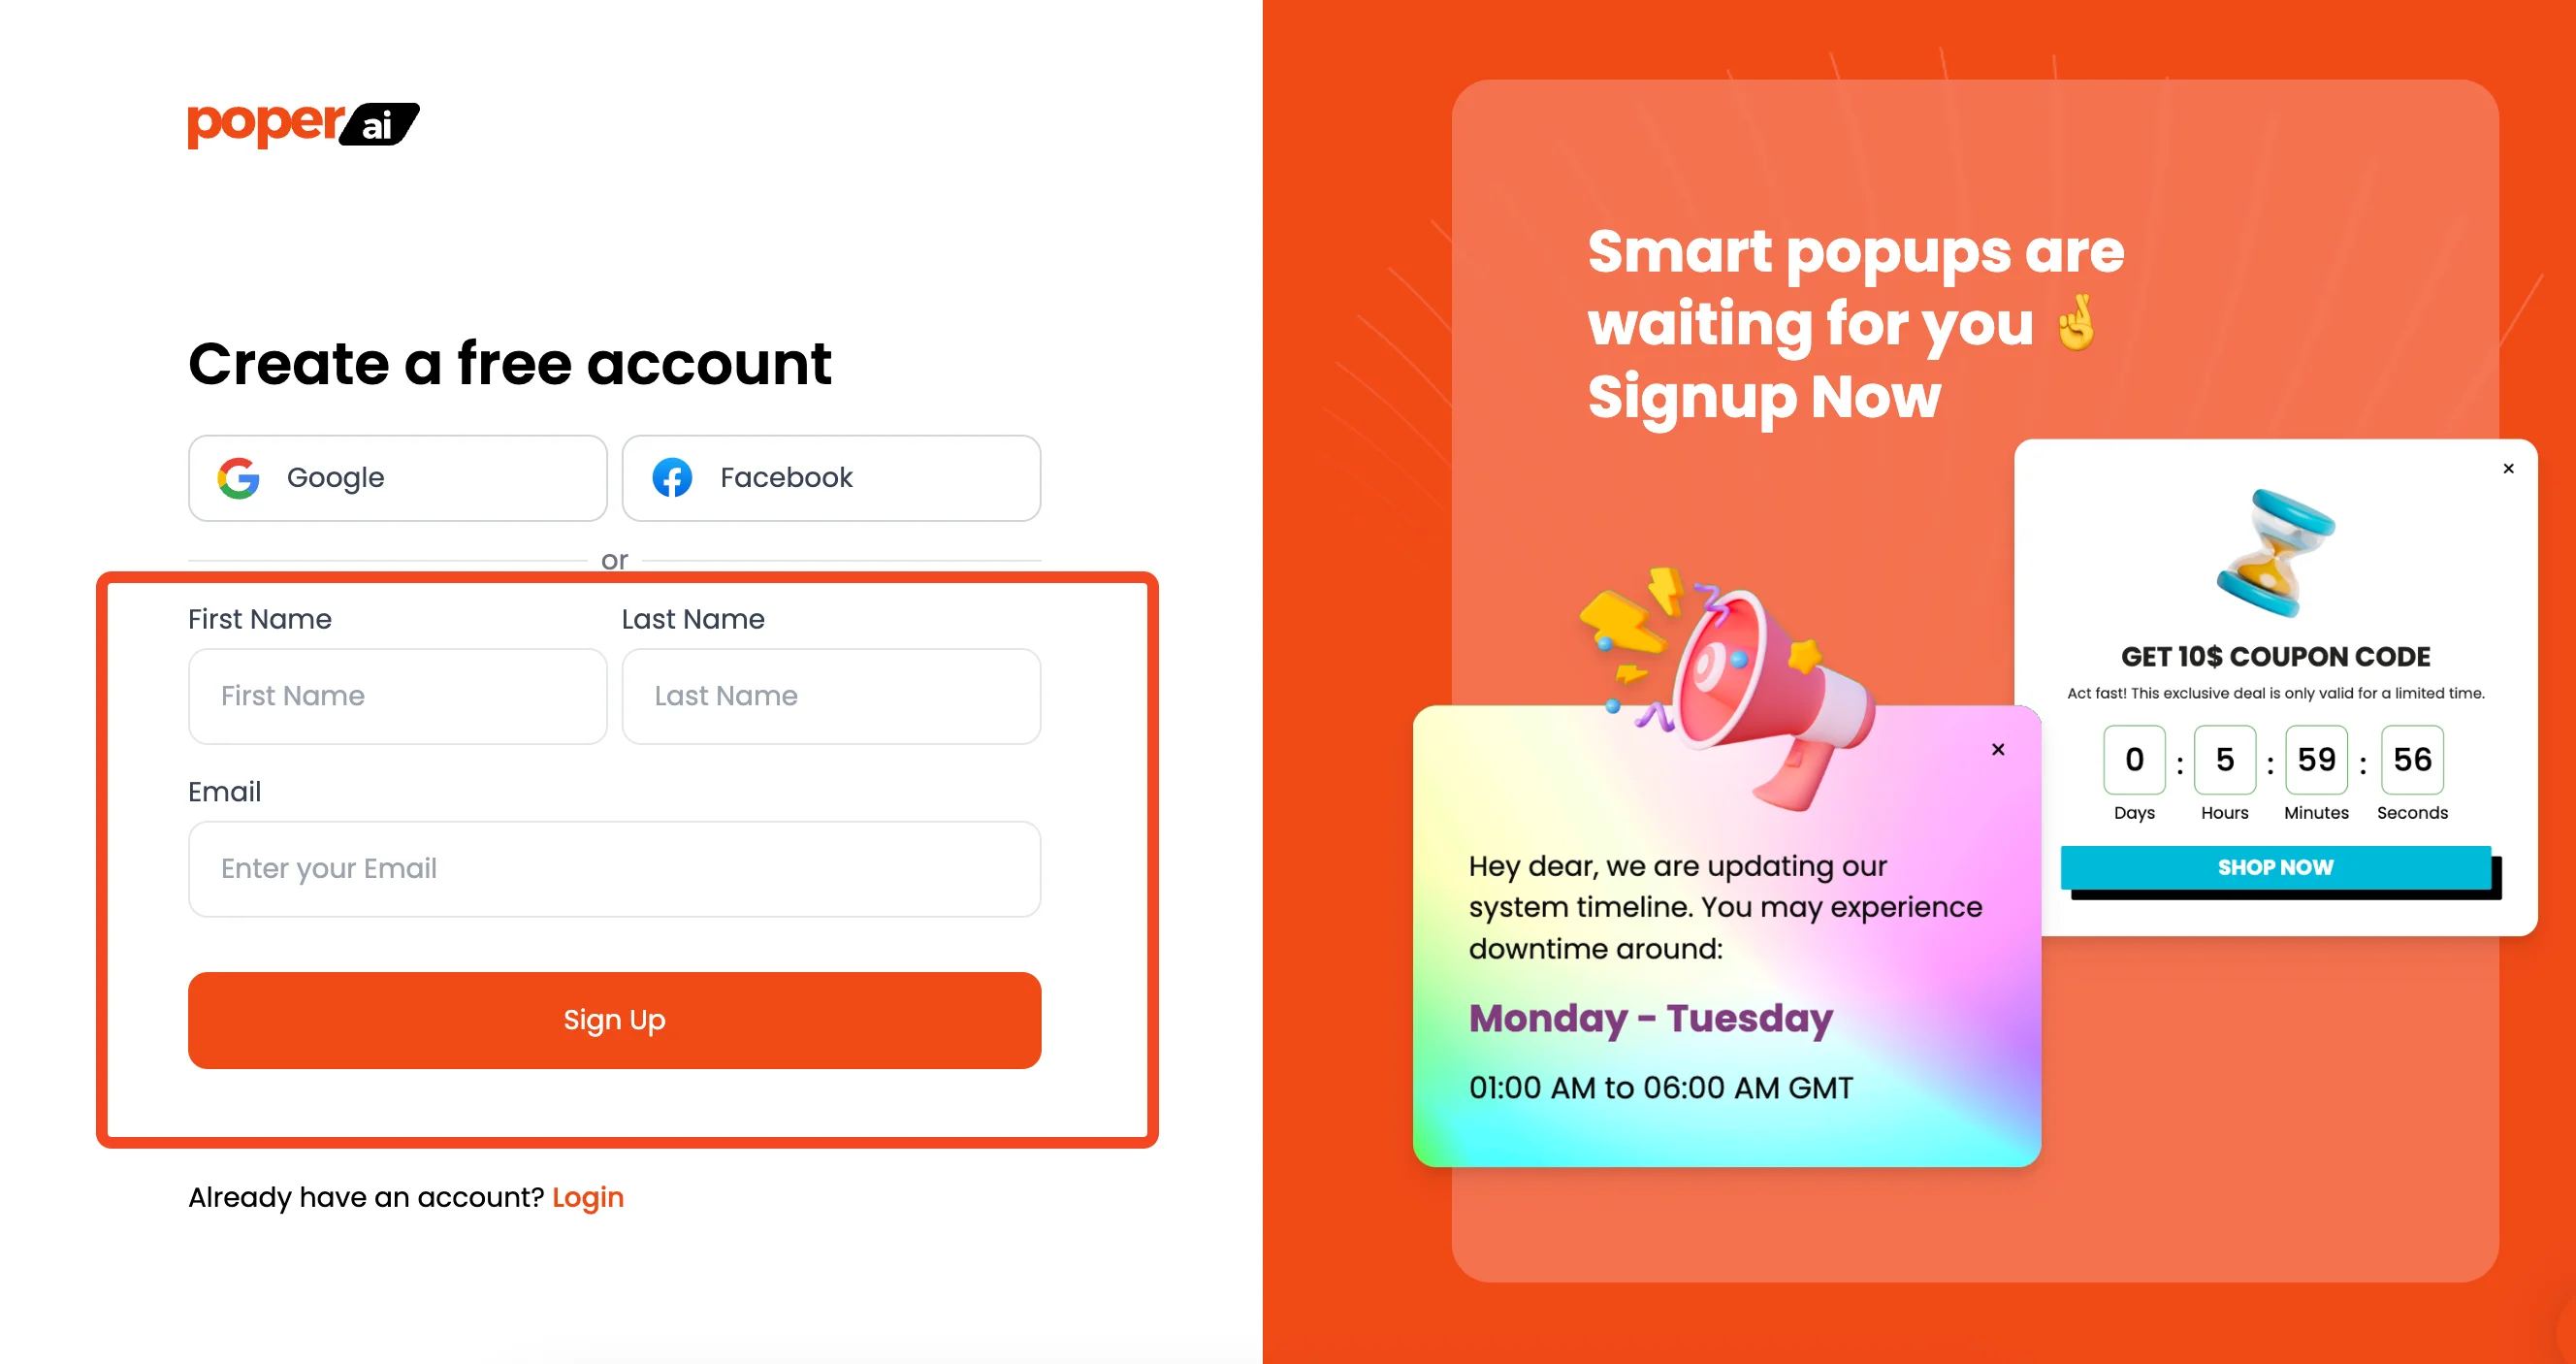
First, you'll need to sign up for Poper. This is where you'll create and manage your popups.
2. Add Your Domain and Create a Popup
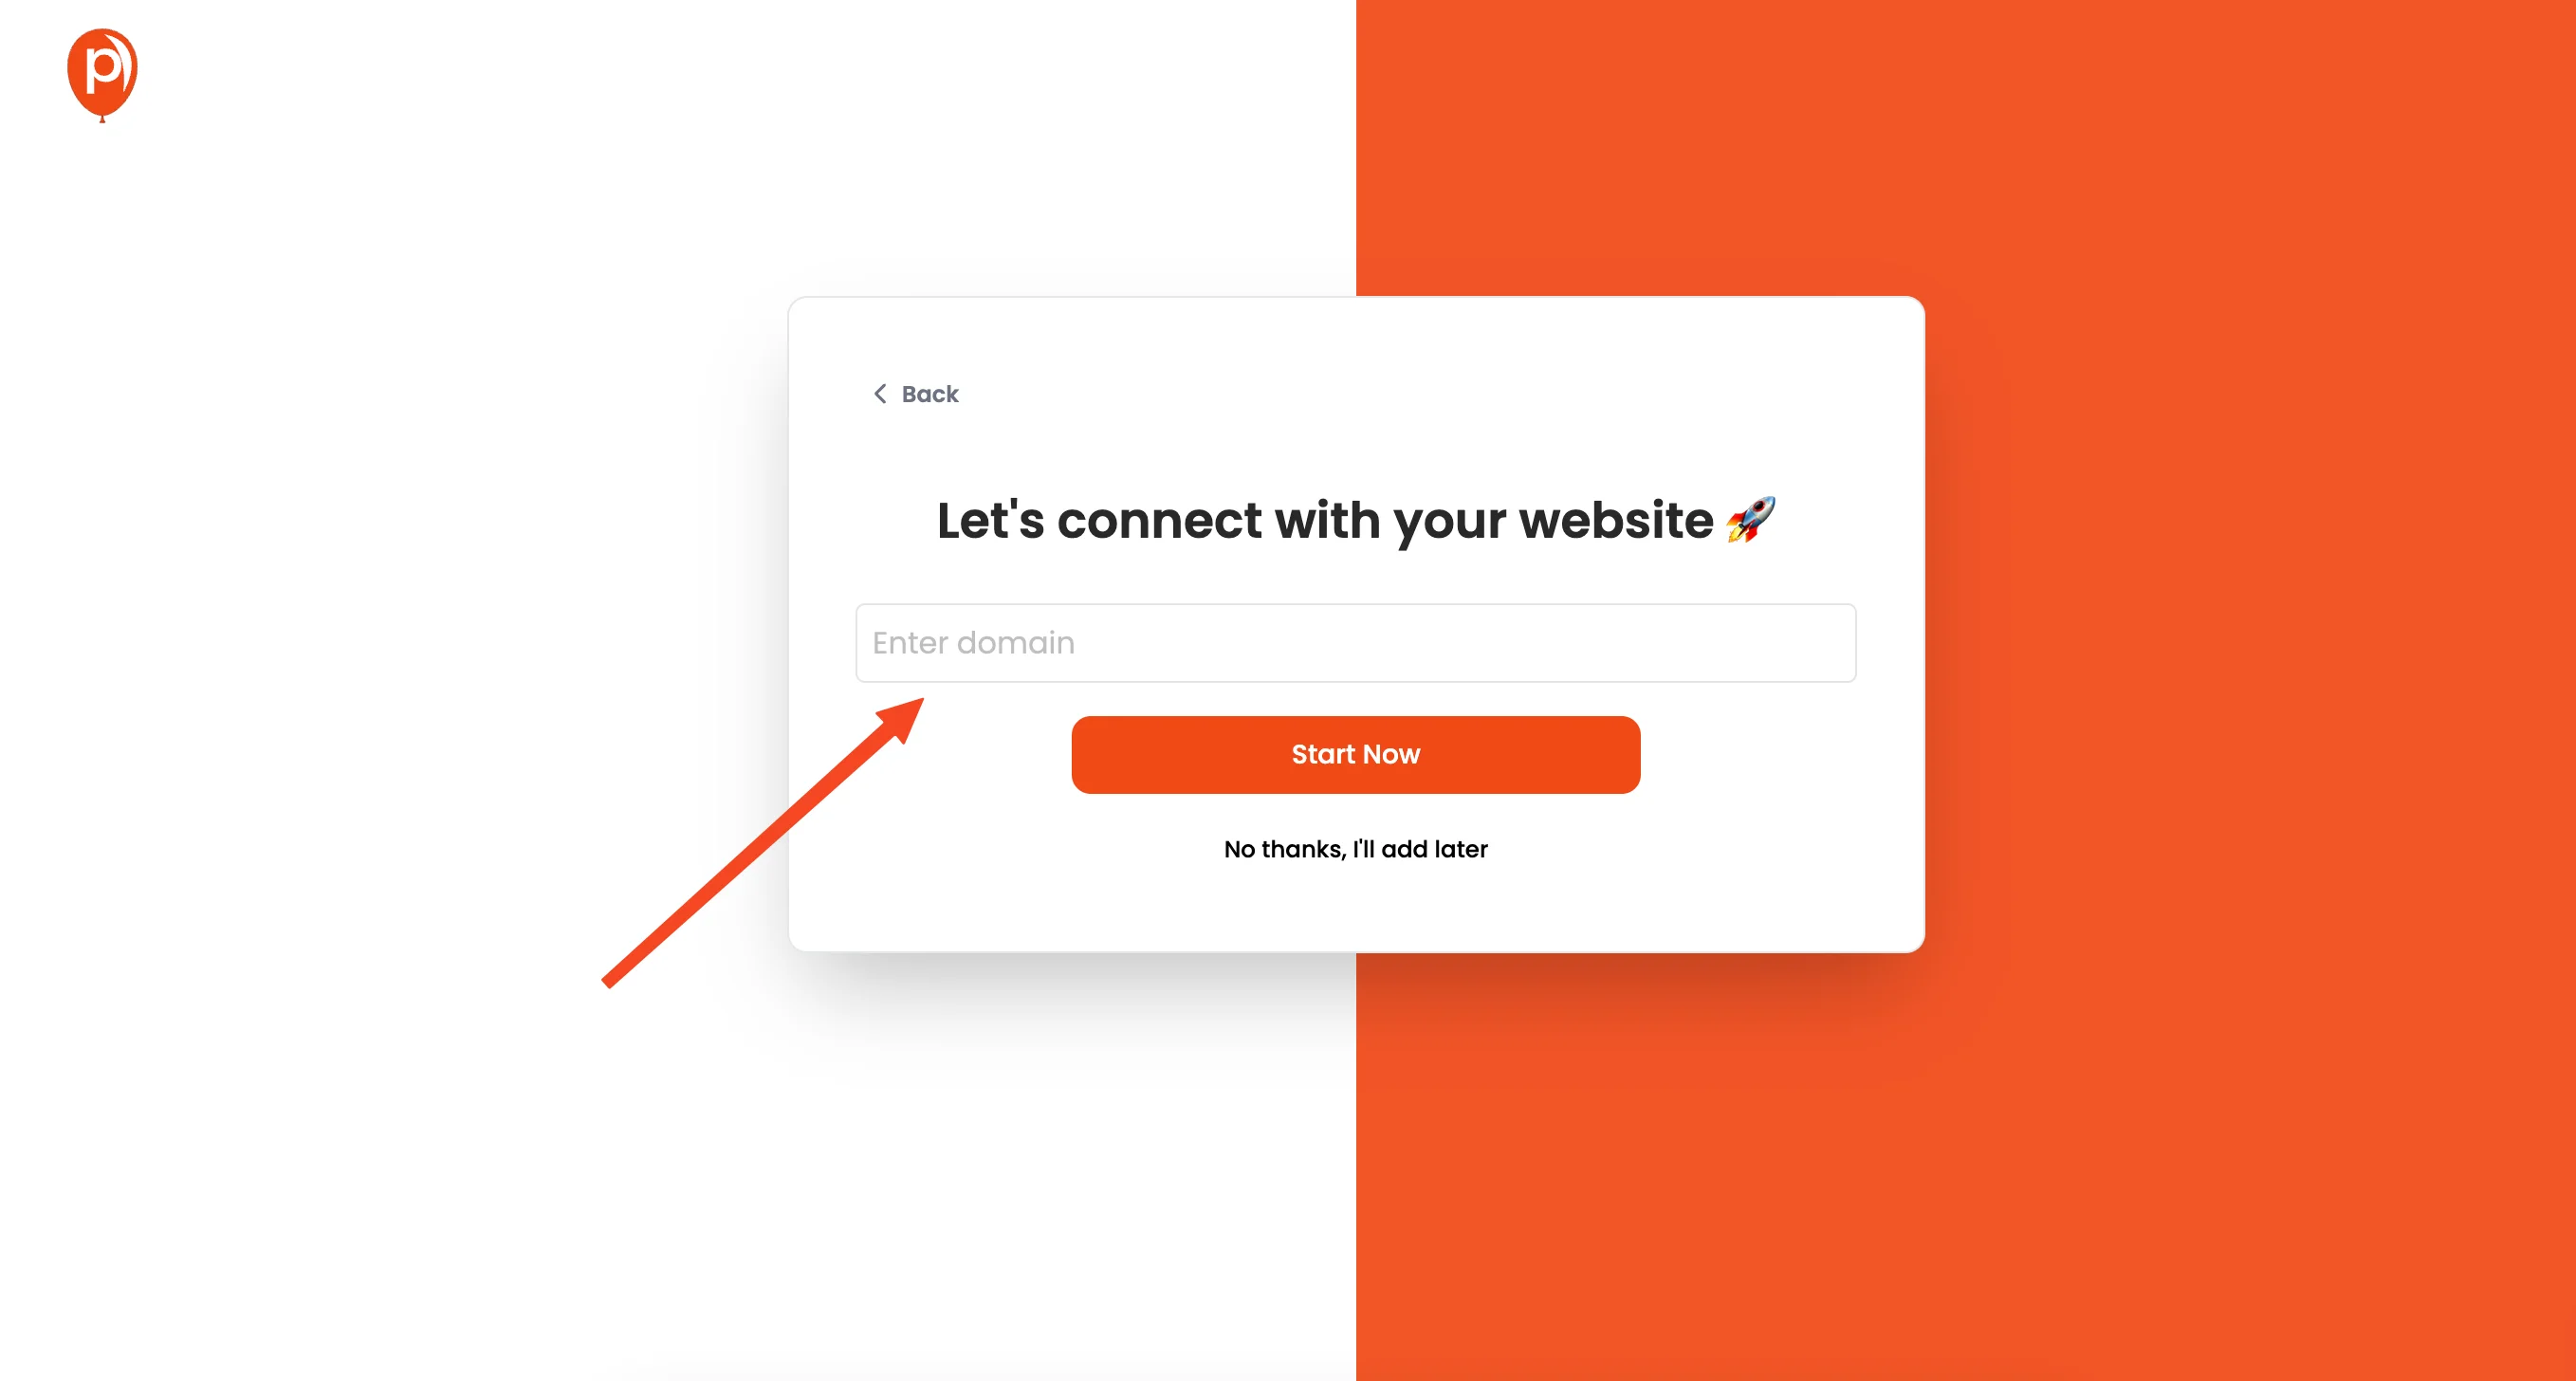
Once you're signed up, add your website's domain to Poper. Then, start by creating a new popup.
3. Choose a Template
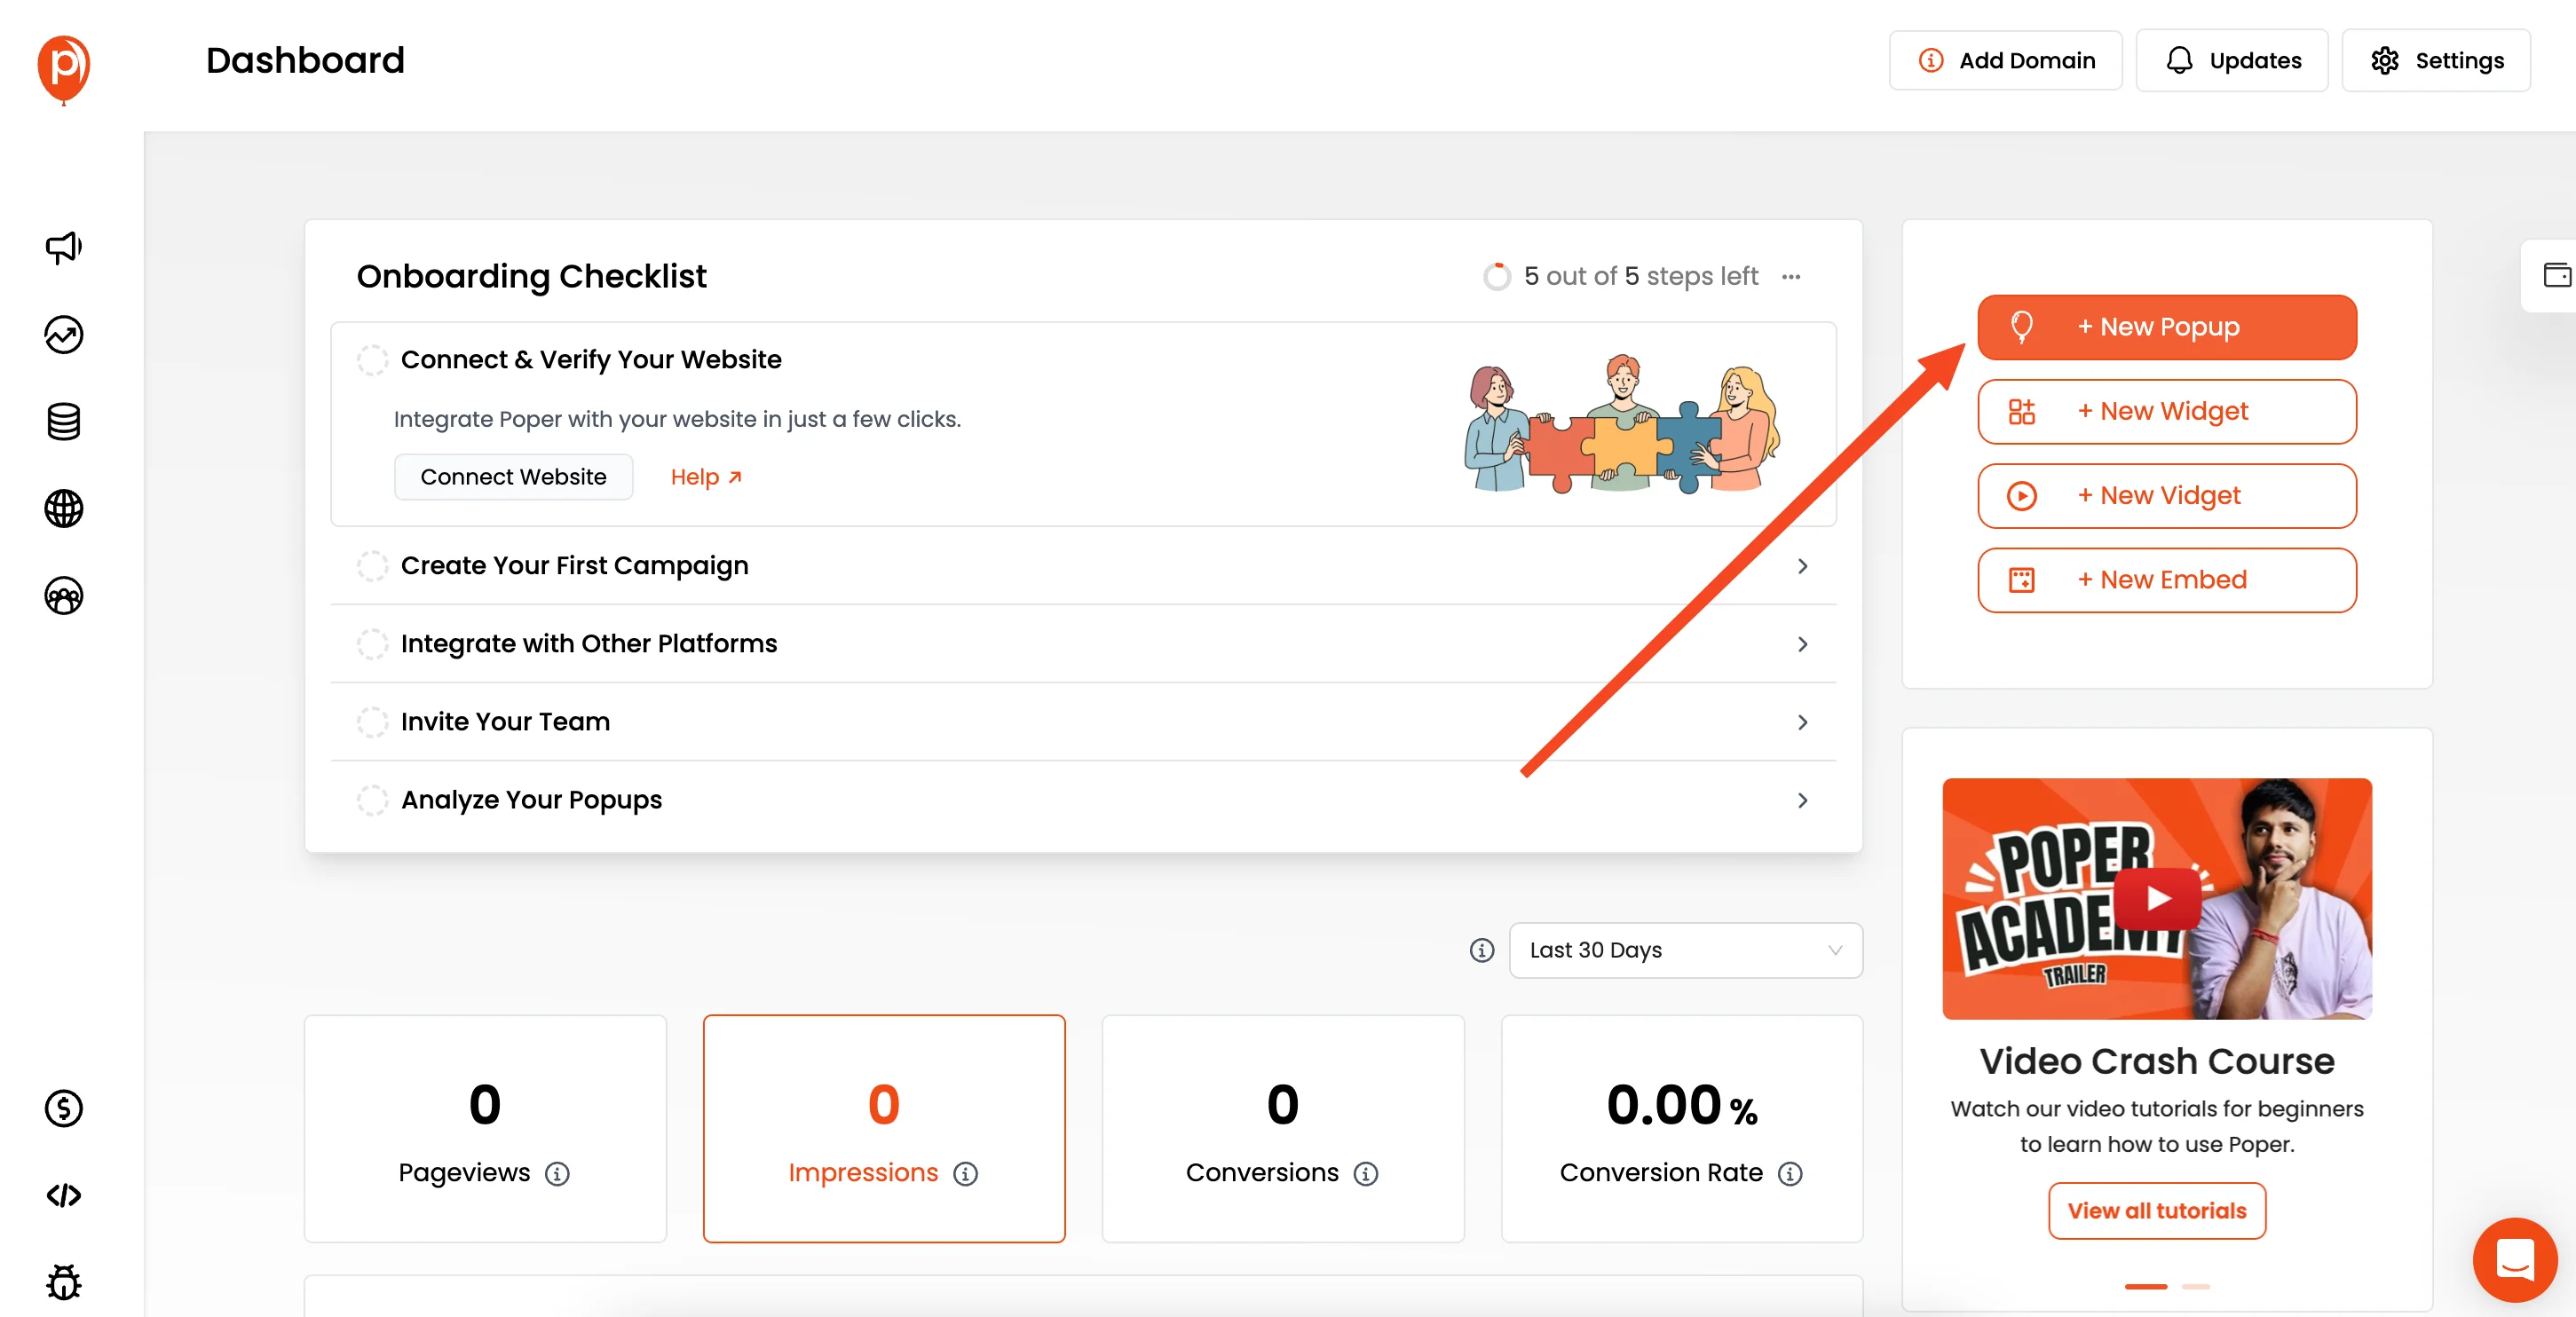
Click the "New Popup" button and choose from our library of templates.
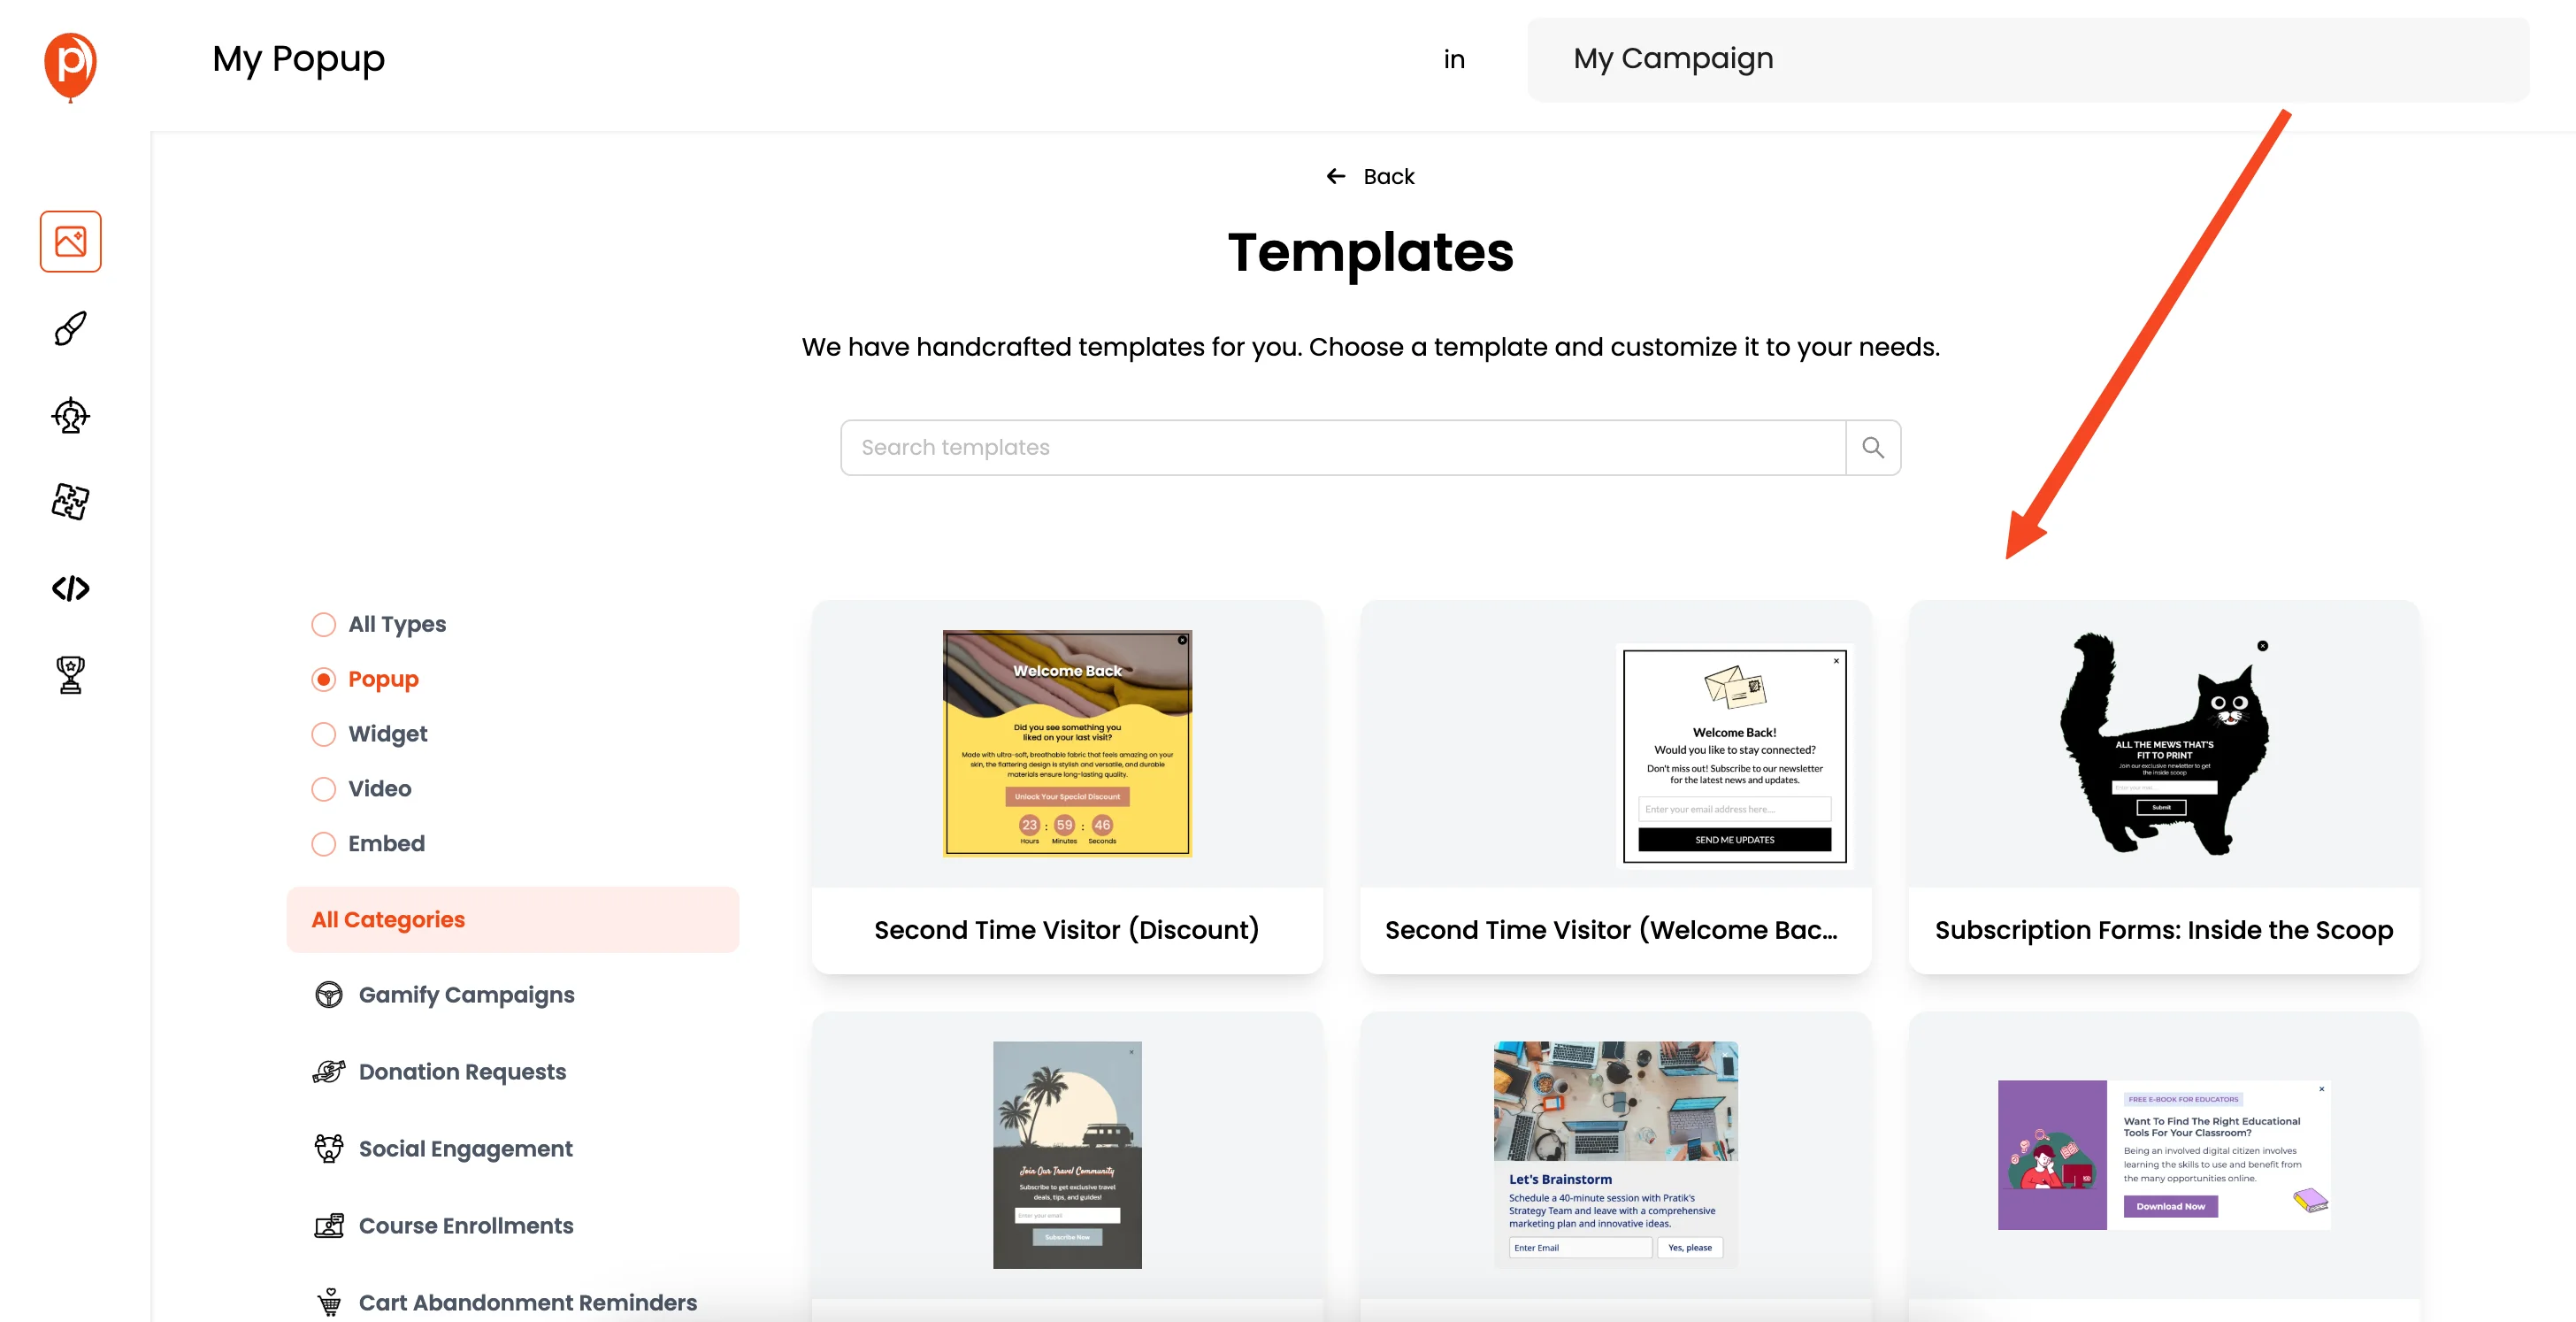
You can use a ready-made template or start from scratch to make a completely custom popup. Many of our customers use Poper to collect leads from their ad campaigns, and more.
4. Customize Your Popup
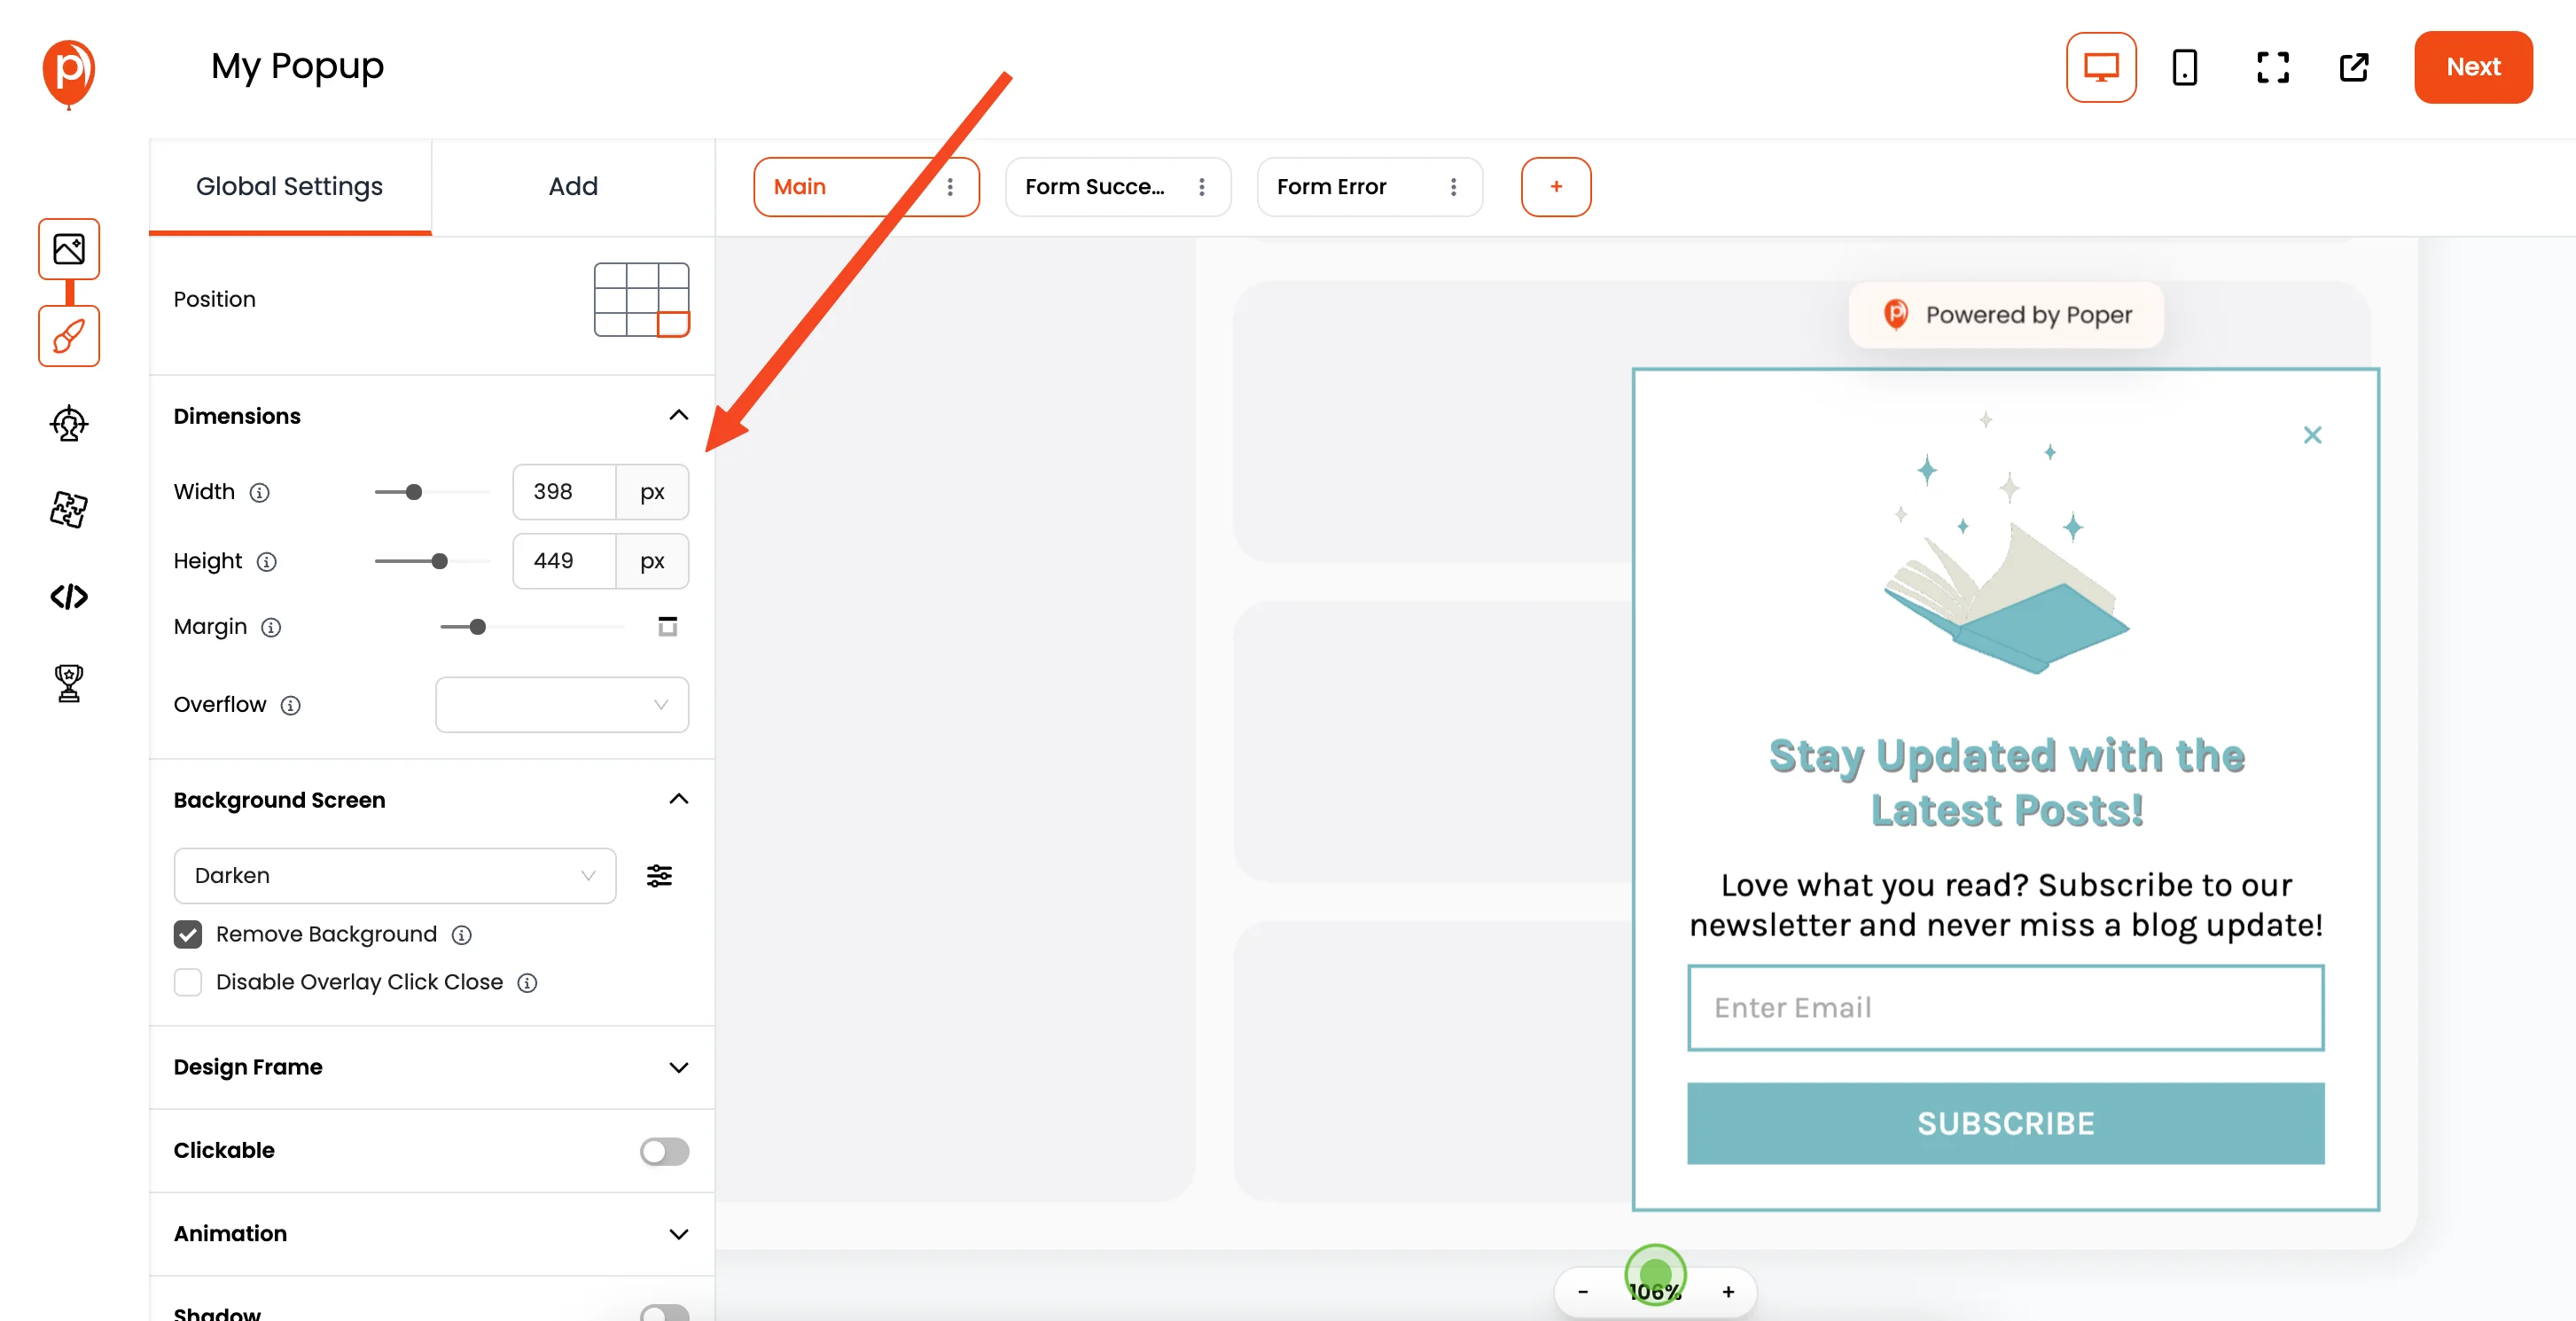
The popup editor will open, allowing you to customize everything. You can adjust fonts, colors, images, and all other elements of the popup until you're happy with the design.
5. Set Display Conditions
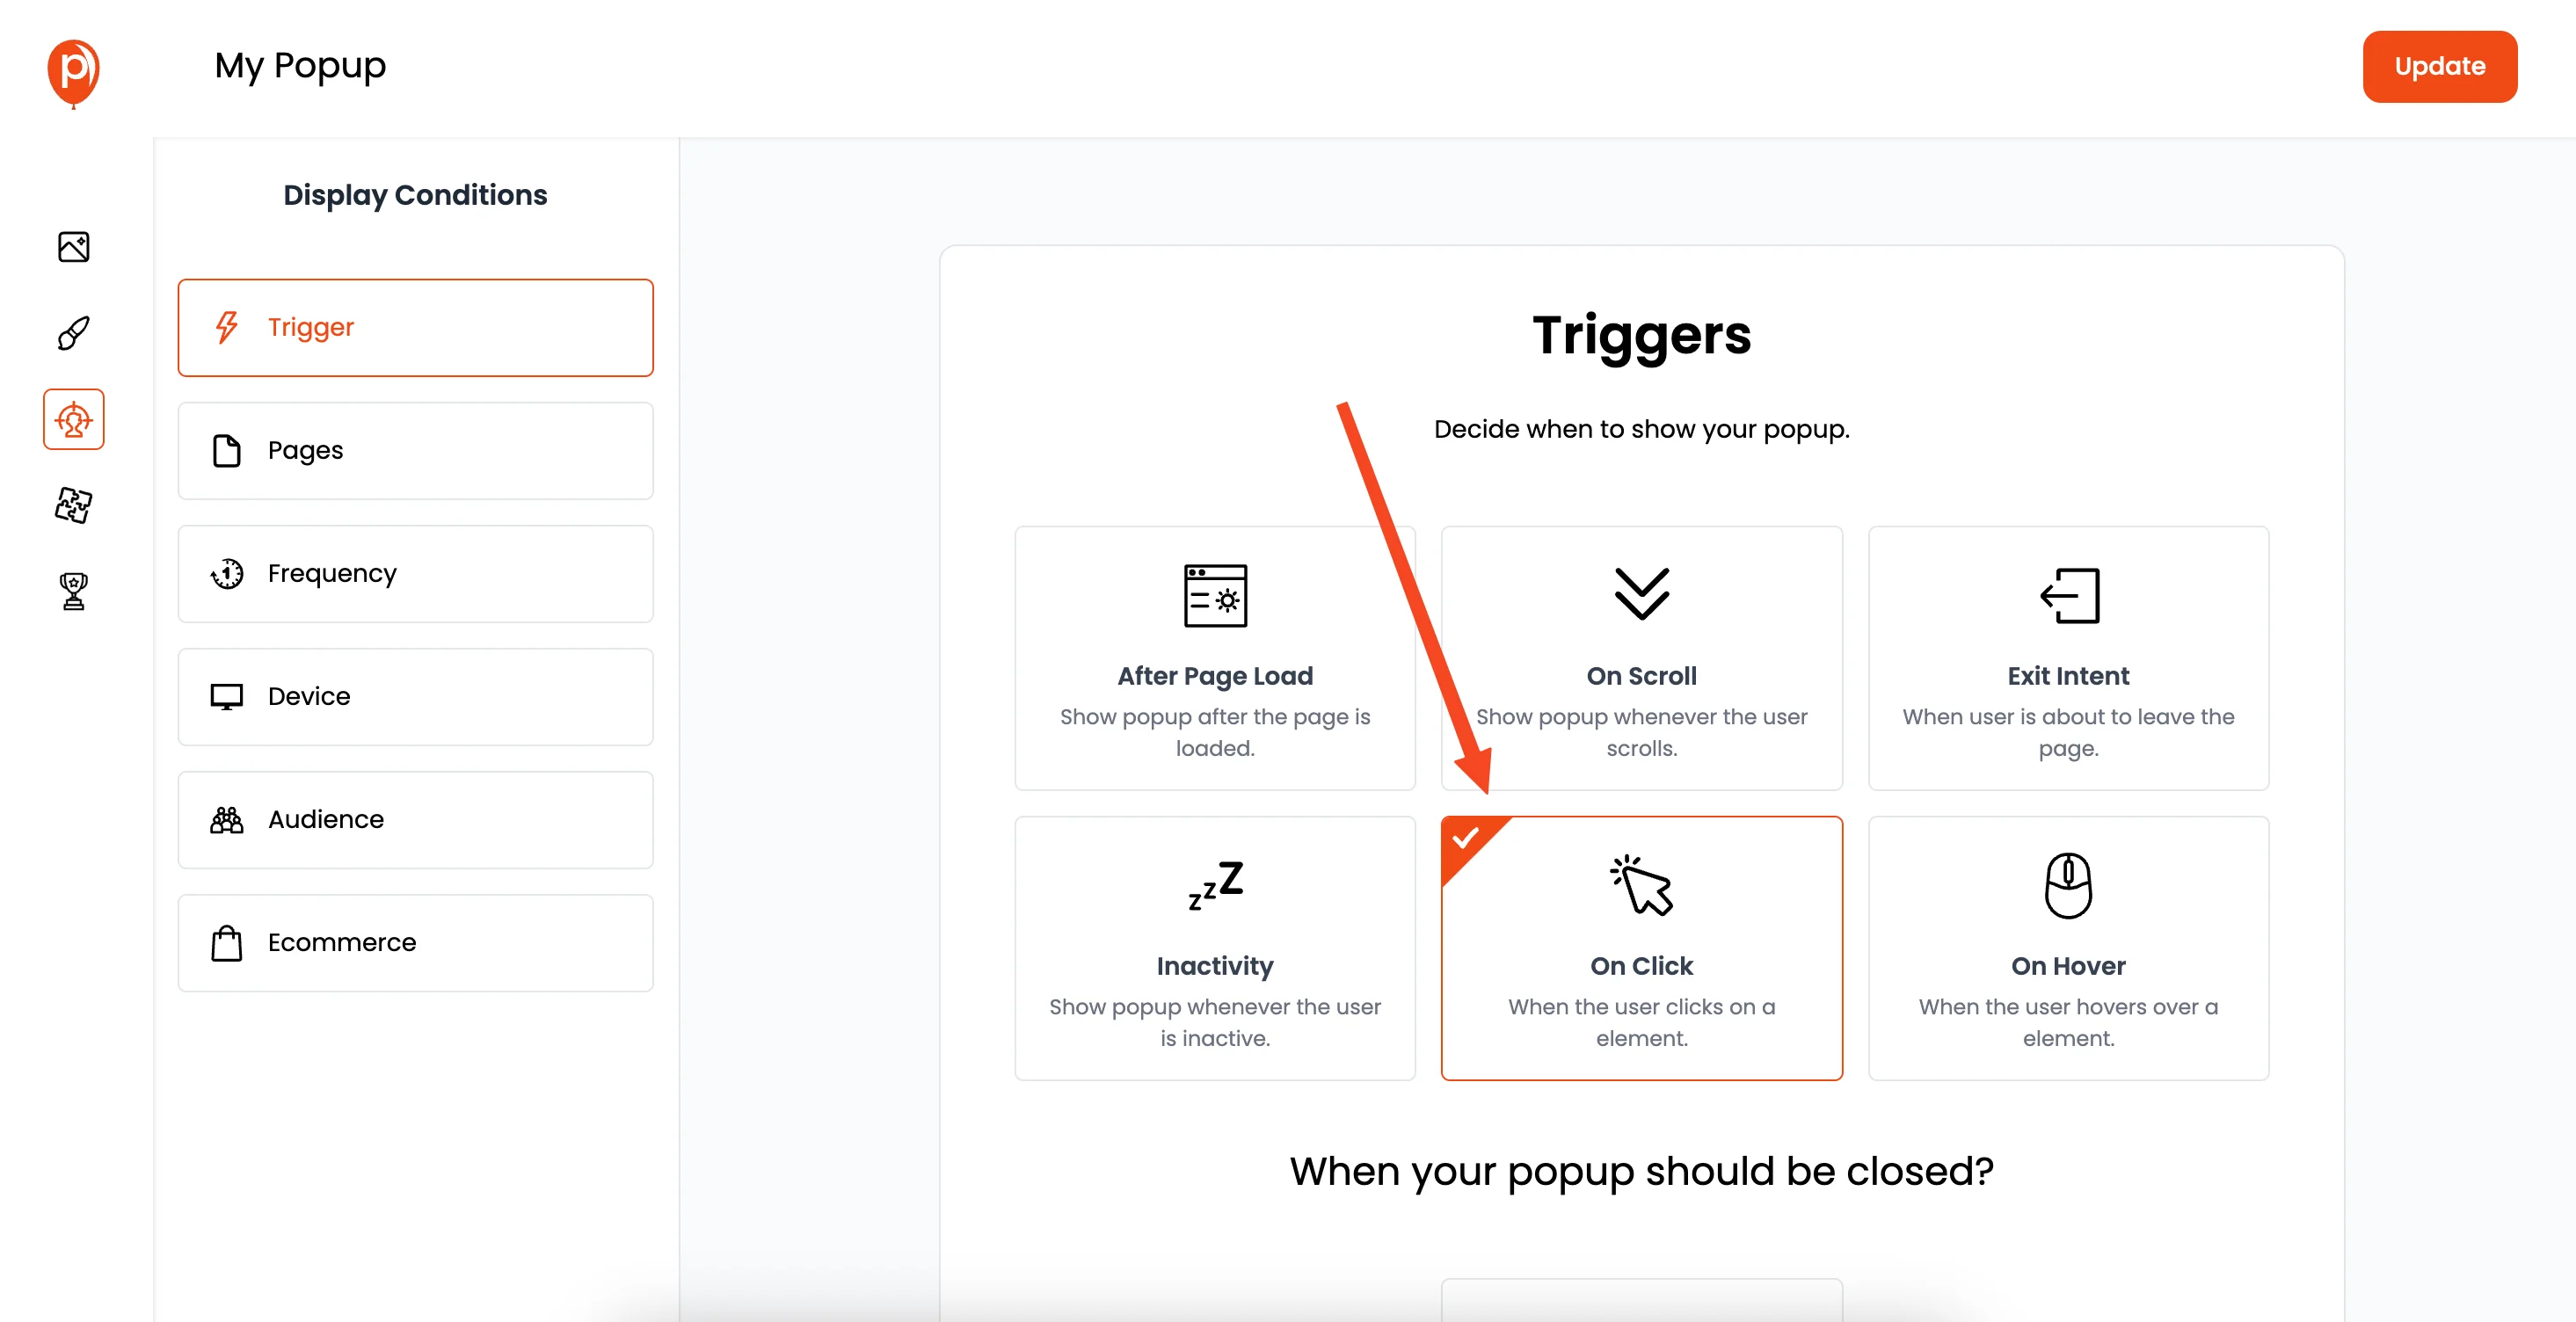
Click "Next" to move to the display conditions page. Here, you can set the popup to appear when a button is clicked. For example, add a CSS targeting for an onclick event like .my-action-button.
Then add the class name .my-action-button to your button in HTML. Now, the Poper popup will open whenever someone clicks the button.
You can also target specific pages, demographics, and more to ensure your popups are shown to the right audience.
6. Connect Integrations
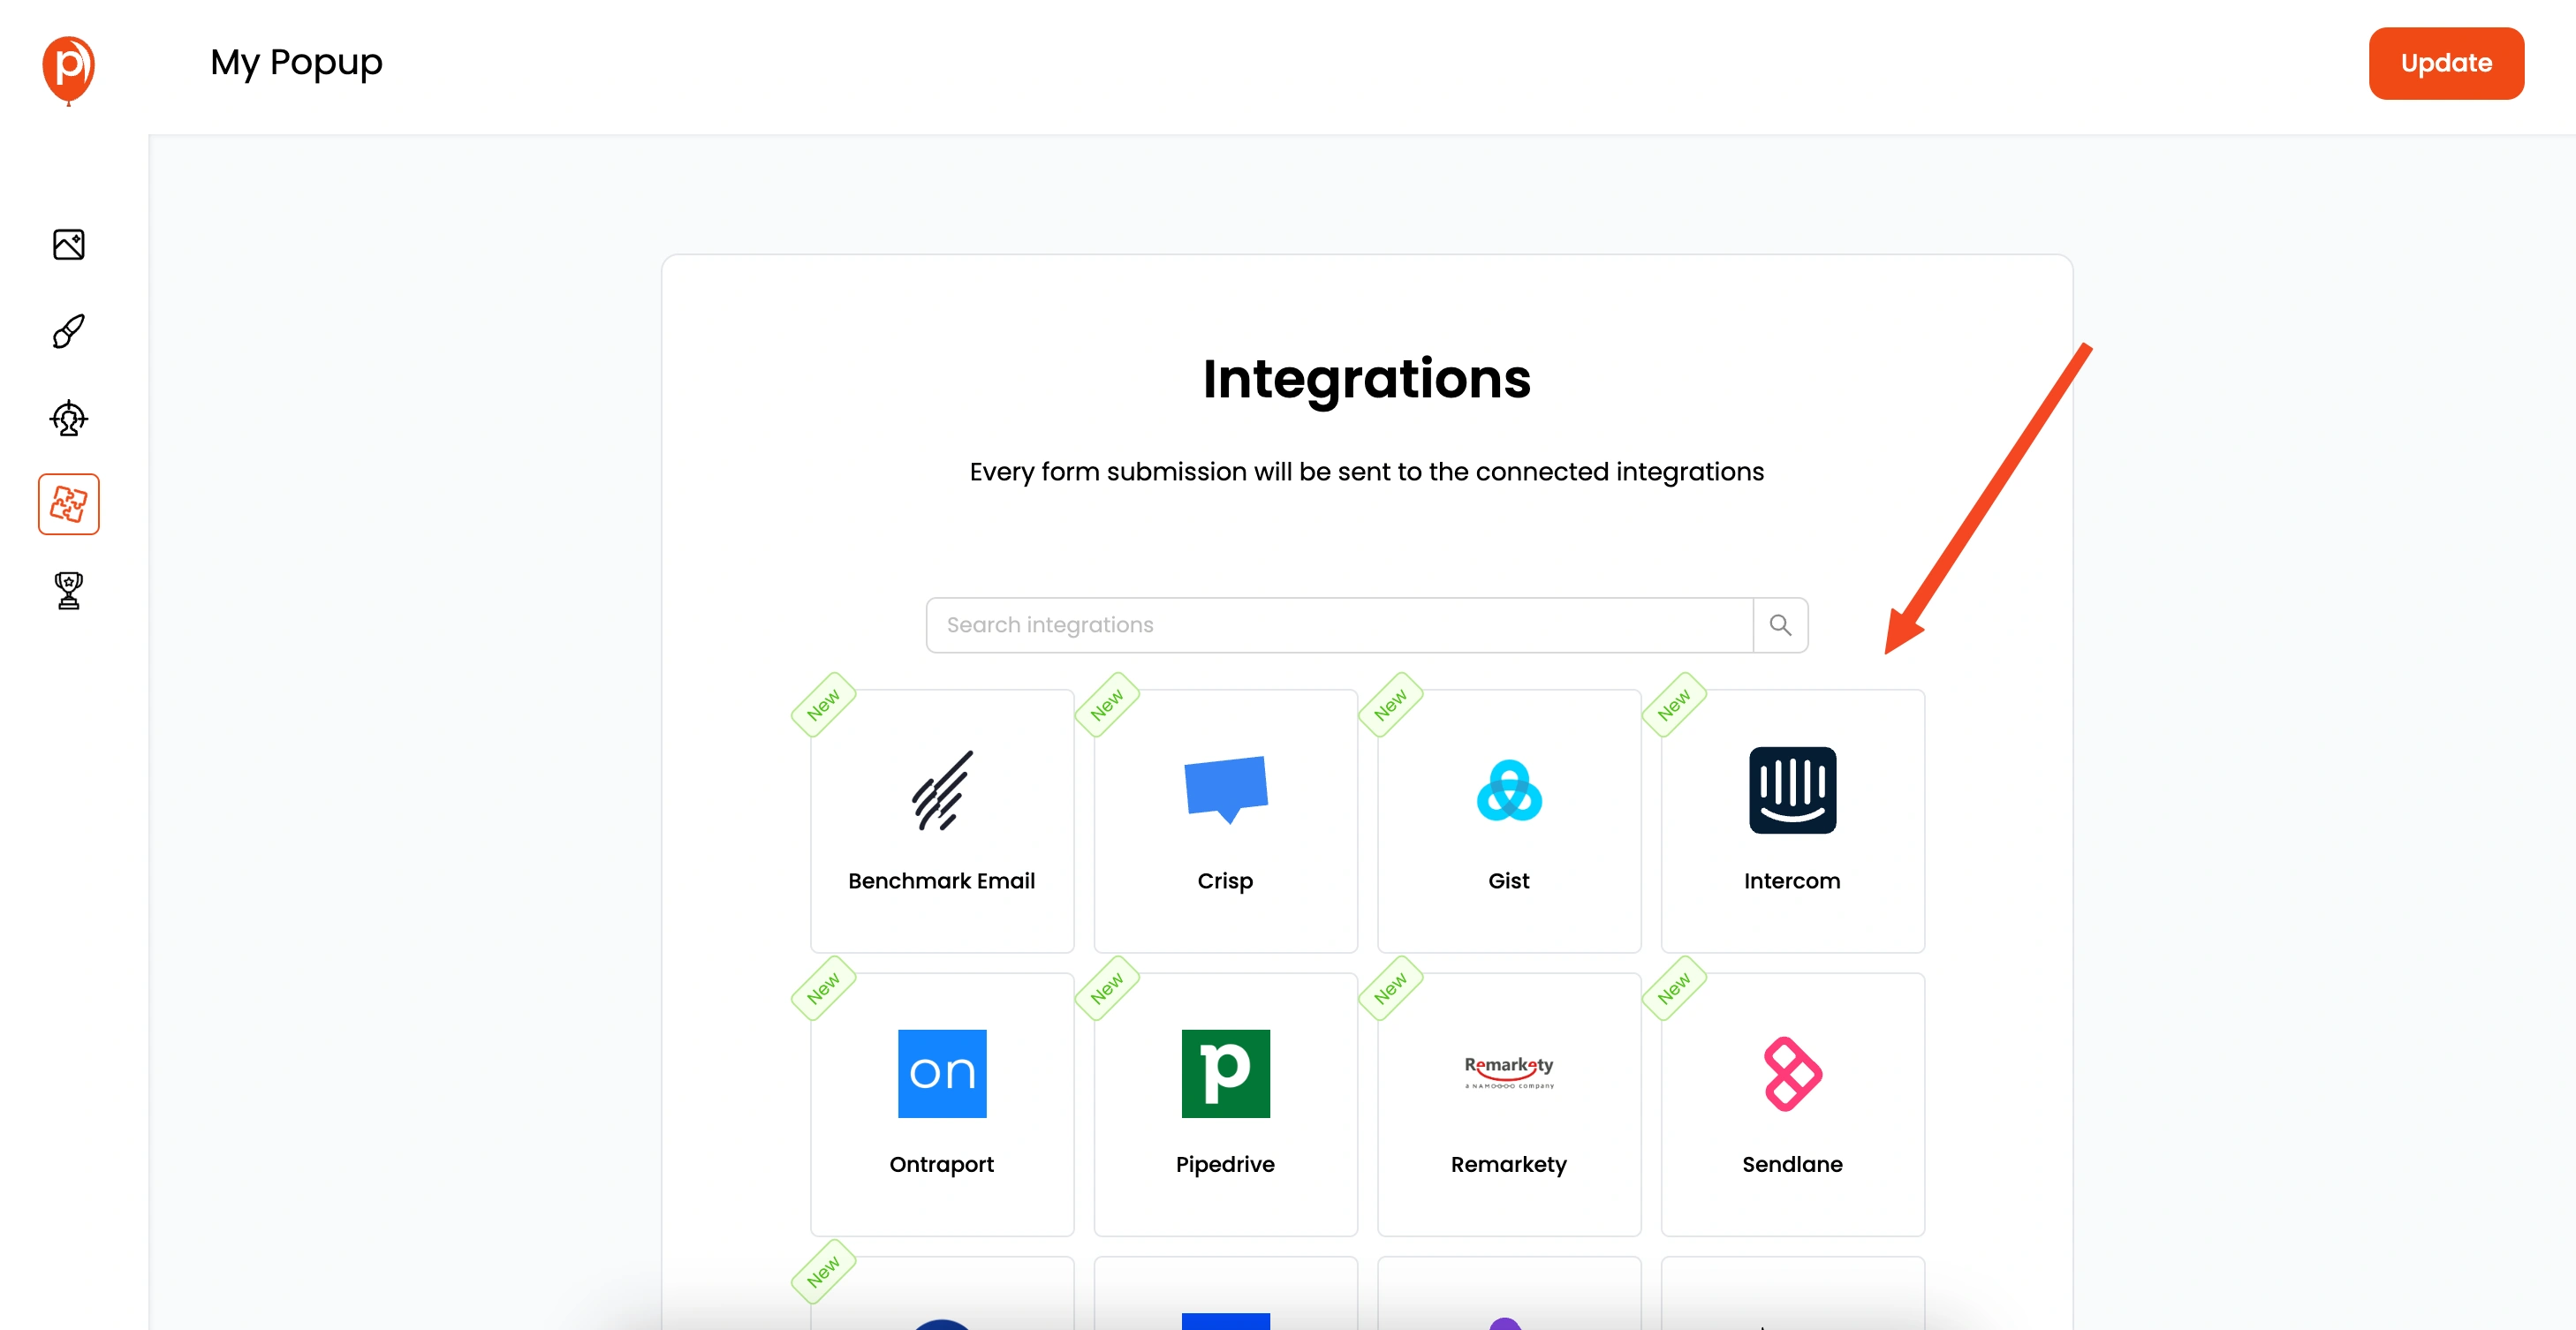
Click "Next" again to connect integrations. Here, you can connect Poper with your email marketing tools like Zapier, Hubspot, Slack, and many other marketing platforms. Just follow the steps to link up your favorite tools.
7. Save and Publish
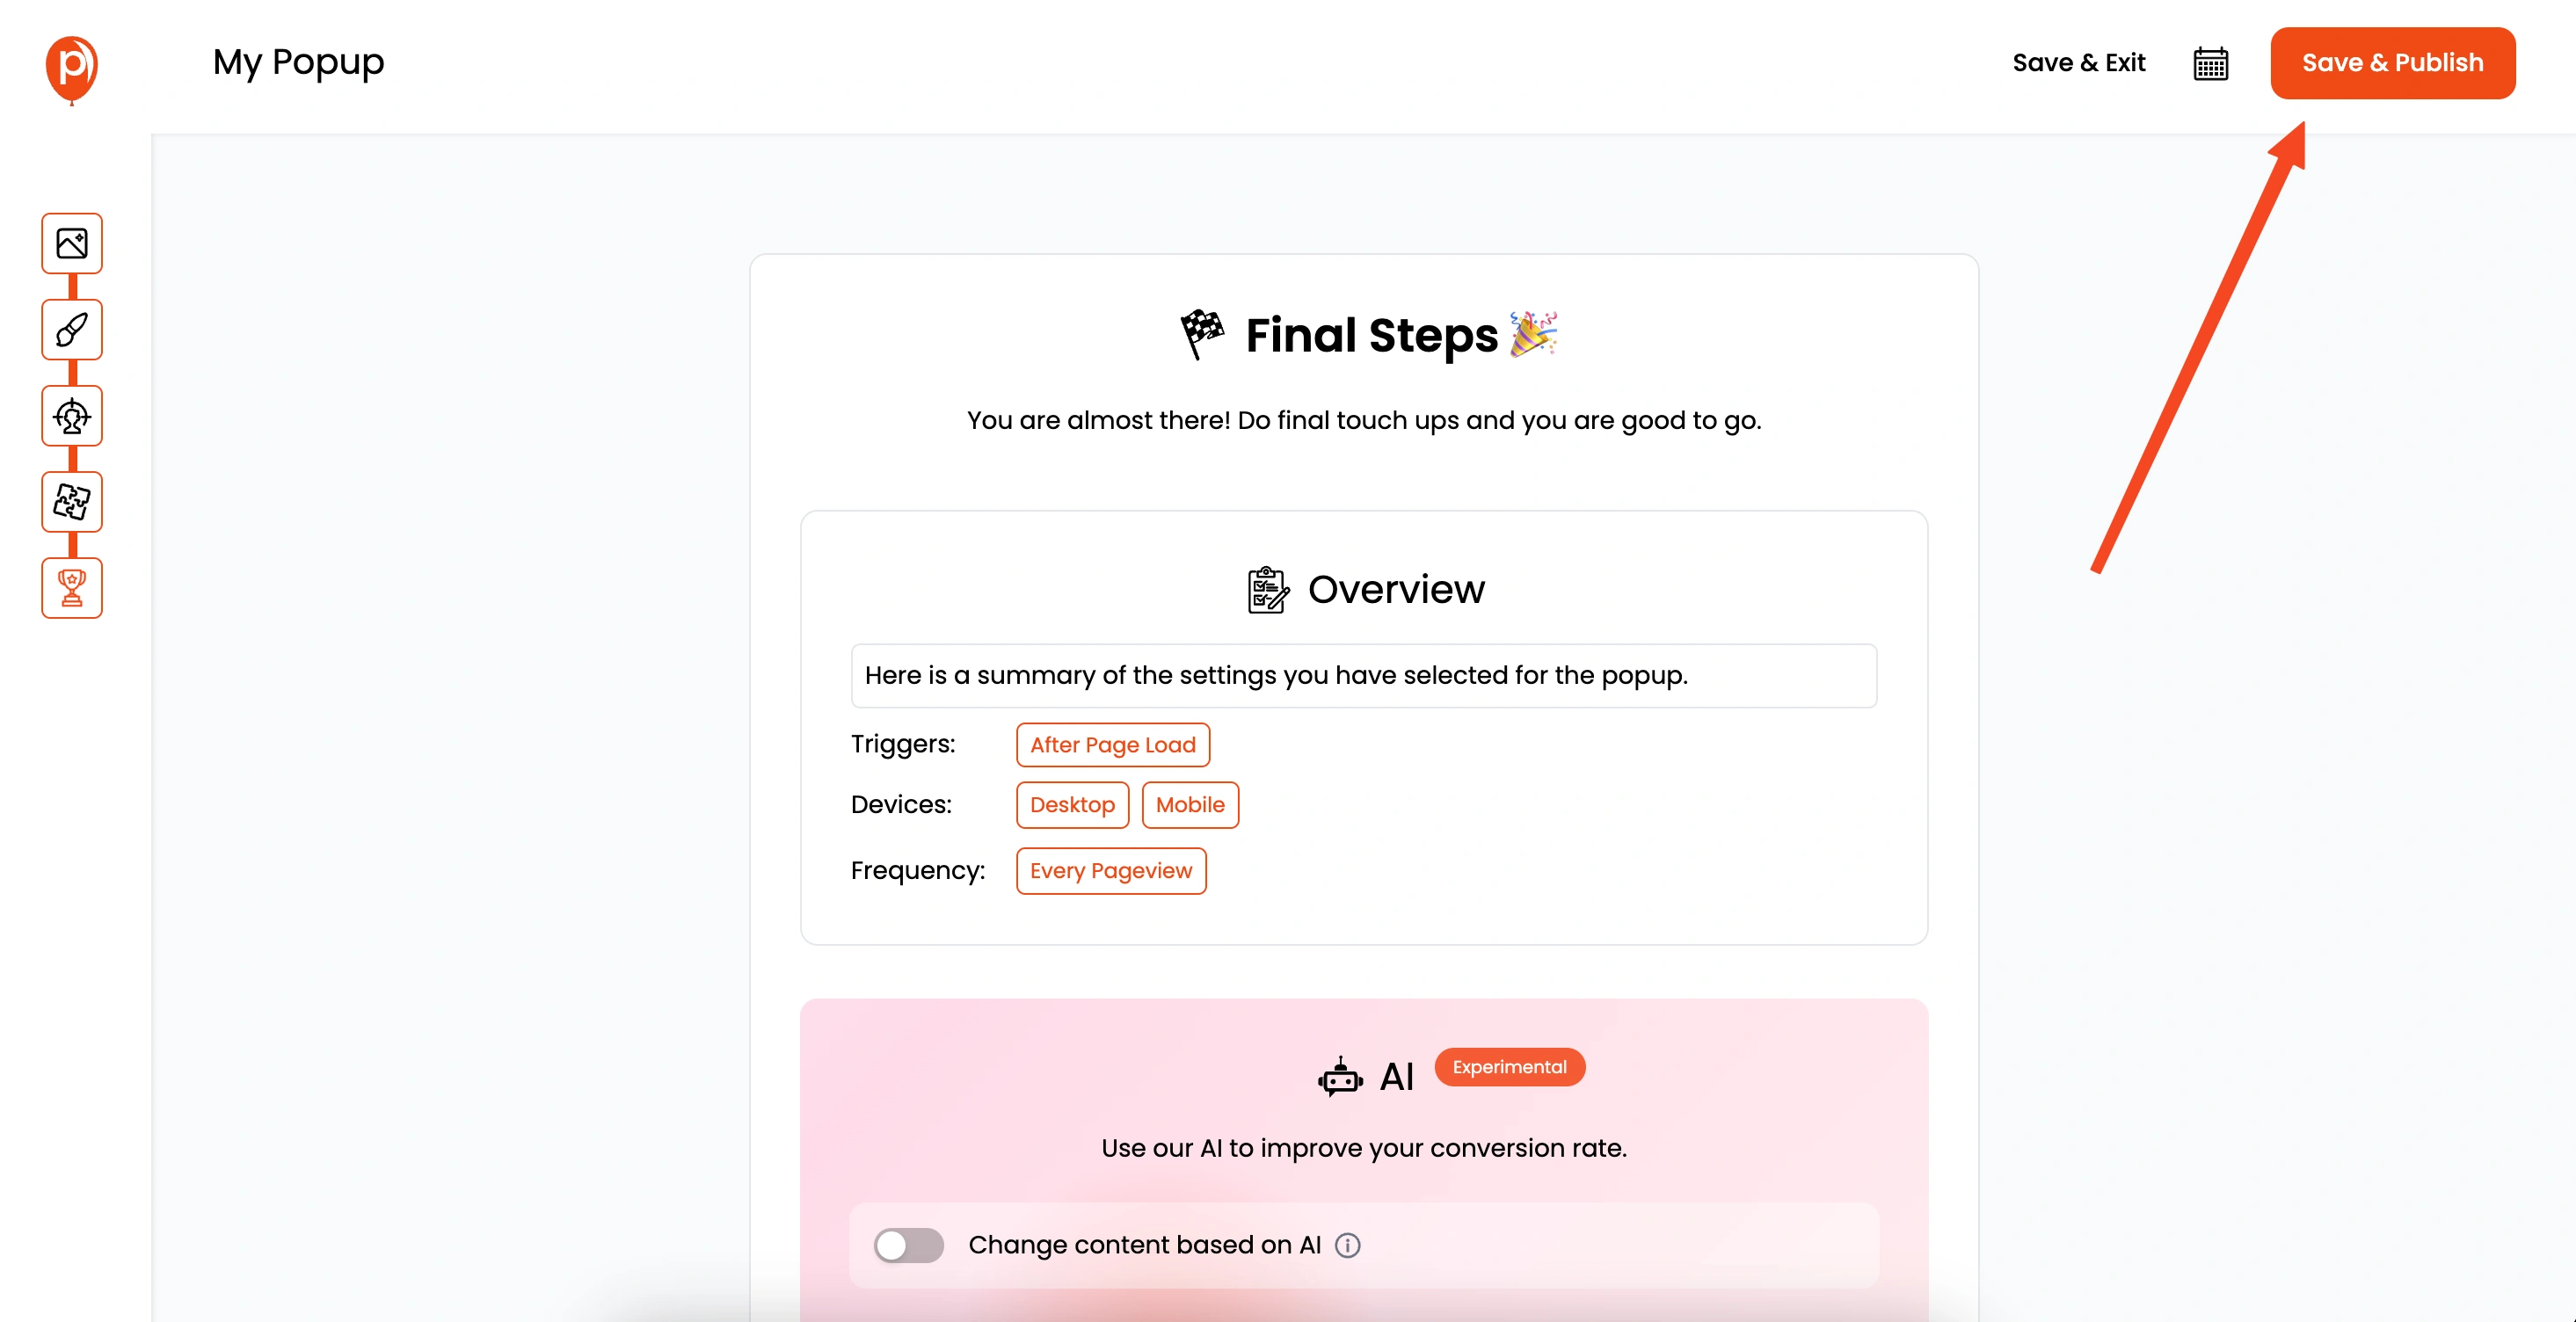
Once you've set everything up, save and publish your popup.
8. Copy the Poper Code
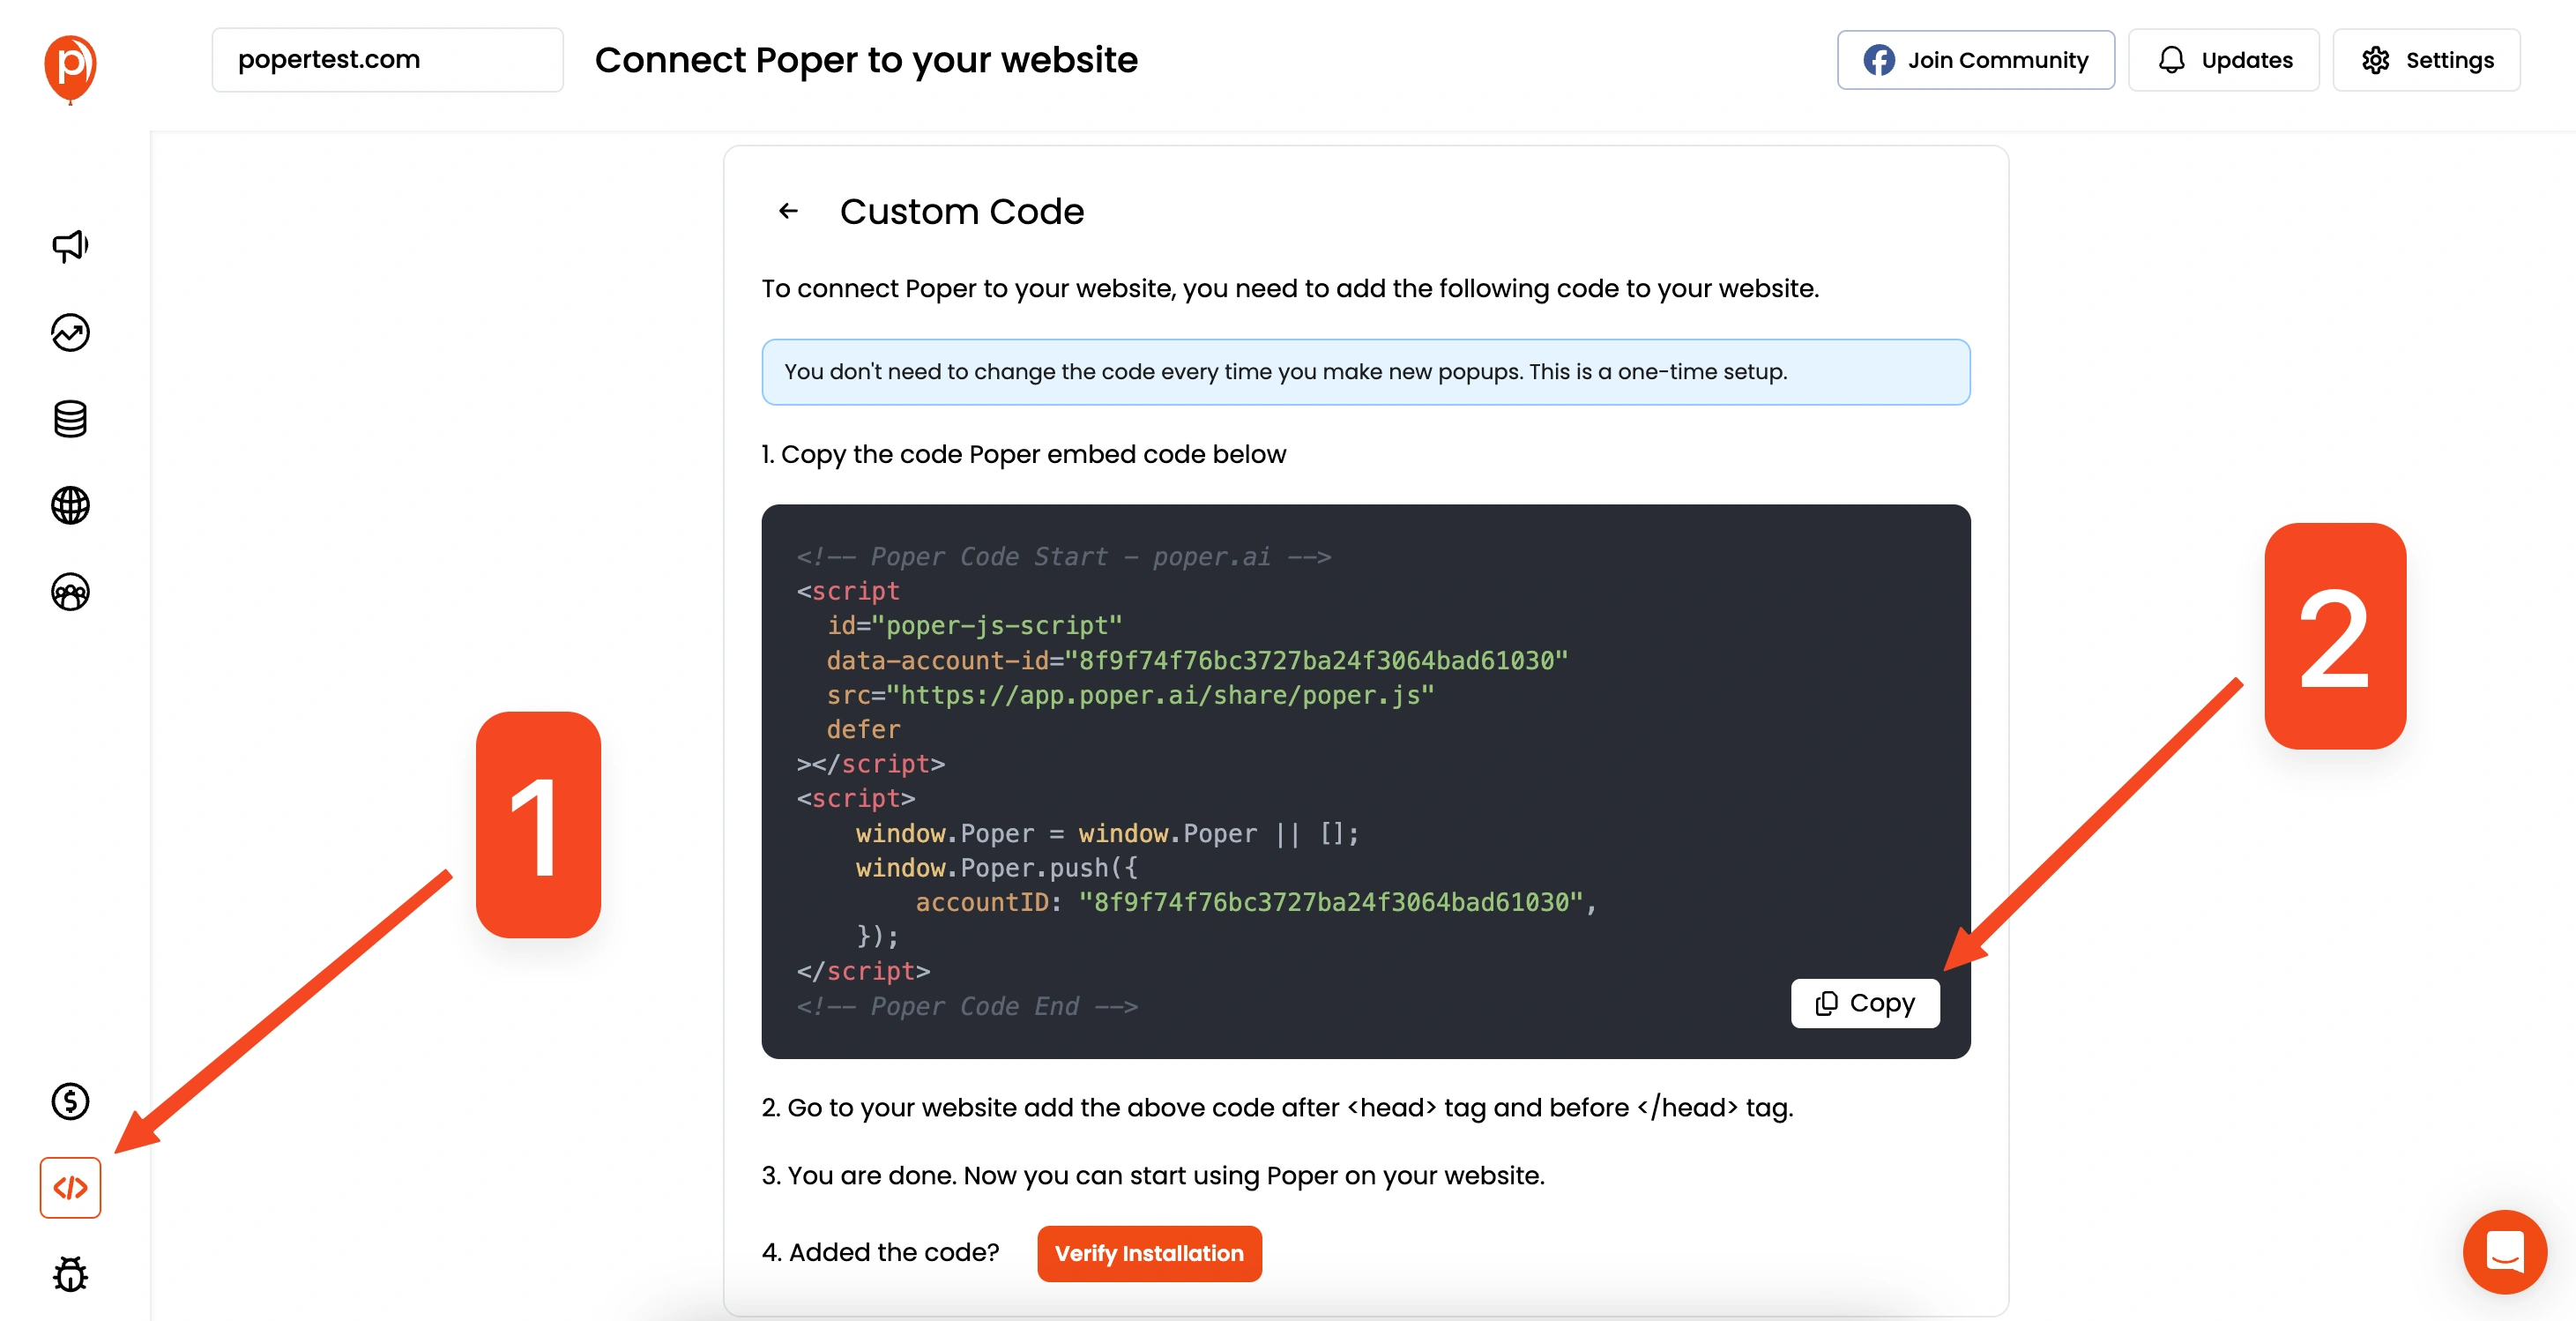
Go to the "Code" section in the left navigation bar of your Poper workspace. Select the custom code option and copy the code provided.
9. Add the Code to Your HTML
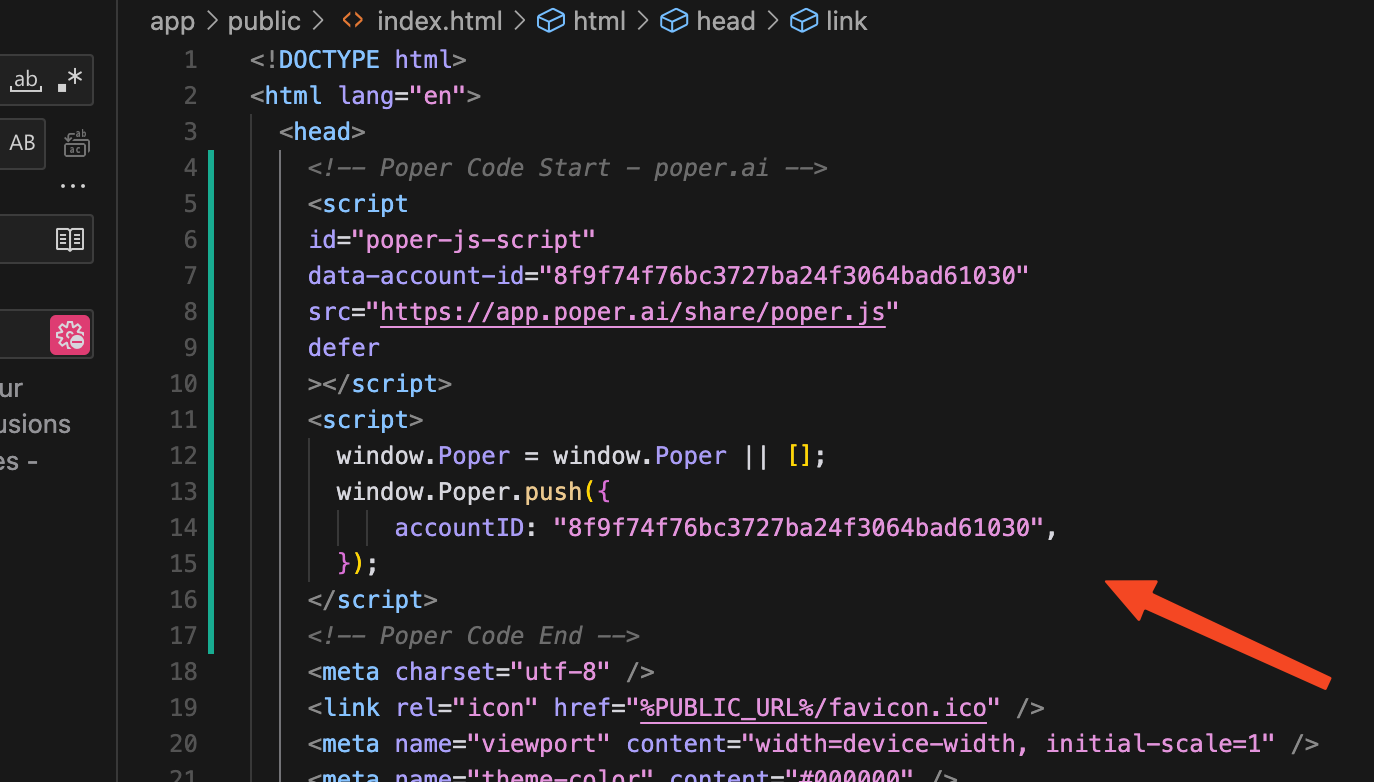
Go back to your HTML code and paste the custom code you copied into the <head></head> section of your website. If you're using a common header file like header.php, be sure to add the code there. Otherwise, add it to the head section of each index.html.
10. Save and Test
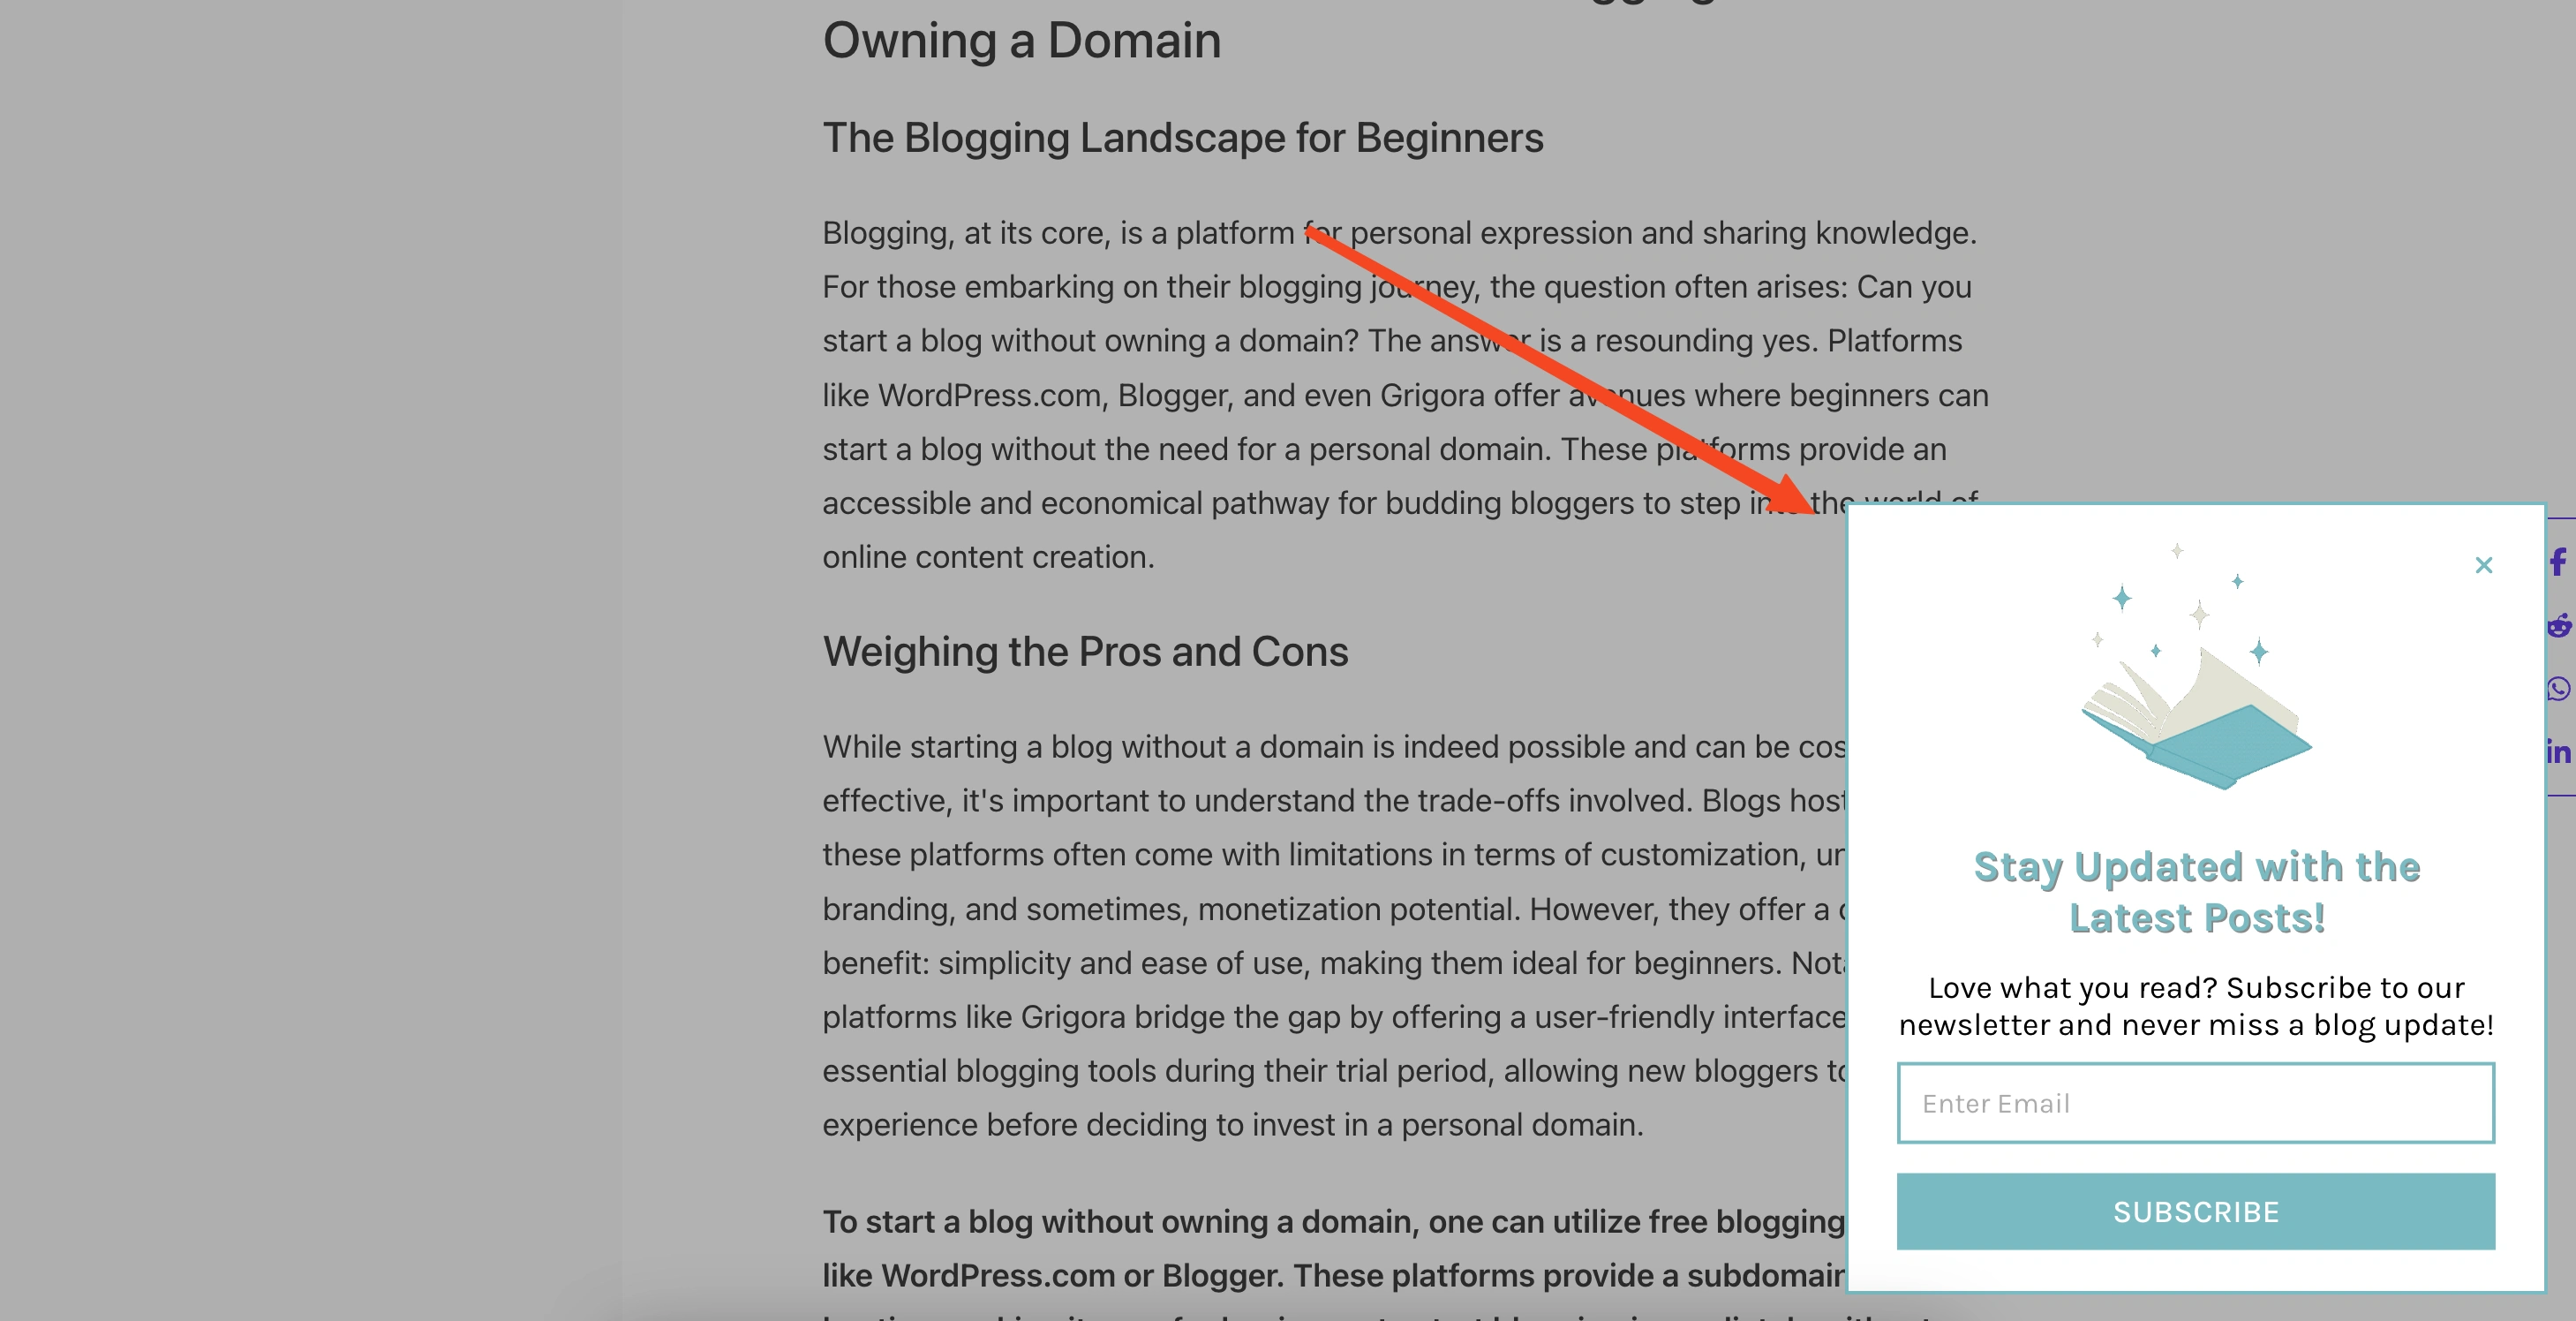
Save your changes, deploy your website, and test your popup to make sure it's working as expected.
The Hard Way: Using Custom HTML Code
If you prefer to build a popup from scratch, here’s how you can do it using HTML, CSS, and JavaScript.
1. HTML Structure
Here’s the HTML code you’ll need to create a basic popup:
<button id="clickBtn">Click Me To See PopUp</button>
<div id="popup">
   <div class="popup-container">
      <div class="popup">
         <div class="close-popup" id="closeBtn"><a href="#">X</a></div>
         <h2>Custom Popup</h2>
         <p> This is a custom popup. You can just put any content behind it. Also you can apply any custom style in this popup. </p>
         <a href="#" class="popup-btn">View Details</a>
      </div>
   </div>
</div>
This code creates a button that triggers the popup, a container for the popup, and the content of the popup itself.
2. CSS Styling
Next, use the following CSS to style the popup:
@import url('https://fonts.googleapis.com/css2?family=Poppins:wght@100;400;600&display=swap');
*{
    margin: 0px;
    padding: 0px;
    box-sizing: border-box;
}
body{
    font-family: 'Poppins', sans-serif;
    position: relative;
}
button{
    background-color: rebeccapurple;
    outline: none;
    border: none;
    padding: 10px 20px;
    font-weight: bold;
    font-size: 1.5rem;
    color: #ffffff;
    margin: 30px;
    border-radius: 20px;
    box-shadow: 1px 6px 12px 0px rgb(0 0 0 / 13%);
    cursor: pointer;
    transition: .2s all ease-in-out;
}
button:hover{
    background-color: orange;
}
#popup{
    display: none;
}
.popup-container{
    height: 100vh;
    width: 100%;
    display: flex;
    flex-wrap: wrap;
    justify-content: center;
    align-items: center;
    background-color: rgb(96 95 127 / 70%);
    position: absolute;
    top: 0;
    left: 0;
}
.popup{
    background-color: #ffffff;
    padding: 20px 30px;
    width: 50%;
    border-radius: 15px;
}
.close-popup{
    display: flex;
    justify-content: flex-end;
}
.close-popup a{
    font-size: 1.2rem;
    background-color: rebeccapurple;
    color: #fff;
    padding: 5px 10px;
    font-weight: bold;
    text-decoration: none;
    border-radius: 10px;
    display: inline-block;
}
.popup > h2{
    font-size: 1.6rem;
    margin-bottom: 10px;
}
.popup > p{
    font-size: 1.2rem;
    margin-bottom: 10px;
}
.popup-btn{
    display: inline-block;
    text-decoration: none;
    border: 2px solid rebeccapurple;
    padding: 5px 15px;
    border-radius: 20px;
    margin: 10px 0px;
    transition: .2s all ease-in;
}
.popup-btn:hover{
    background-color: rebeccapurple;
    color: #fff;
}
This CSS will style the button and popup to make it look nice and function correctly.
3. JavaScript Functionality
Lastly, you'll need the following JavaScript to handle the popup logic:
const clickBtn = document.getElementById("clickBtn");
const popup = document.getElementById("popup");
const closeBtn = document.getElementById("closeBtn");

clickBtn.addEventListener('click', ()=>{
    popup.style.display = 'block';
});
closeBtn.addEventListener('click', ()=>{
    popup.style.display = 'none';
});
popup.addEventListener('click', ()=>{
    popup.style.display = 'none';
});
This script listens for clicks on the button to show the popup, and also listens for clicks on the close button and the popup area to hide it.
Understanding the Code
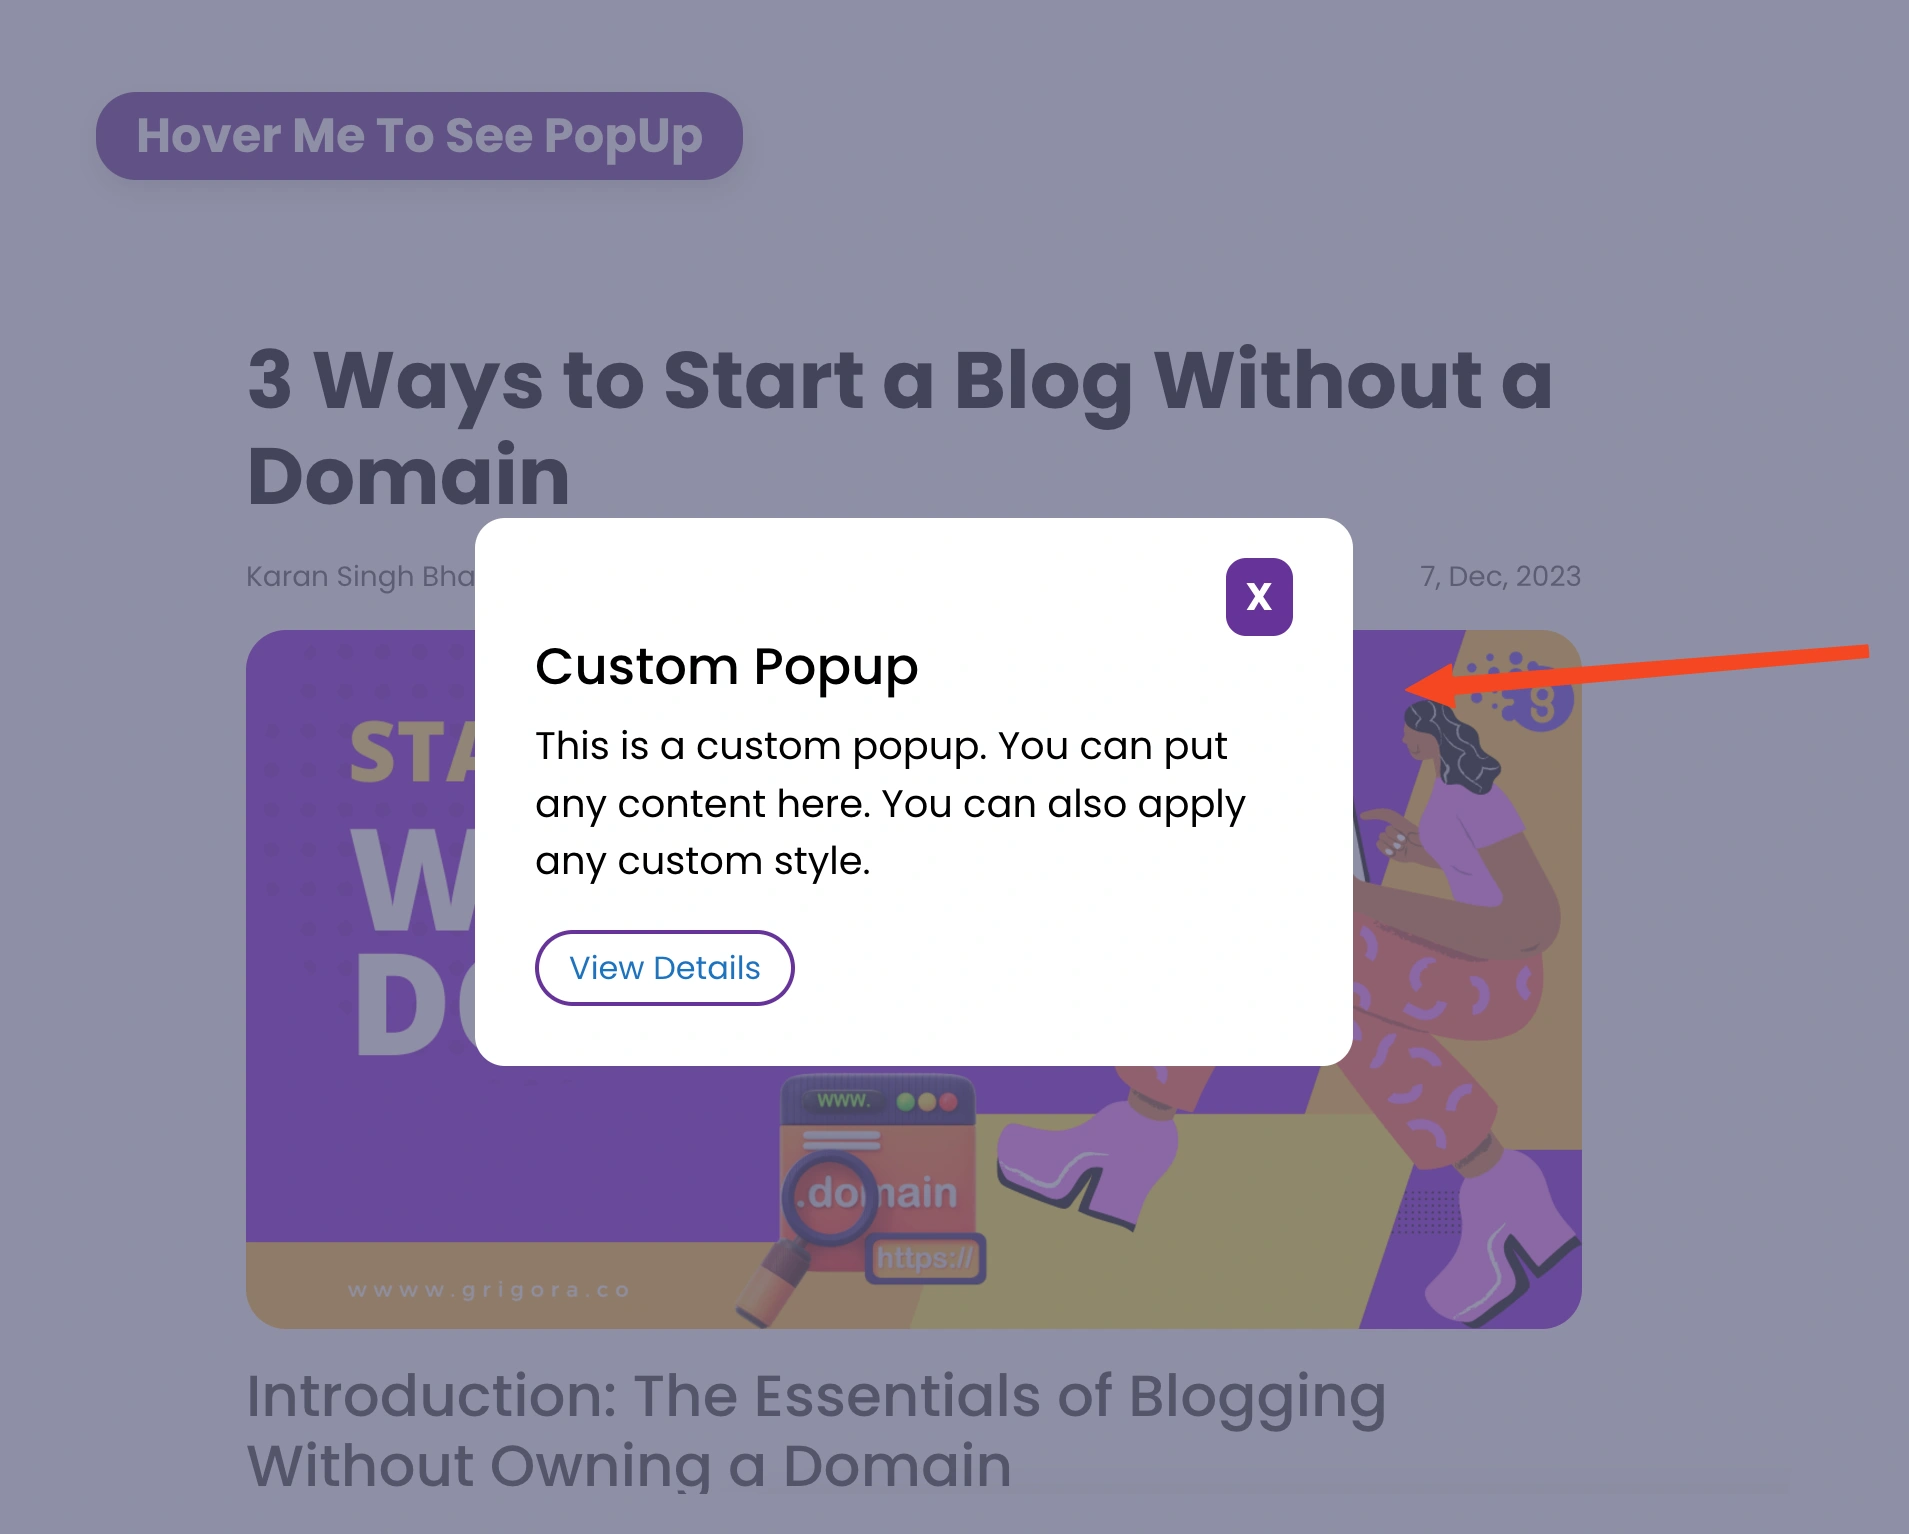
We're creating a button in the HTML and adding a click event listener to it. When the button is clicked, the popup's display is changed to block, making it visible. The CSS styles the popup's appearance.
Final Thoughts
While you can create popups from scratch, it will take more manual work to add animations, update the popups and manage cookies to ensure popups don't show up again when the user doesn't want to. That's why I recommend using Poper to save time and make the process easier.

