
Okay, let's dive into how you can create popups for your Webflow website using Poper. I know that implementing popups can sometimes be a bit tricky, especially if you're trying to do it natively within Webflow.
But, don't worry, I'm here to guide you through both the easy way and, if you're curious, a bit about the harder way as well.
Creating Popups in Webflow with Poper
If your Webflow site is connected to a domain, you're all set to use Poper to display those engaging popups. Here's how we can do it:
1. Create Your Poper Account
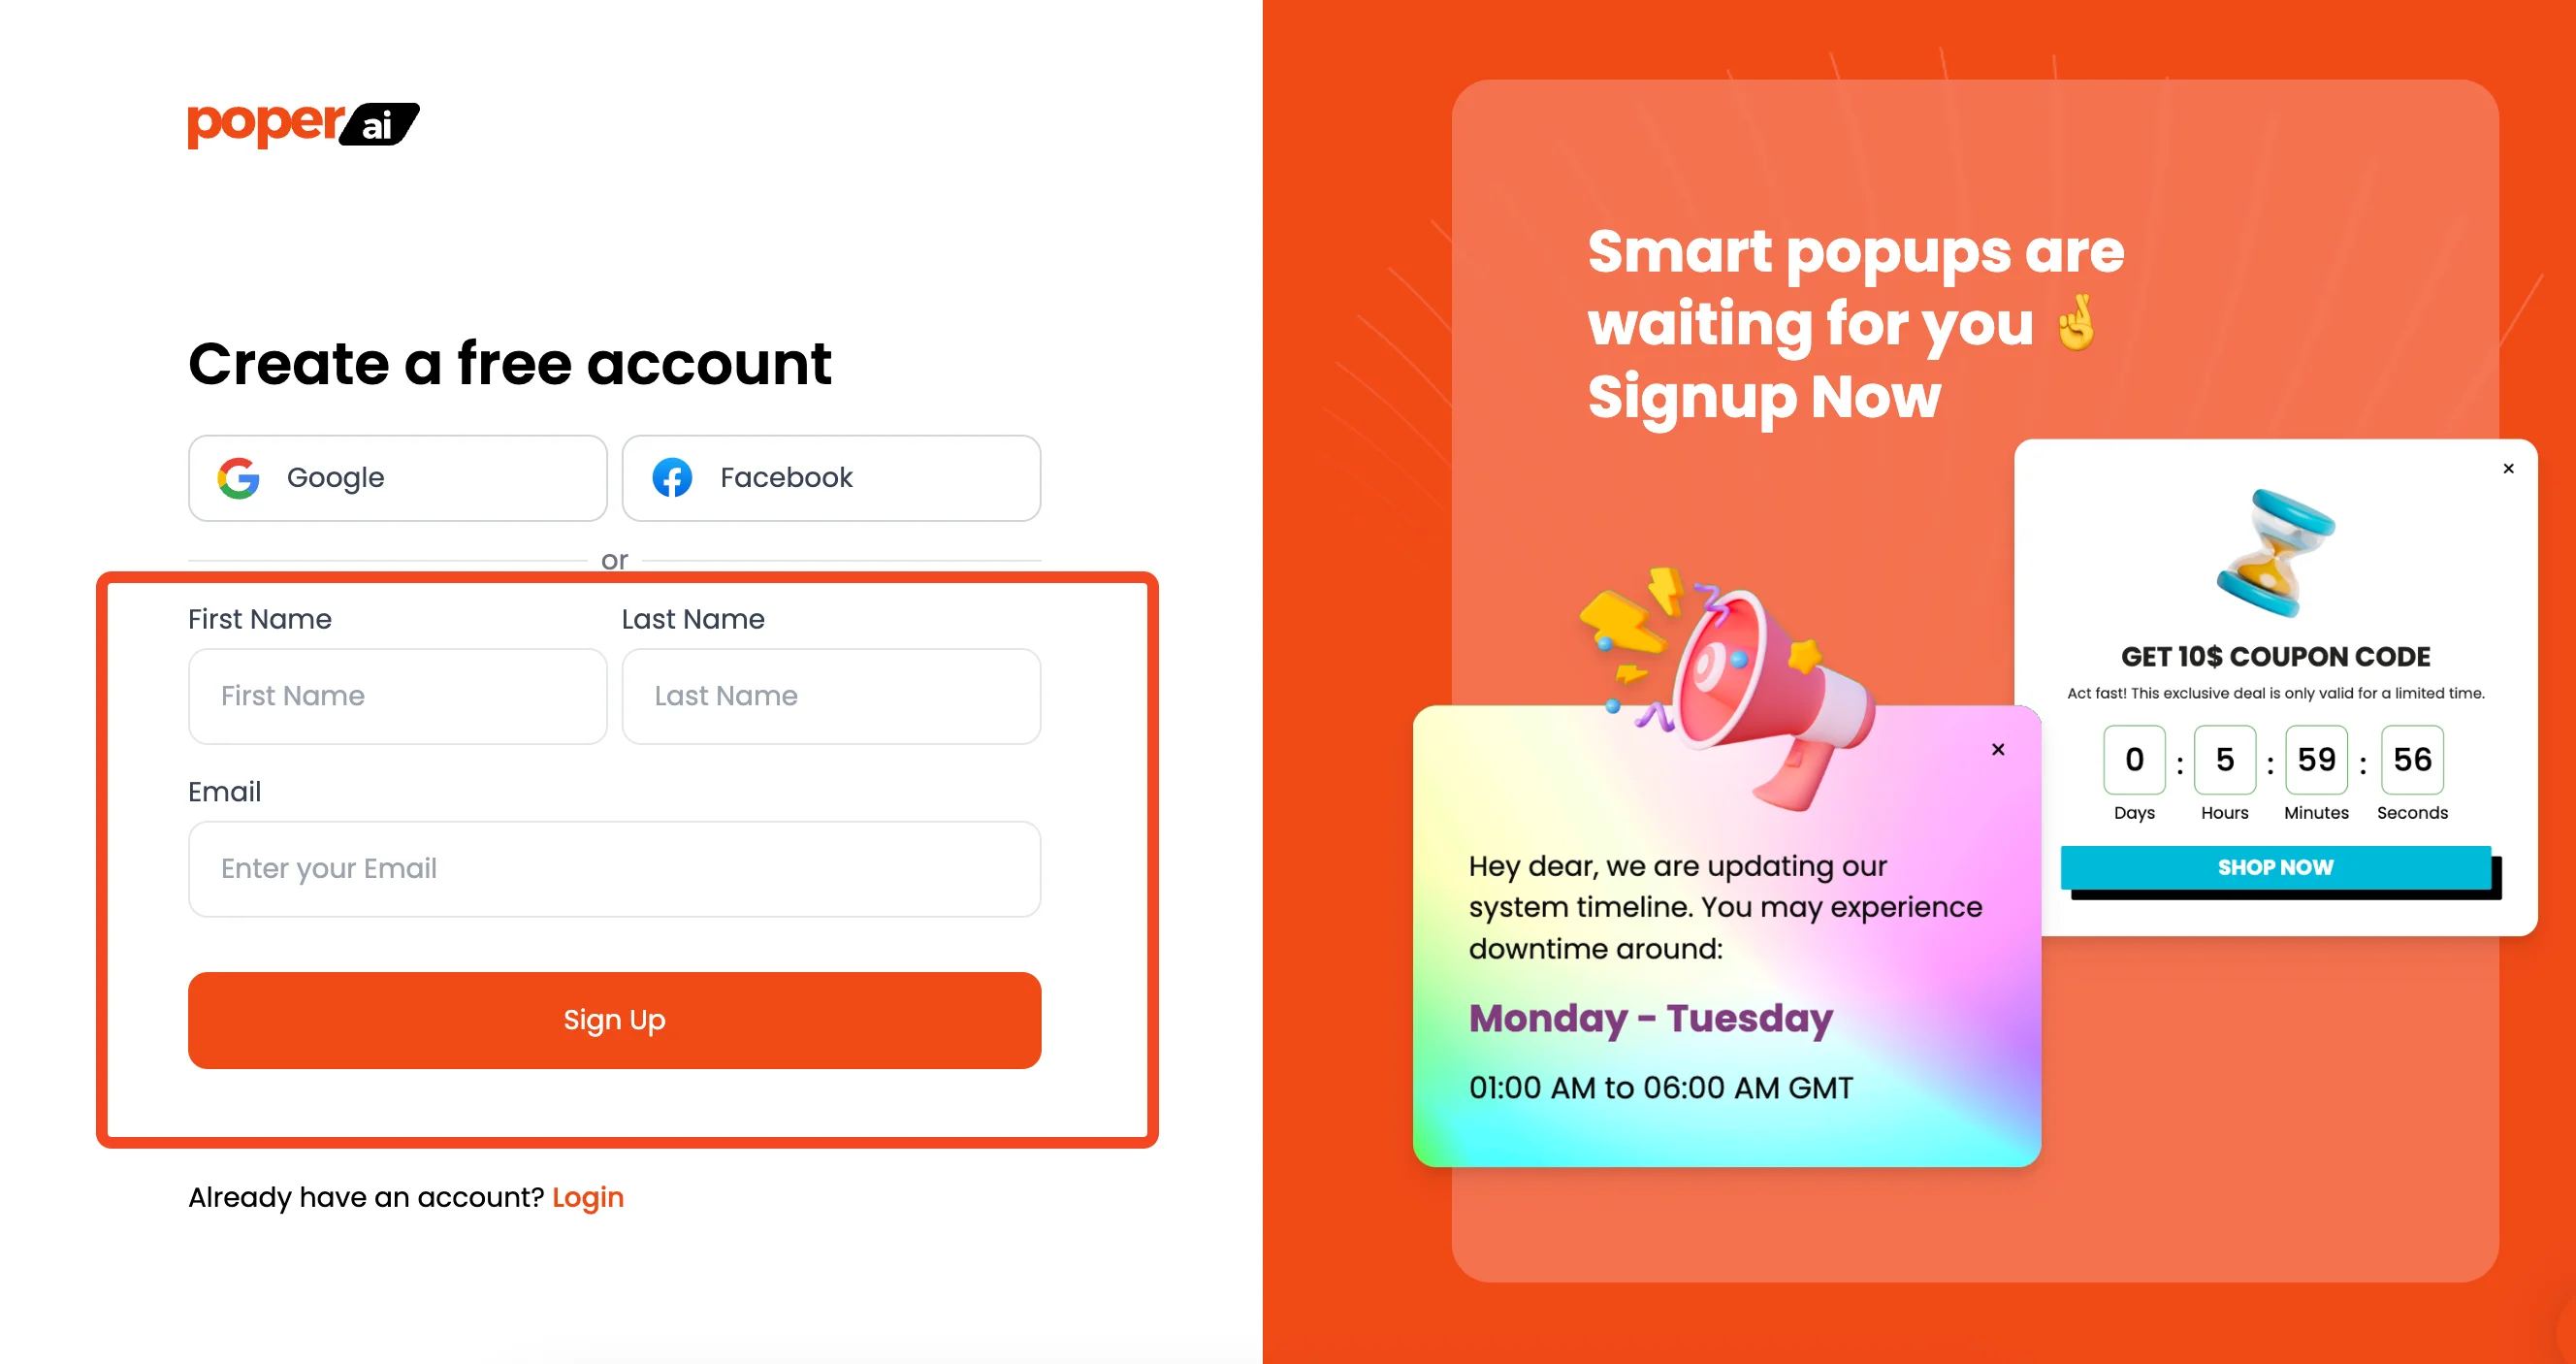
First things first, you'll need a Poper account. This is where you'll create and manage all your popups. So go ahead and sign up for a Poper account. It's quick and easy.
2. Add Your Domain and Start a New Popup
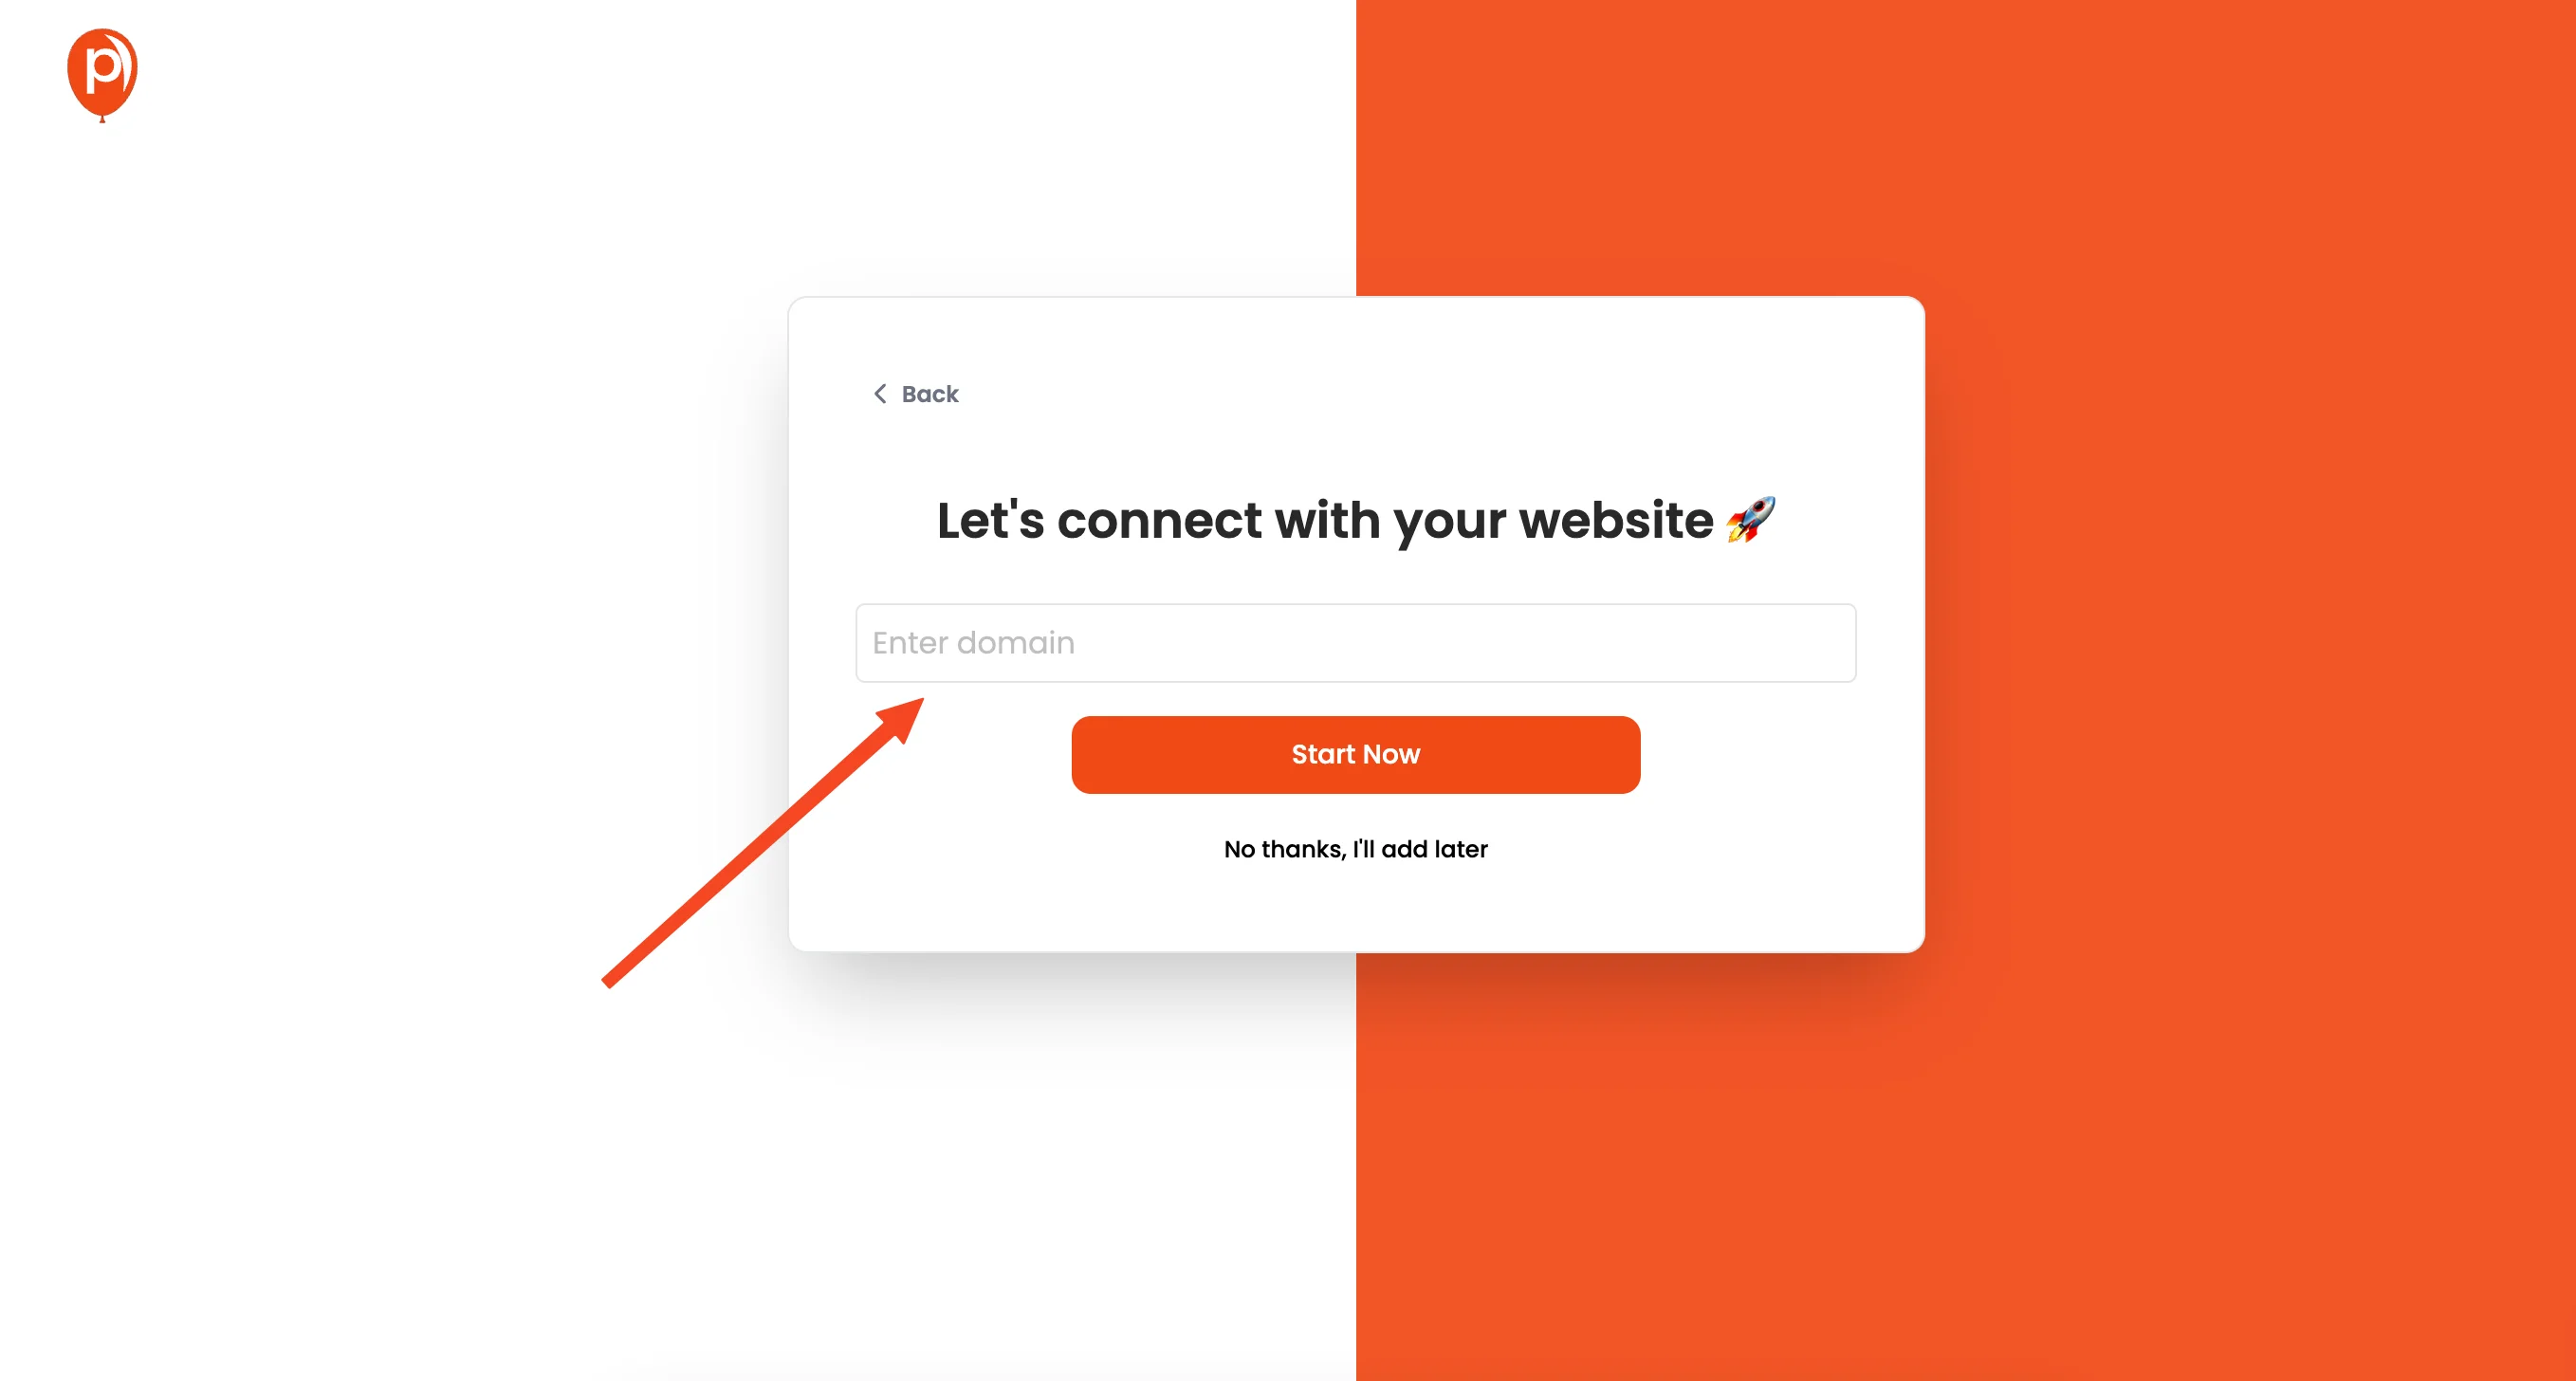
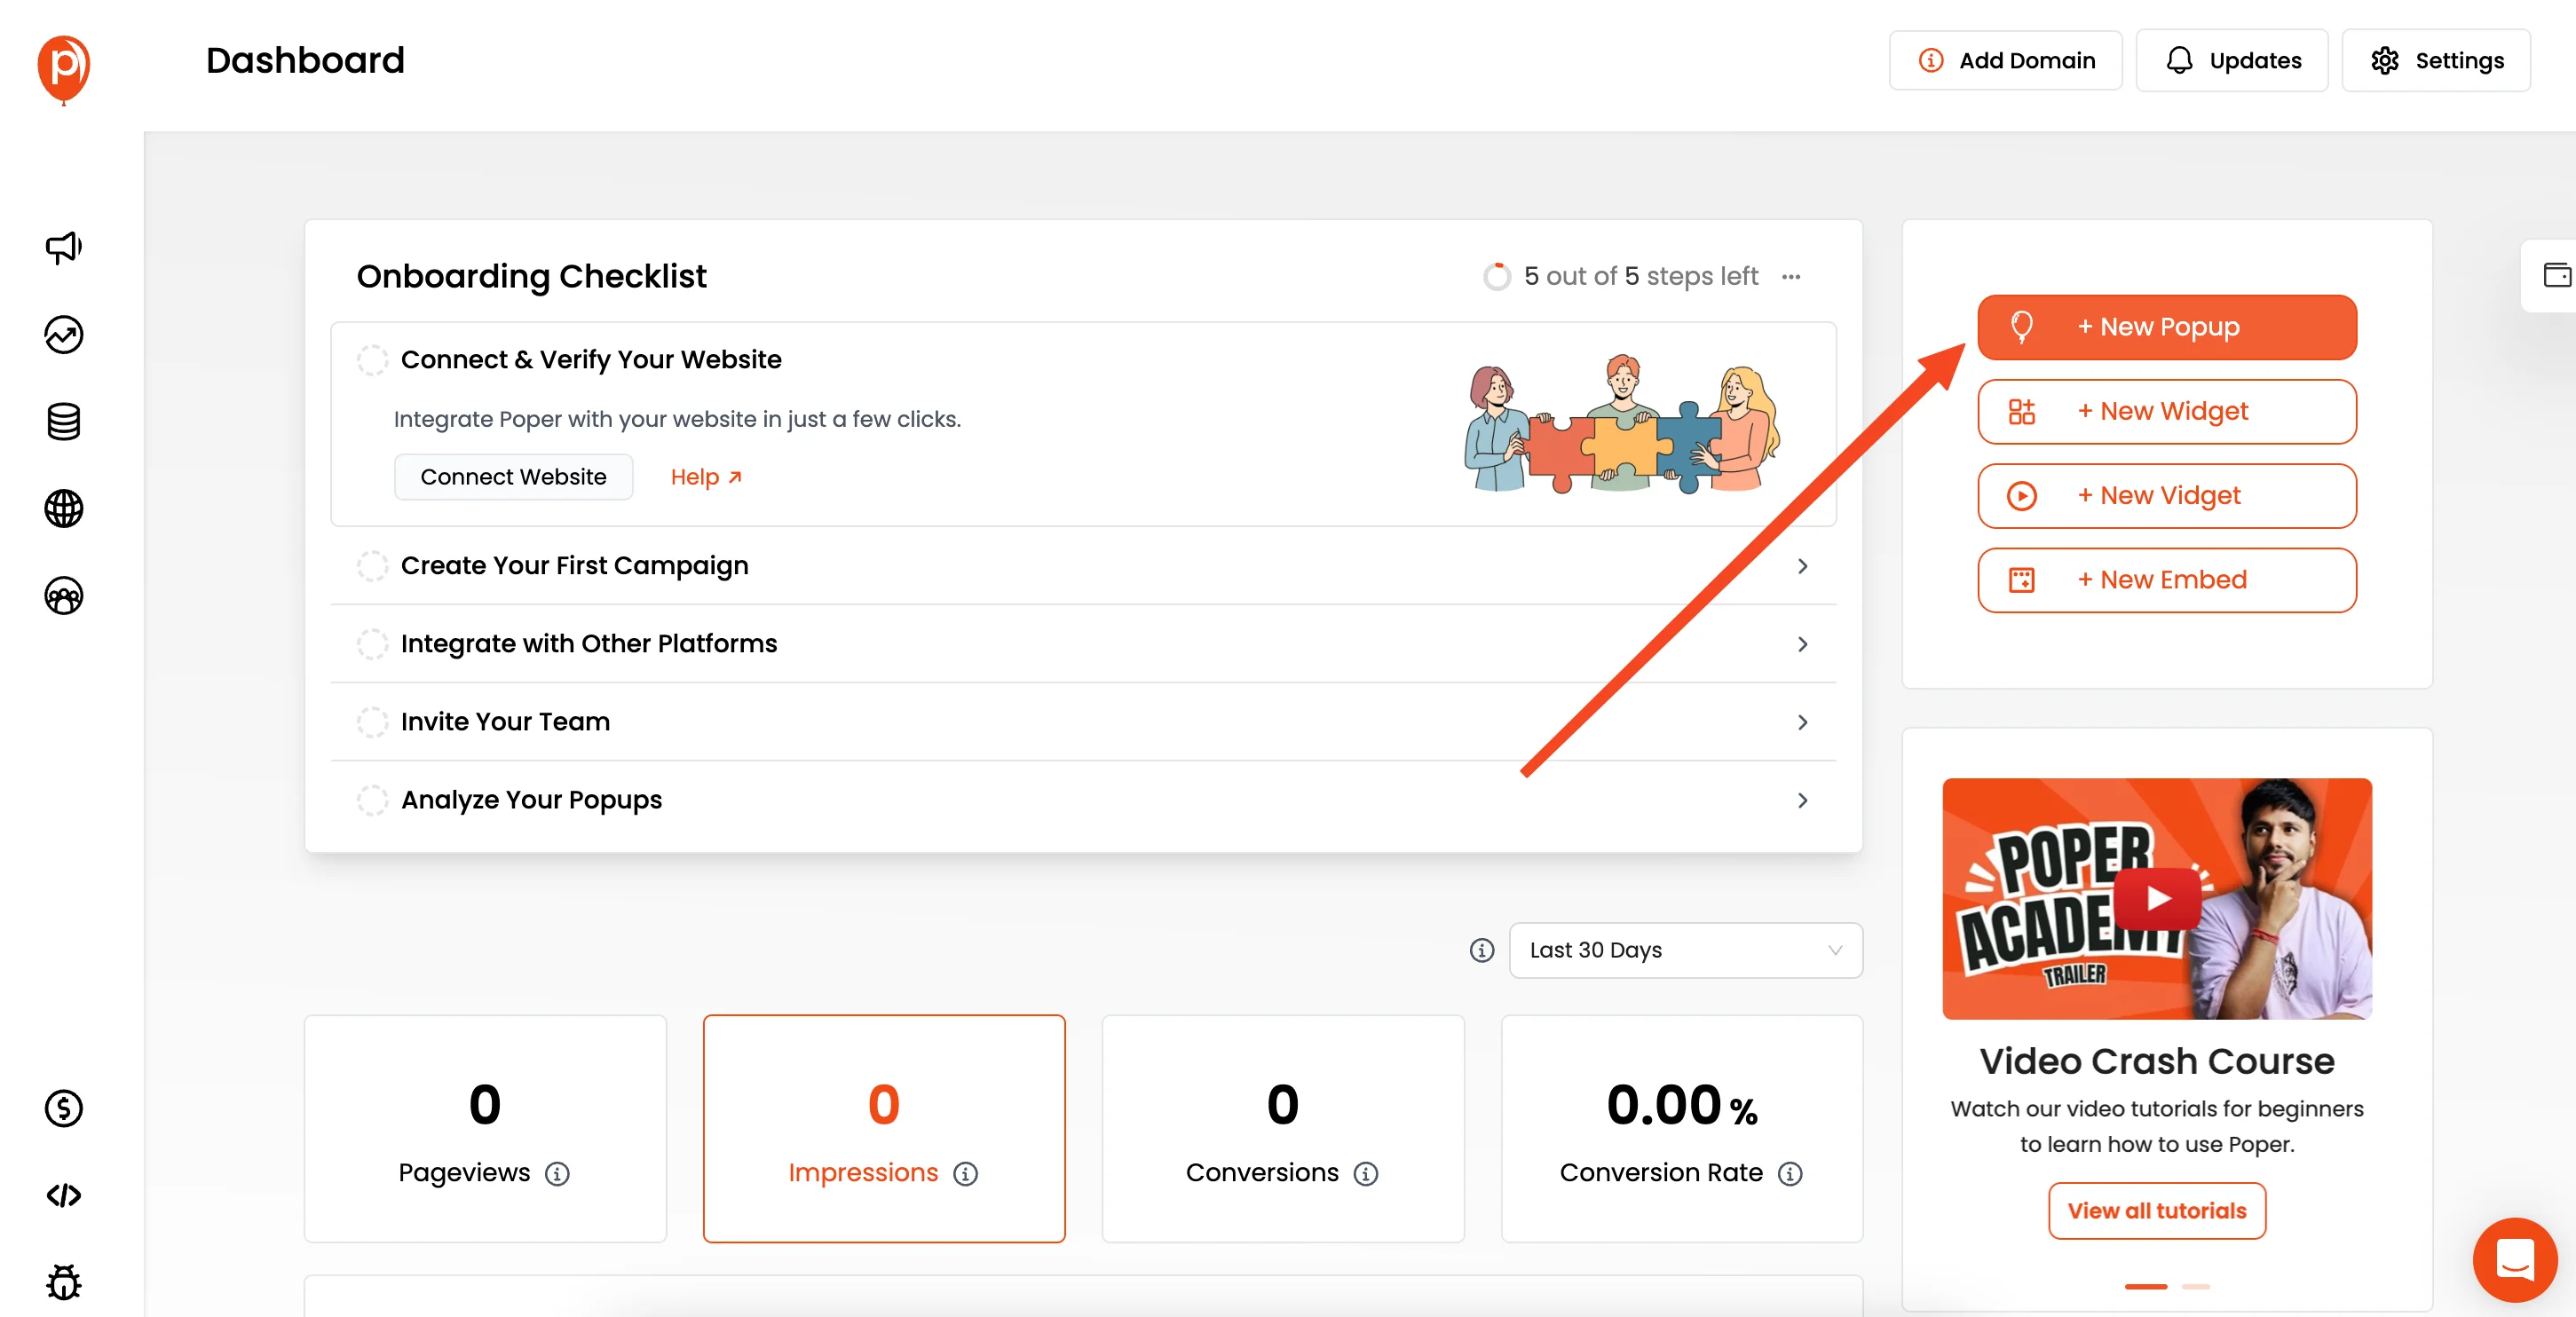
Once you are in your Poper dashboard, add your website domain. After adding your website domain, let's jump right into creating a new pop up. Click on the "New Pop-up" button.
3. Select a Template
You'll see an option to "Choose from templates." This is where the magic starts. You can pick from various pre-designed popup templates. There are tons of great options, from lead capture forms to announcement popups, and more.
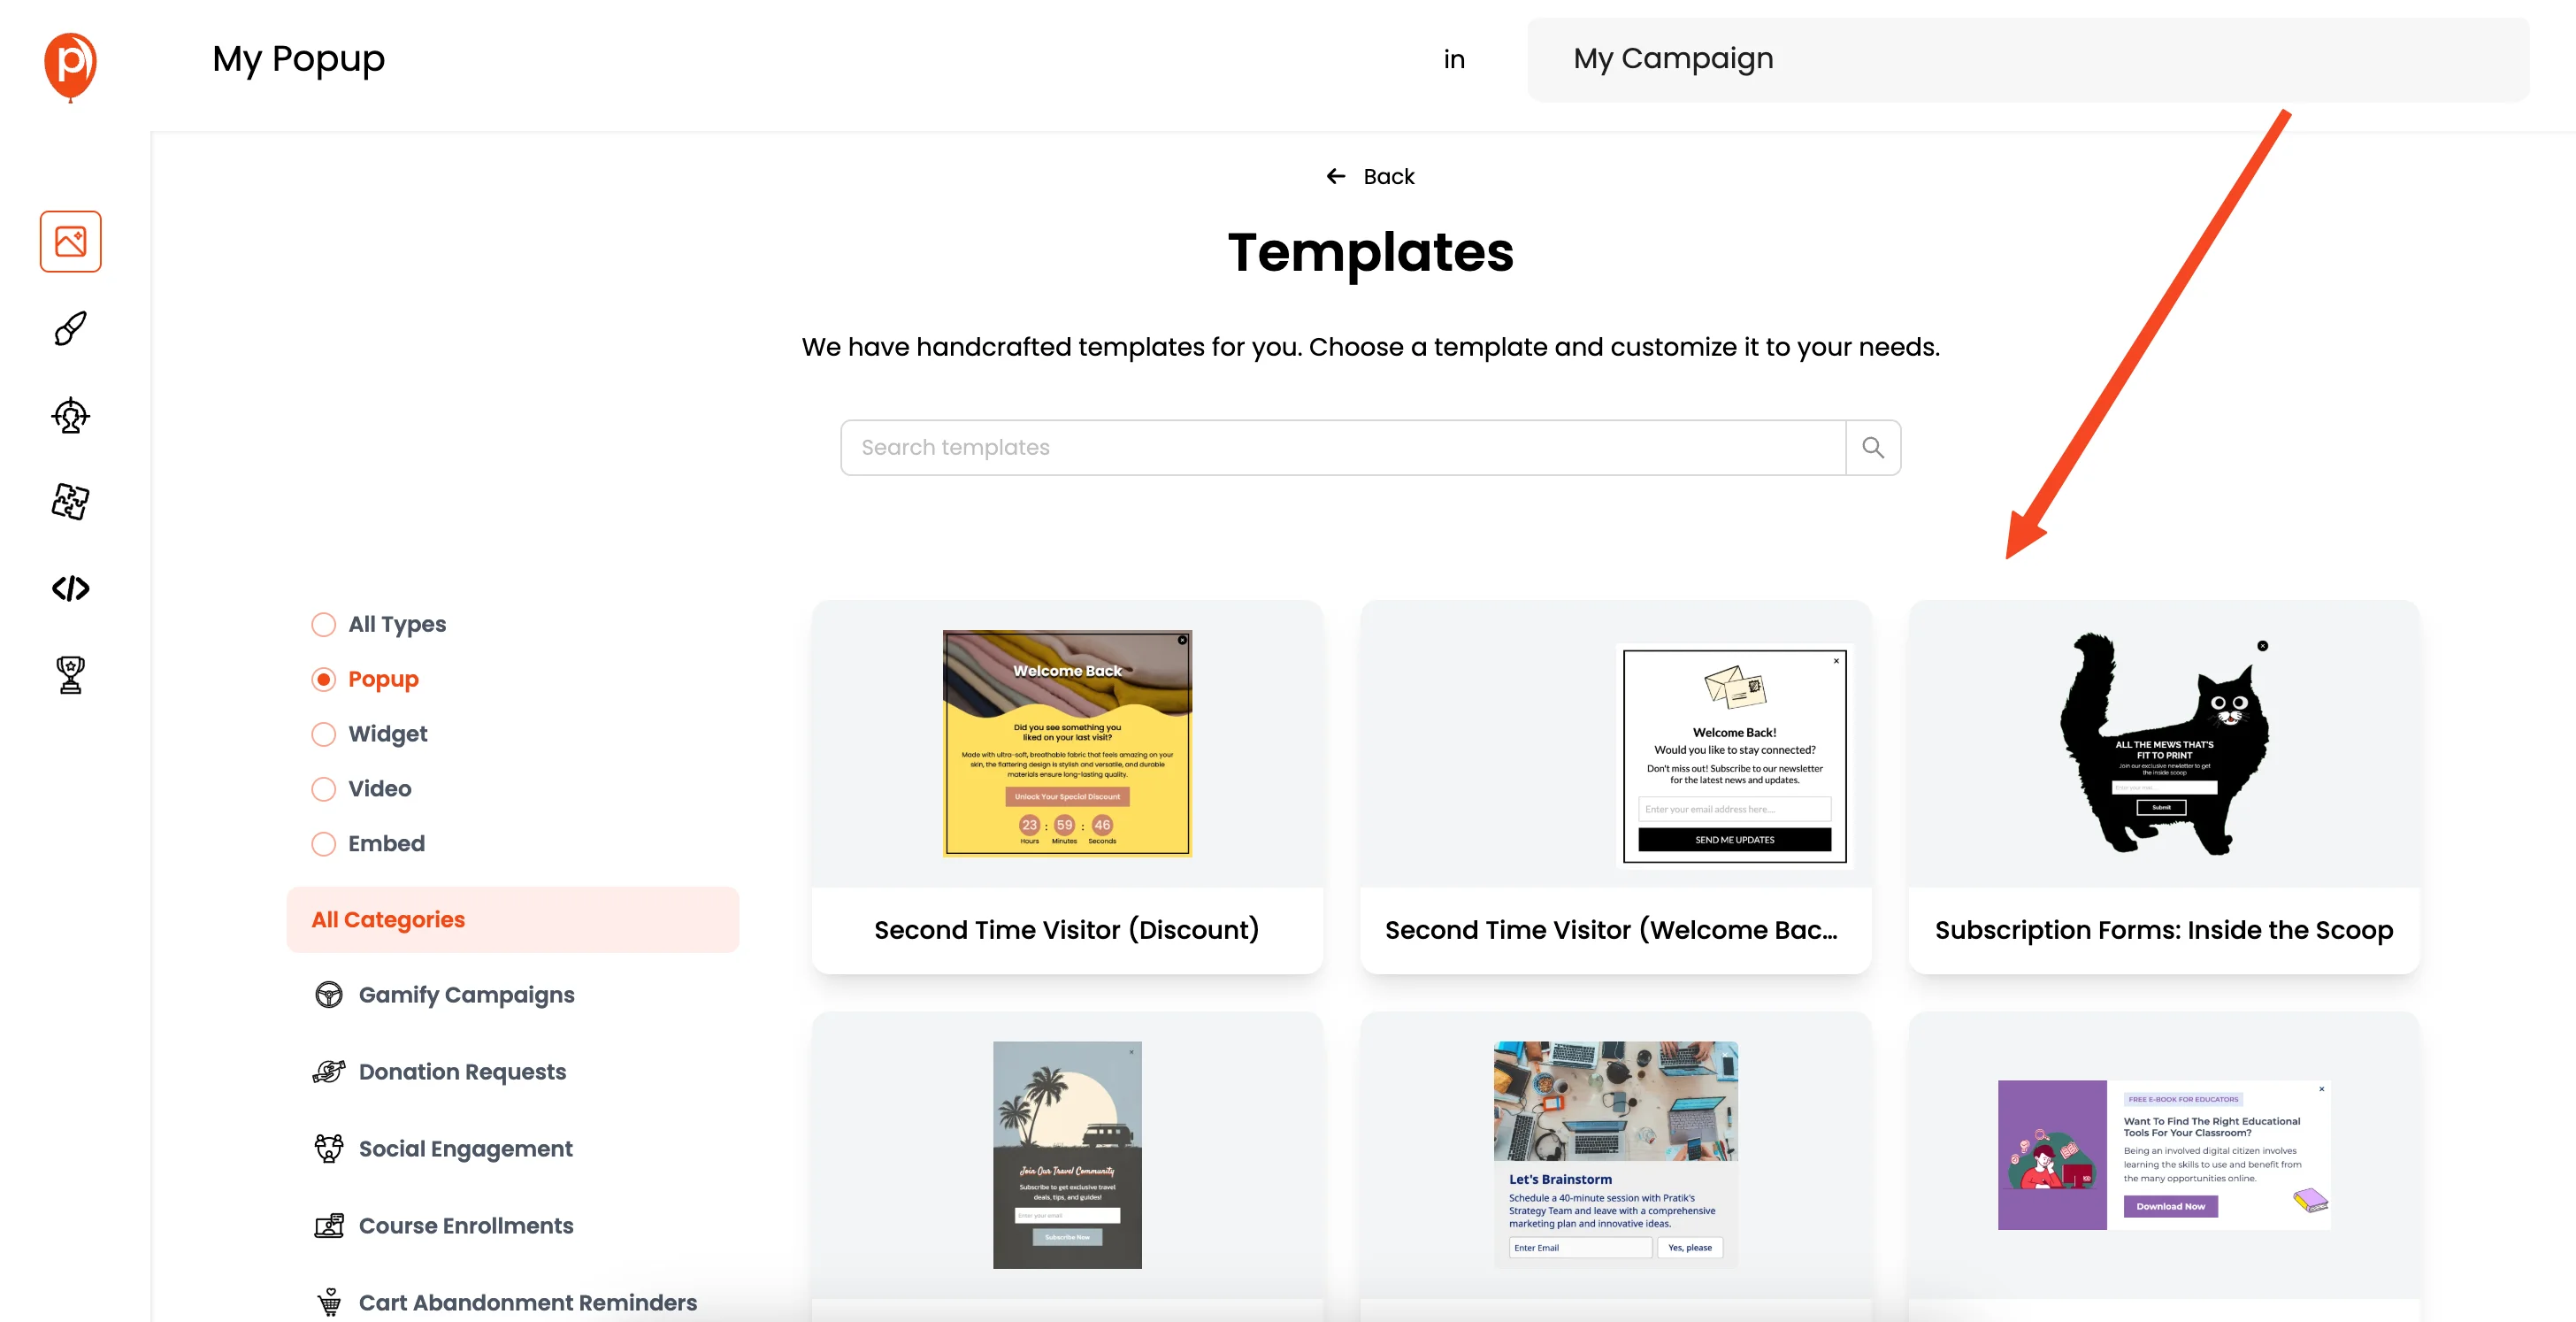
Of course, if you're feeling creative, you can start with a blank canvas and build your own custom popup from the ground up. Many of our users find Poper super helpful for things like collecting leads from ad campaigns.
4. Customize Your Popup
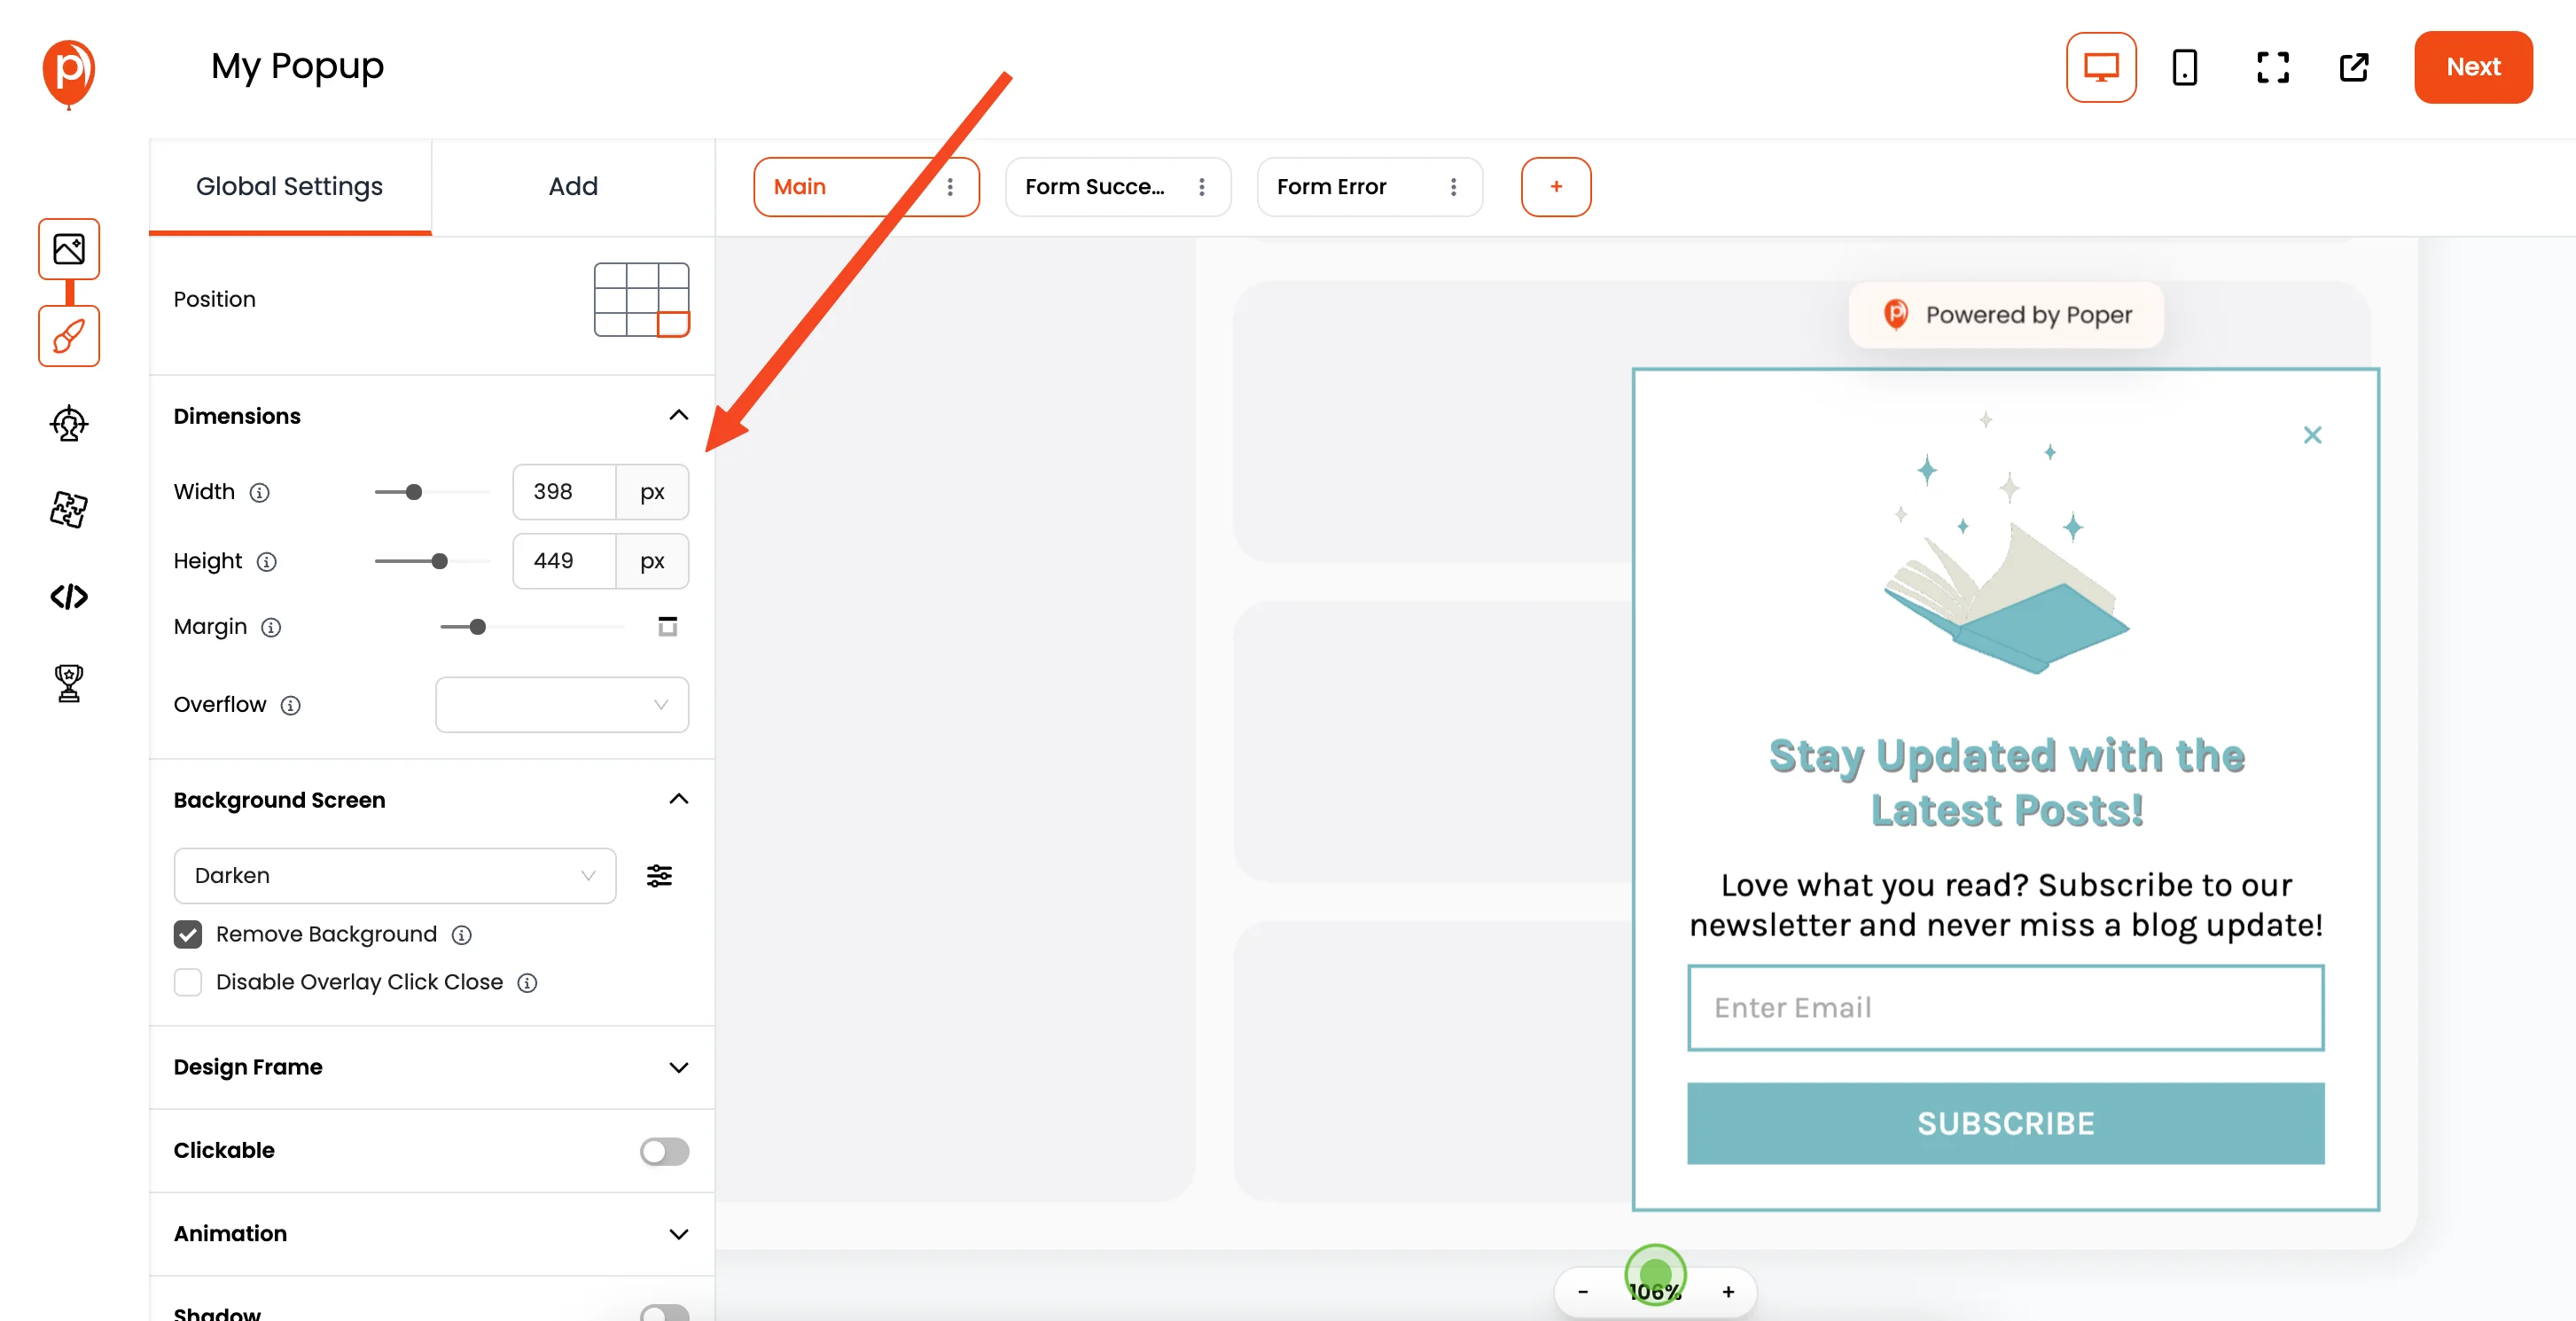
Once you select a template (or start from scratch), you'll be in our popup editor. This is where you can let your creativity flow. Customize fonts, colors, images, and anything else to match your brand's look and feel. It's really simple to get your popup looking exactly how you want it.
5. Set Display Conditions

After you're happy with the design, click "Next" to move on to Display Conditions. Here’s where you decide how and when your popup should appear. You can set triggers like scroll depth, exit intent (when someone’s about to leave your page), or delay it to show up after a few seconds.
Plus, you can target specific pages or even certain demographics to make sure your popup is shown to the right audience.
6. Connect Your Integrations
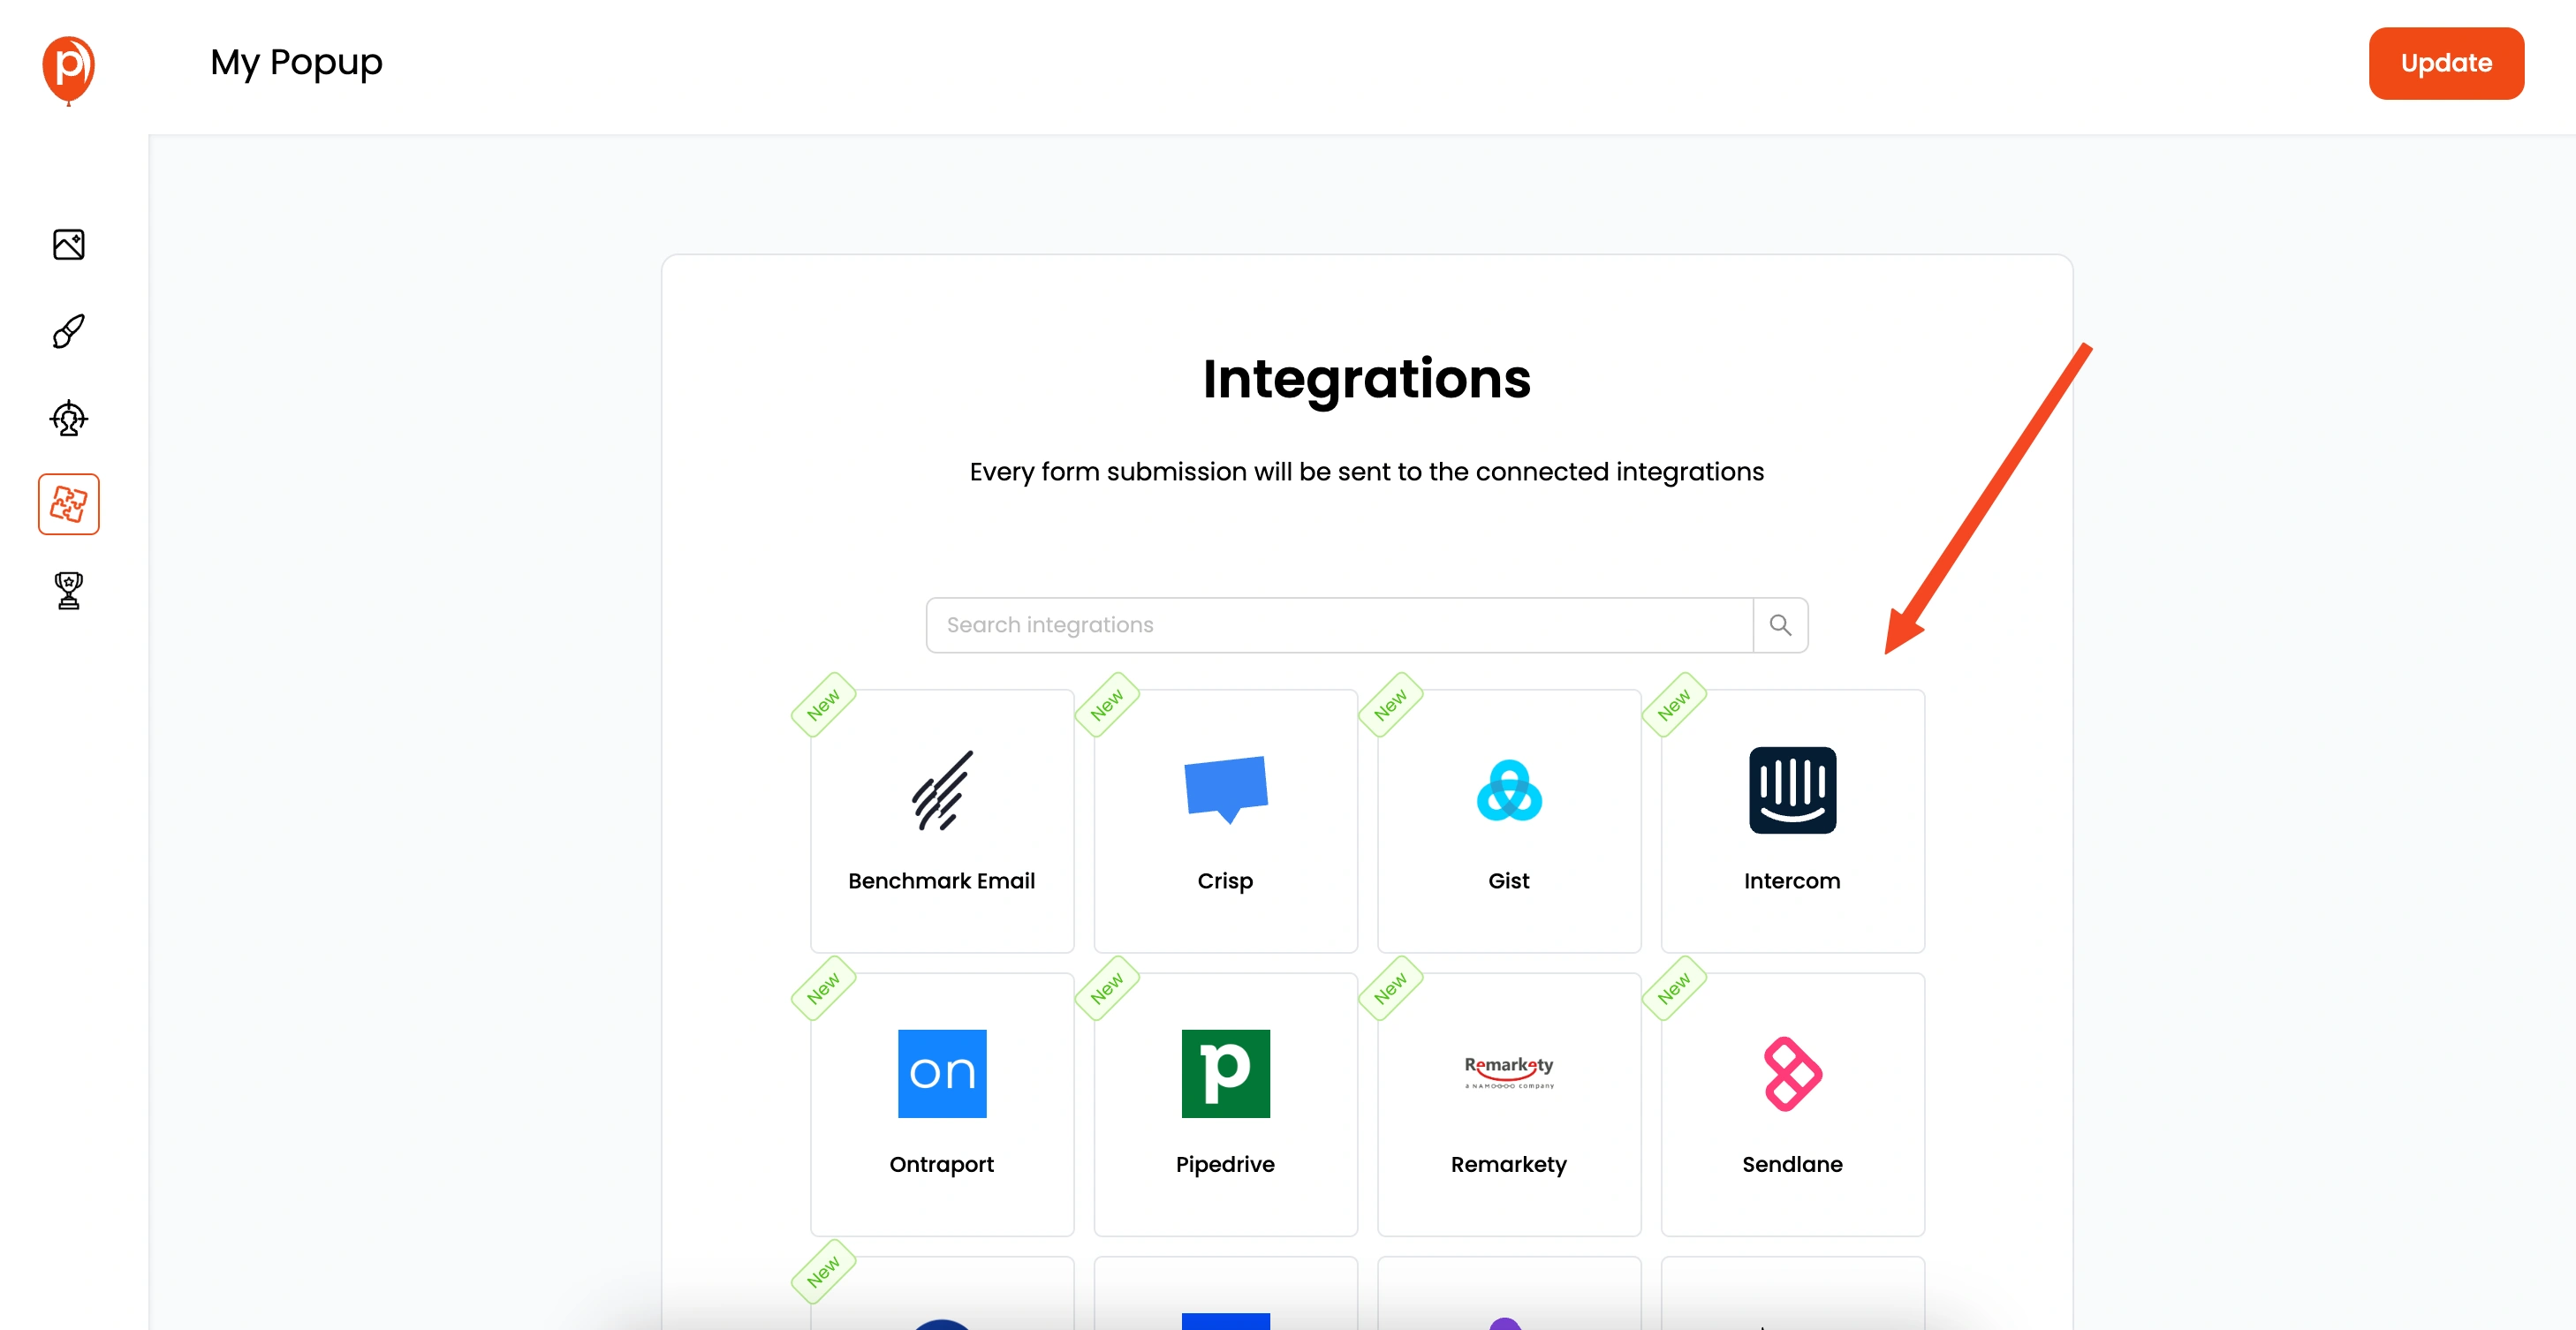
Now, let's integrate the popup with your favourite marketing tools. In the “Integrations” section, you can connect with email marketing platforms like Campaign Monitor, and many other tools. Just follow the steps to connect your desired tools.
7. Save and Publish

Once you've set up everything, it’s time to save your work. Click "Save & Publish" and your popup is live!
8. Grab the Poper Code
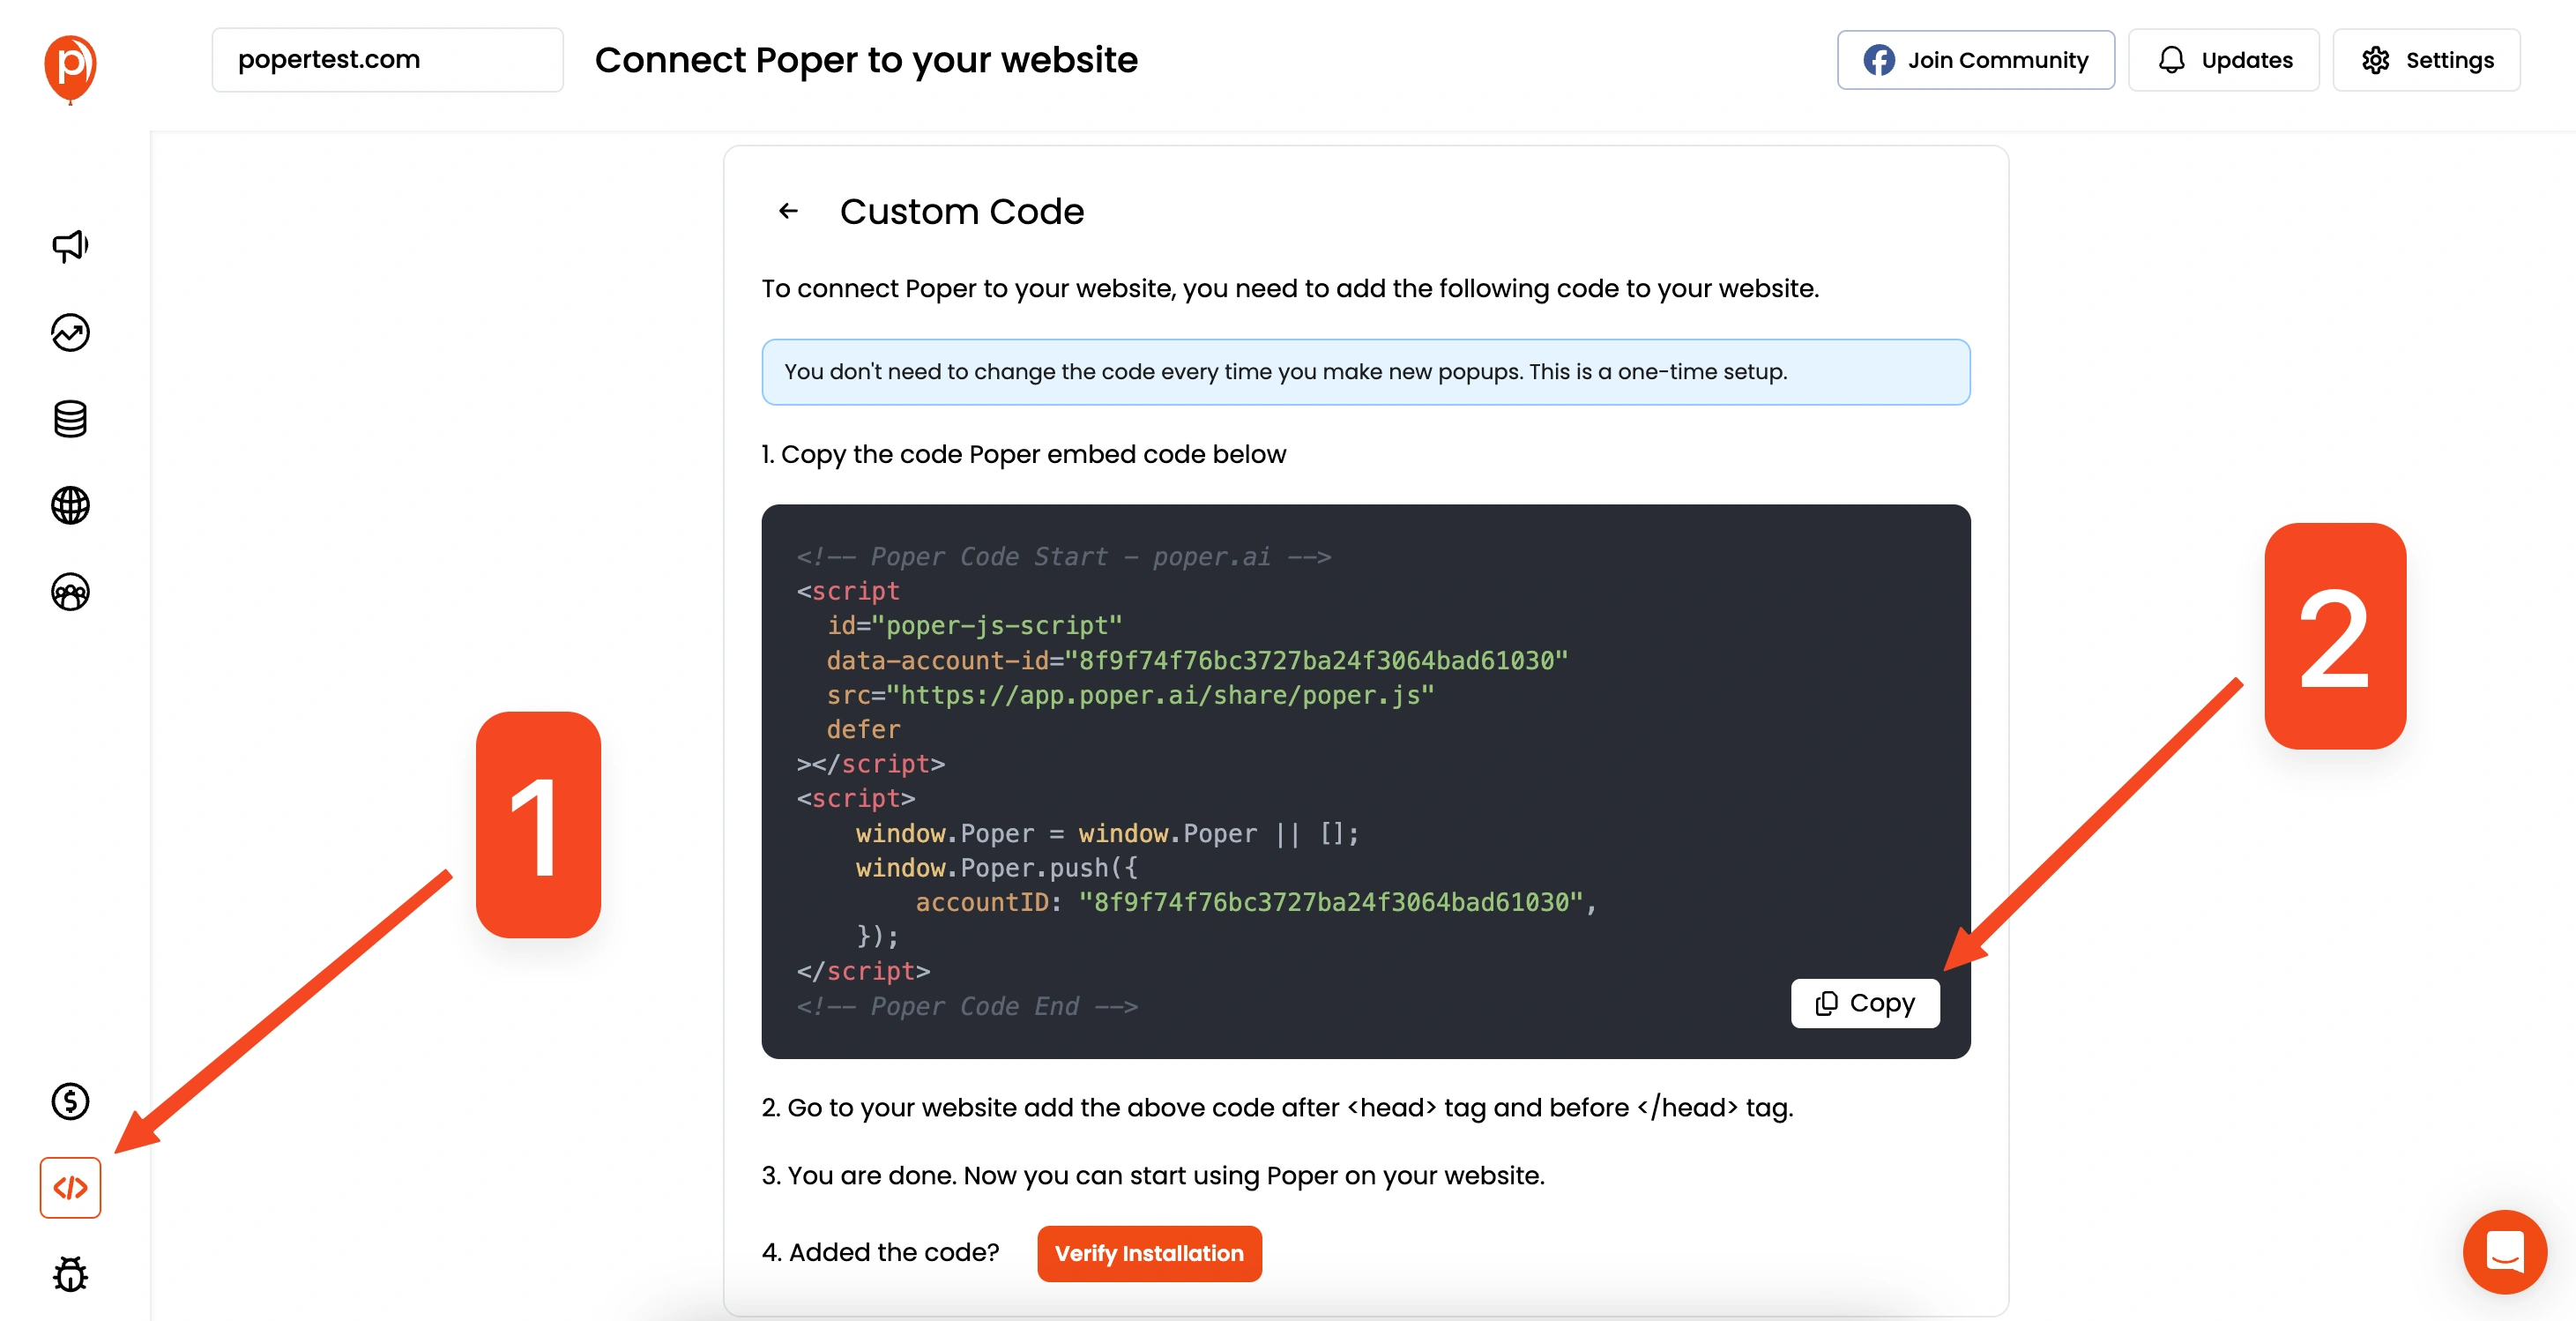
Go back to your Poper Dashboard. In there you will find a section named "Code". Click on "Custom Code" and copy it. This code is what will connect your Poper popups to your Webflow site.
9. Paste the Code into Webflow
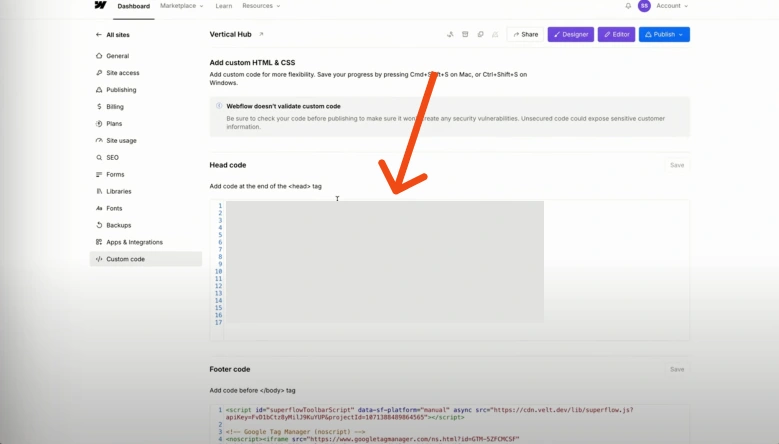
Now, let's switch back to Webflow. Go to your "Site Settings" and then to "Custom Code." Paste the code you copied from Poper into the "Head" section.
10. Save and Test
Save your changes in Webflow, and that’s it! Your Poper popups should now be working perfectly on your Webflow site. Take some time to test it out and make sure everything's running smoothly.
Real-World Examples of Popups in Webflow

To better understand how popups can enhance a Webflow site, let’s explore some real-world examples:
E-commerce Discount Popups: Online stores often use popups to offer first-time visitors a discount in exchange for their email.
Exit-Intent Popups for Blog Subscriptions: Many bloggers use exit-intent popups to capture leads before visitors leave the page.
Event Registration Popups: Businesses hosting webinars or live events use popups to increase sign-ups efficiently.
Poper allows you to create all of these with zero coding and complete customization.
Best Practices for Creating Effective Popups

Not all popups are effective—some can even hurt user experience. Follow these best practices to ensure success:
✔ Make It Visually Appealing – Use colors and fonts that align with your brand.
✔ Keep It Non-Intrusive – Use exit-intent or timed popups instead of instant load popups.
✔ Have a Clear Call-to-Action (CTA) – Your popup should have a strong message like "Get 10% Off Now!"
✔ Optimize for Mobile – Ensure your popups look great and function well on mobile devices.
By following these, you can increase engagement and conversions without annoying visitors.
Common Popup Mistakes to Avoid

Even with a great tool like Poper, mistakes can reduce the effectiveness of popups. Here are some pitfalls to avoid:
❌ Too Many Popups – Bombarding users with multiple popups can lead to high bounce rates.
❌ Complicated Forms – Keep forms short and simple. If you ask for too much, users may leave.
❌ No Close Button – Always allow users to dismiss the popup easily.
❌ Ignoring Analytics – Track performance and adjust based on user interactions.
With Poper, you can monitor engagement metrics and optimize accordingly.
FAQs
What is the best way to create a popup modal in Webflow?
The best way to create a popup modal in Webflow is by using Poper, which allows you to design and trigger popups effortlessly without coding.
Can I trigger a popup on page load in Webflow?
Yes, Webflow allows you to set page-load interactions, or you can use JavaScript to display popups automatically.
How do I add a close button to a Webflow popup?
You can design a close button in Webflow and use interactions to hide the popup when clicked.
Can I show a popup when a user clicks a button in Webflow?
Yes, Webflow’s interactions panel lets you create click-triggered popups easily.
Does Poper support exit-intent popups in Webflow?
Yes, Poper has an exit-intent detection feature, allowing you to display popups when users attempt to leave your Webflow site.
Conclusion
And there you have it! Using Poper, you can effortlessly create and manage popups on your Webflow site. It really does make things a lot easier, saving you from wrestling with complex coding. If you have any questions or need help at any step, feel free to reach out.

