

Alright, let's get your images popping up on your website using Poper! I've designed Poper to make this process incredibly straightforward, even if you're not a coding expert.
Here's a step-by-step guide to turn any image into an engaging popup.
Step 1: Upload Your Image to Poper's Image-to-Popup Tool
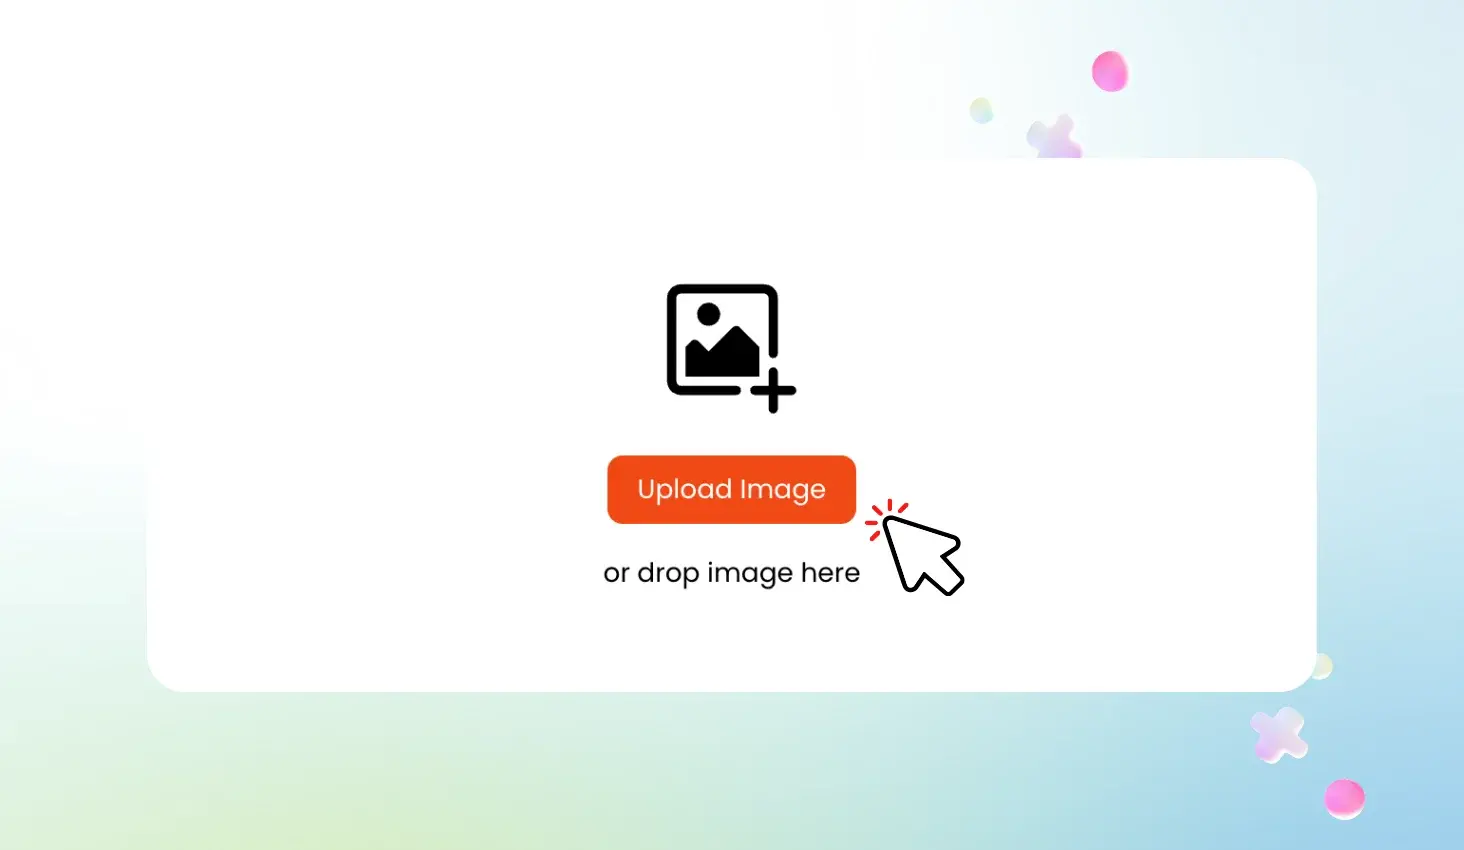
Head over to https://www.poper.ai/image-to-popup/ to get started. This is where the magic happens. Just drag and drop the image you want to use for your popup or select it from your files.
This tool is designed to take the hassle out of coding. I wanted to give you a quick and easy way to convert images into a popup.
Step 2: Customize the Appearance of Your Popup
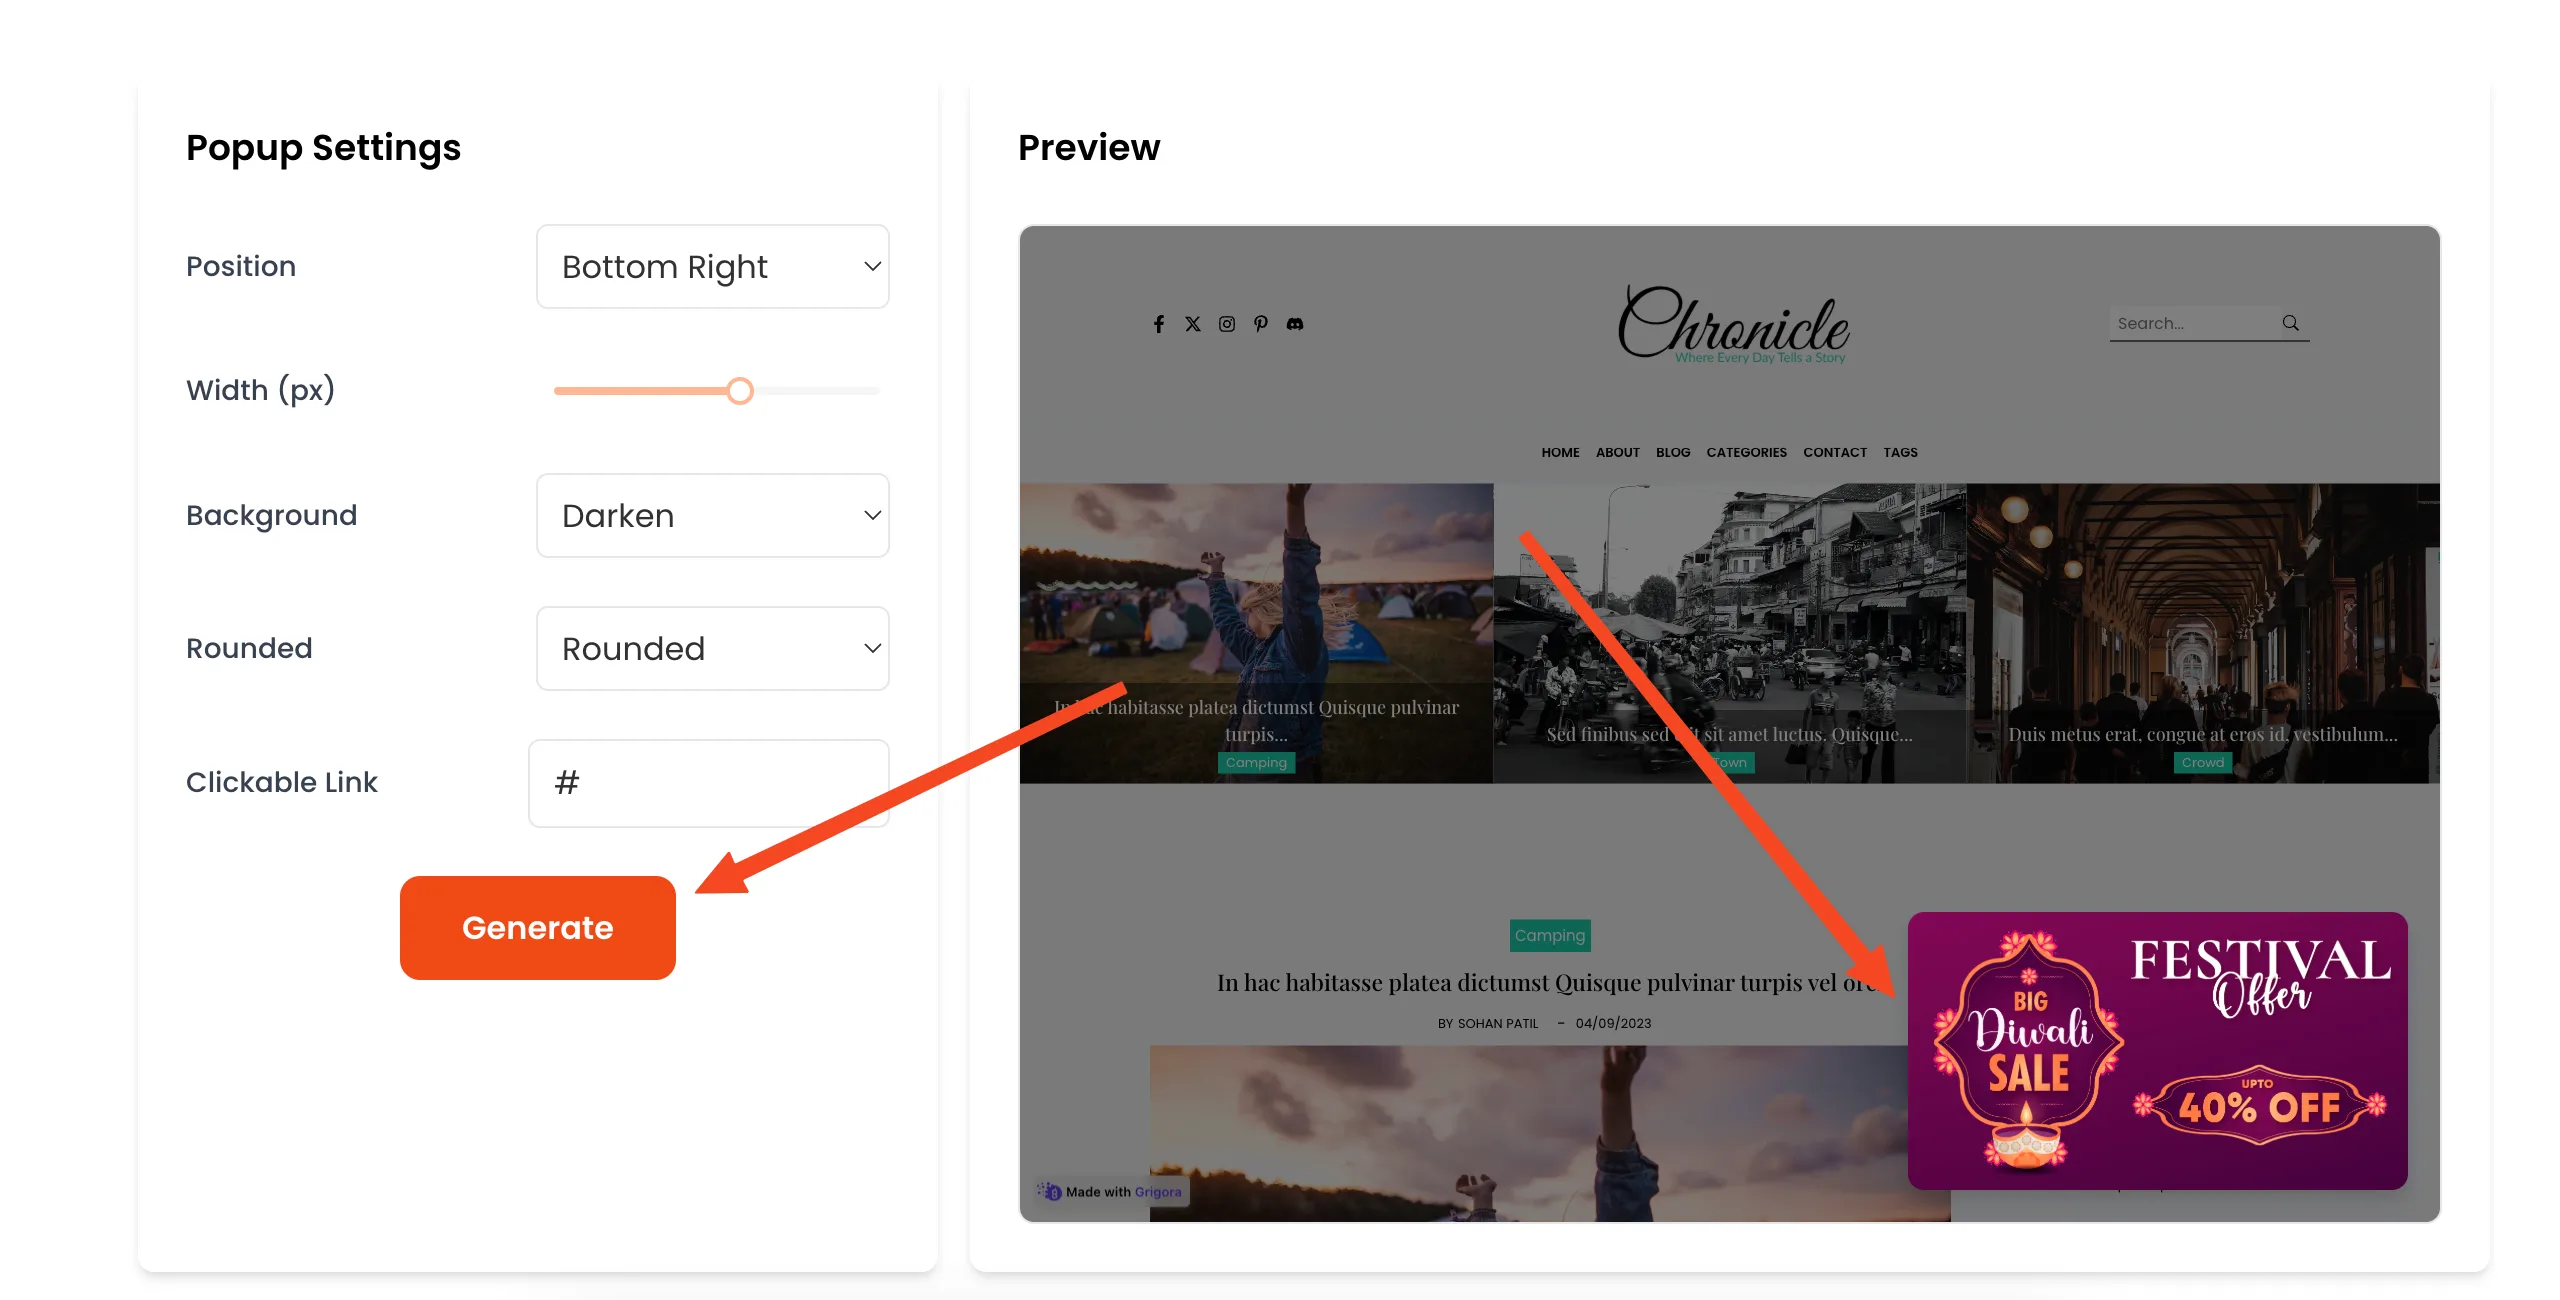
Once your image is uploaded, you’ll see options to tweak its look and feel. You can adjust the position on the screen (top, center, bottom), choose a background color that complements your image, and control the darkness of the background overlay.
The background overlay helps your image popup "pop" out from your website. You can also change the size of the image to make sure it fits nicely and isn't overwhelming. Play around with these settings until you get the perfect visual balance.
Step 3: Generate the Initial Popup
After customizing the appearance, click the "Next" button. This will generate the initial popup.
Don't worry, you won't need to write any code yourself. This is just Poper doing its thing in the background.
Step 4: Log In to Access Advanced Editor
At this point, you might be prompted to log in to your Poper account. If you don't have one yet, it's quick and easy to create. Logging in unlocks the full potential of Poper.
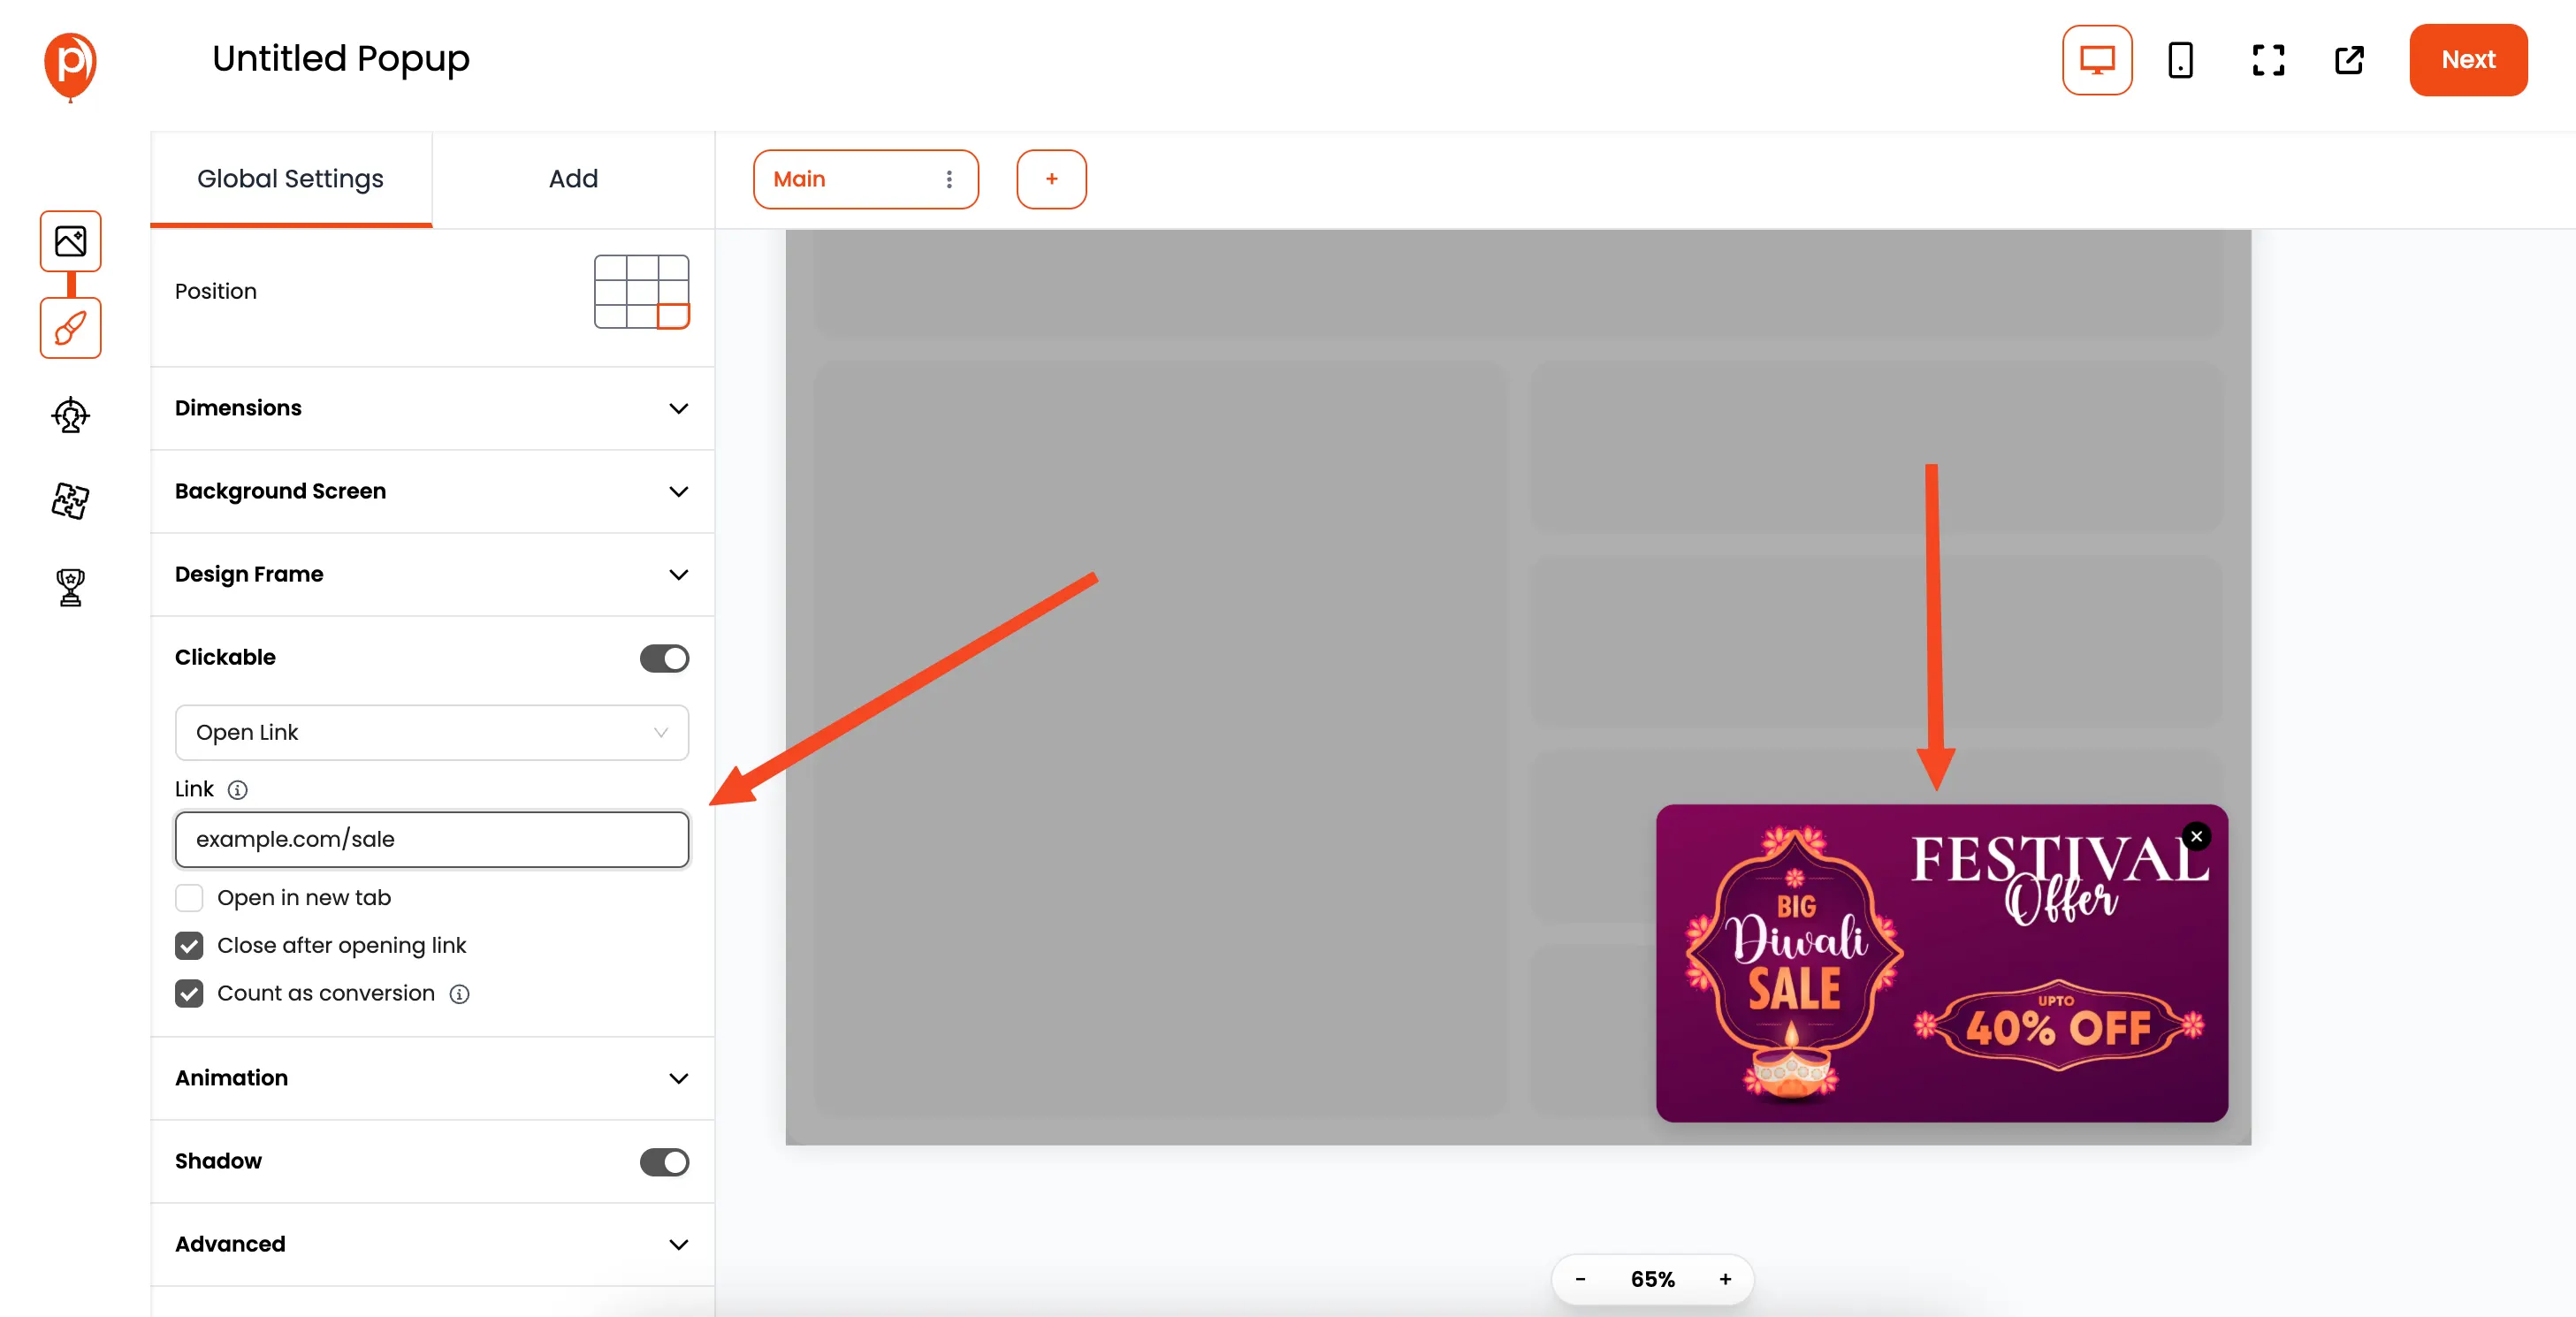
You’ll be taken to our advanced editor. This is where you can really fine-tune your popup.
Step 5: Configure Triggers, Audience Filters, and More

In the advanced editor, you can set up triggers to control when your popup appears. Do you want it to show up immediately, after a delay, or when someone is about to leave your site?
Also, you can set up audience filters to target your popup to specific visitors based on location, device, or behavior. This level of customization ensures your popup is seen by the right people at the right time. This ensures your popup grabs attention without annoying visitors.
Step 6: Save and Publish Your Popup
Once you're happy with the settings, click the "Save and Publish" button.
Poper will then provide you with a snippet of code that you need to add to your website. Simply copy and paste this code into the <head> or <body> section of your HTML.
Step 7: View Your Popup on Your Website
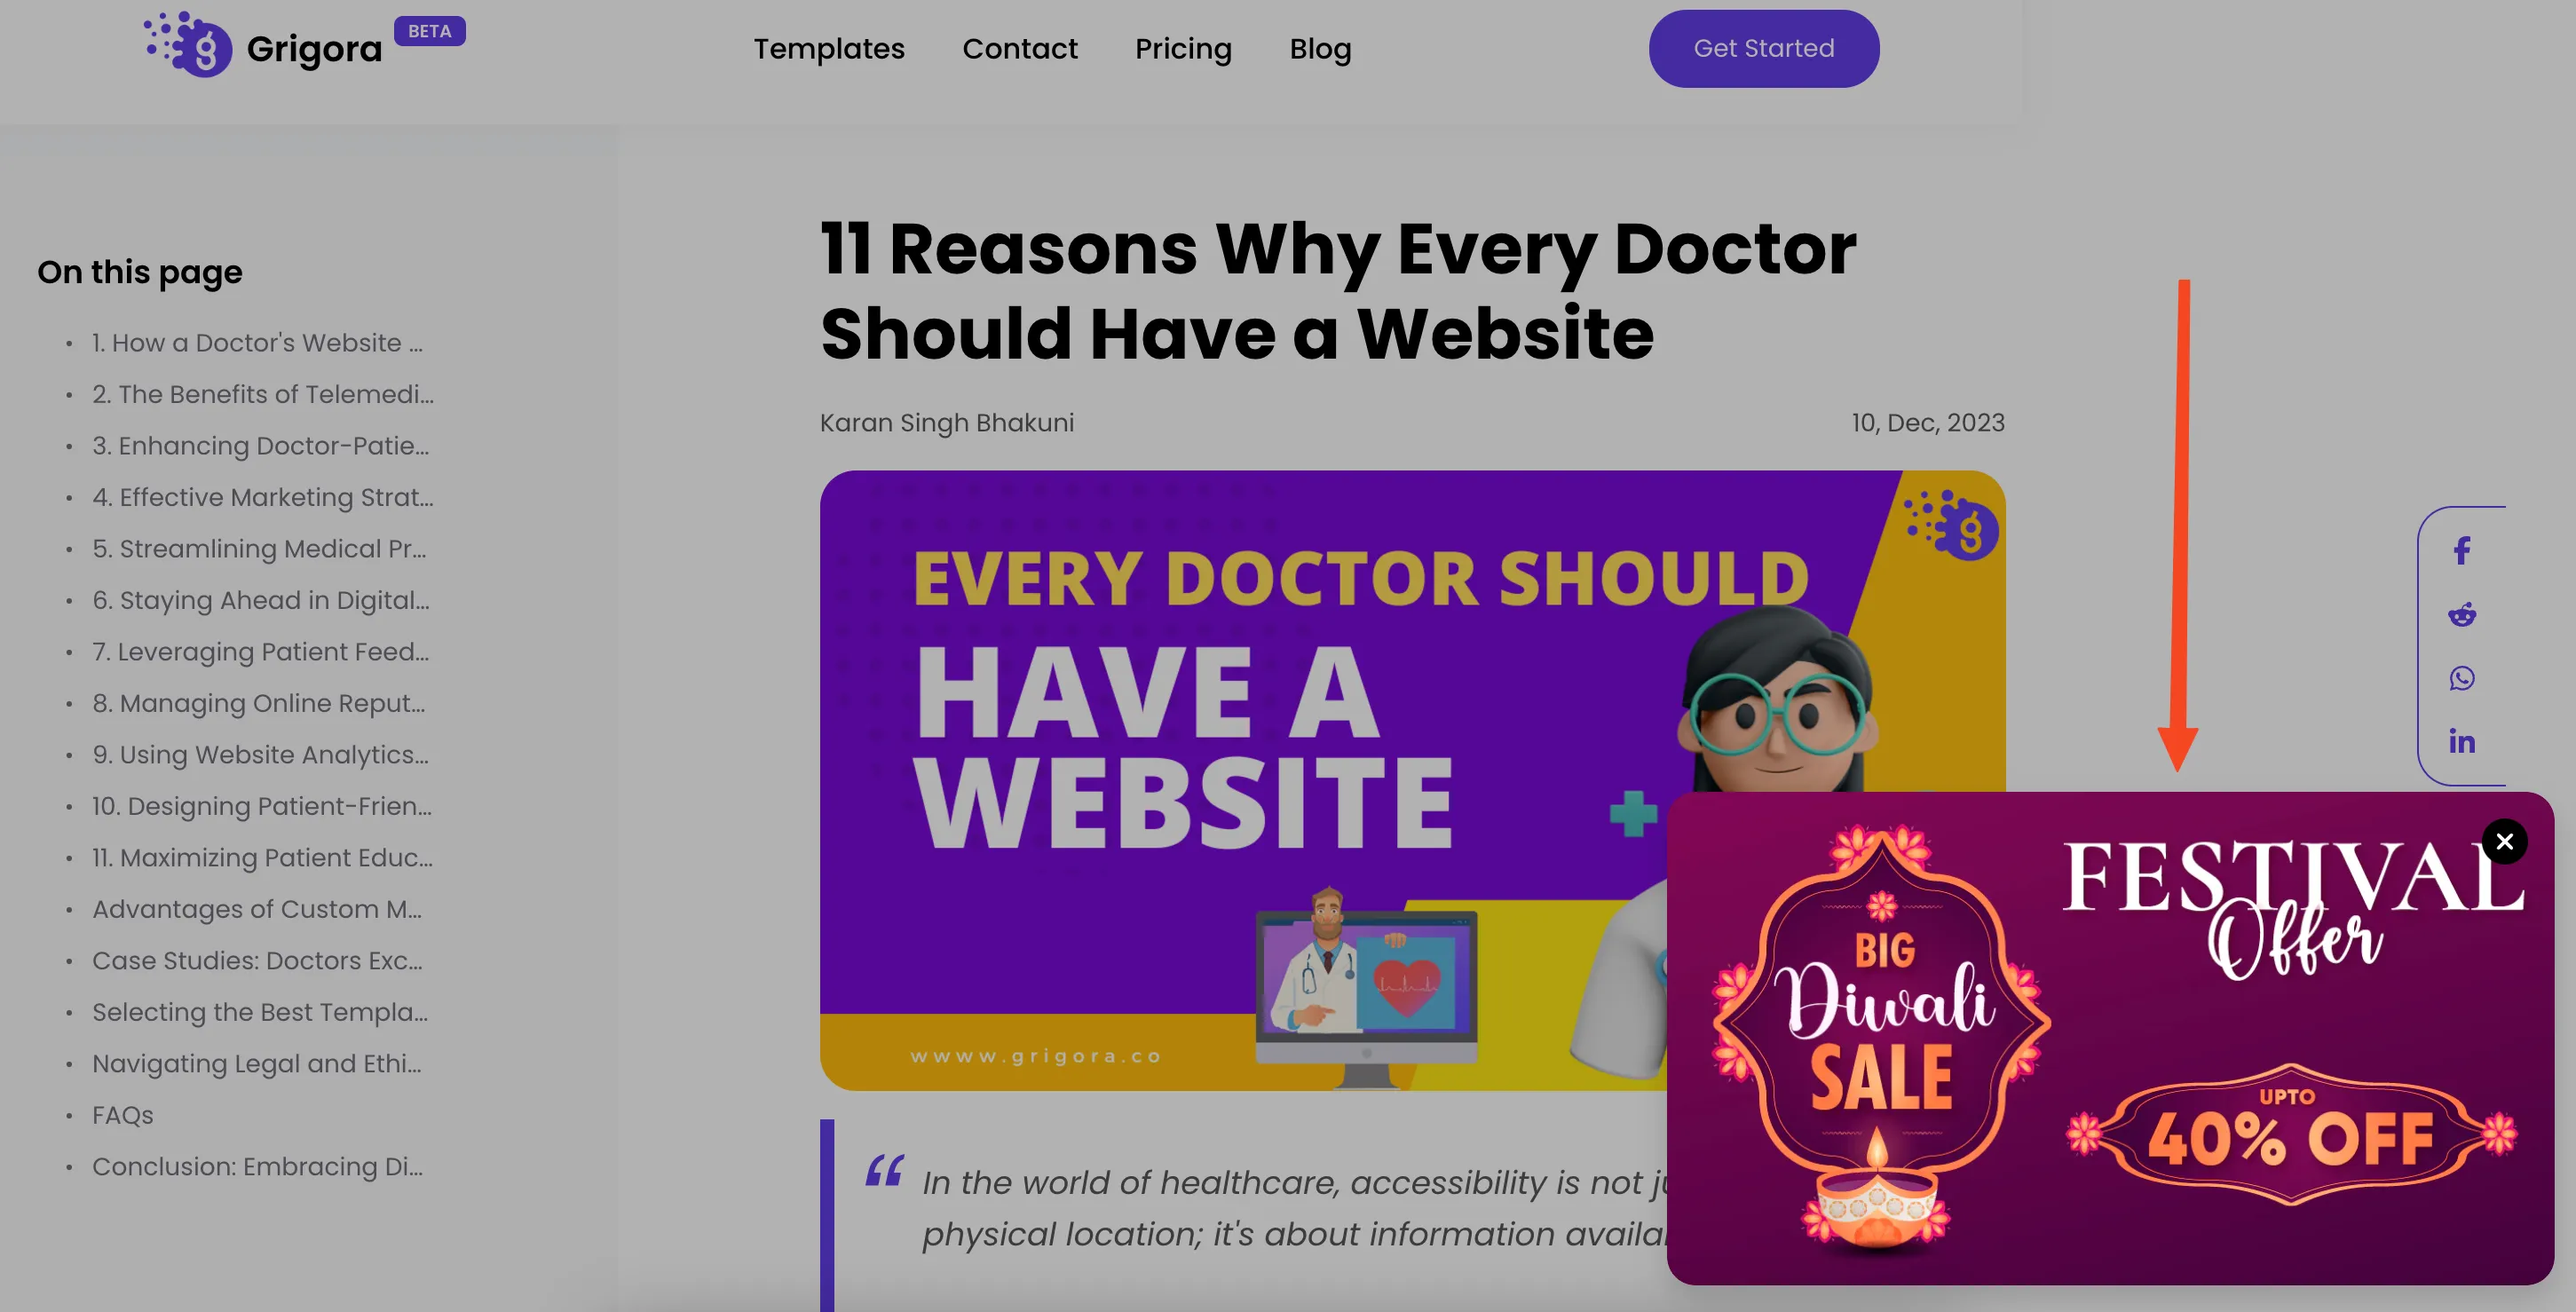
Now, visit your website and see your image popup in action. You can see exactly what it looks like in your website as a test.
If it's not quite right, you can always go back to the Poper editor and make further adjustments. That’s the beauty of using Poper!

