

Creating popups in React can sometimes feel like a real headache. There are so many libraries out there, but getting the logic right for targeting specific users and triggers can be a real struggle. I'm going to show you two ways to create popups:
Using Poper (the easy way)
Using code (the hard way)
Let's dive in!
Using Poper
If you're using React, your website is likely hosted on a domain. As long as your React site is connected to a domain, you can use Poper to display smart popups. Here's how:
1. Create a Poper Account
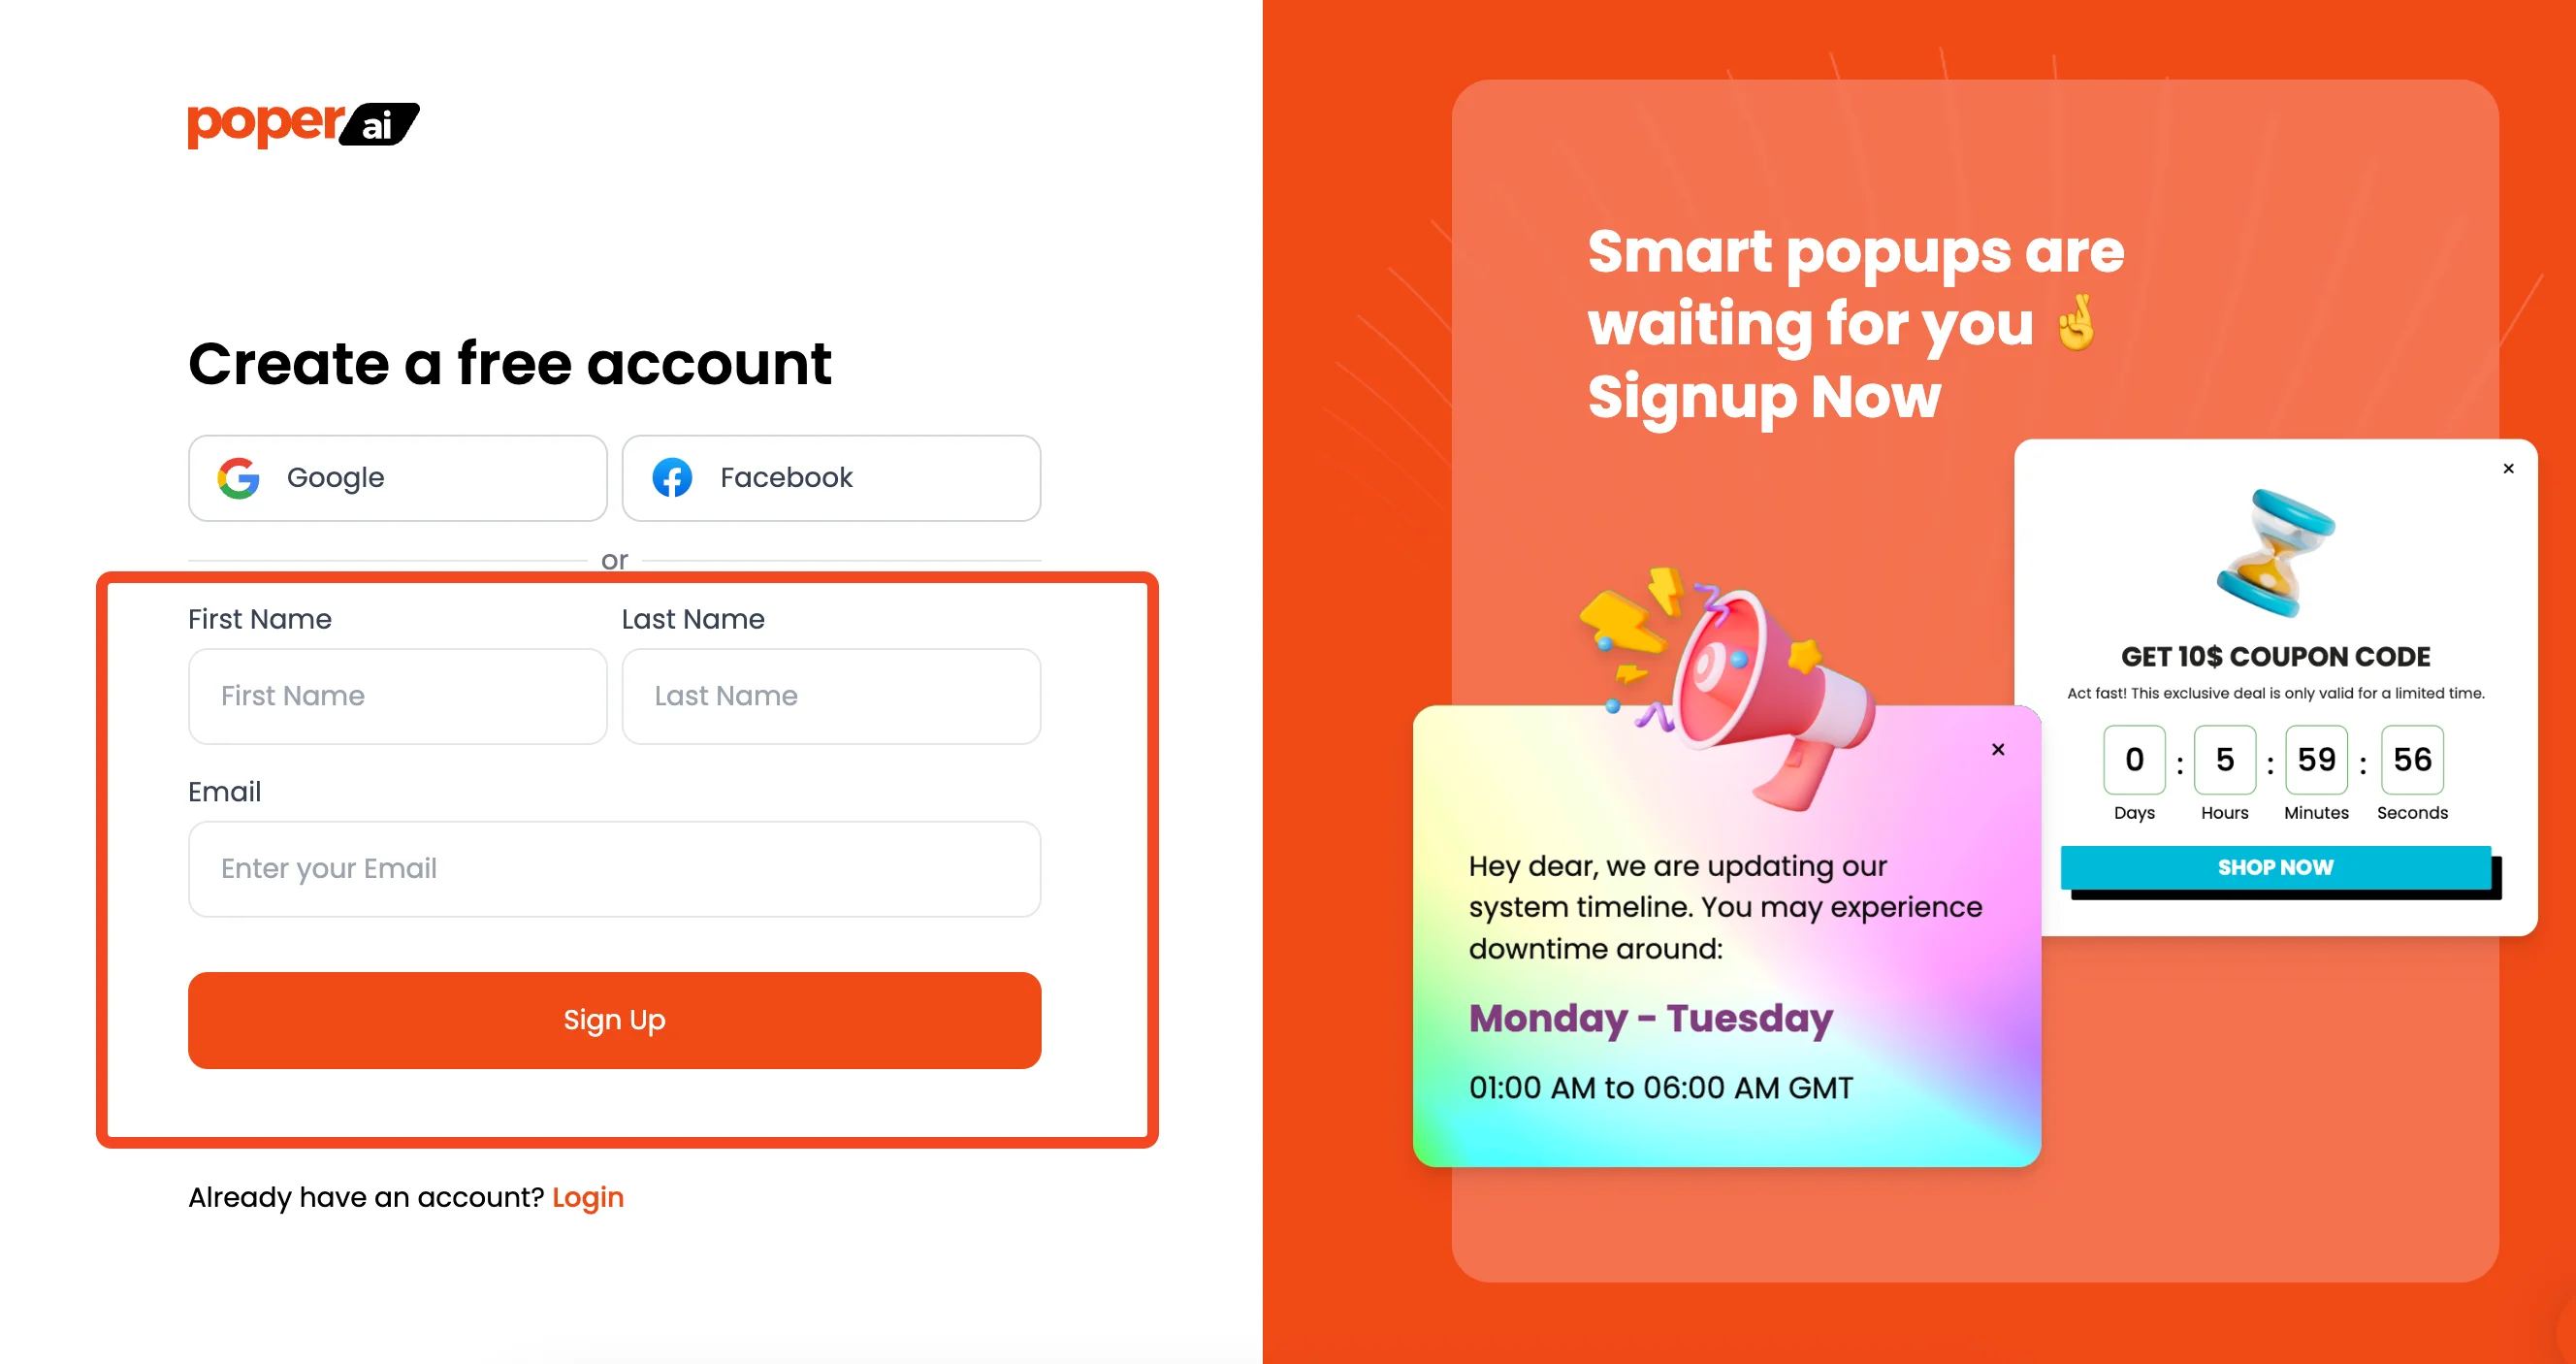
First things first, you'll need to sign up for Poper. This is where you'll create your popups and connect them to your React website.
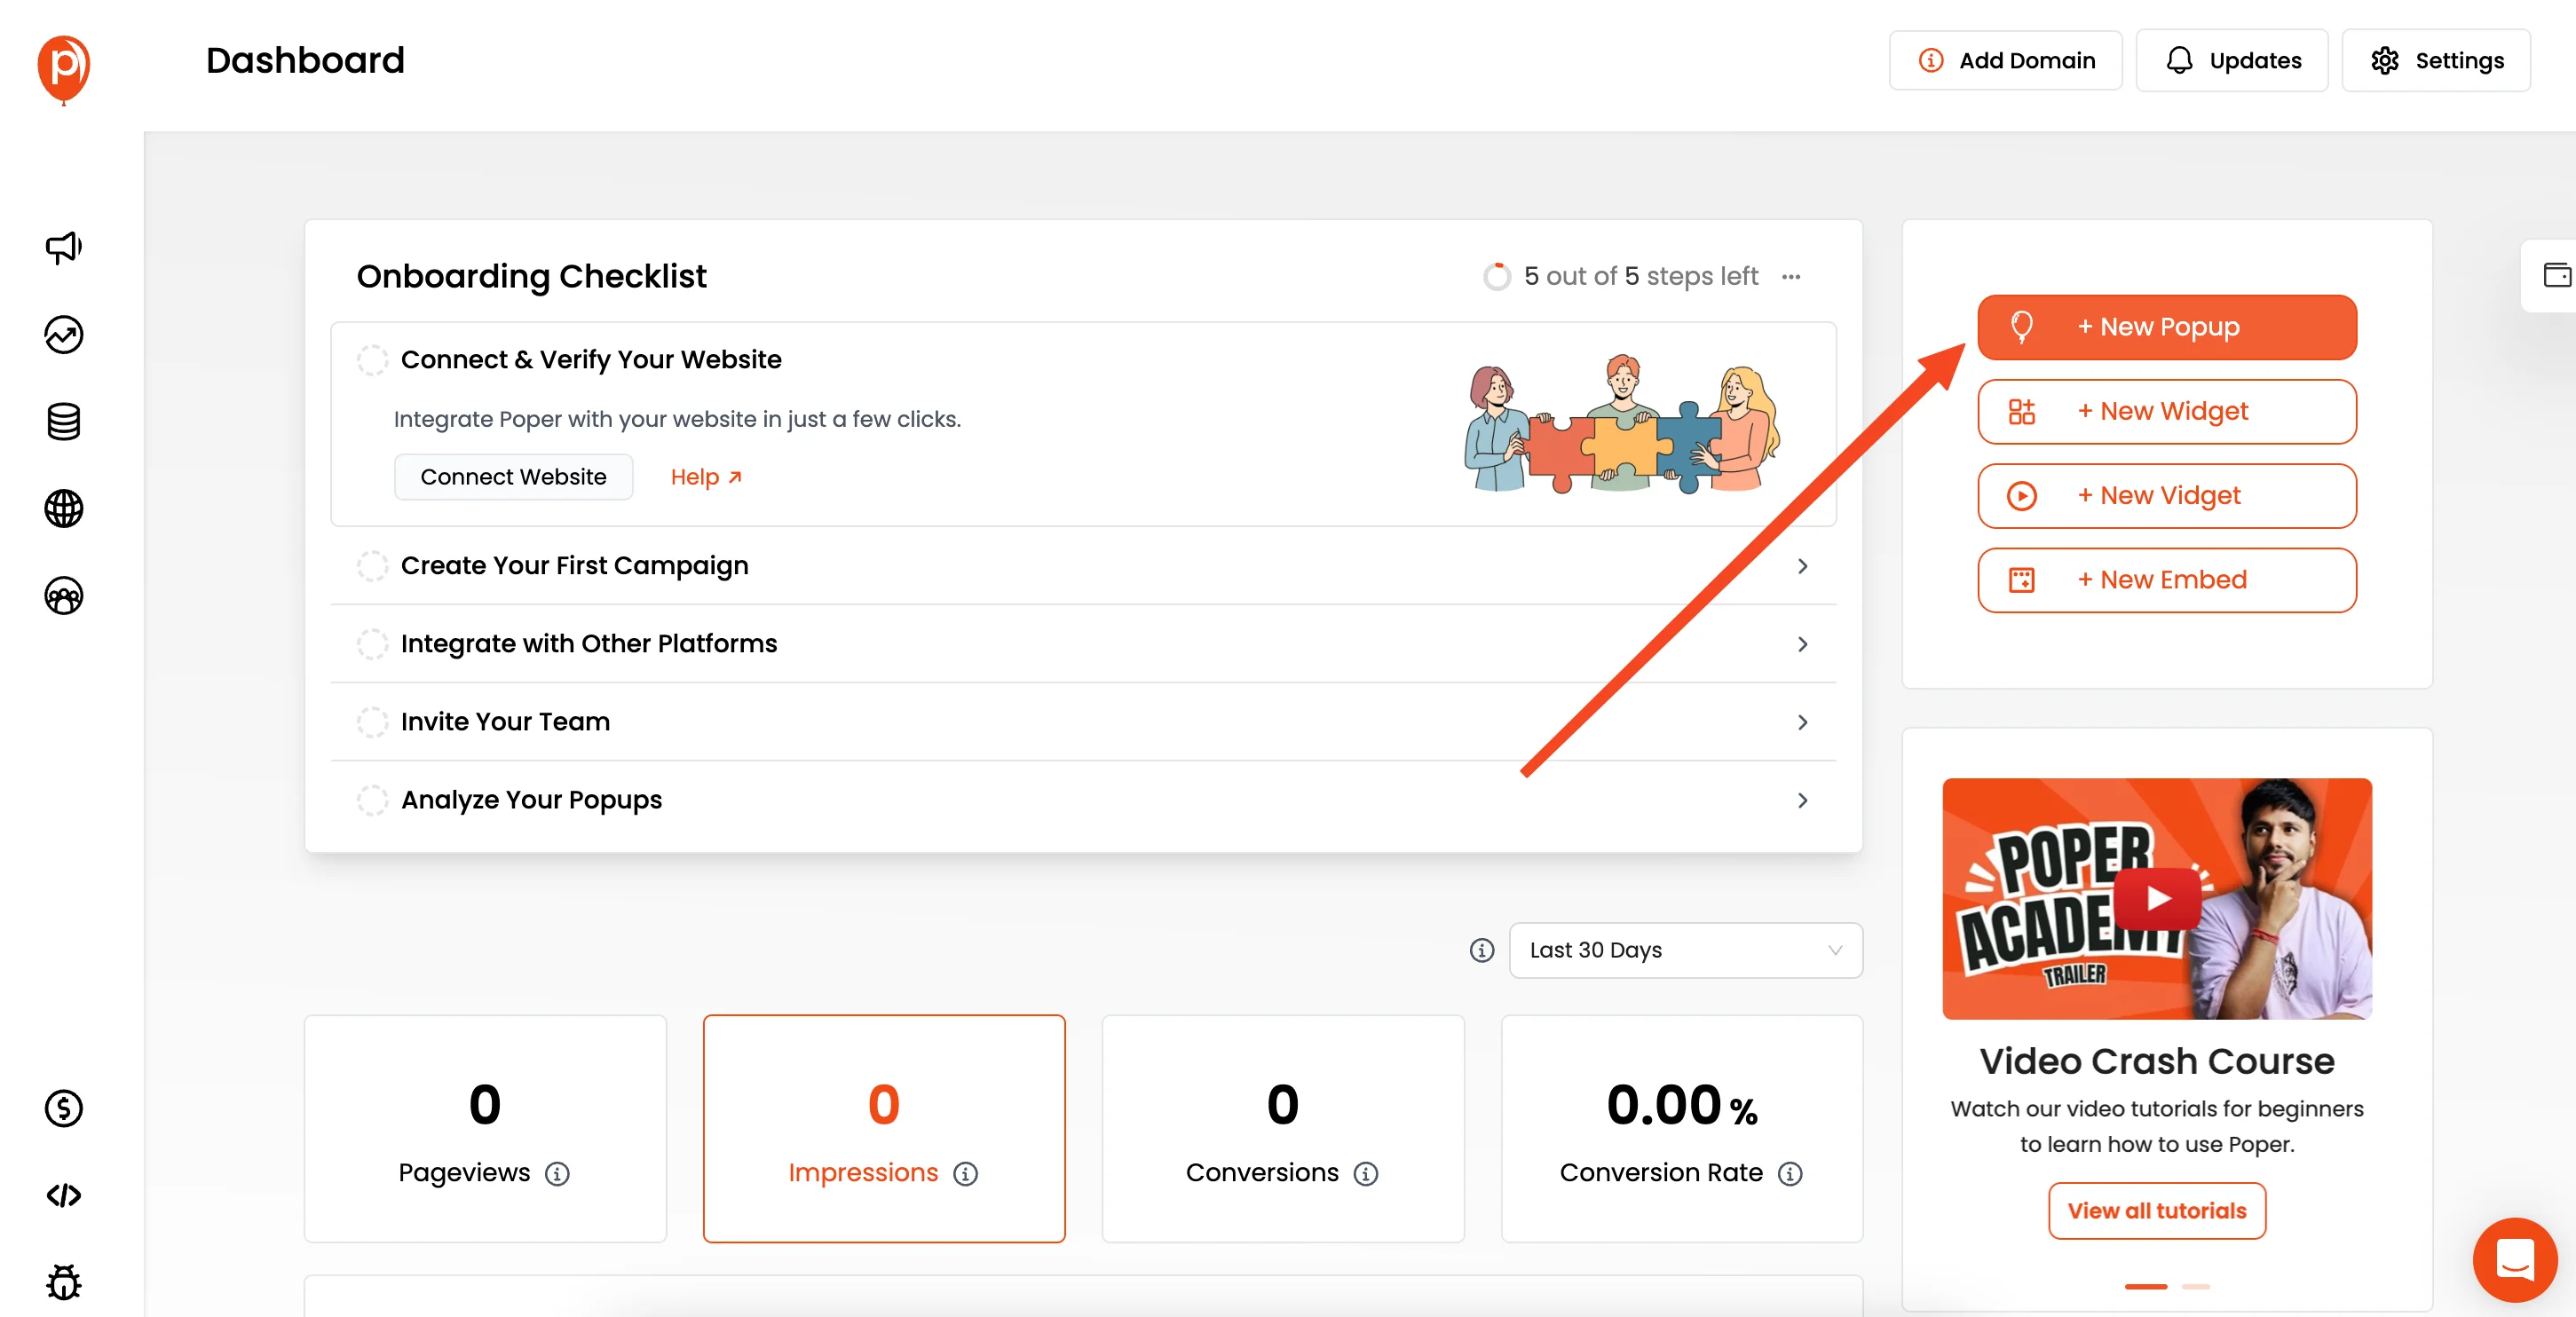
2. Add Your Domain and Create a New Popup
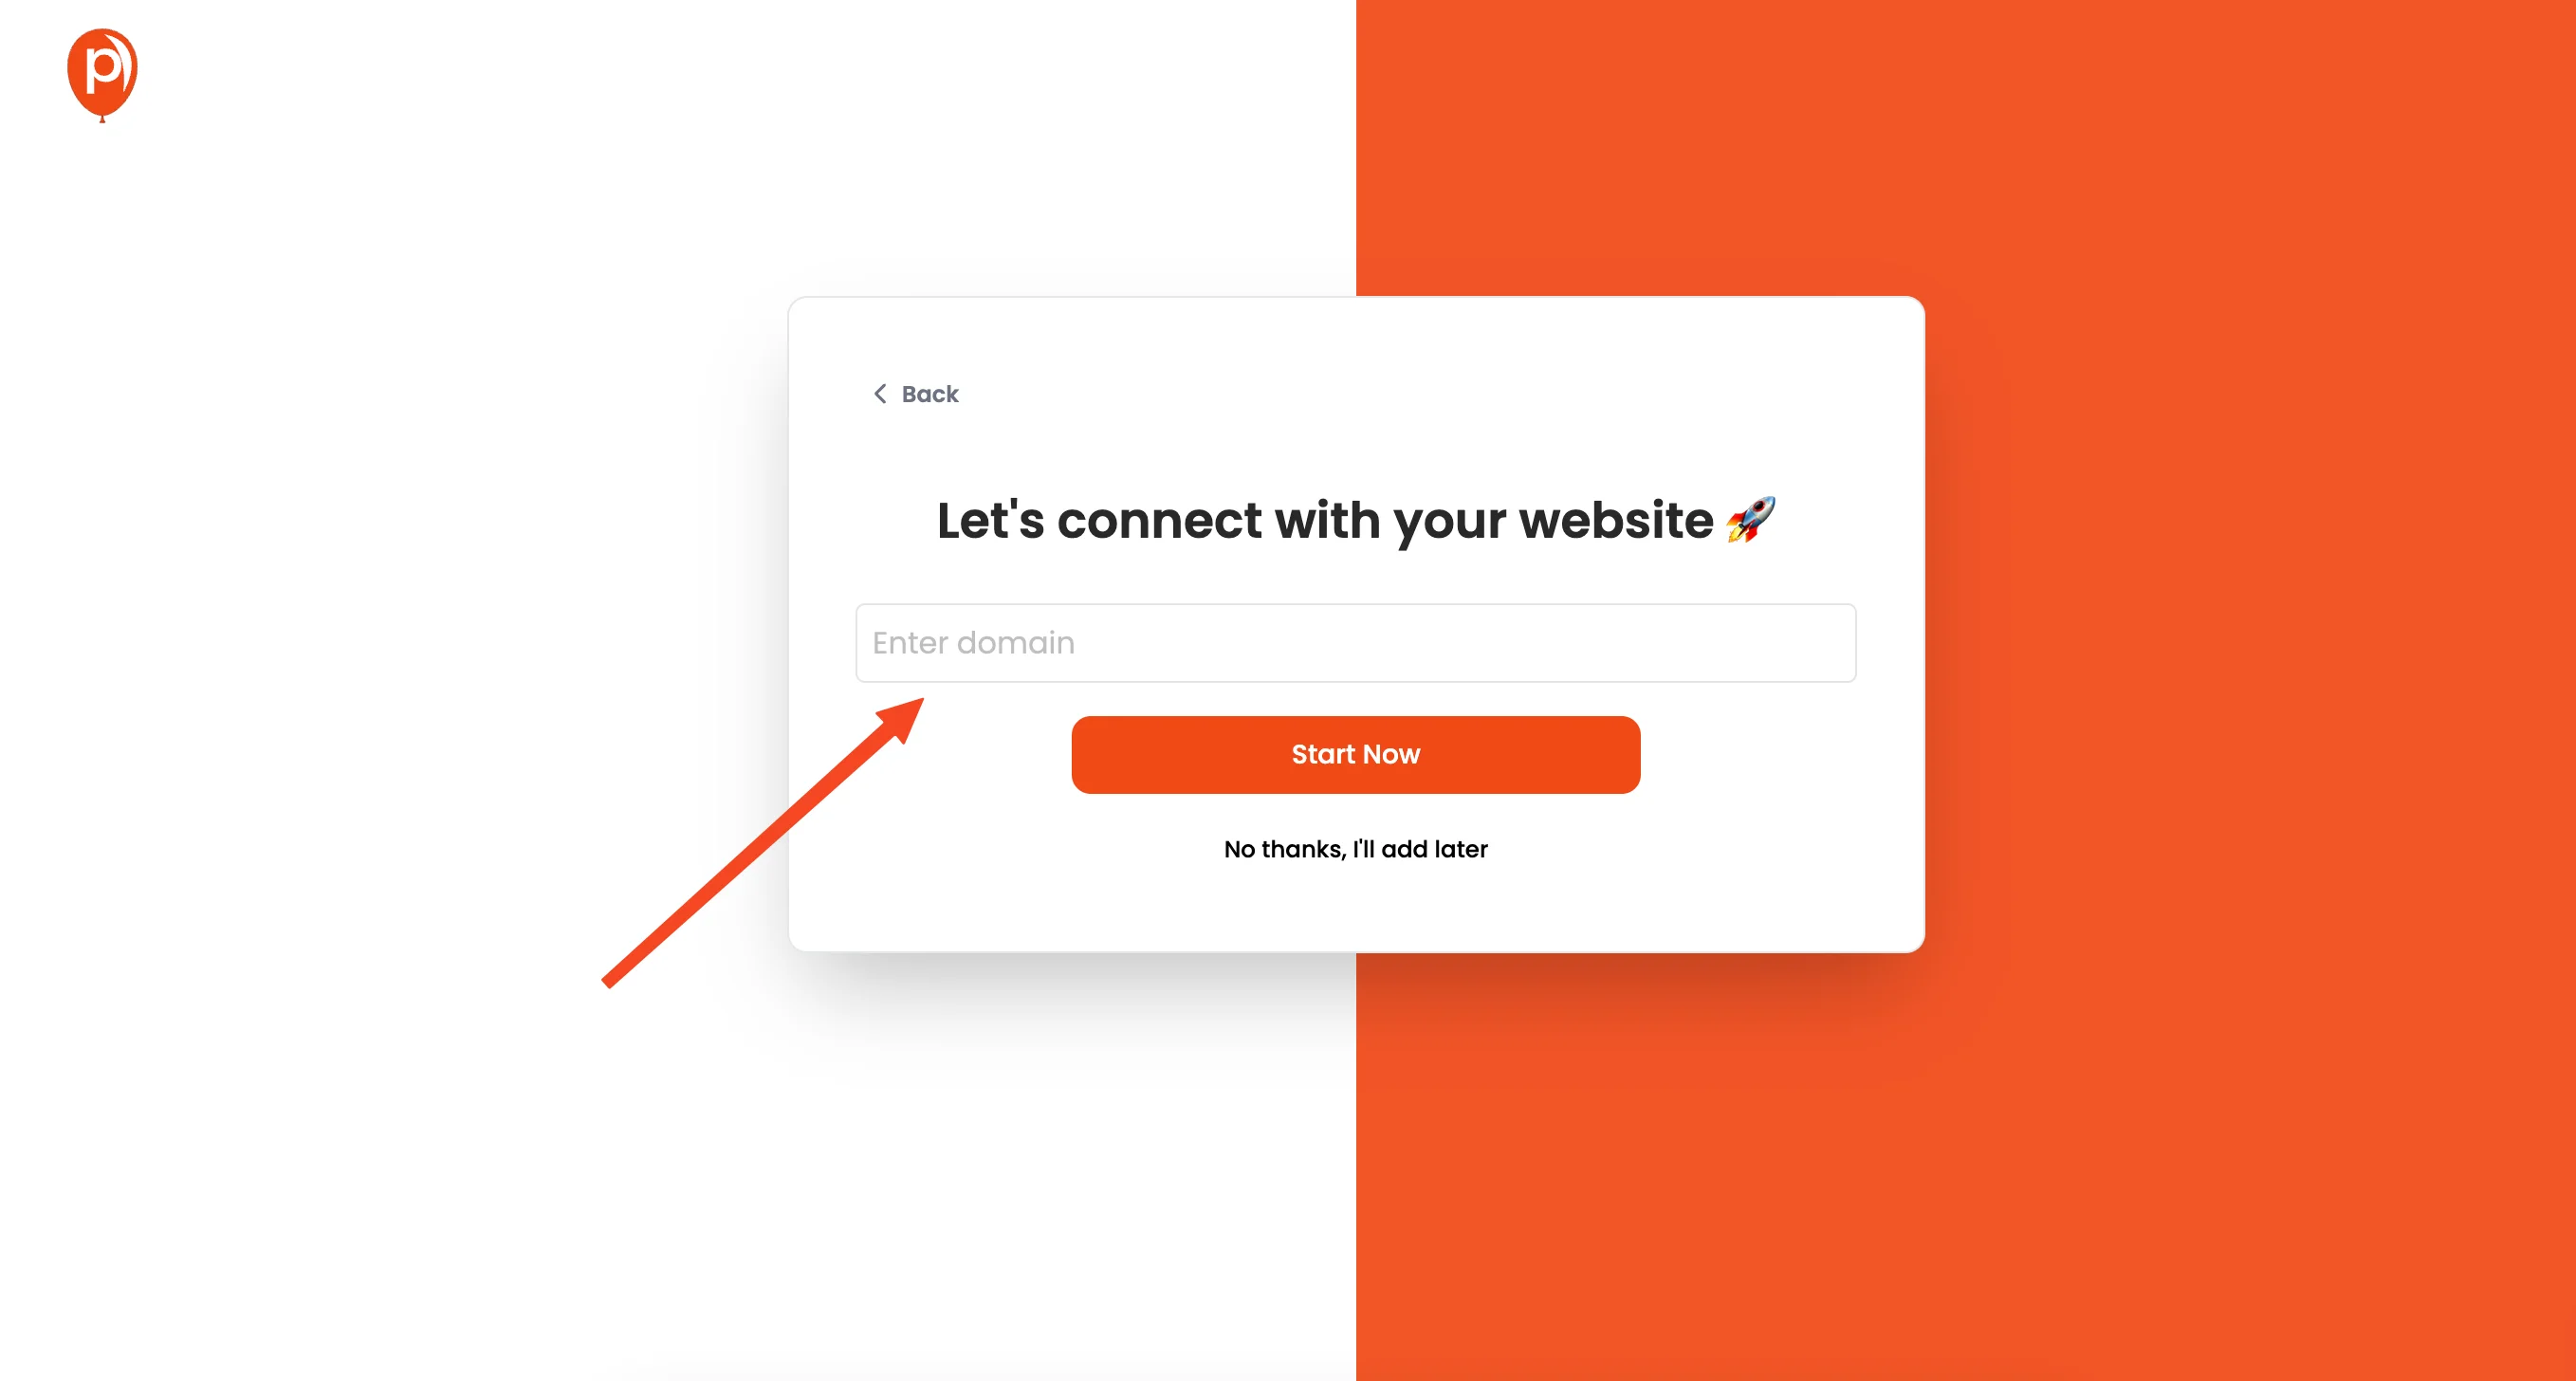
Once you're logged in, you'll need to add your domain. After that, let's create a new popup. Click on the "New Popup" button and then select "Choose from Templates."
3. Choose a Popup Template
Now, select the type of template you'd like for your popup. You can also create a completely custom popup from scratch.
4. Customize Your Popup
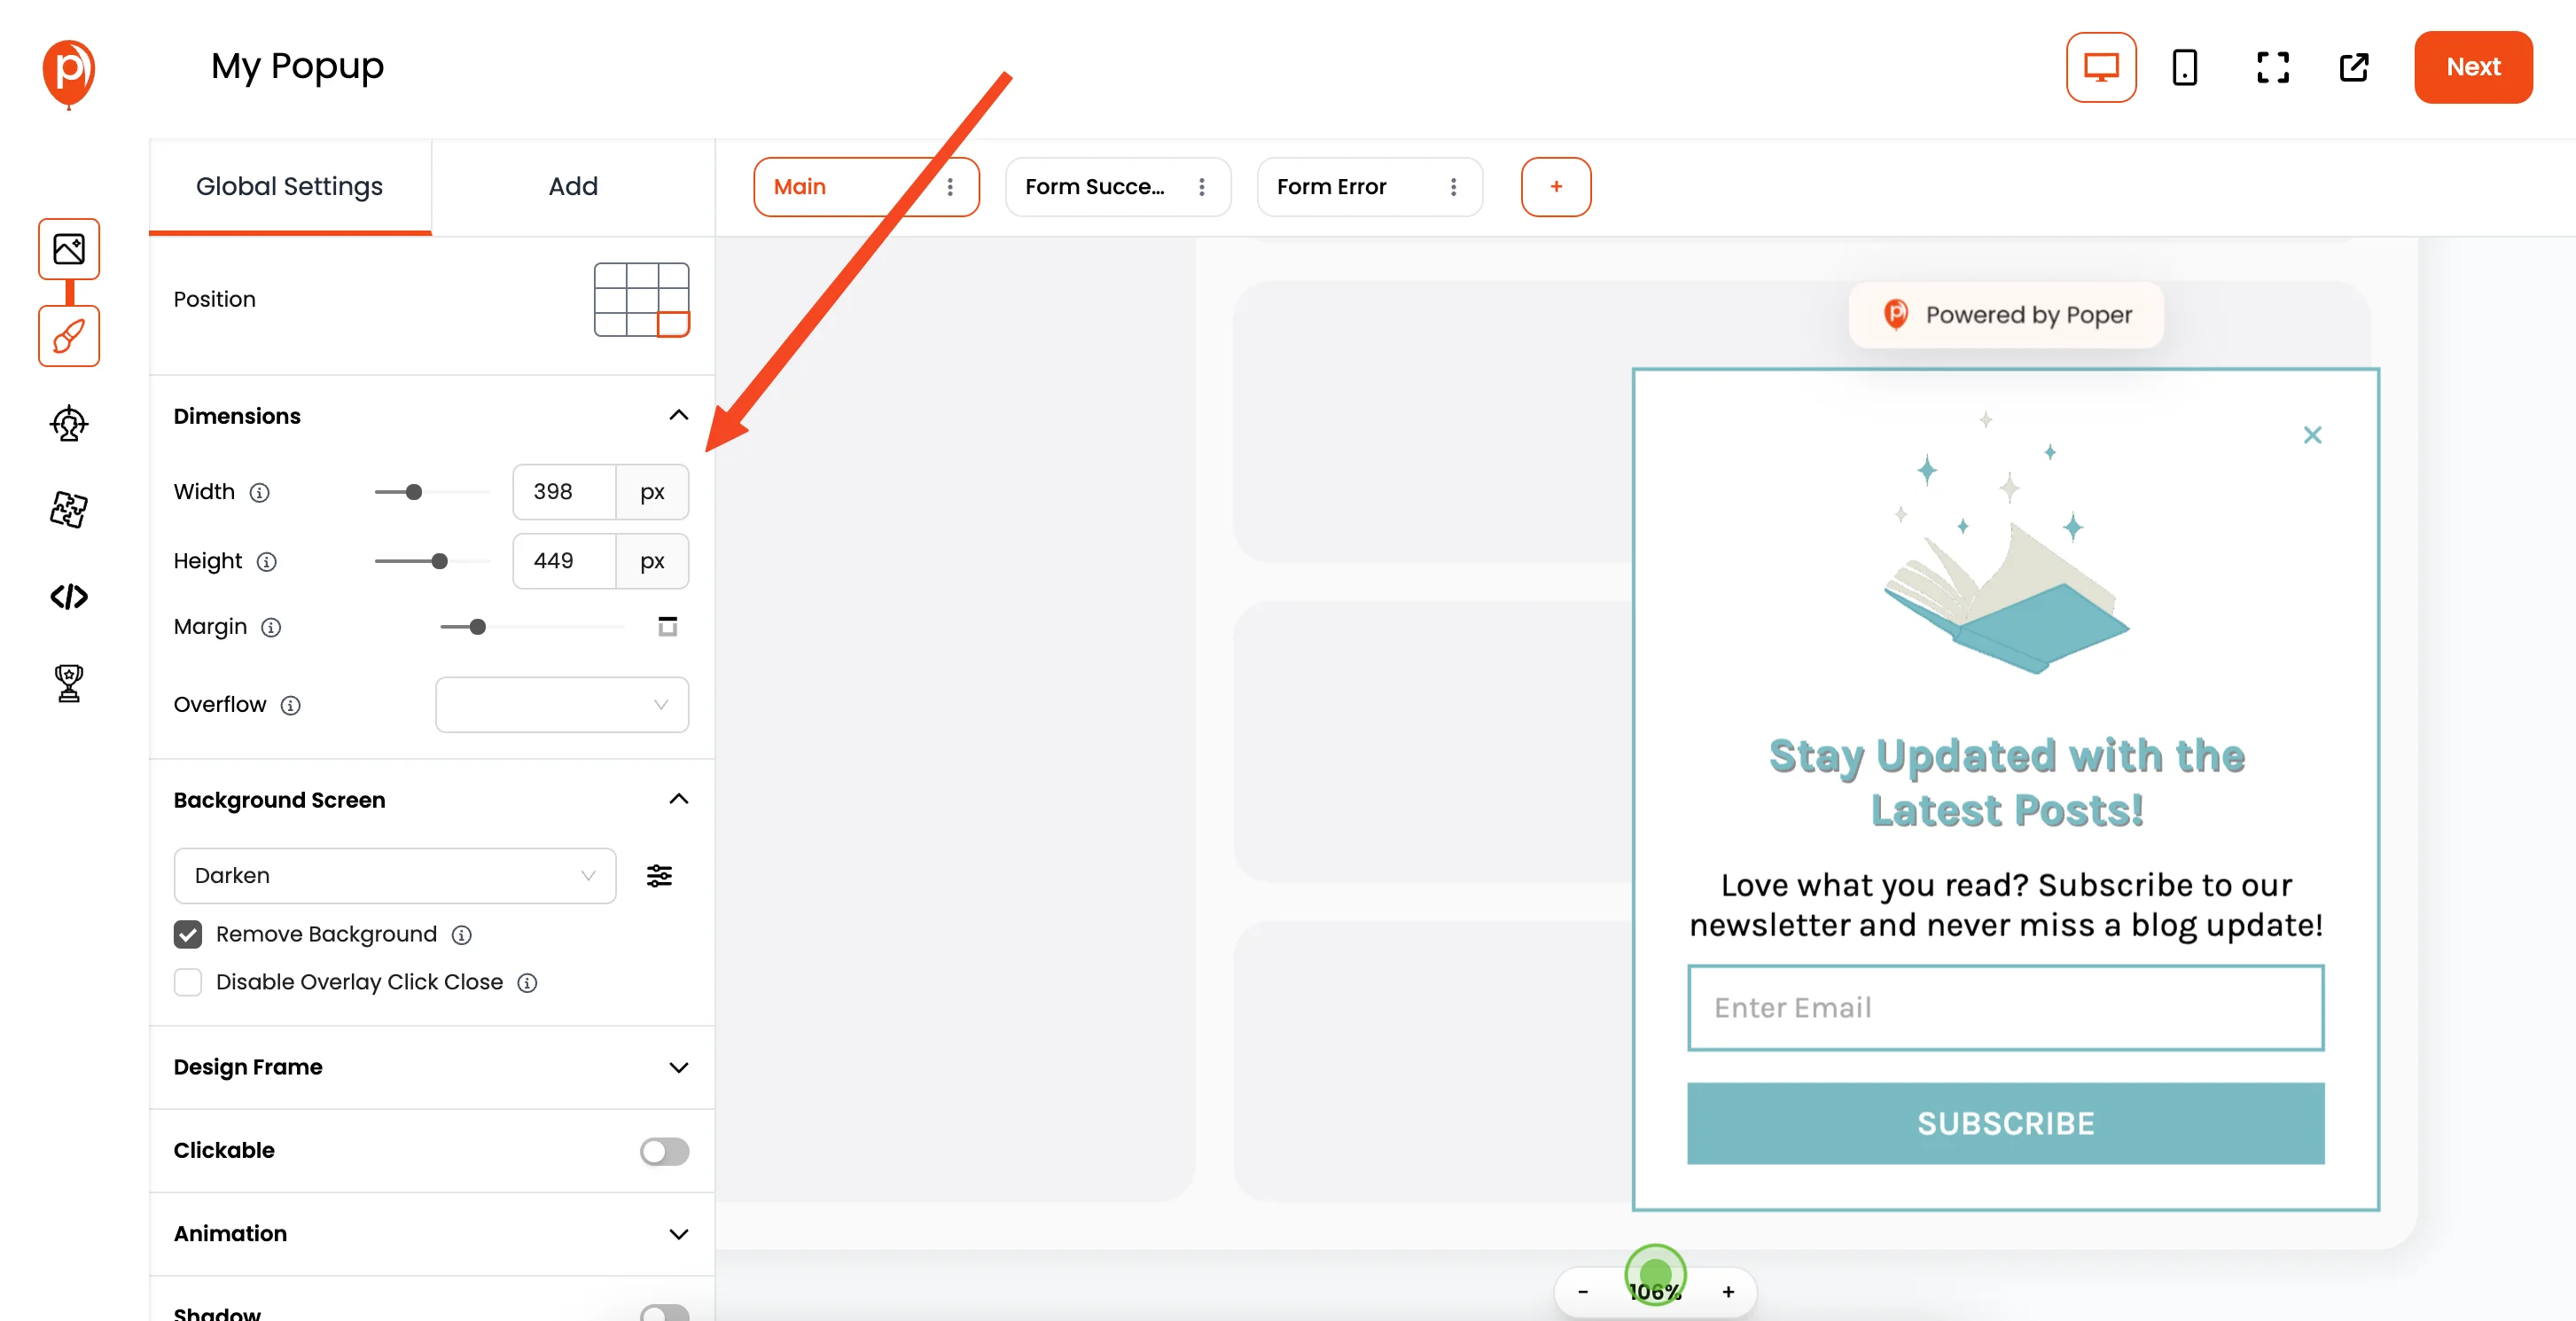
This will open up the popup editor. Here, you can customize everything from fonts to colors. Once you're happy with how it looks, click "Next."
5. Set Display Conditions
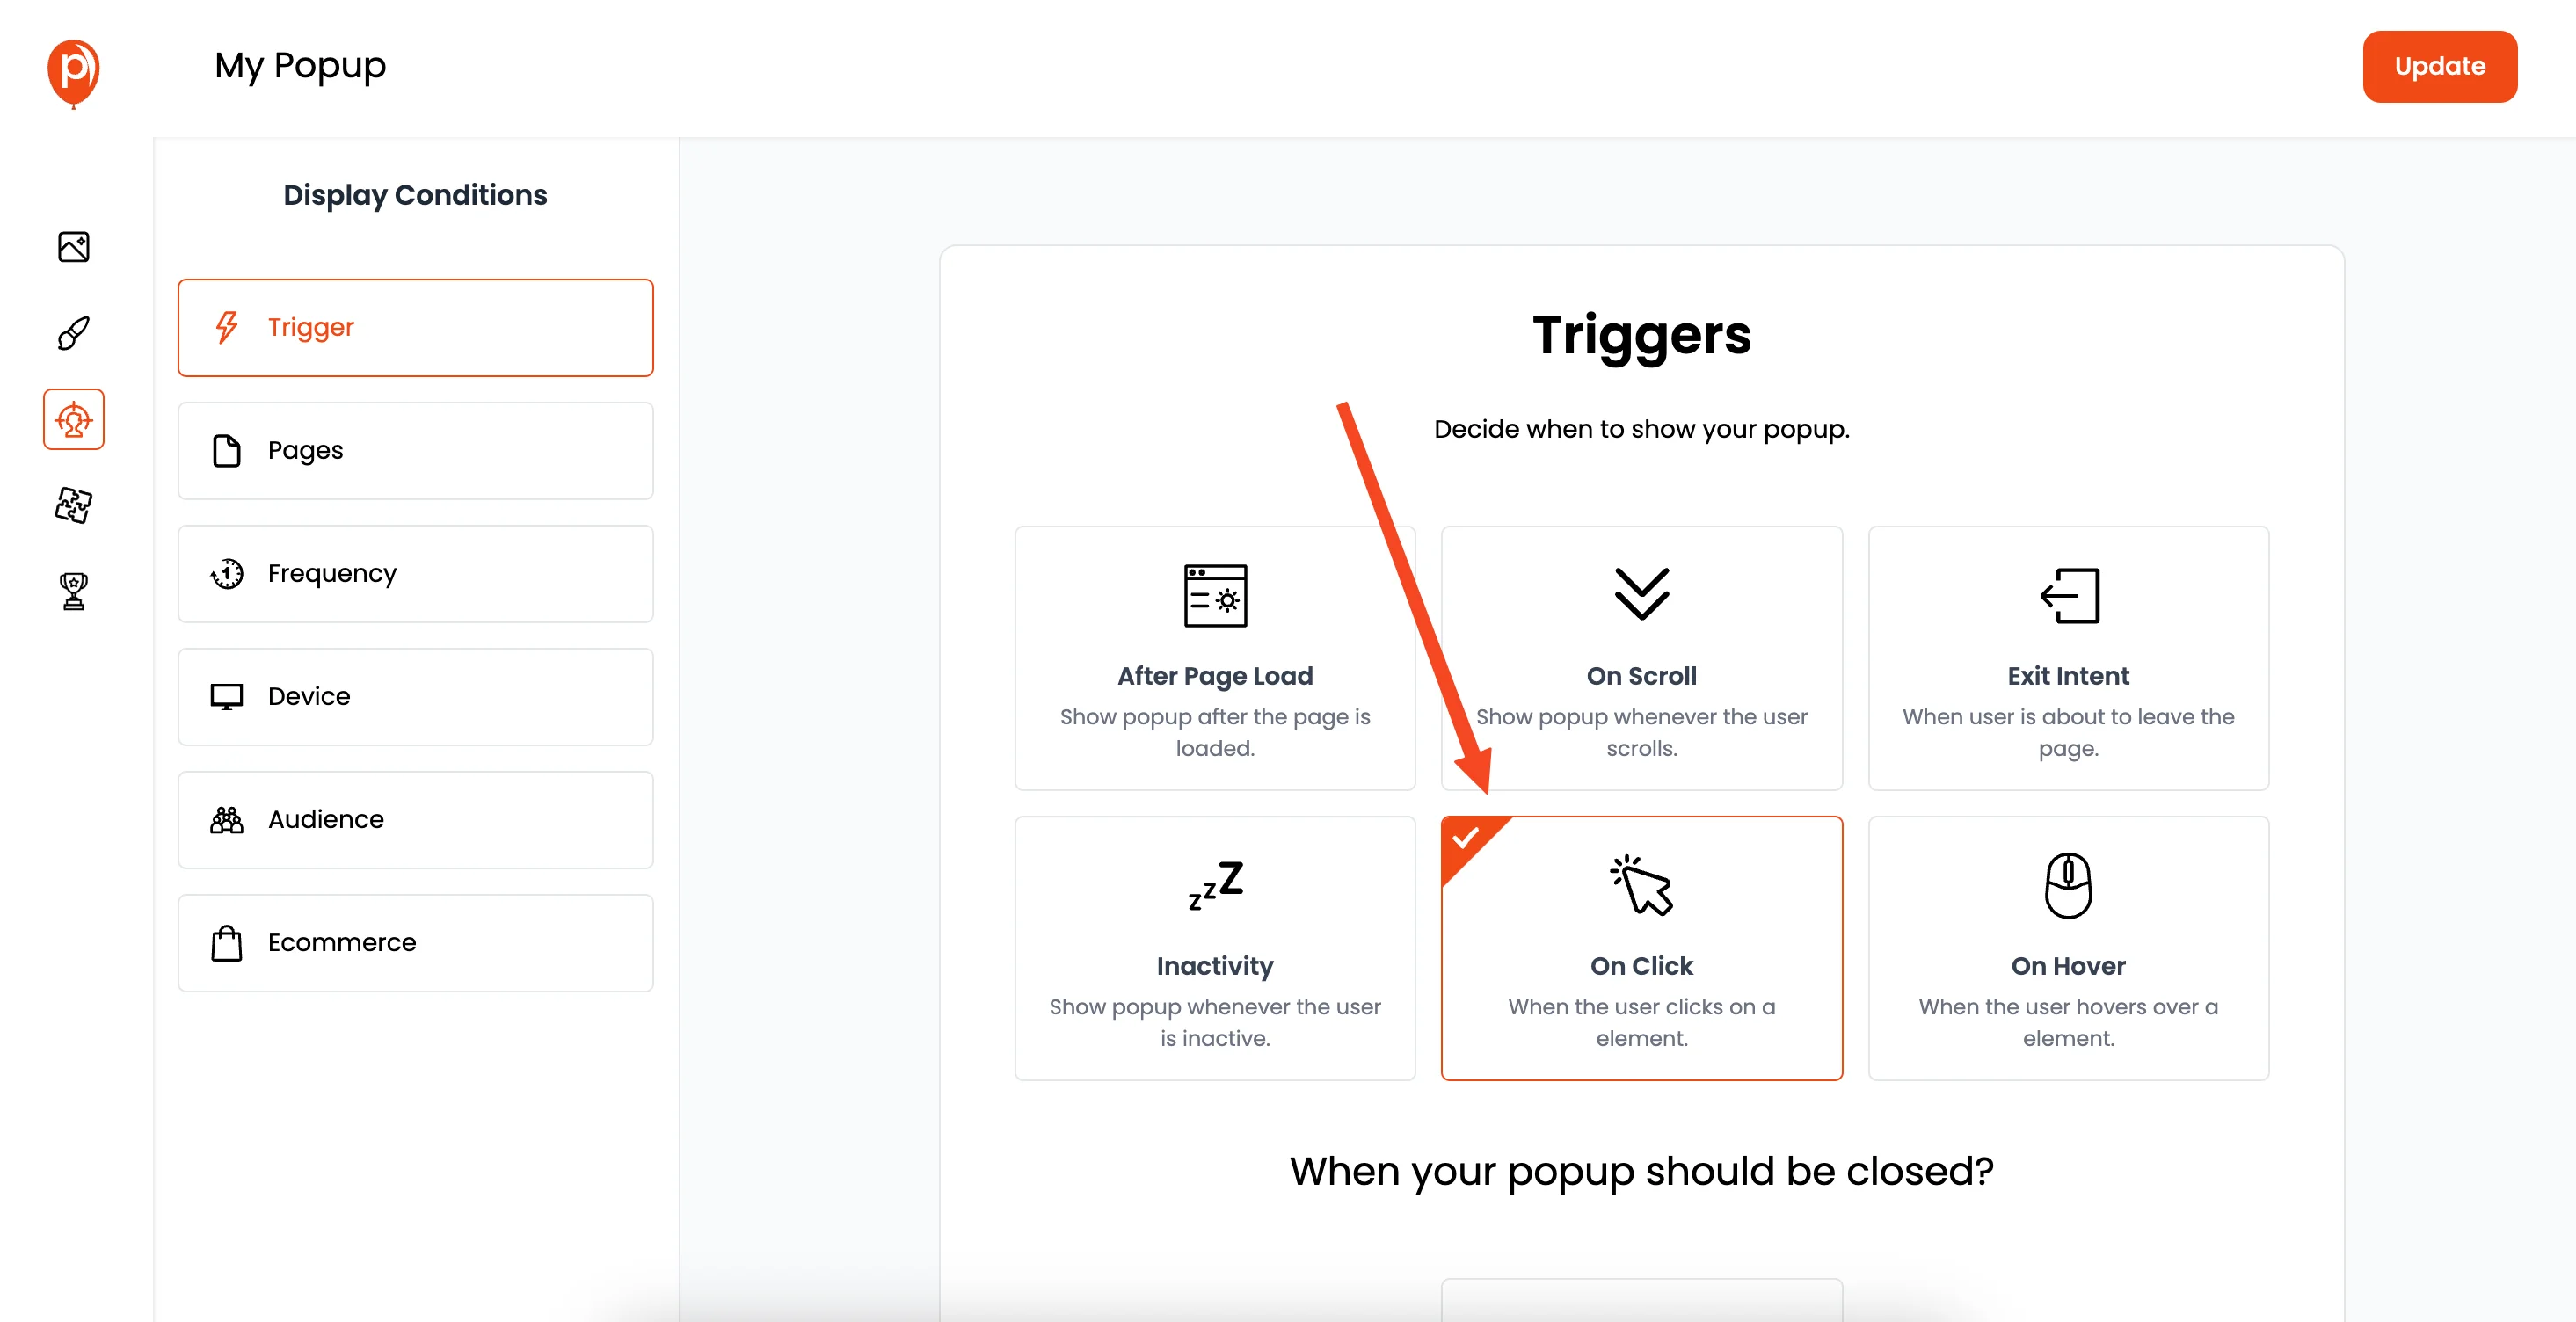
In this section, you can control when and where your popup appears. You can set the popup to show when a button is clicked. For example, you can add a CSS targeting like .my-action-button to the "On Click" event.
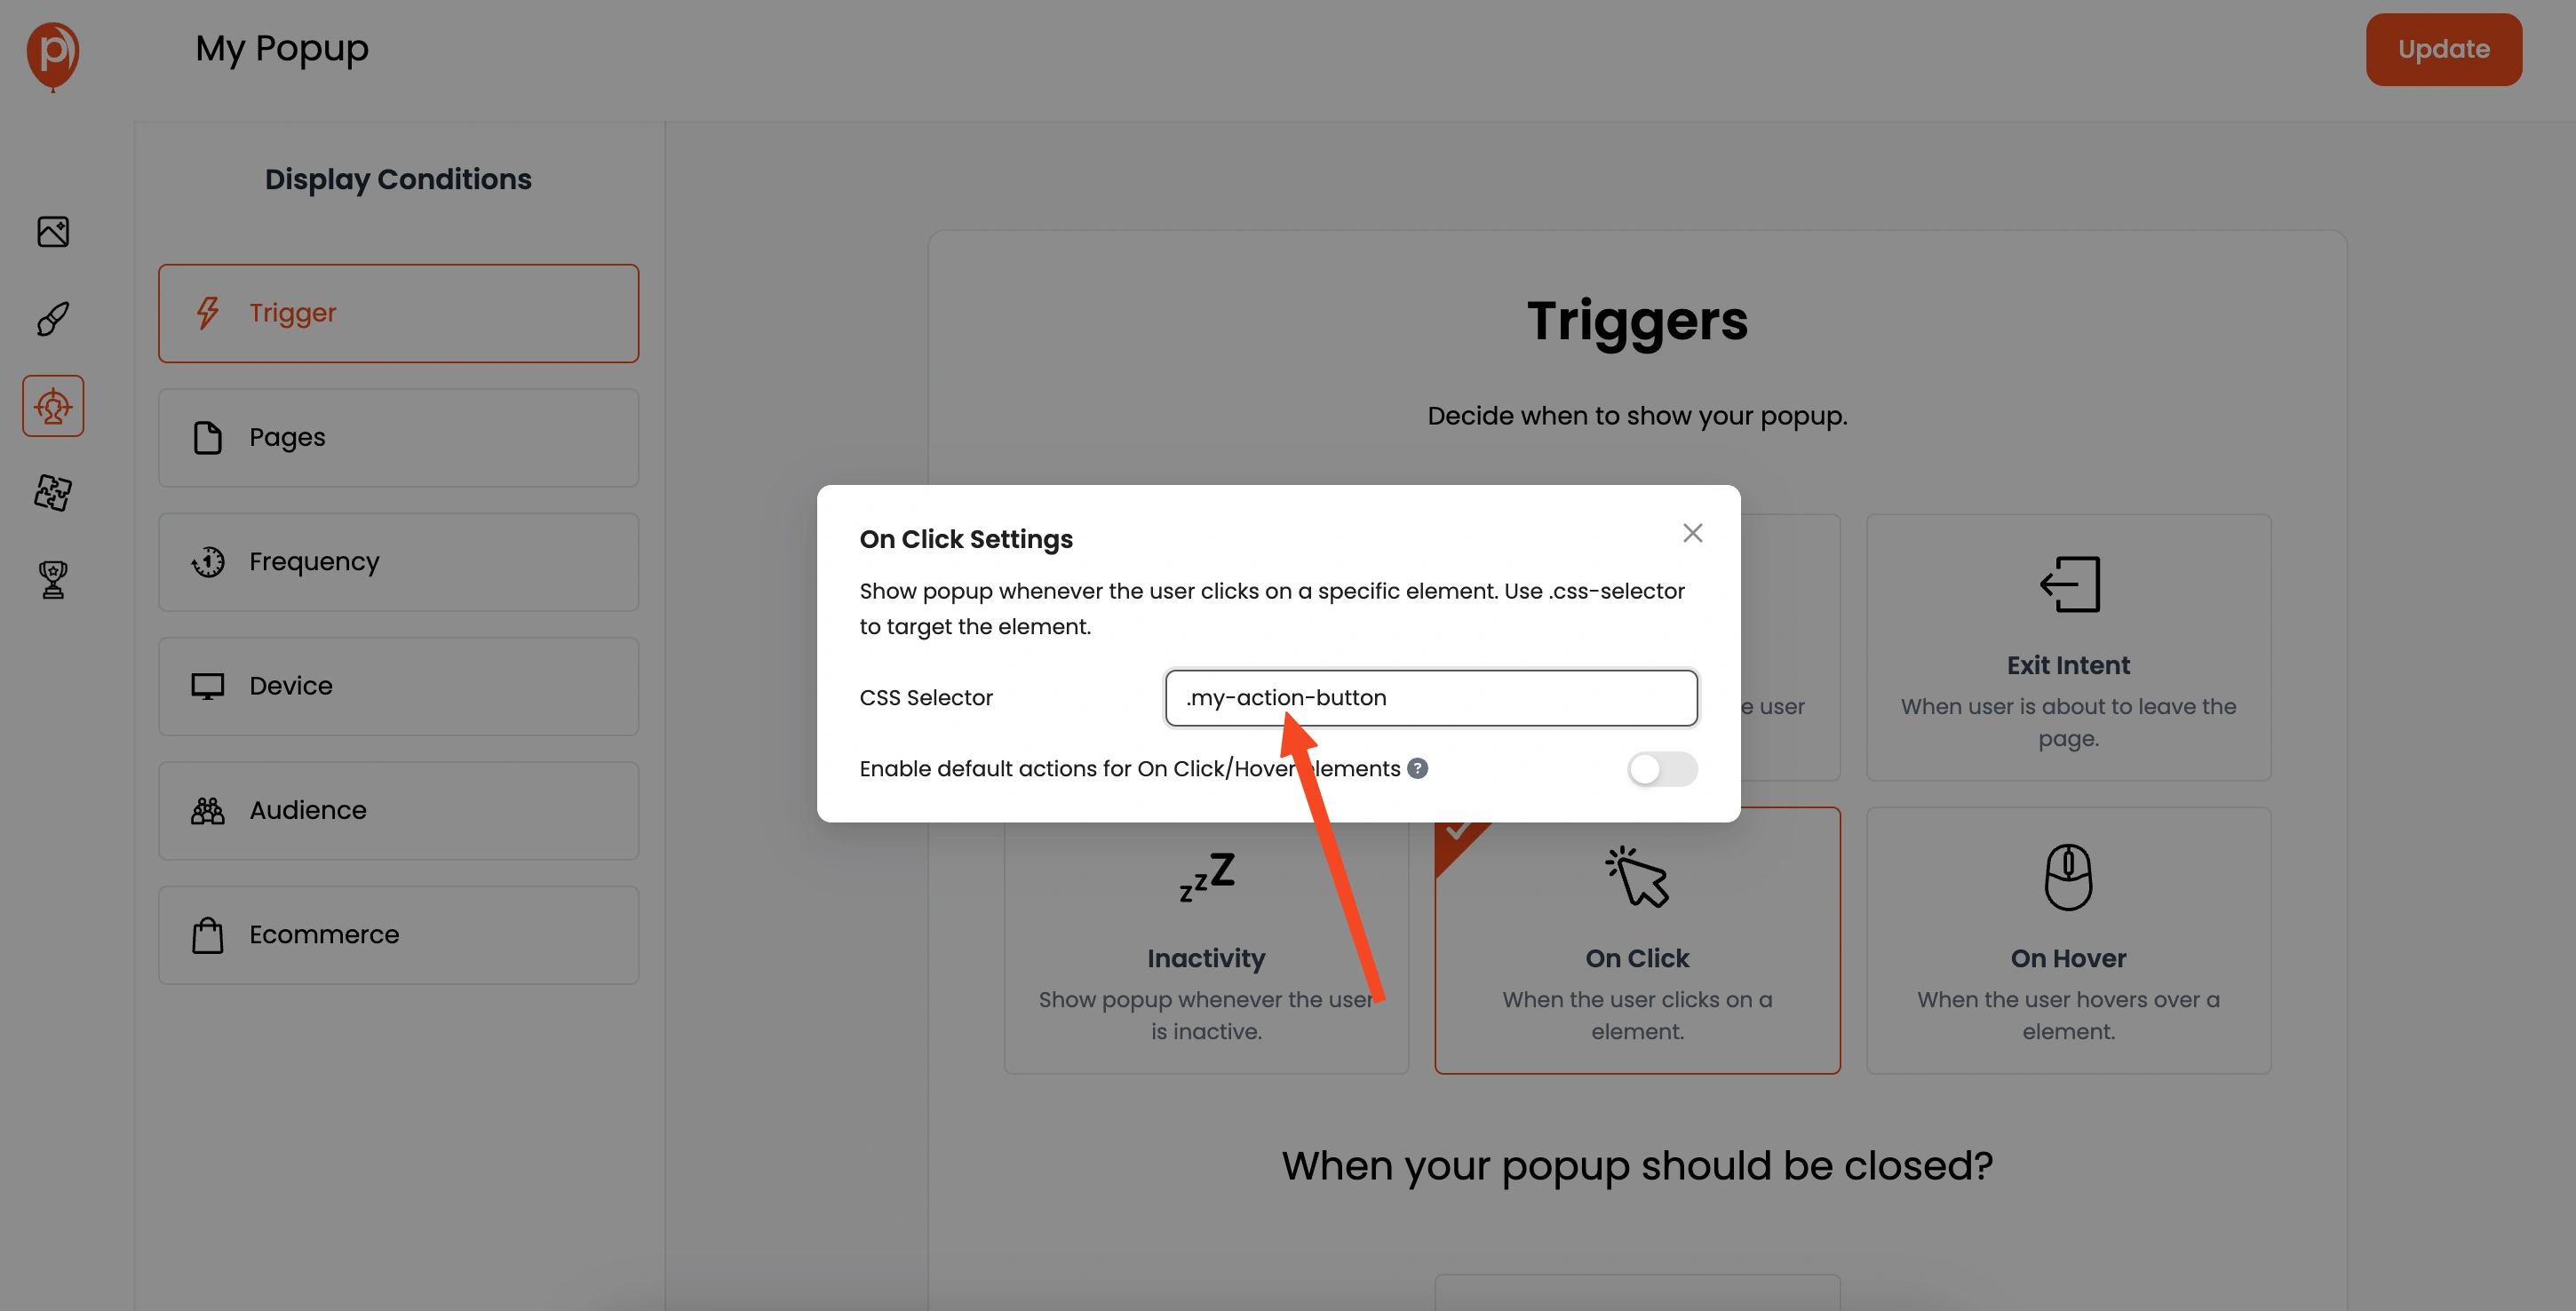
Then, add the class name my-action-button to your button in React. This means the popup will only show when someone clicks this button. You can also target specific pages or user demographics if you want.
6. Connect with Integrations
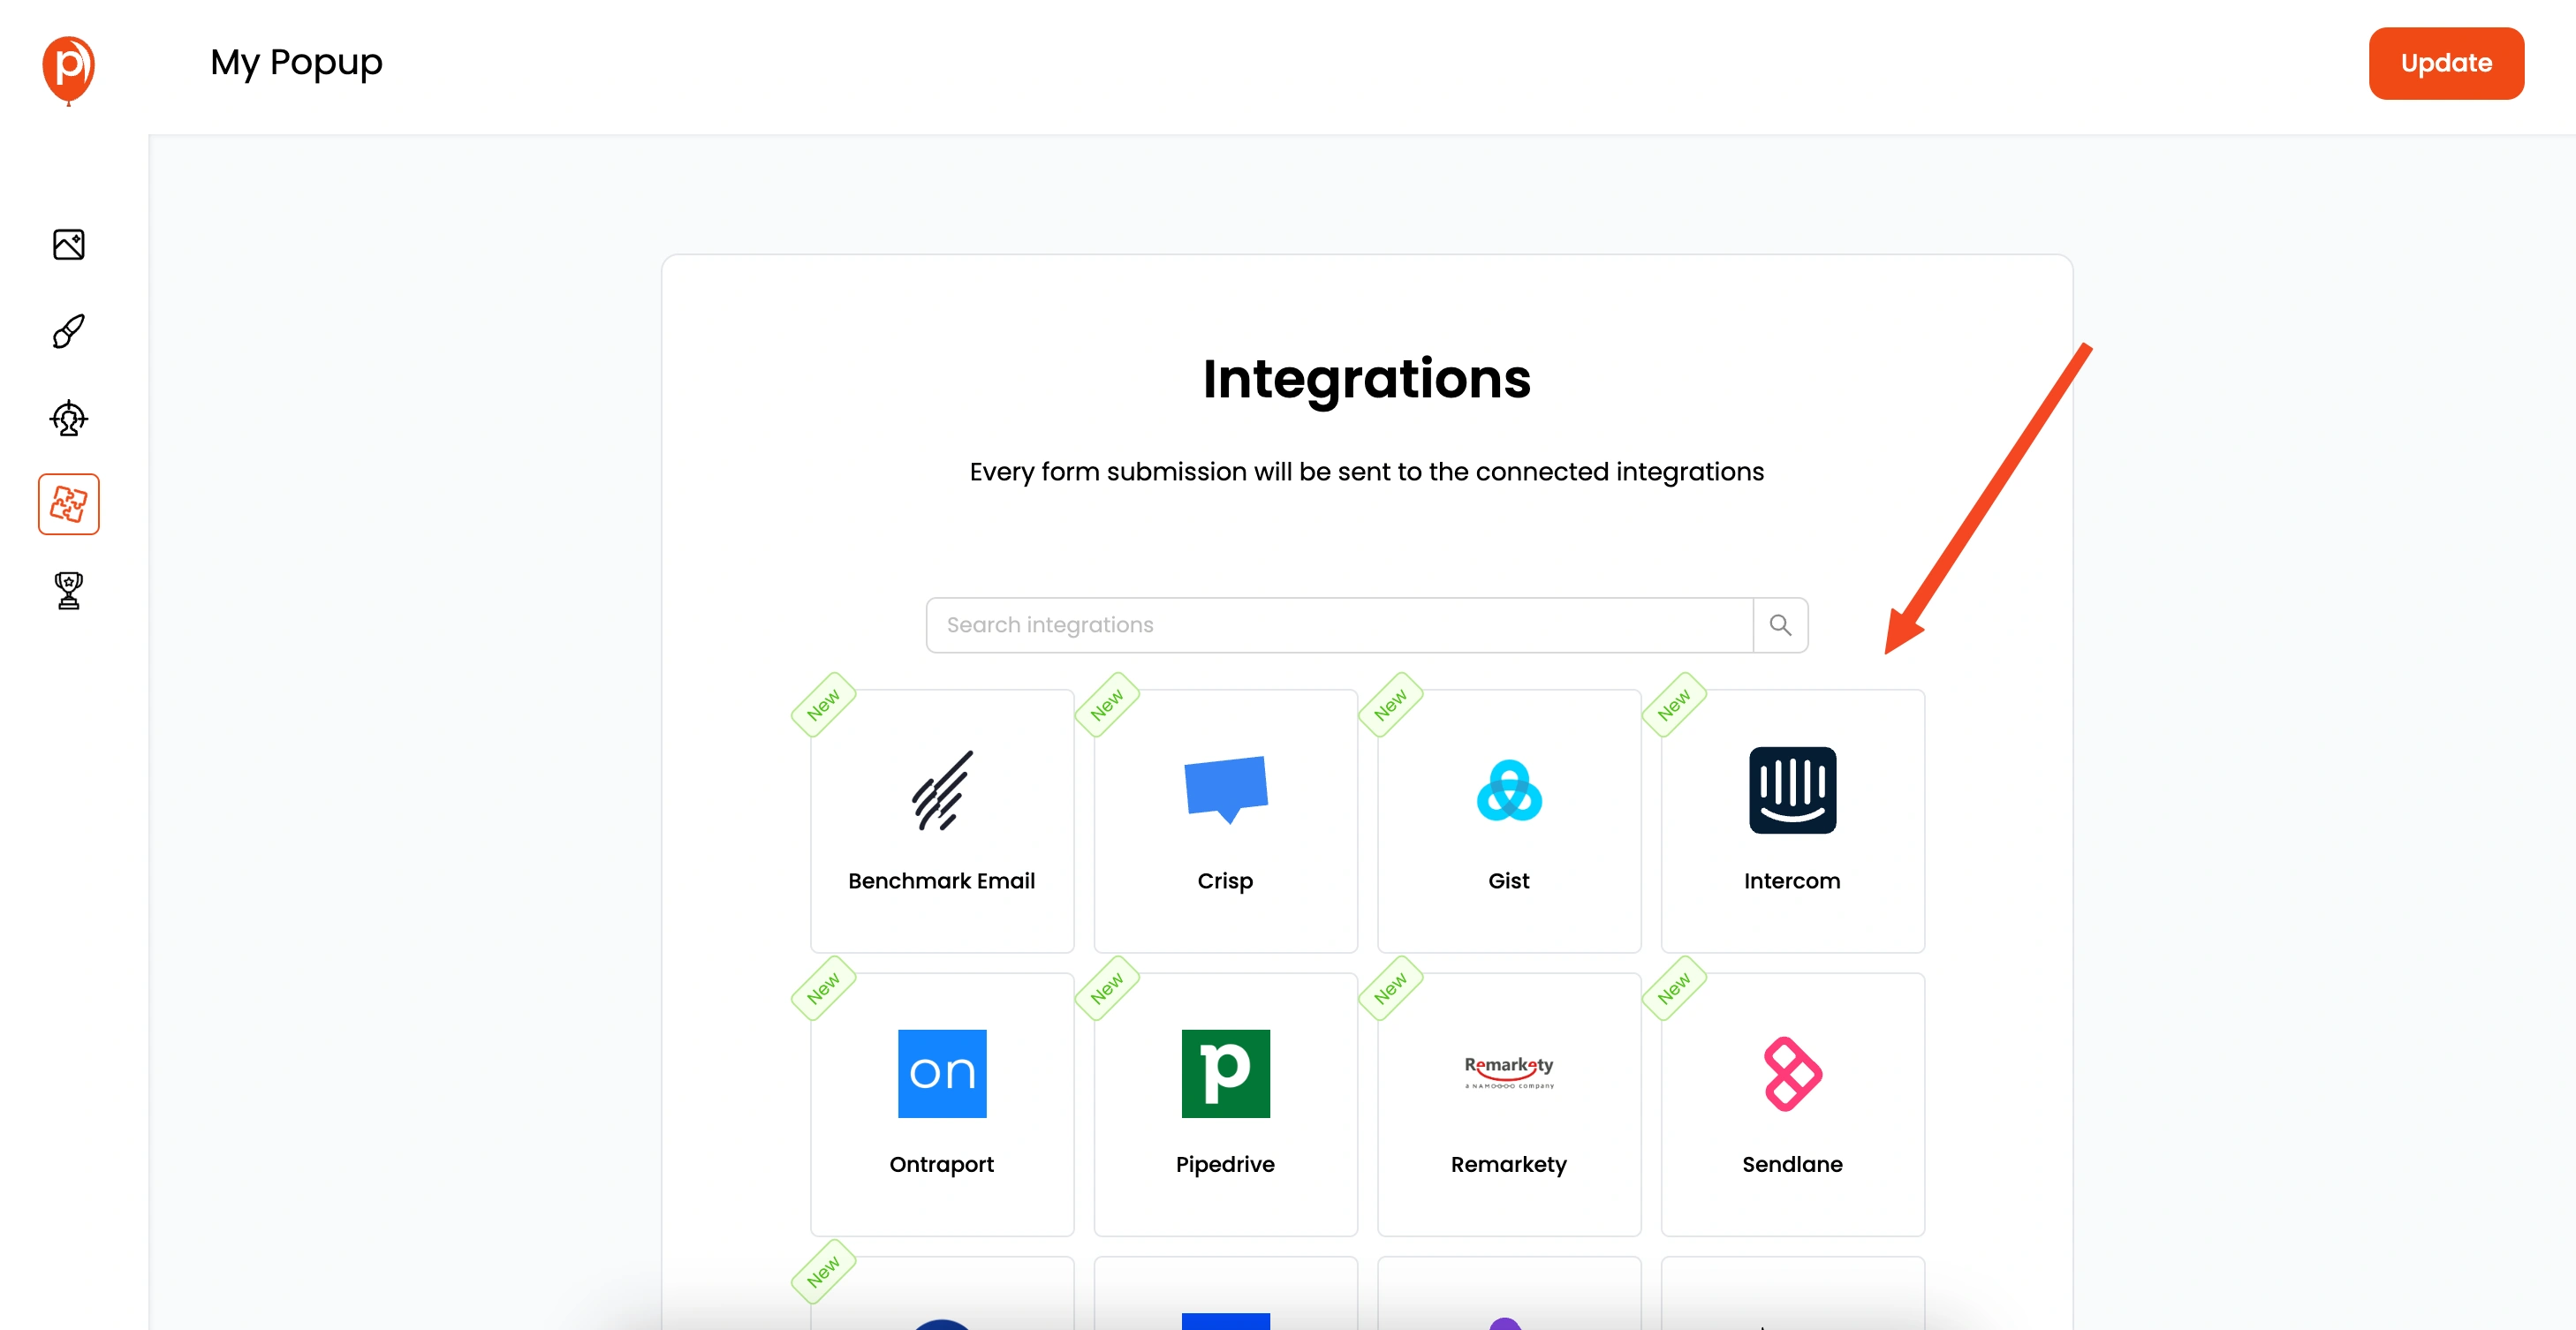
Click "Next" to connect with your preferred marketing tools. Poper integrates with many email marketing tools like Omnisend, Mailchimp, Klaviyo, and more. Just follow the steps to connect your accounts.
7. Save & Publish

Once you've set everything up, click "Save & Publish." Your popup is now ready to go live!
8. Add the Poper Code to Your React Website
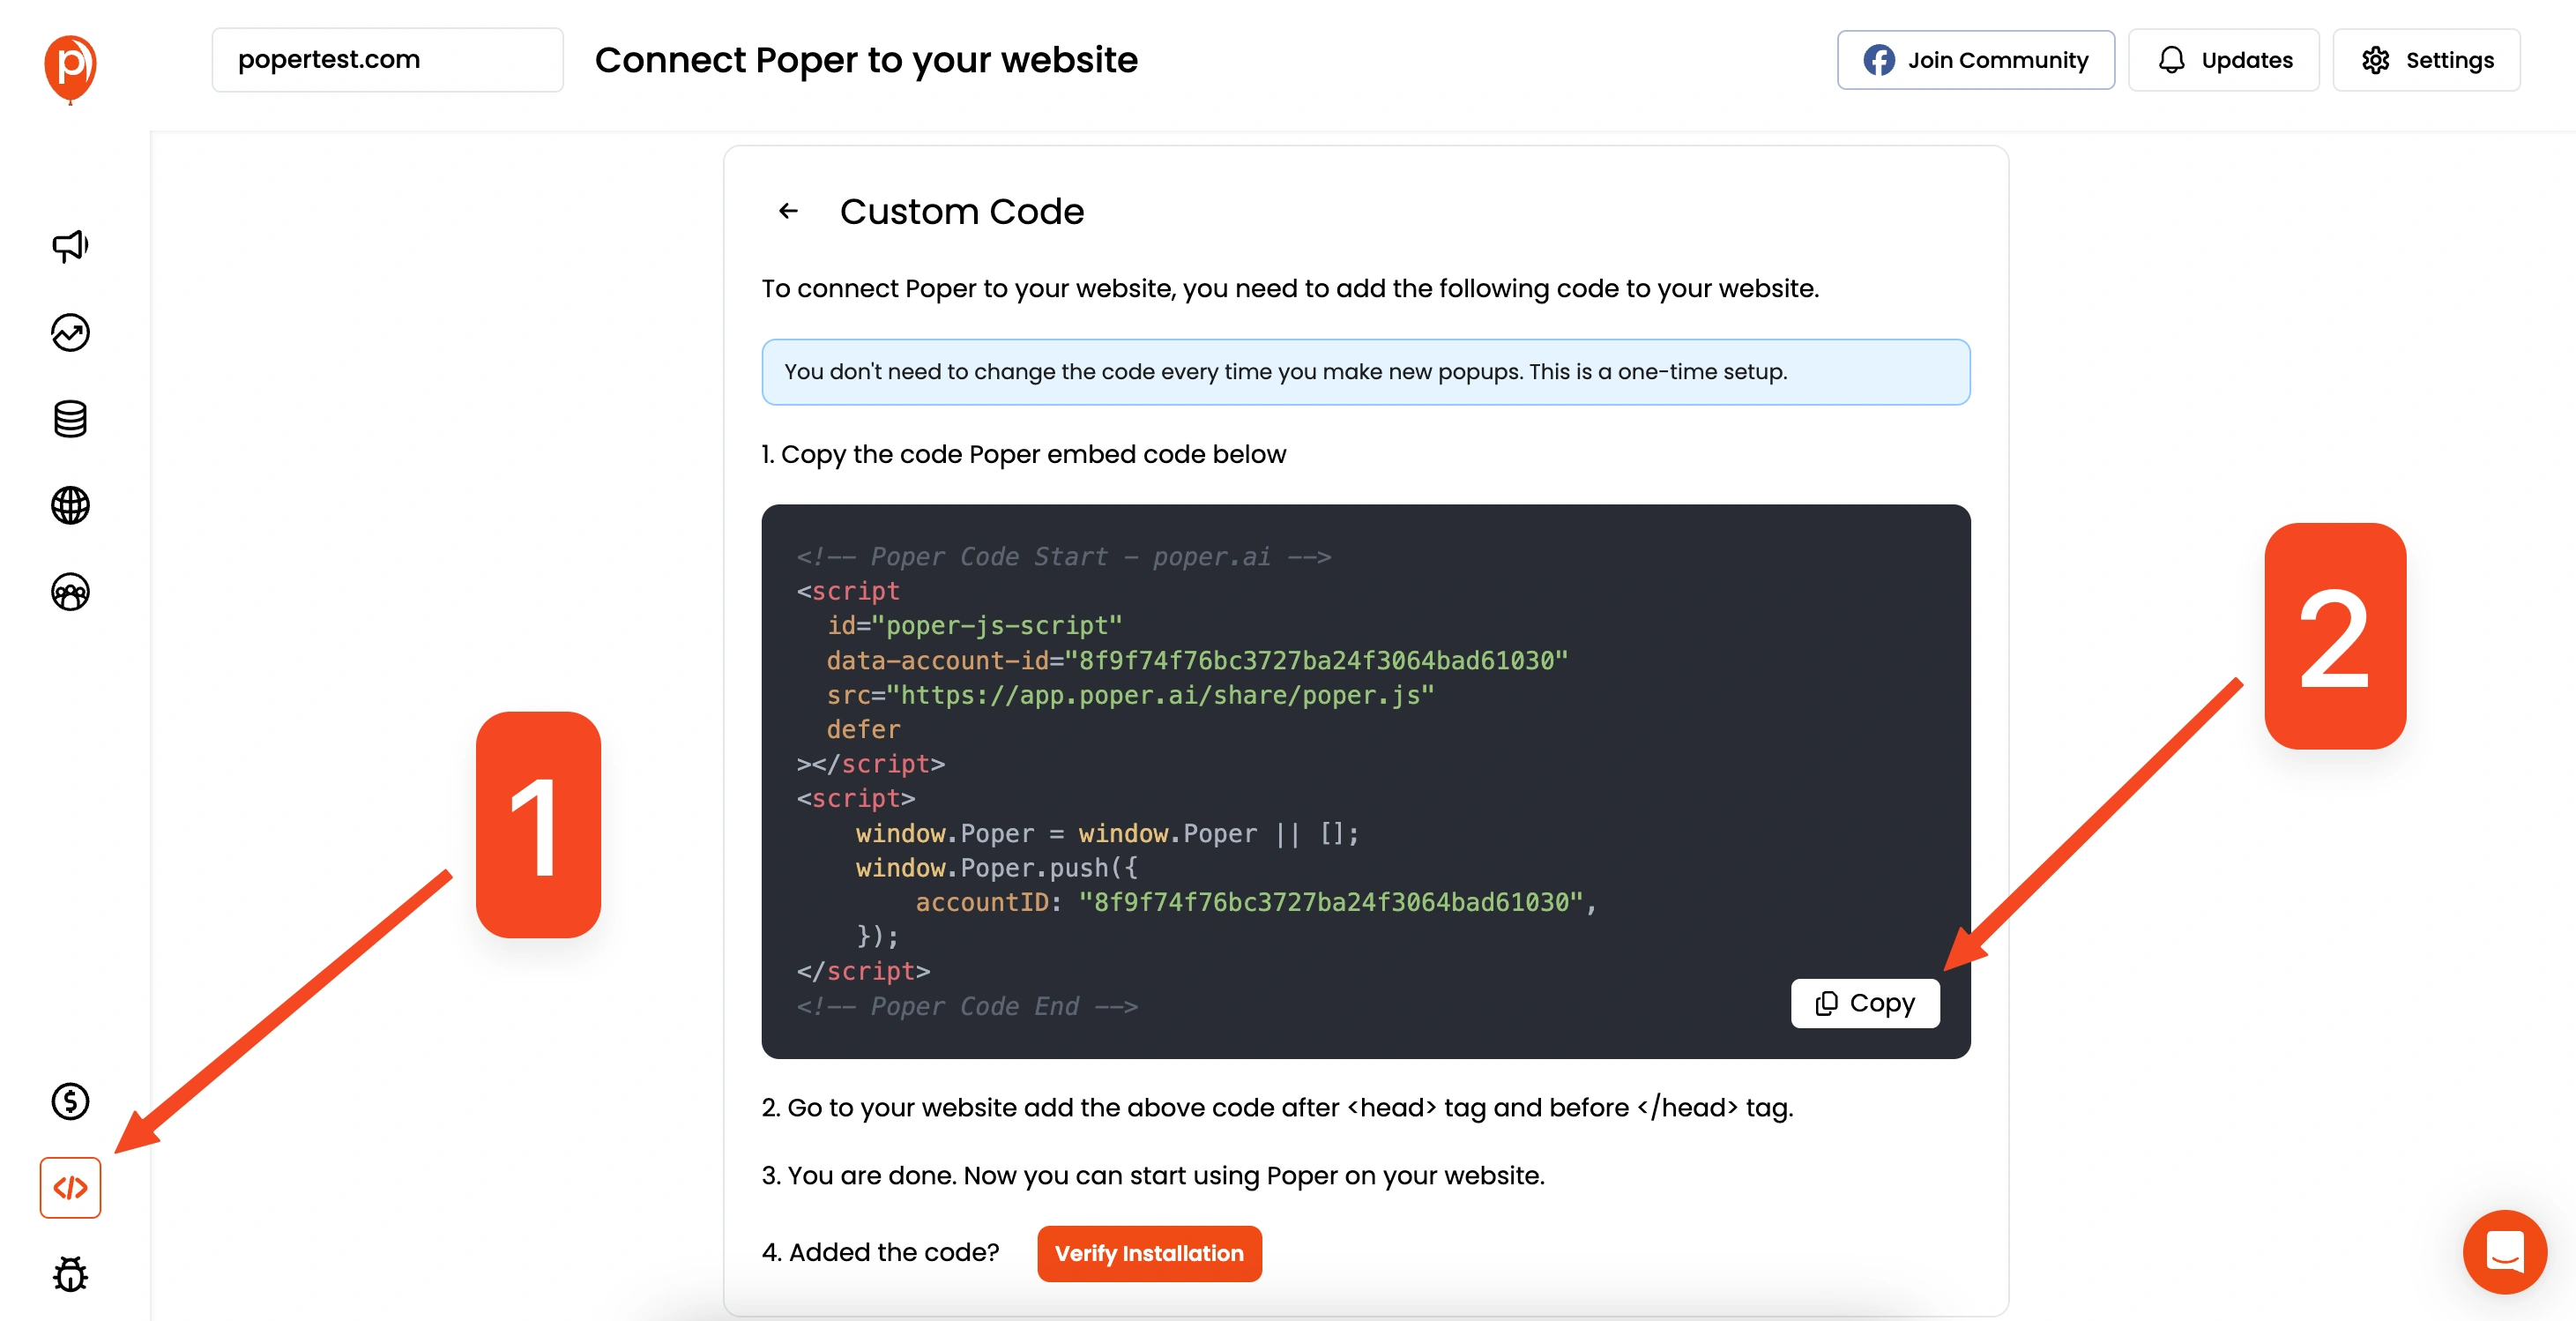
Now, let's add the Poper code to your React site. Go to the "Code" section on the left navigation bar in Poper. Select the "Custom Code" option and copy the code that's provided.
9. Paste the Code in Your React App
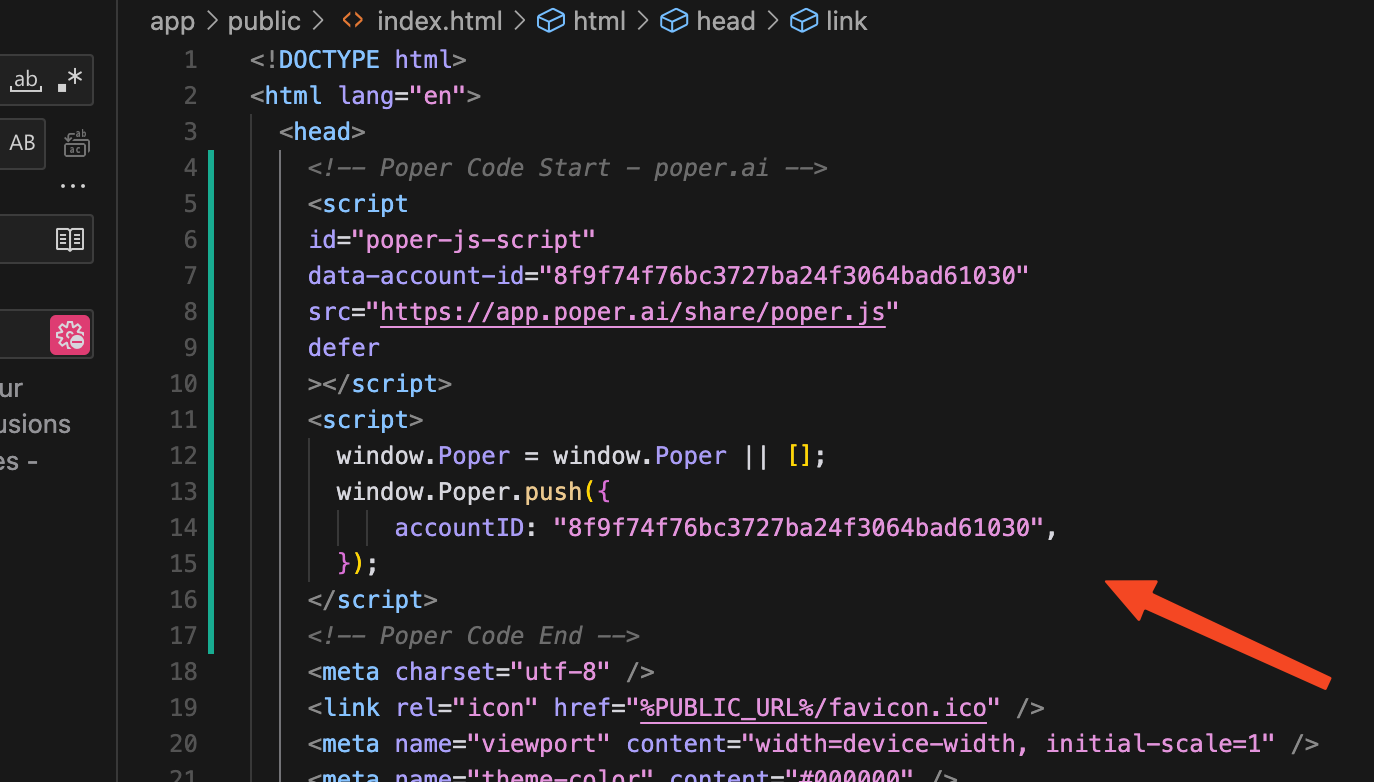
Go back to your React project and open the public/index.html file. Paste the code you copied inside the <head> tag.
10. Deploy and Test
Save the changes, deploy your React application, and test to see if the popup works as expected!
Using Custom Code
You can also build popups from scratch using libraries, but be warned, it can be a pain to maintain. Anyway, here are the steps to make a popup in React using custom code:
1. Install a UI Library
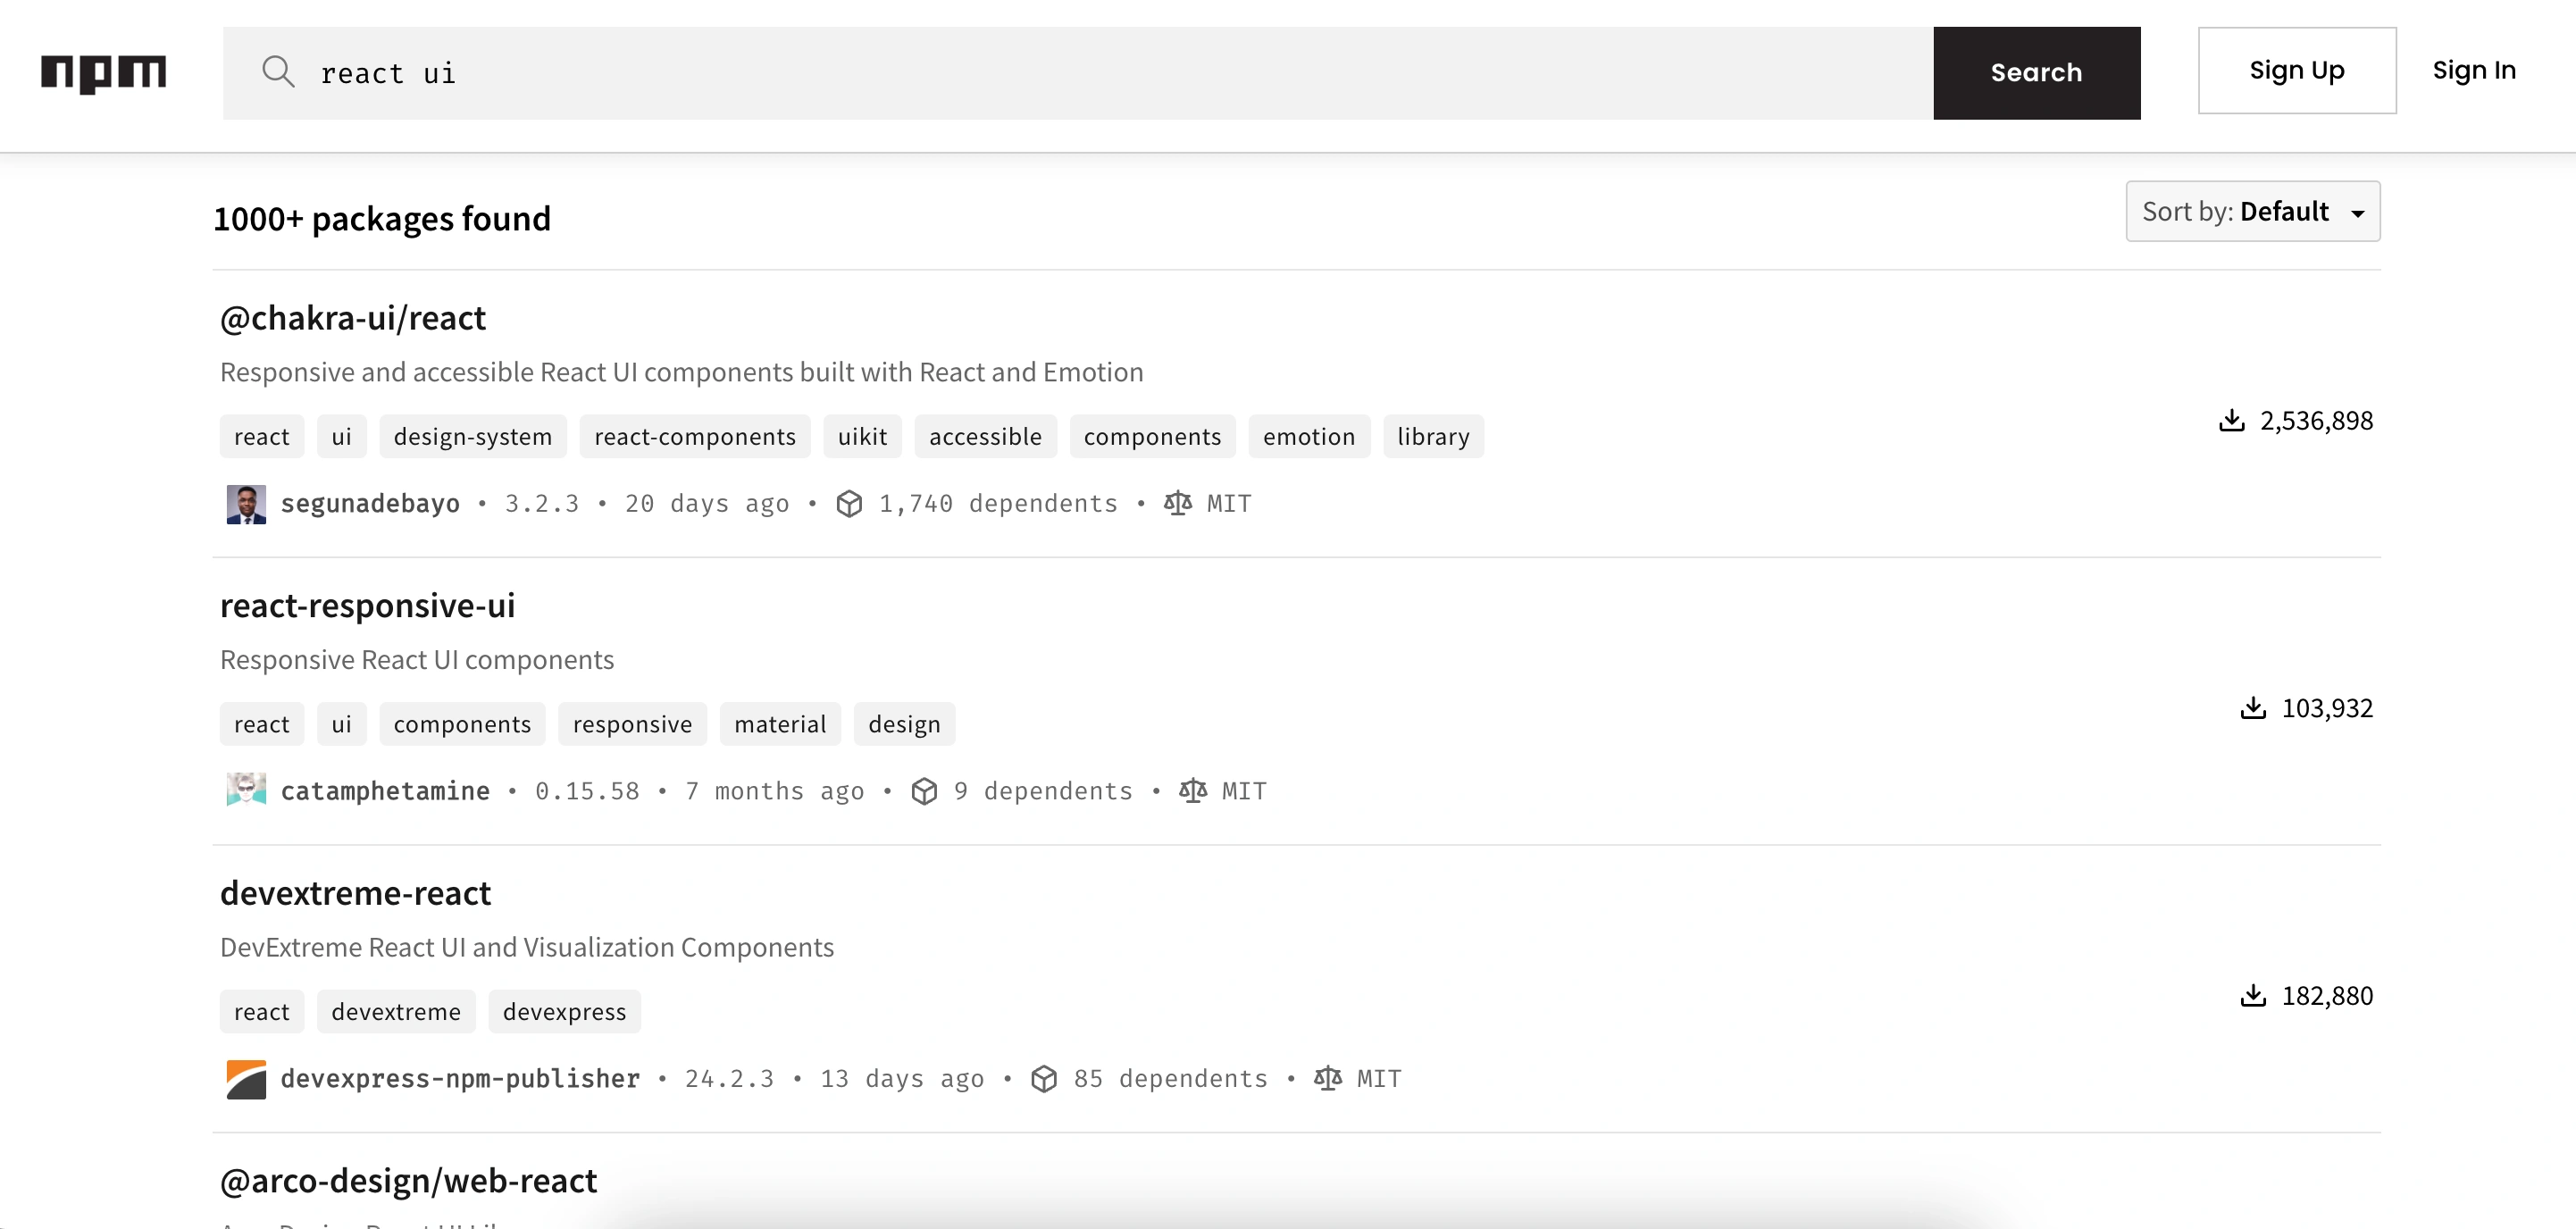
First, you'll need a UI library that supports a modal component. You can choose from libraries like Material UI, Ant Design, Chakra UI, ShadCN, and more. For this example, I'll use Ant Design. Install it using -
npm i antd2. Import the Modal Component
Import the Modal component from Ant Design to your React code using:
import { Modal } from 'antd';3. Implement the Modal Component
Use the Modal component in your dashboard, like this:
import { Button, Modal } from 'antd';
import React, { useState } from 'react';

const App = () => {
const [isModalOpen, setIsModalOpen] = useState(false);
const showModal = () => { setIsModalOpen(true); };
const handleOk = () => { setIsModalOpen(false); };
const handleCancel = () => { setIsModalOpen(false); };

return (
  <>
    <Button type="primary" onClick={showModal}> Open Modal </Button>
    <Modal title="Basic Modal" open={isModalOpen} onOk={handleOk} onCancel={handleCancel}>
      <p>Some contents...</p>
      <p>Some contents...</p>
      <p>Some contents...</p>
    </Modal>
  </>
);

};

export default App;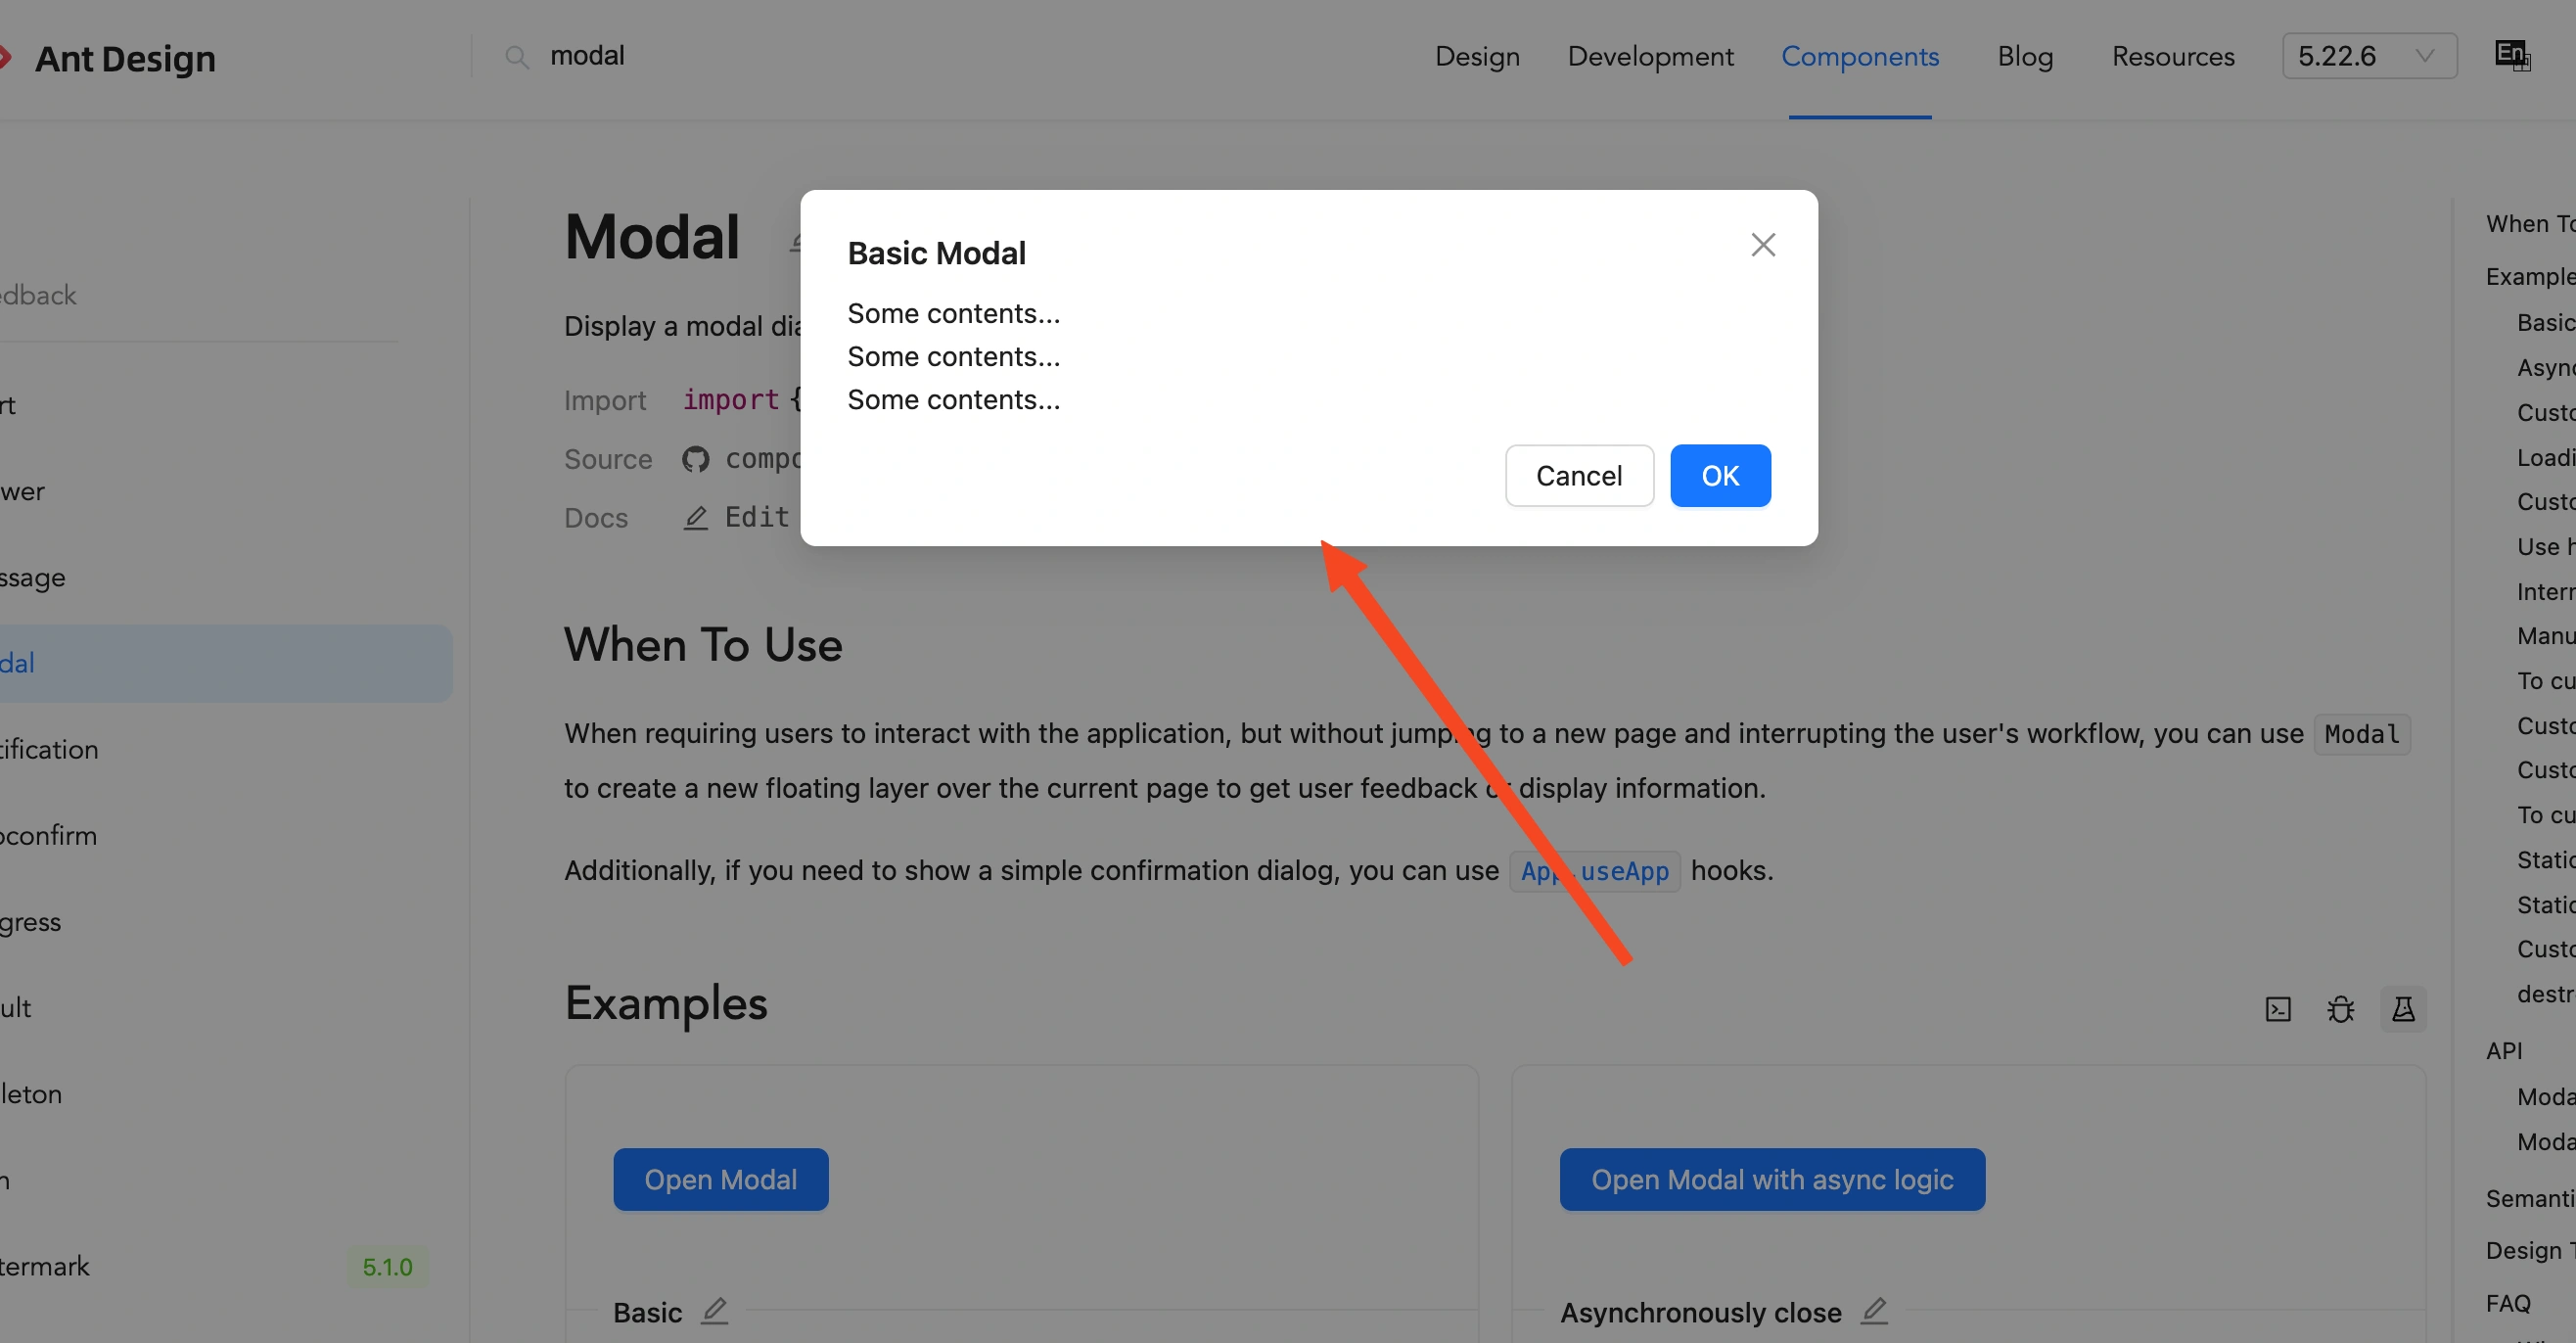
This code sets up a basic modal that opens when you click the "Open Modal" button. You can customize the content and behavior as needed.
That’s it! You now know how to create popups in React using both Poper and custom code. While custom code gives you more control, Poper makes the process much easier and more efficient, especially when you need to target users or integrate with marketing tools.

