Magento is a popular platform, and many of you use it for your e-commerce websites. I understand the need to engage your audience and grow your email list. That's why I'm going to guide you through how to add a newsletter popup to your Magento site using Poper.
1. Create a Poper Account
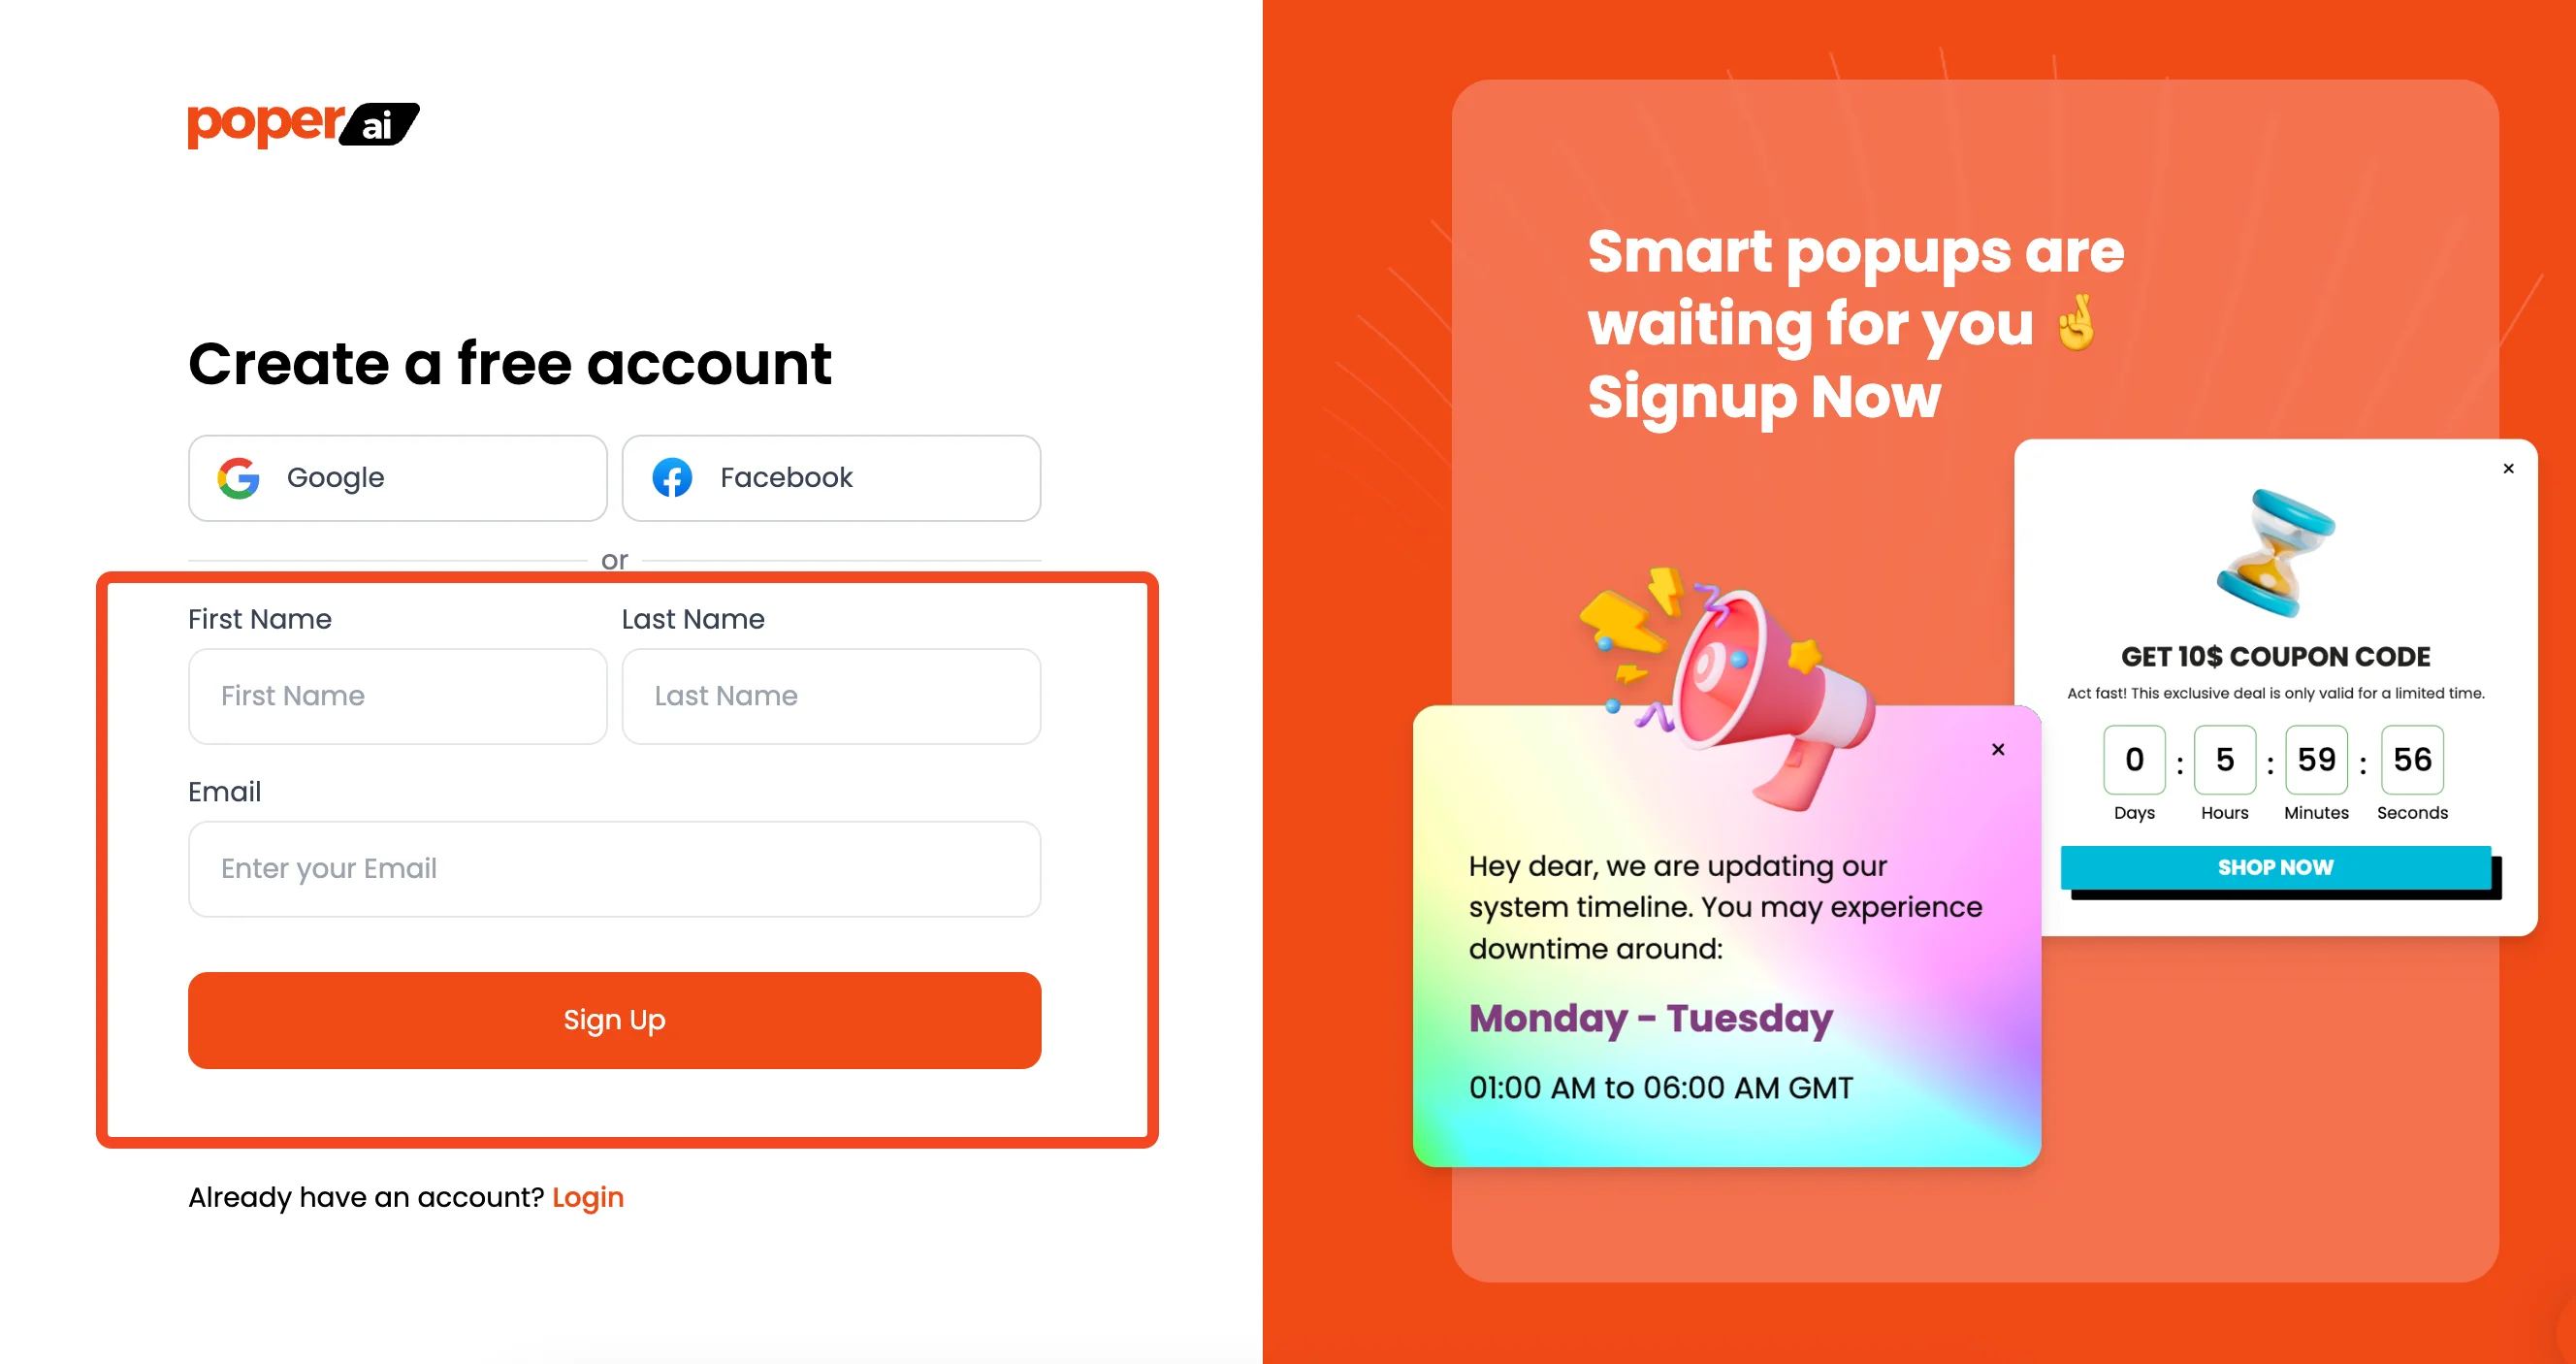
First things first, you'll need a Poper account. Poper is the tool that allows you to create these awesome popups to connect with your website. You can sign up for Poper, and we can get started.
2. Add Your Domain and Create a New Popup
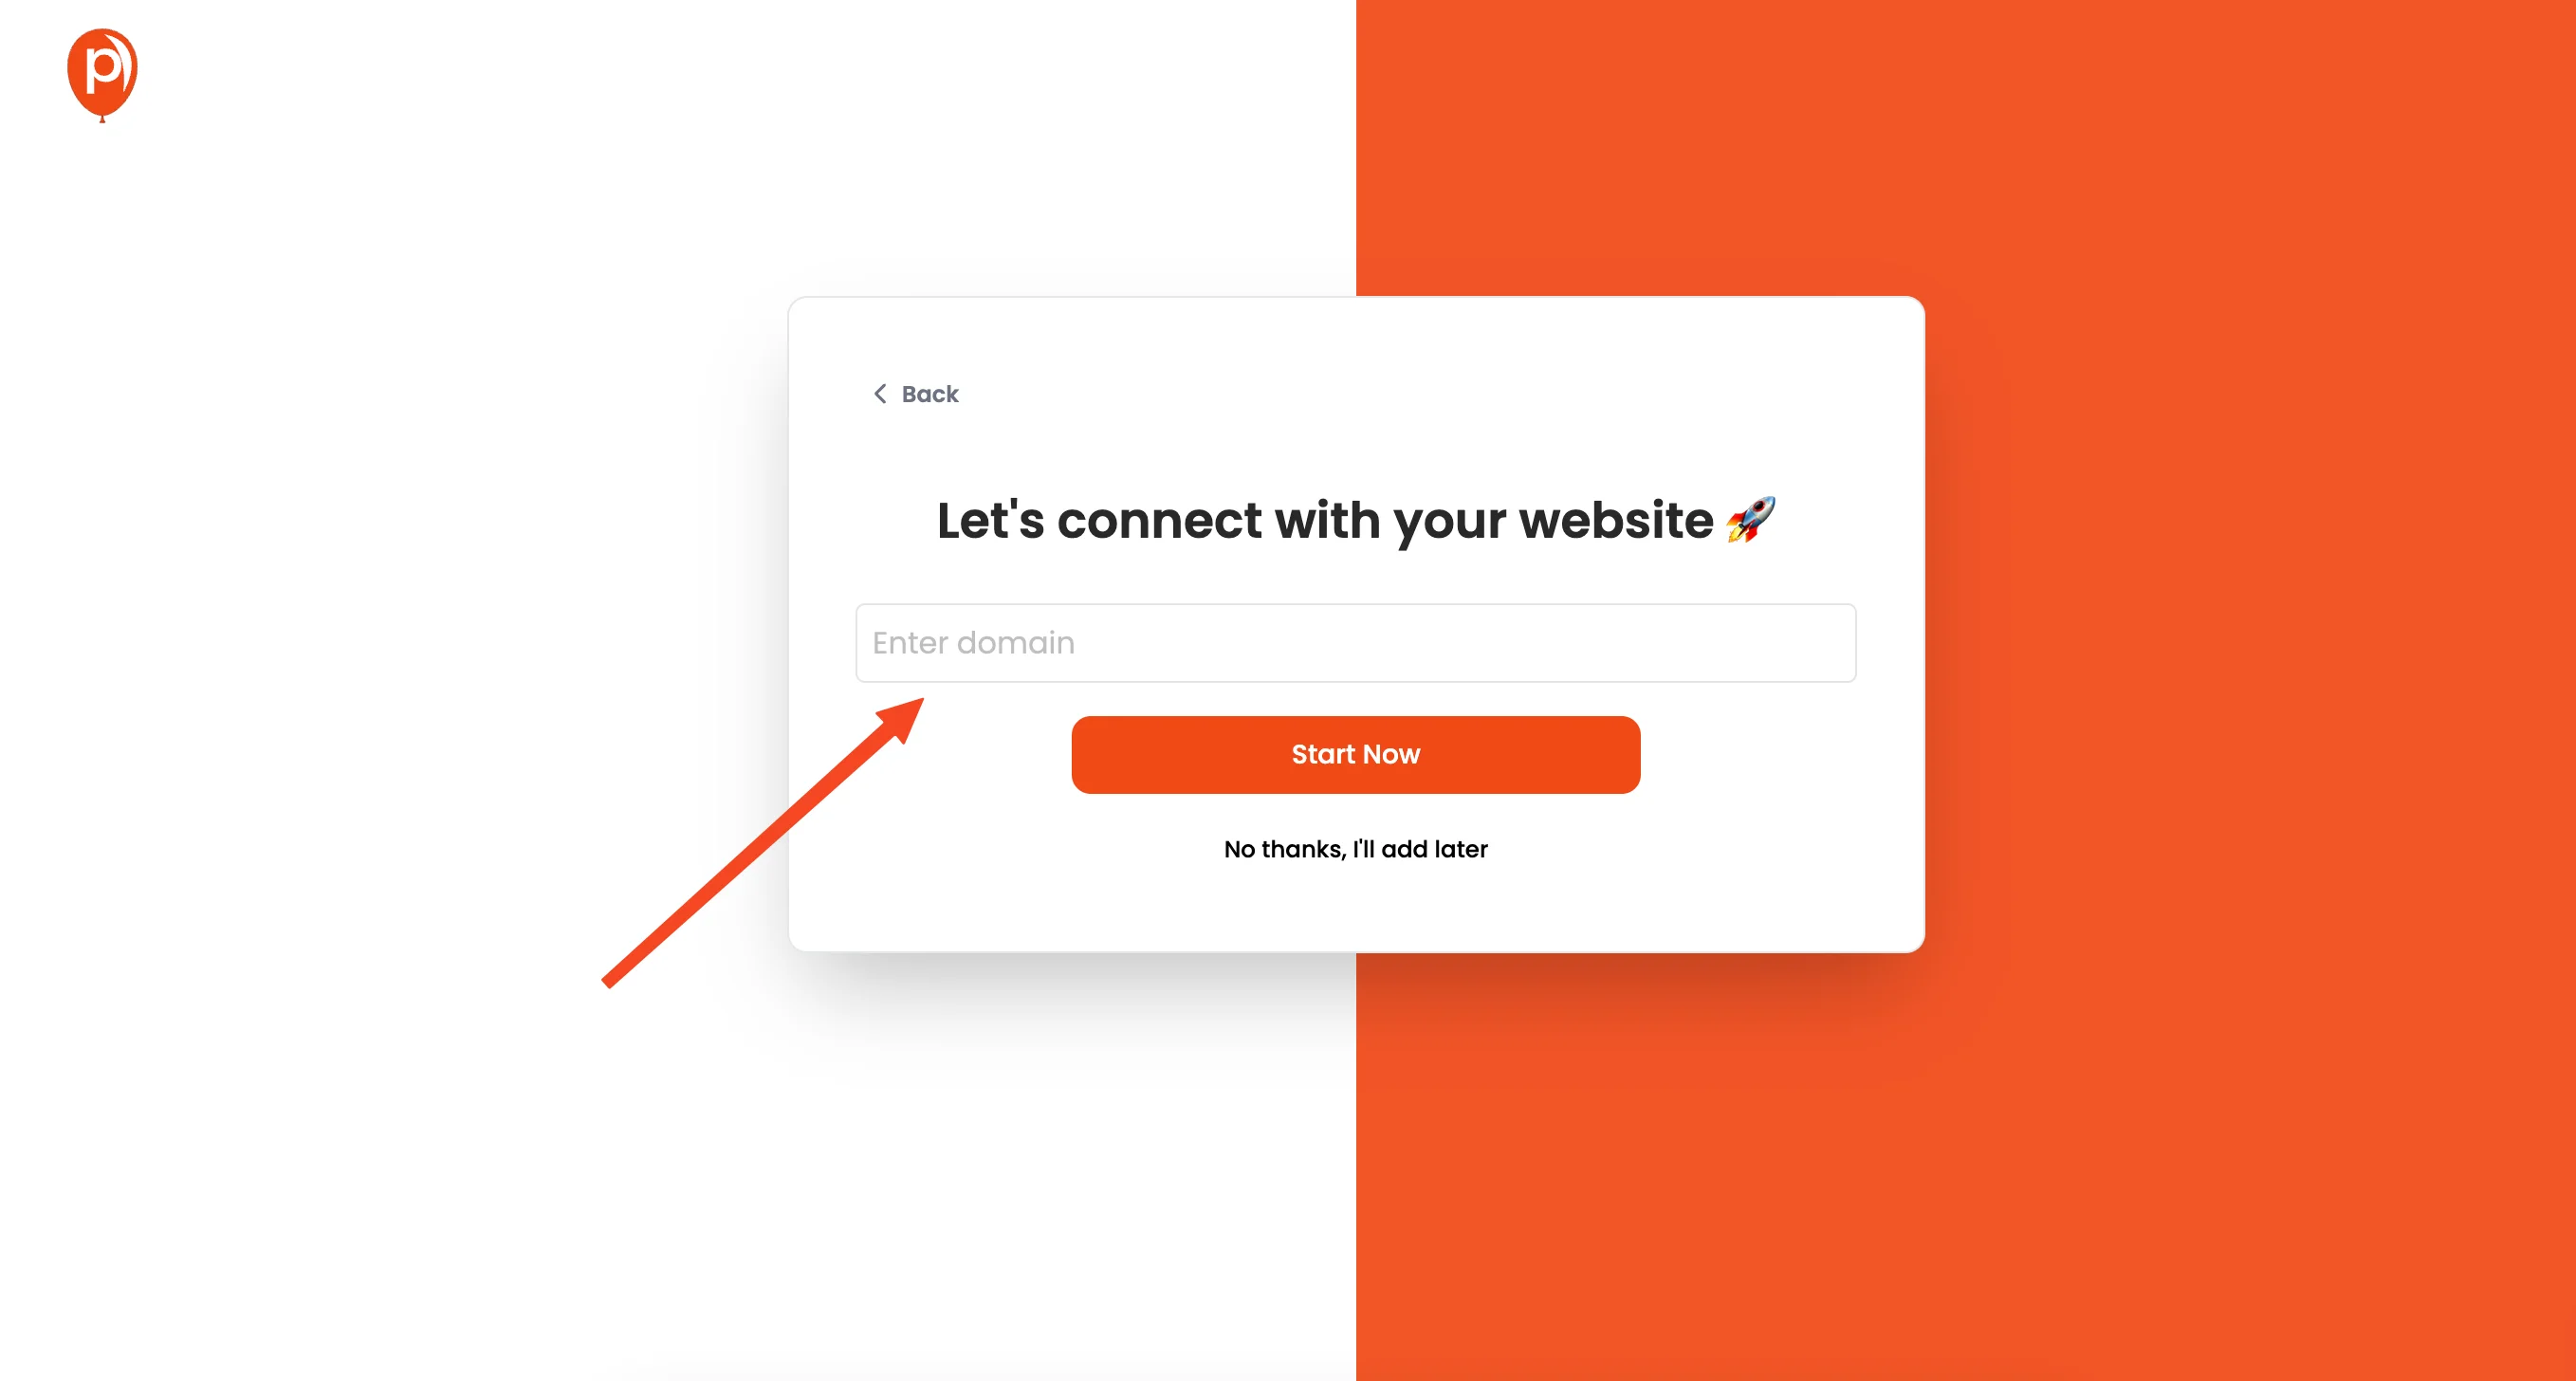
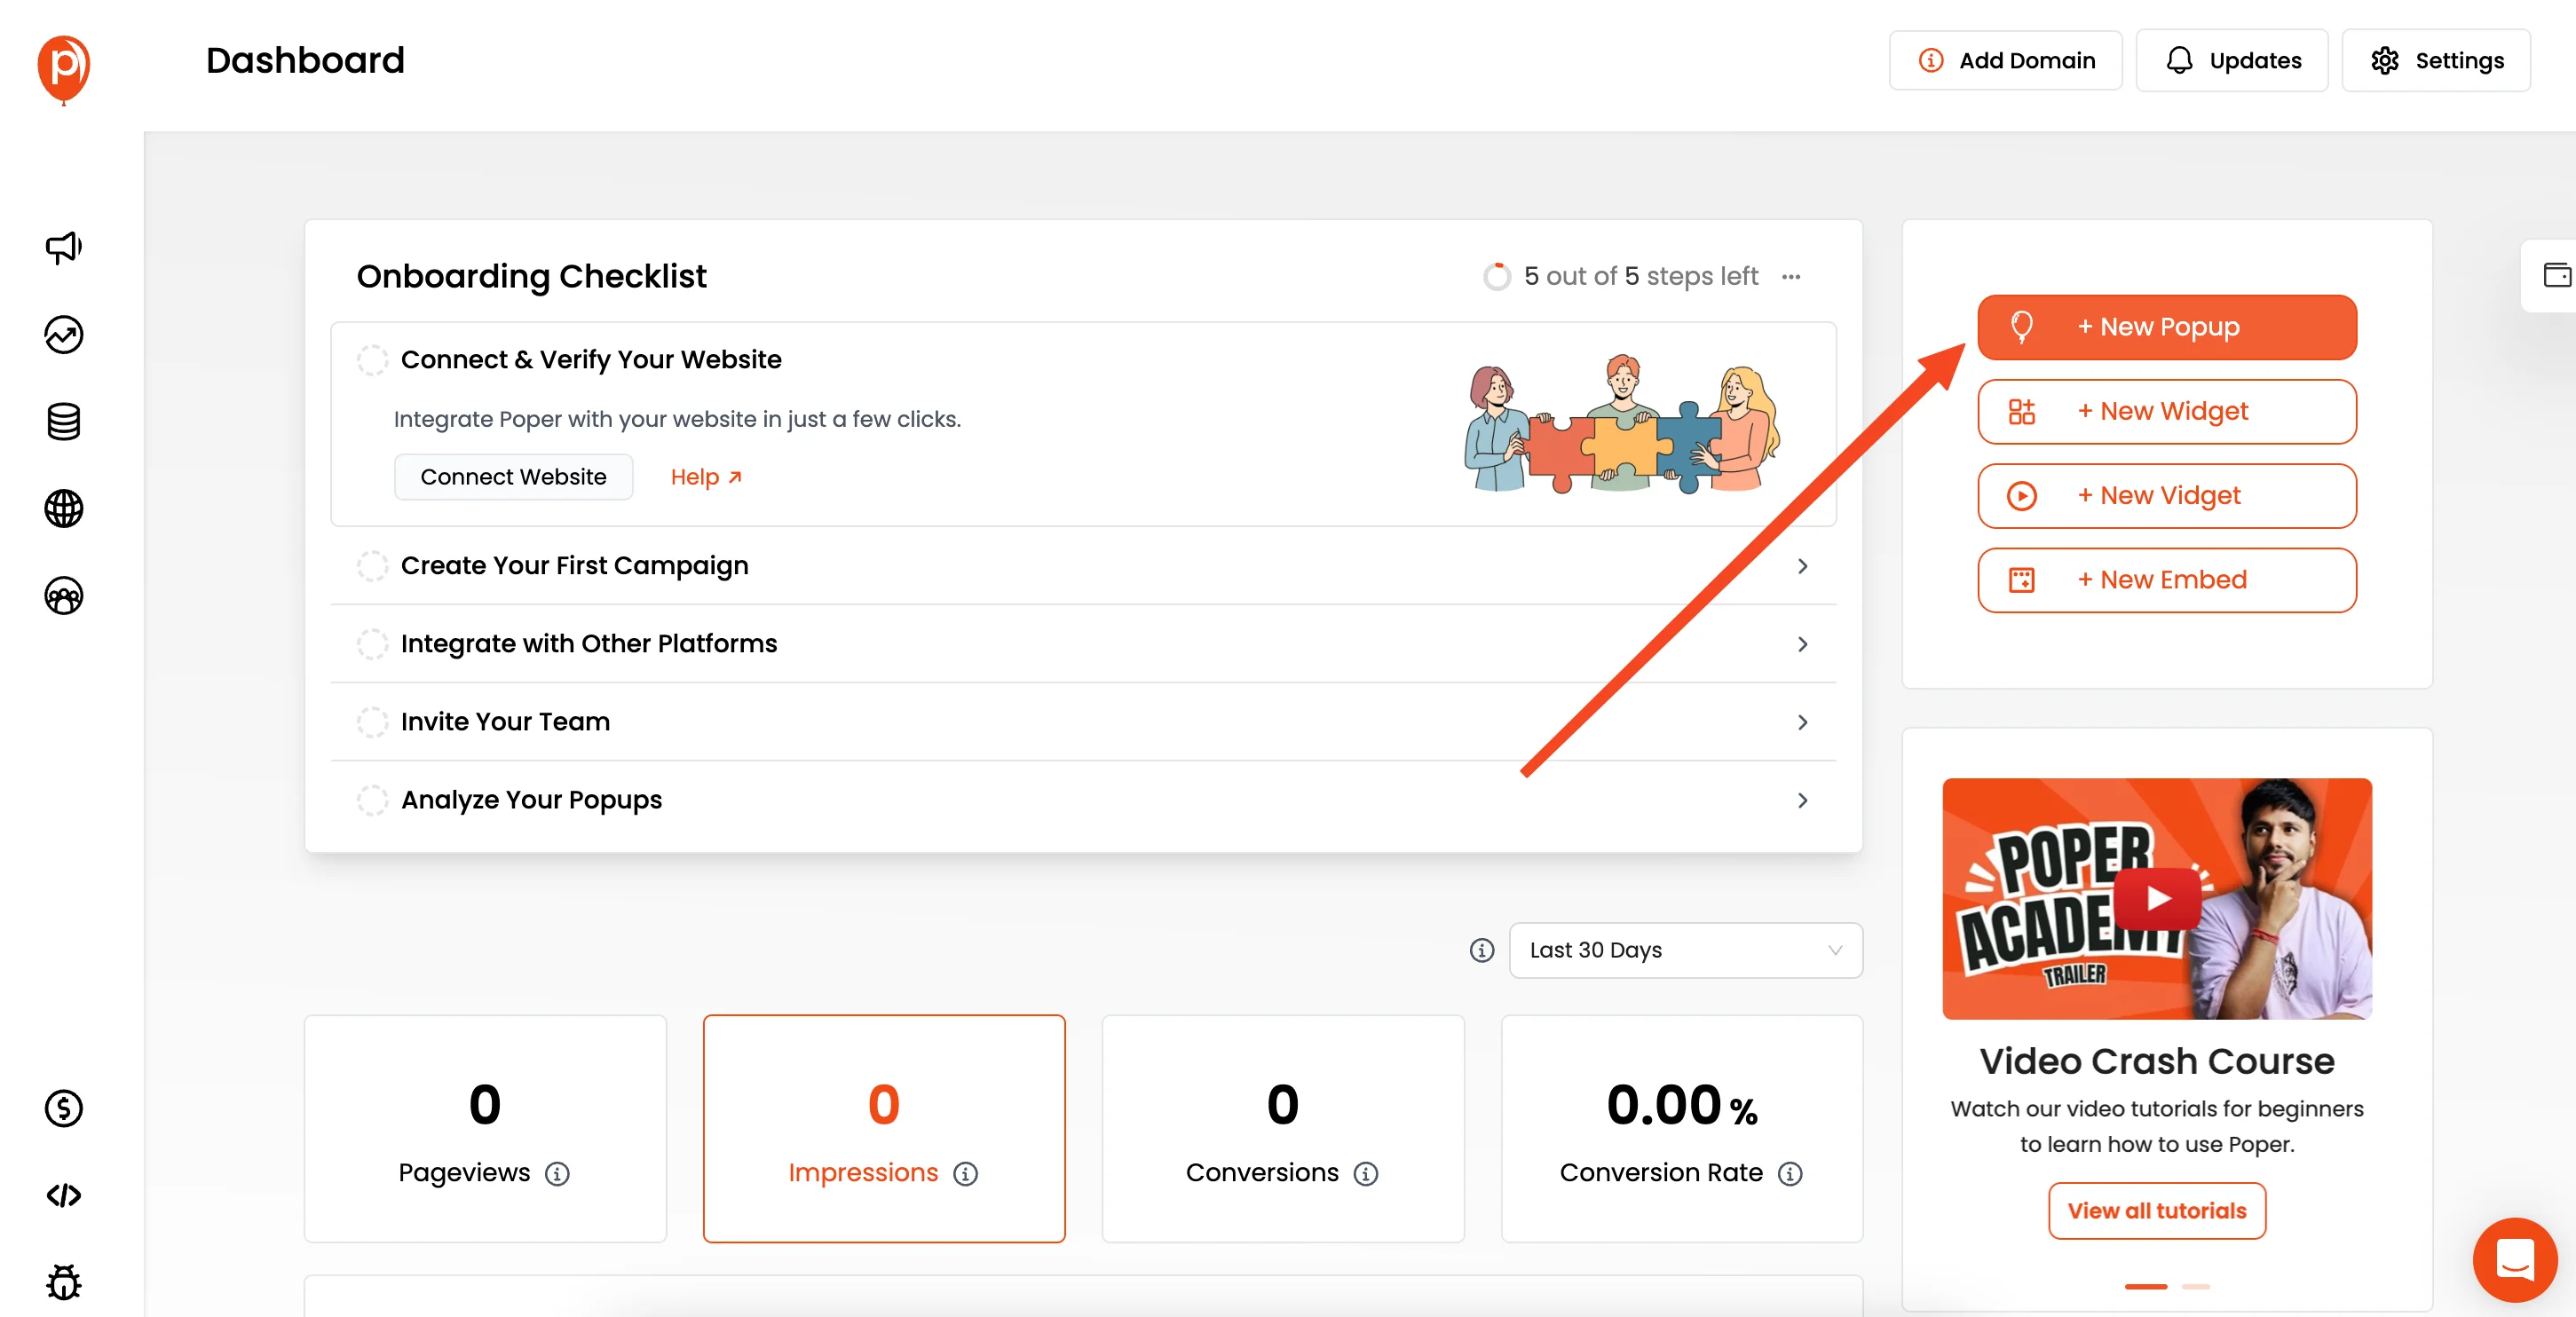
Once you're logged in, add your Magento website's domain to your Poper account. This is necessary to make sure that the popups work on your site. After that, click on the "New Popup" button to get started with creating your first popup.
3. Select a Template
You'll see an option to "Choose from Templates". This is where you can select a pre-designed popup that suits your needs.
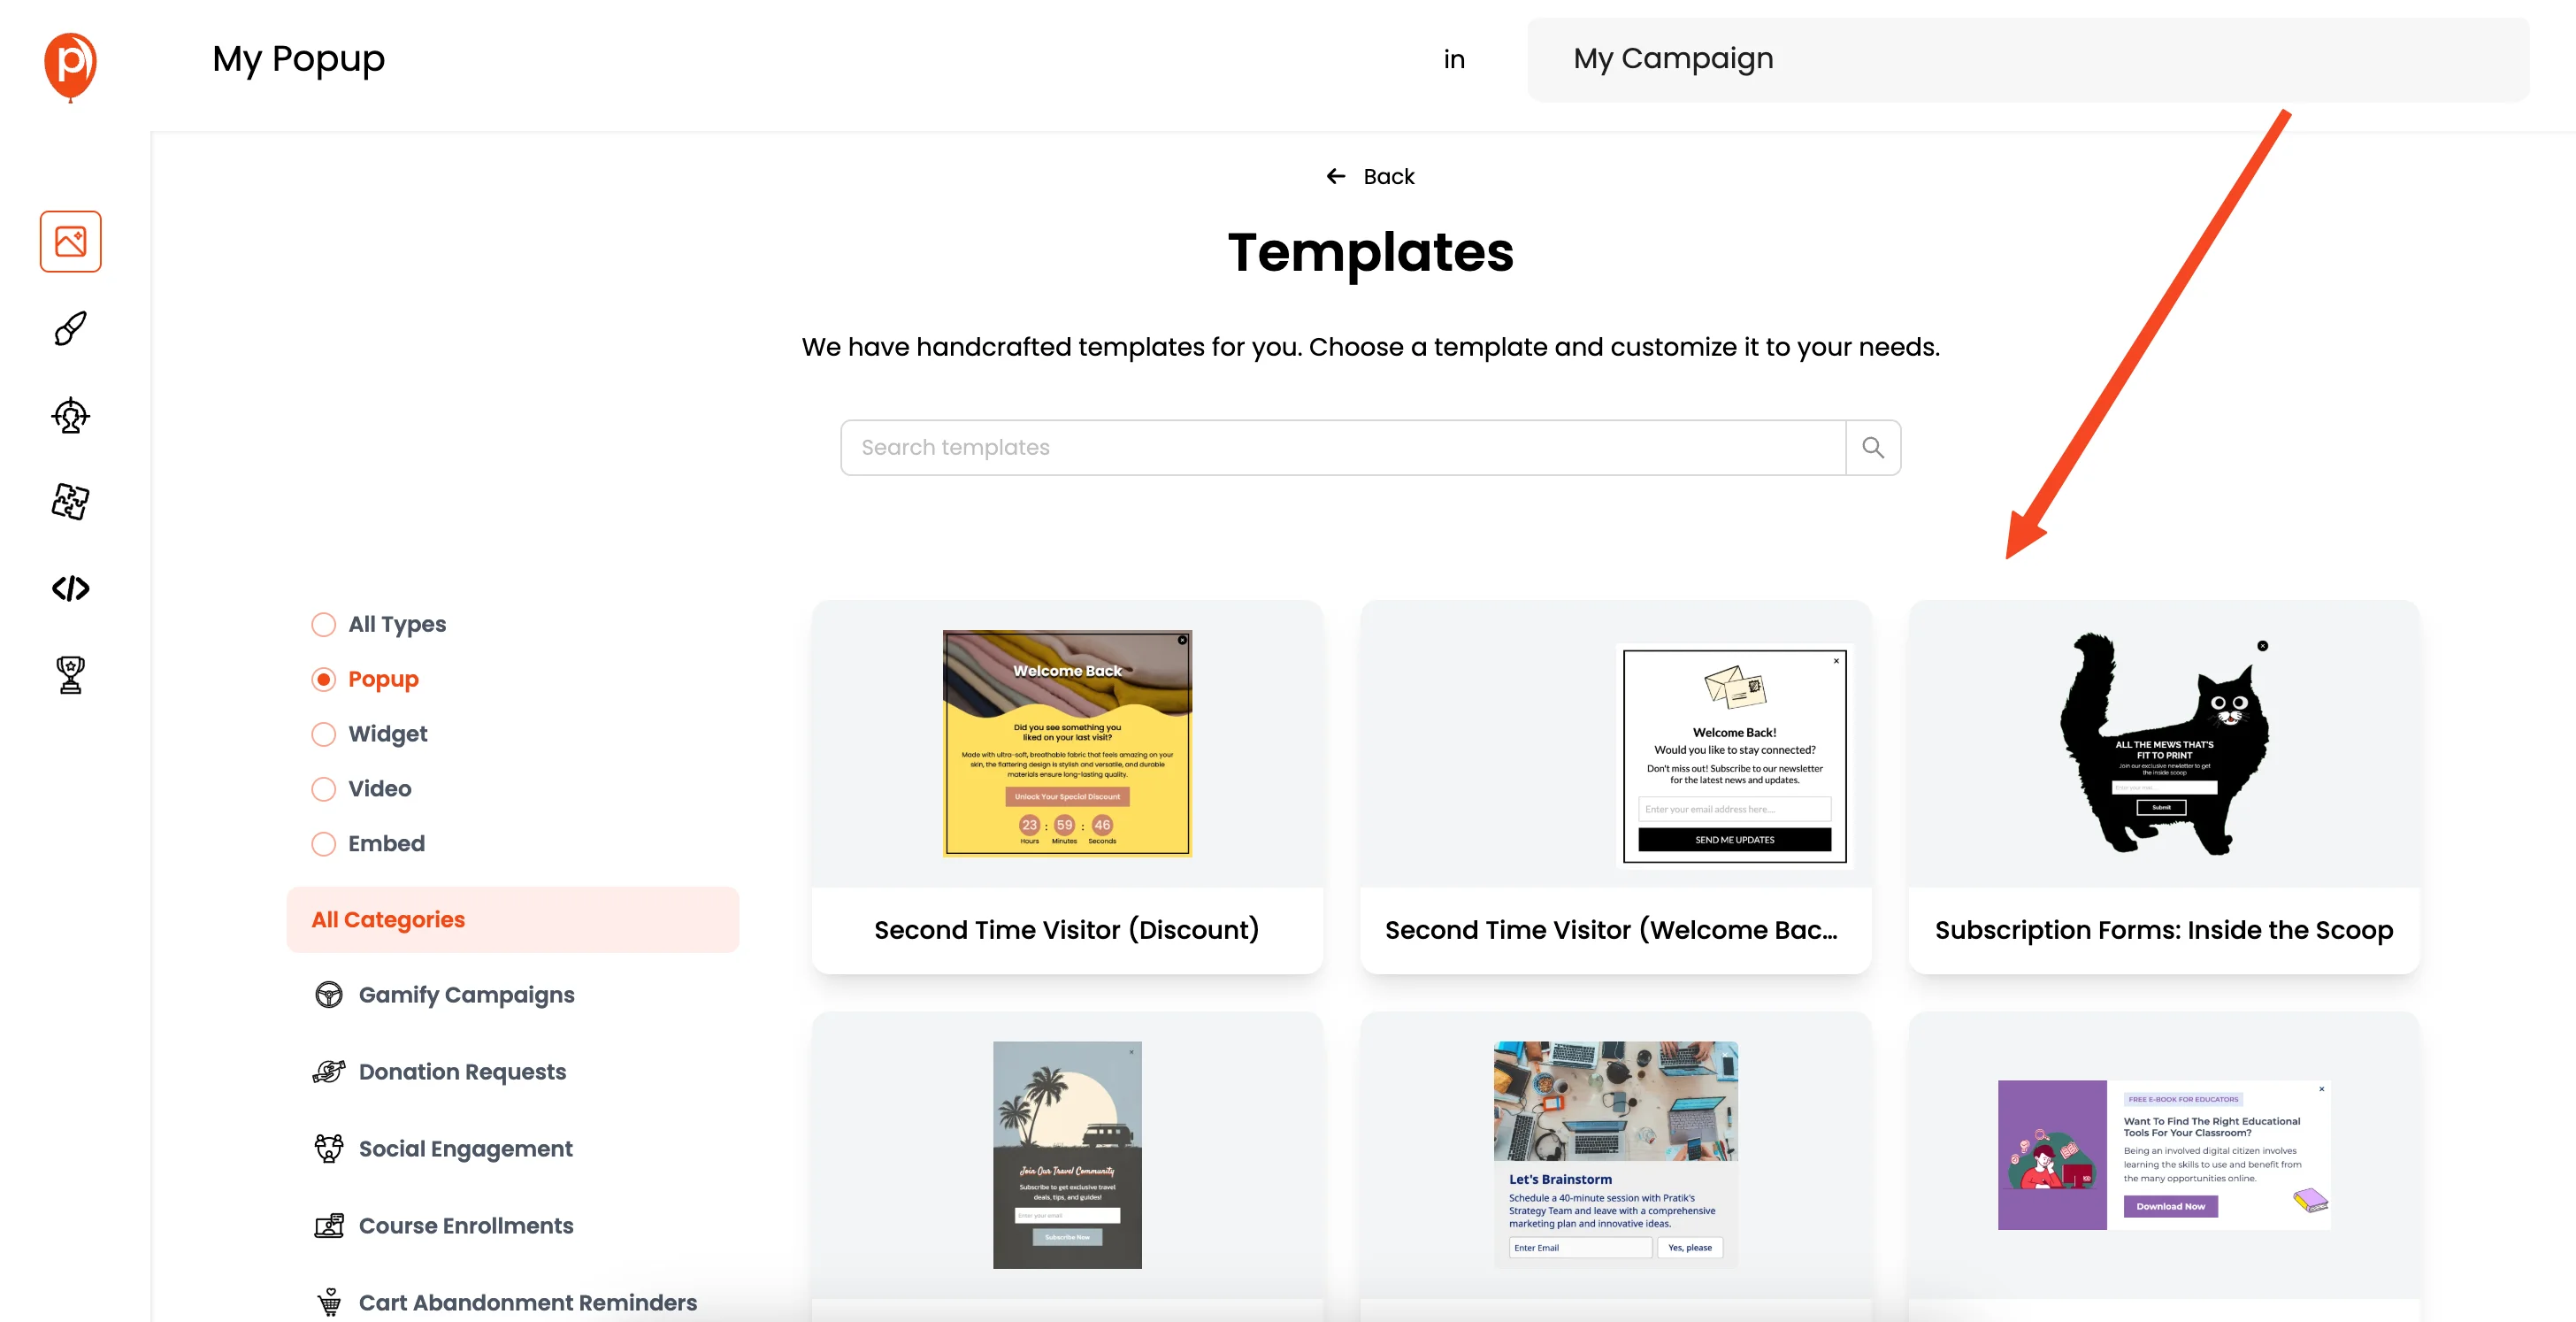
You can choose a template for different purposes. I’ve seen users use Poper to collect leads from their ad campaigns as well. Or, if you're feeling creative, you can start from scratch and build your own custom popup.
4. Customize Your Popup
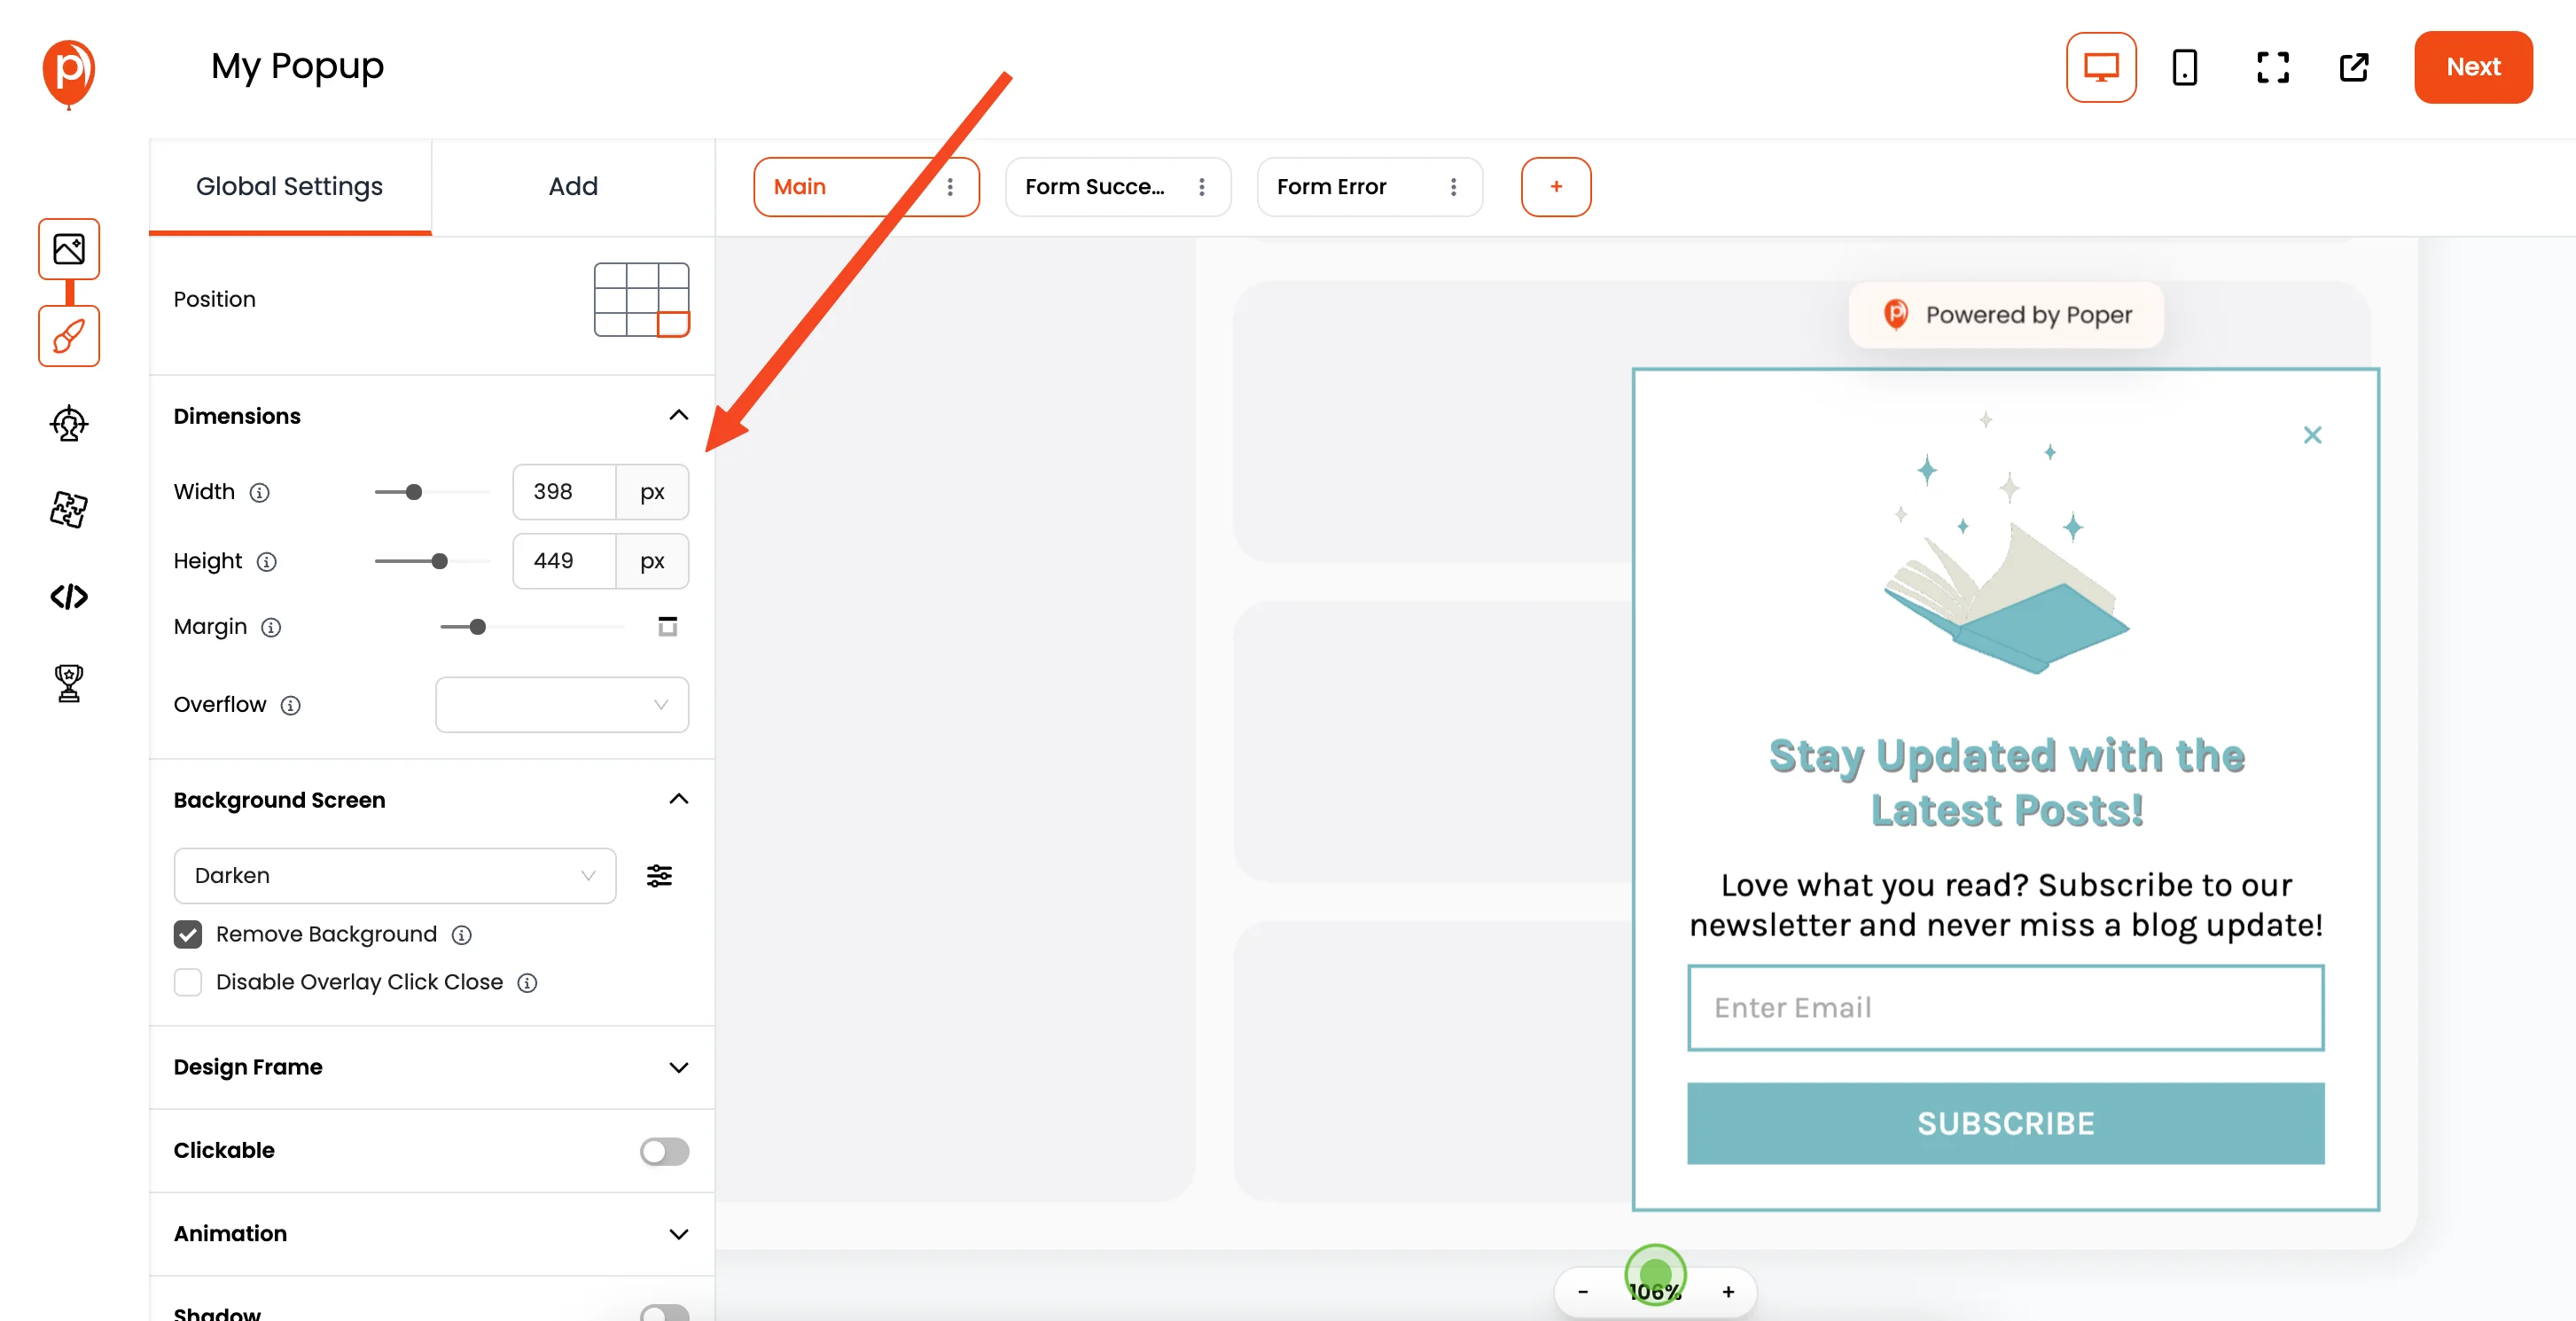
Choosing a template opens the popup editor. Here, you can customize everything to match your brand - fonts, colors, images, and text. Make sure the popup looks just the way you want it. Once you're happy with the design, click "Next."
5. Set Display Conditions
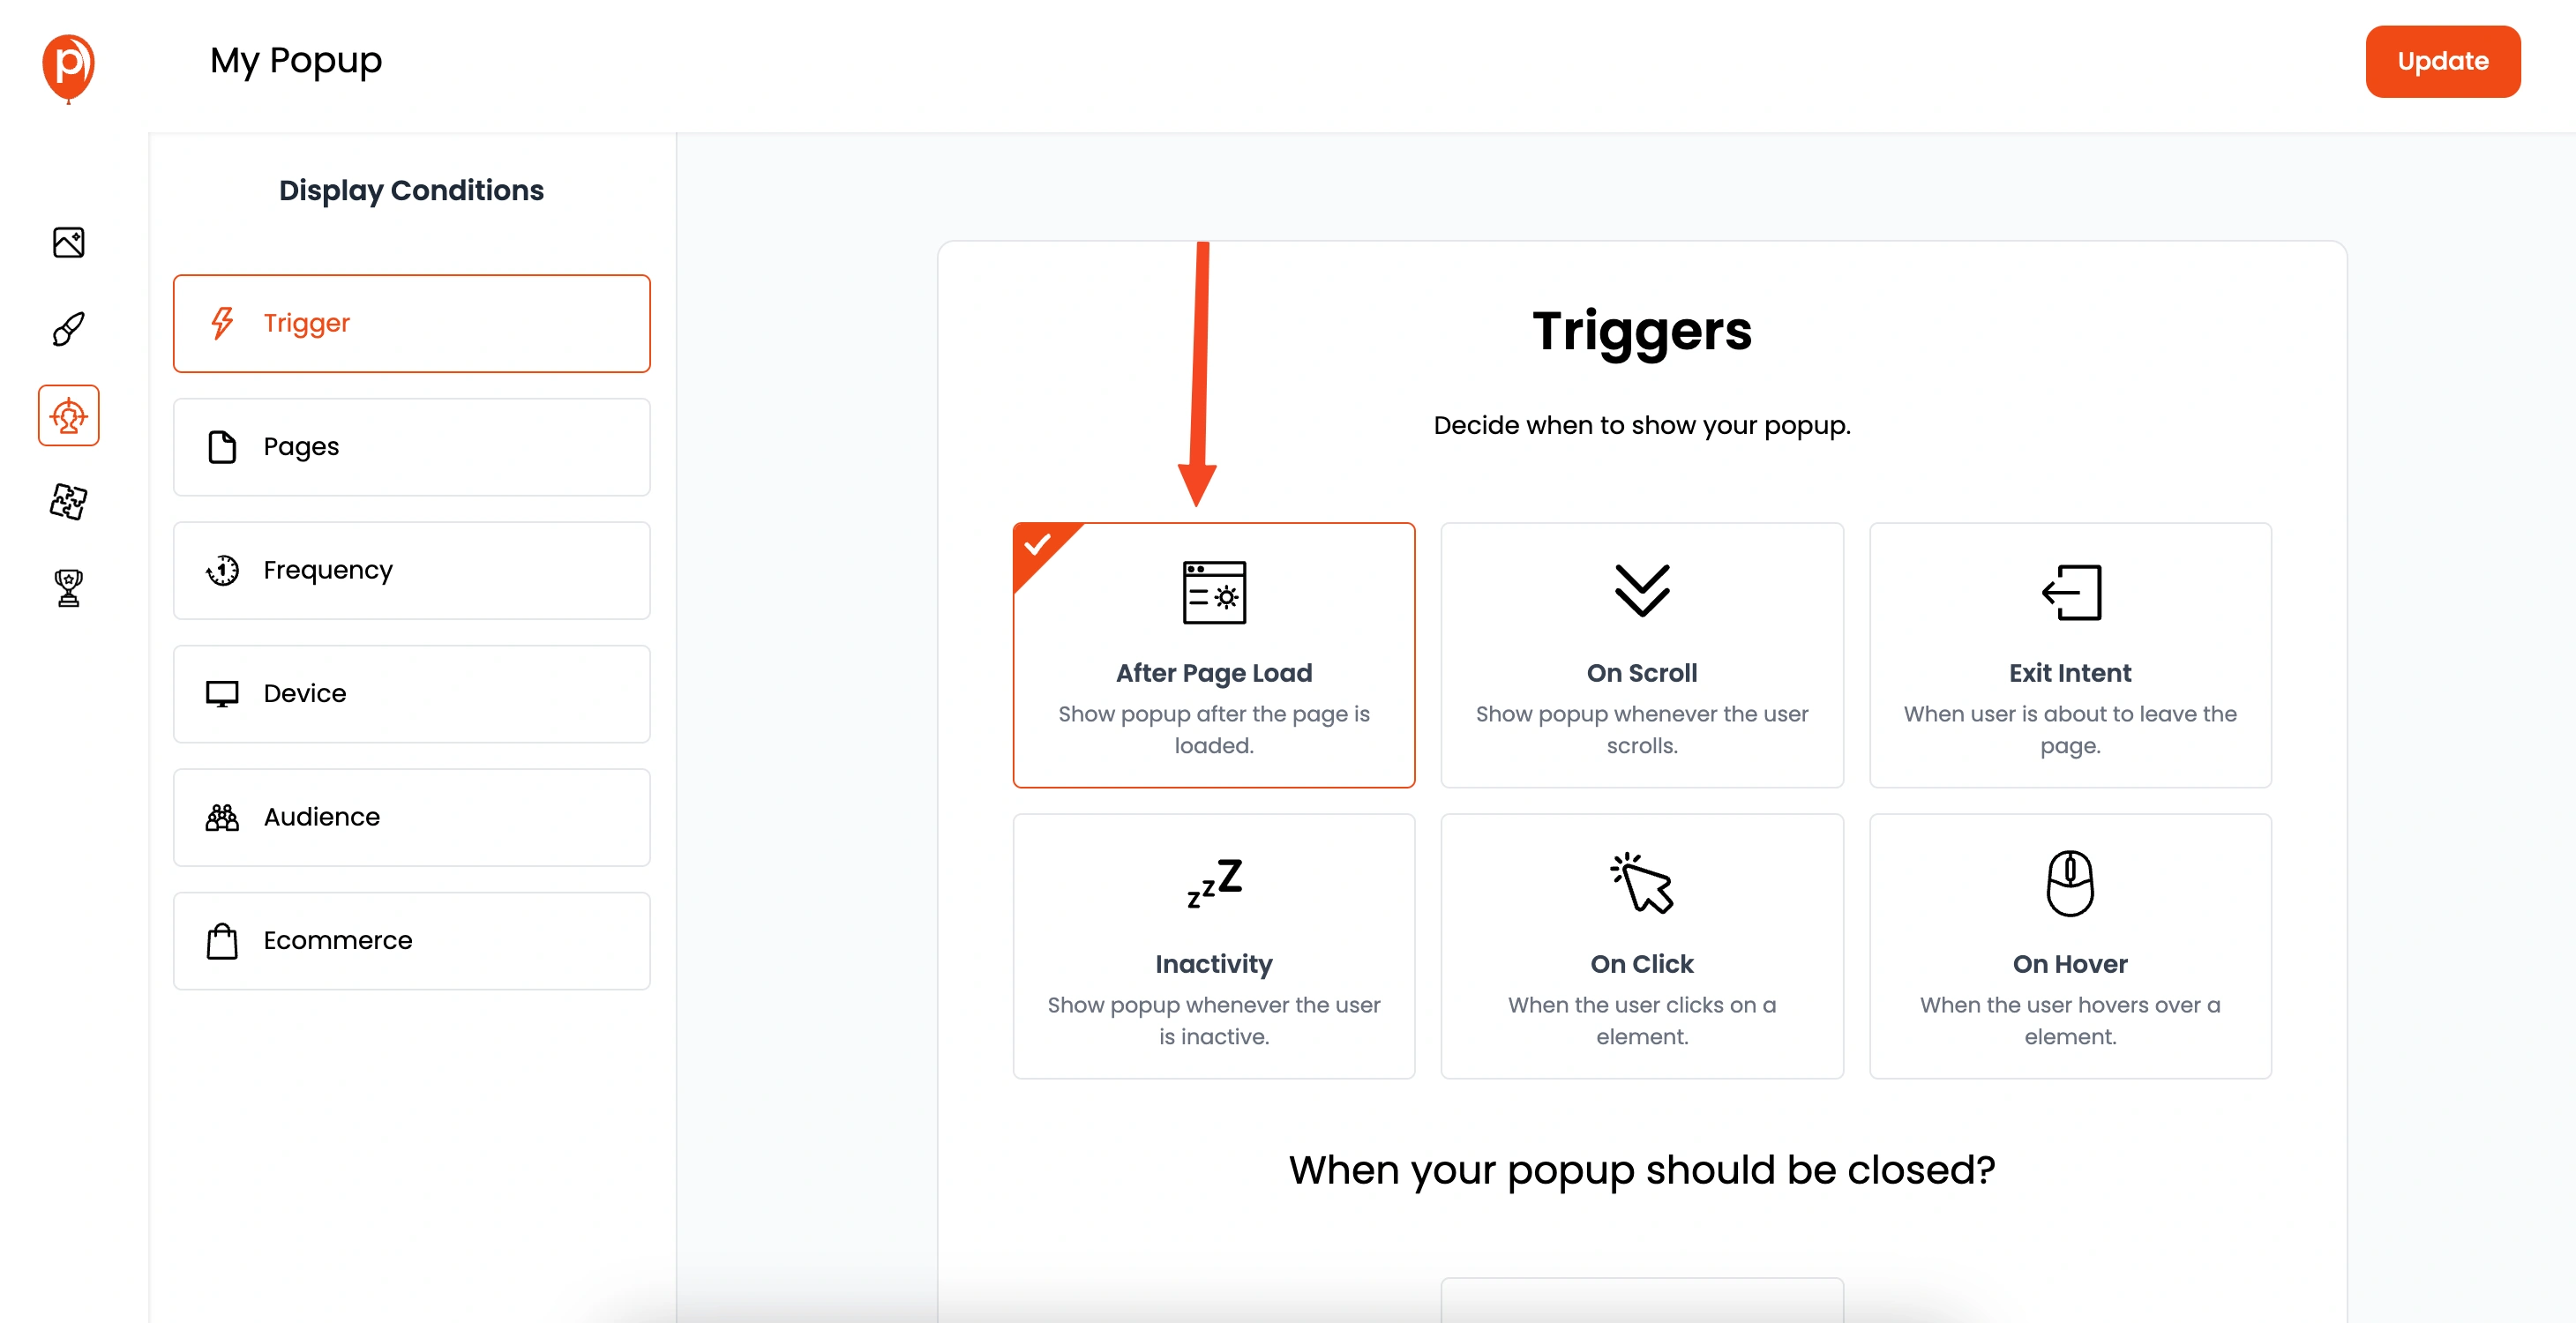
This is where you decide when and where your popup appears. We have options like scroll trigger, exit intent (when someone's about to leave), and delayed display. You can also target specific pages, audiences, and demographics. This helps you show the popup to the right people at the right time, based on their behavior or the page they are viewing.
6. Connect Integrations
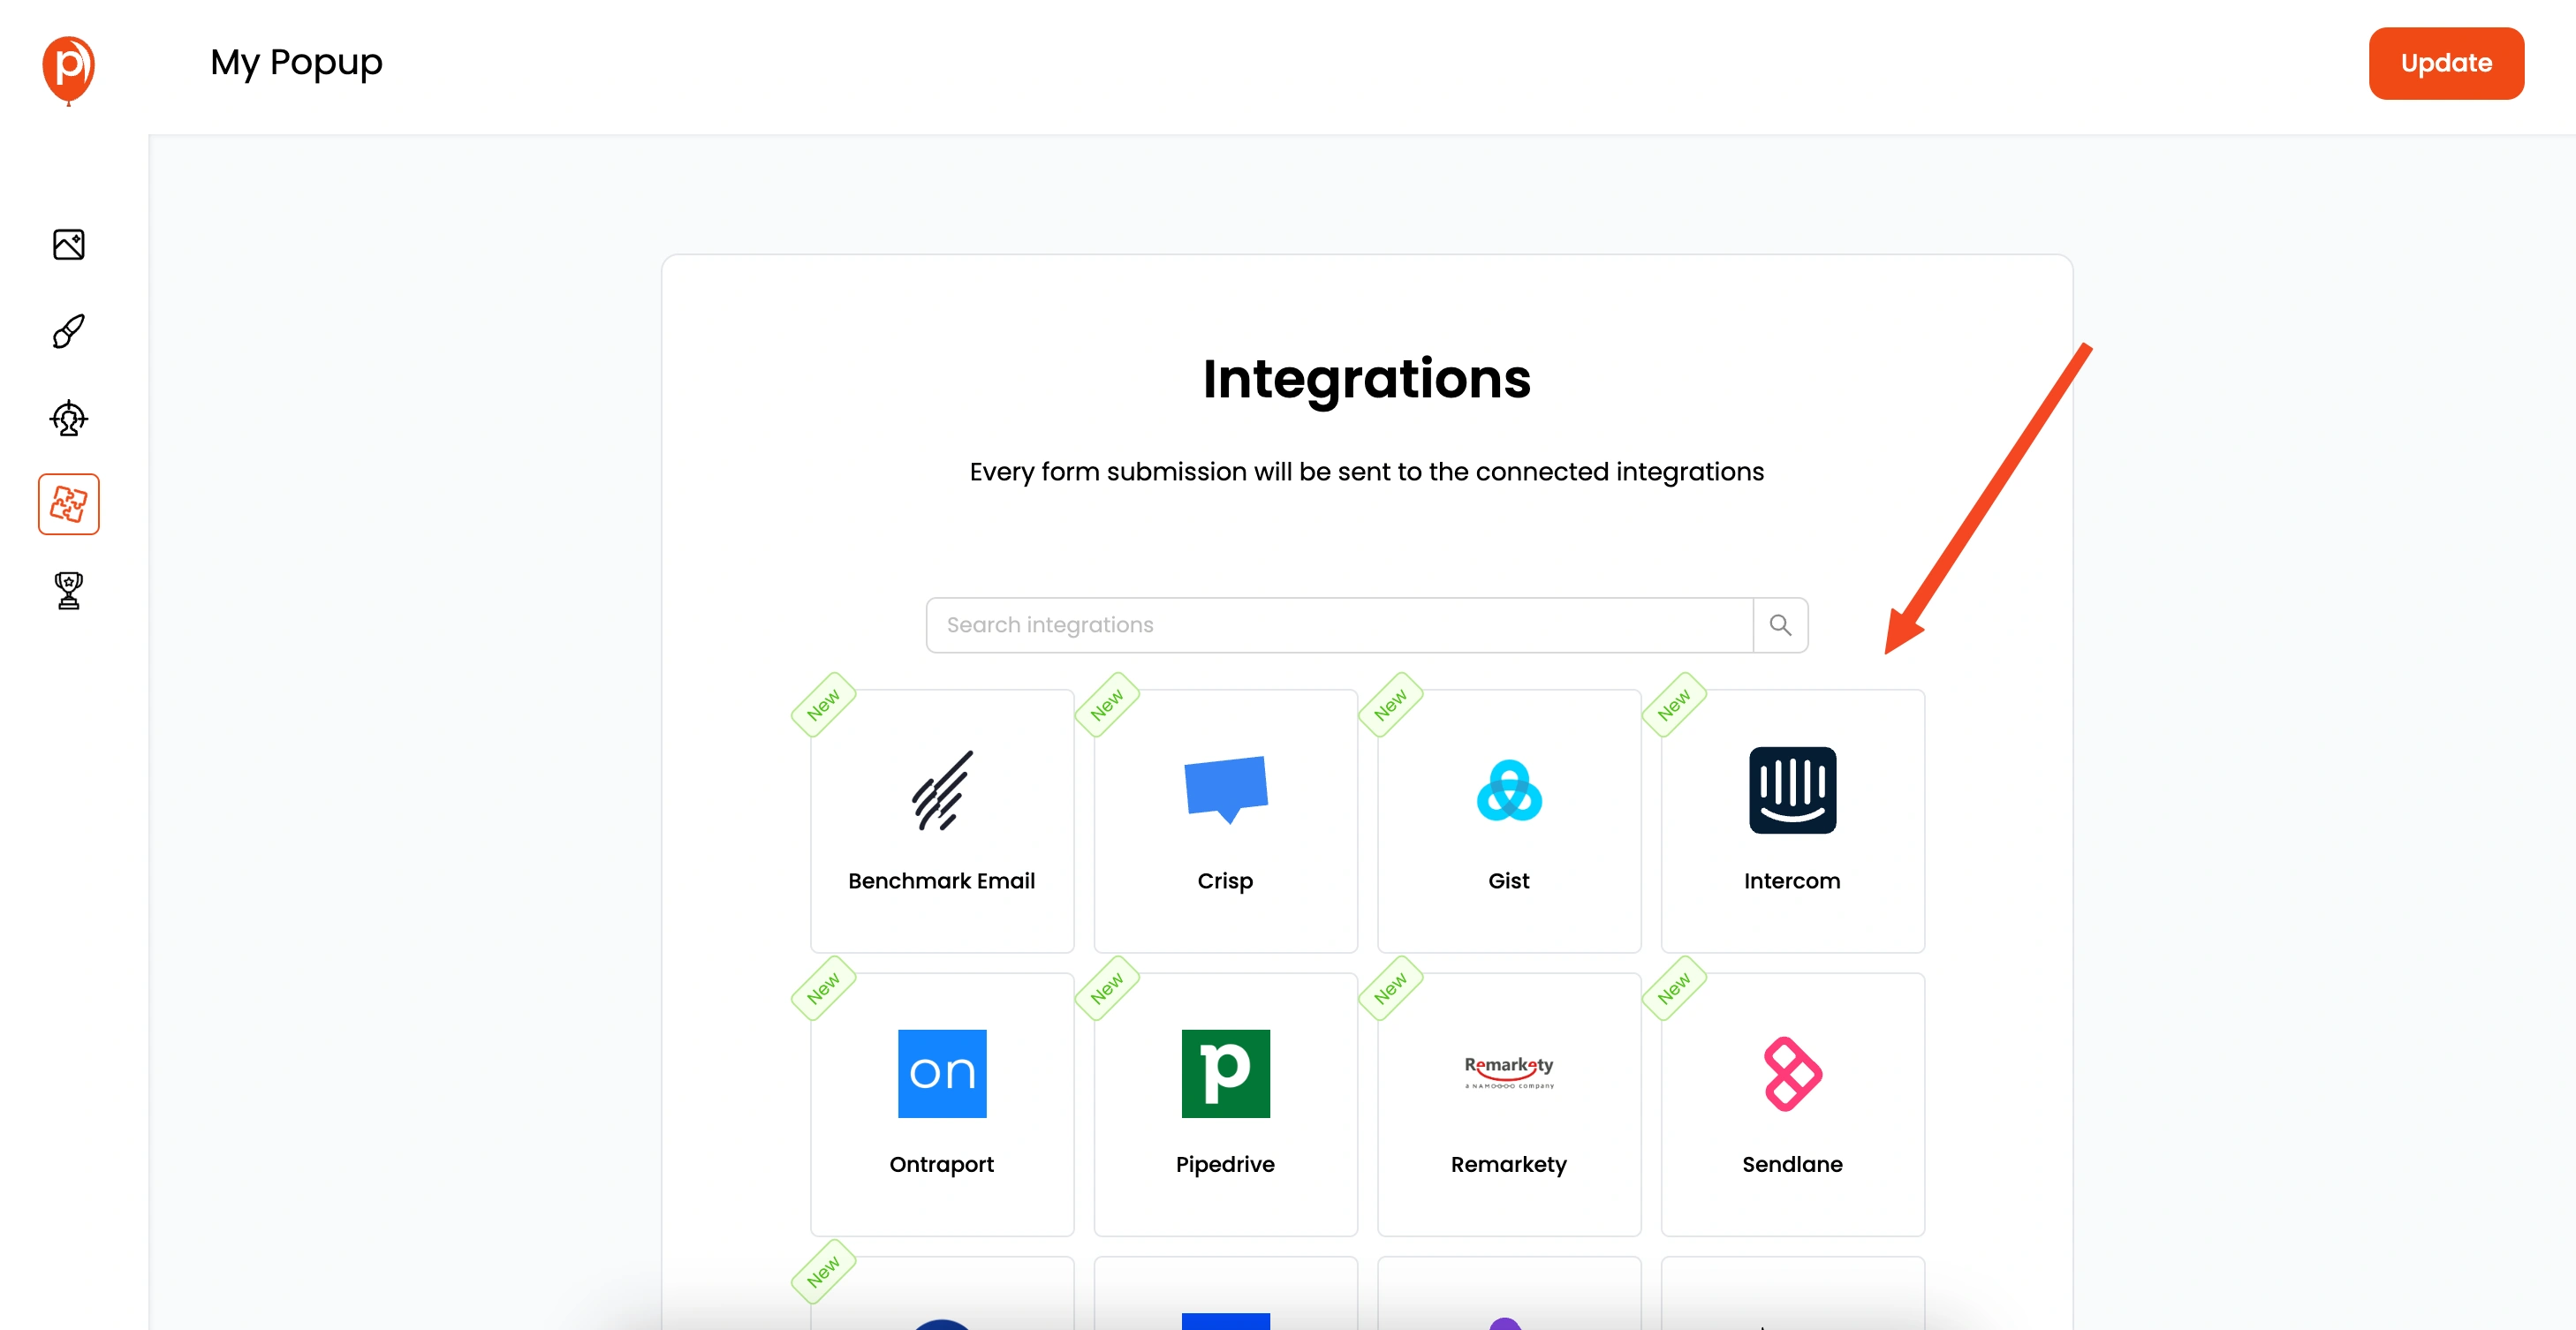
Next, you can connect your popup to your preferred marketing tools. We support integrations with email tools / CRM and more. This way, the email addresses you collect via your popup will directly go to your mailing lists in these tools. This can make your marketing efforts more efficient.
7. Save and Publish
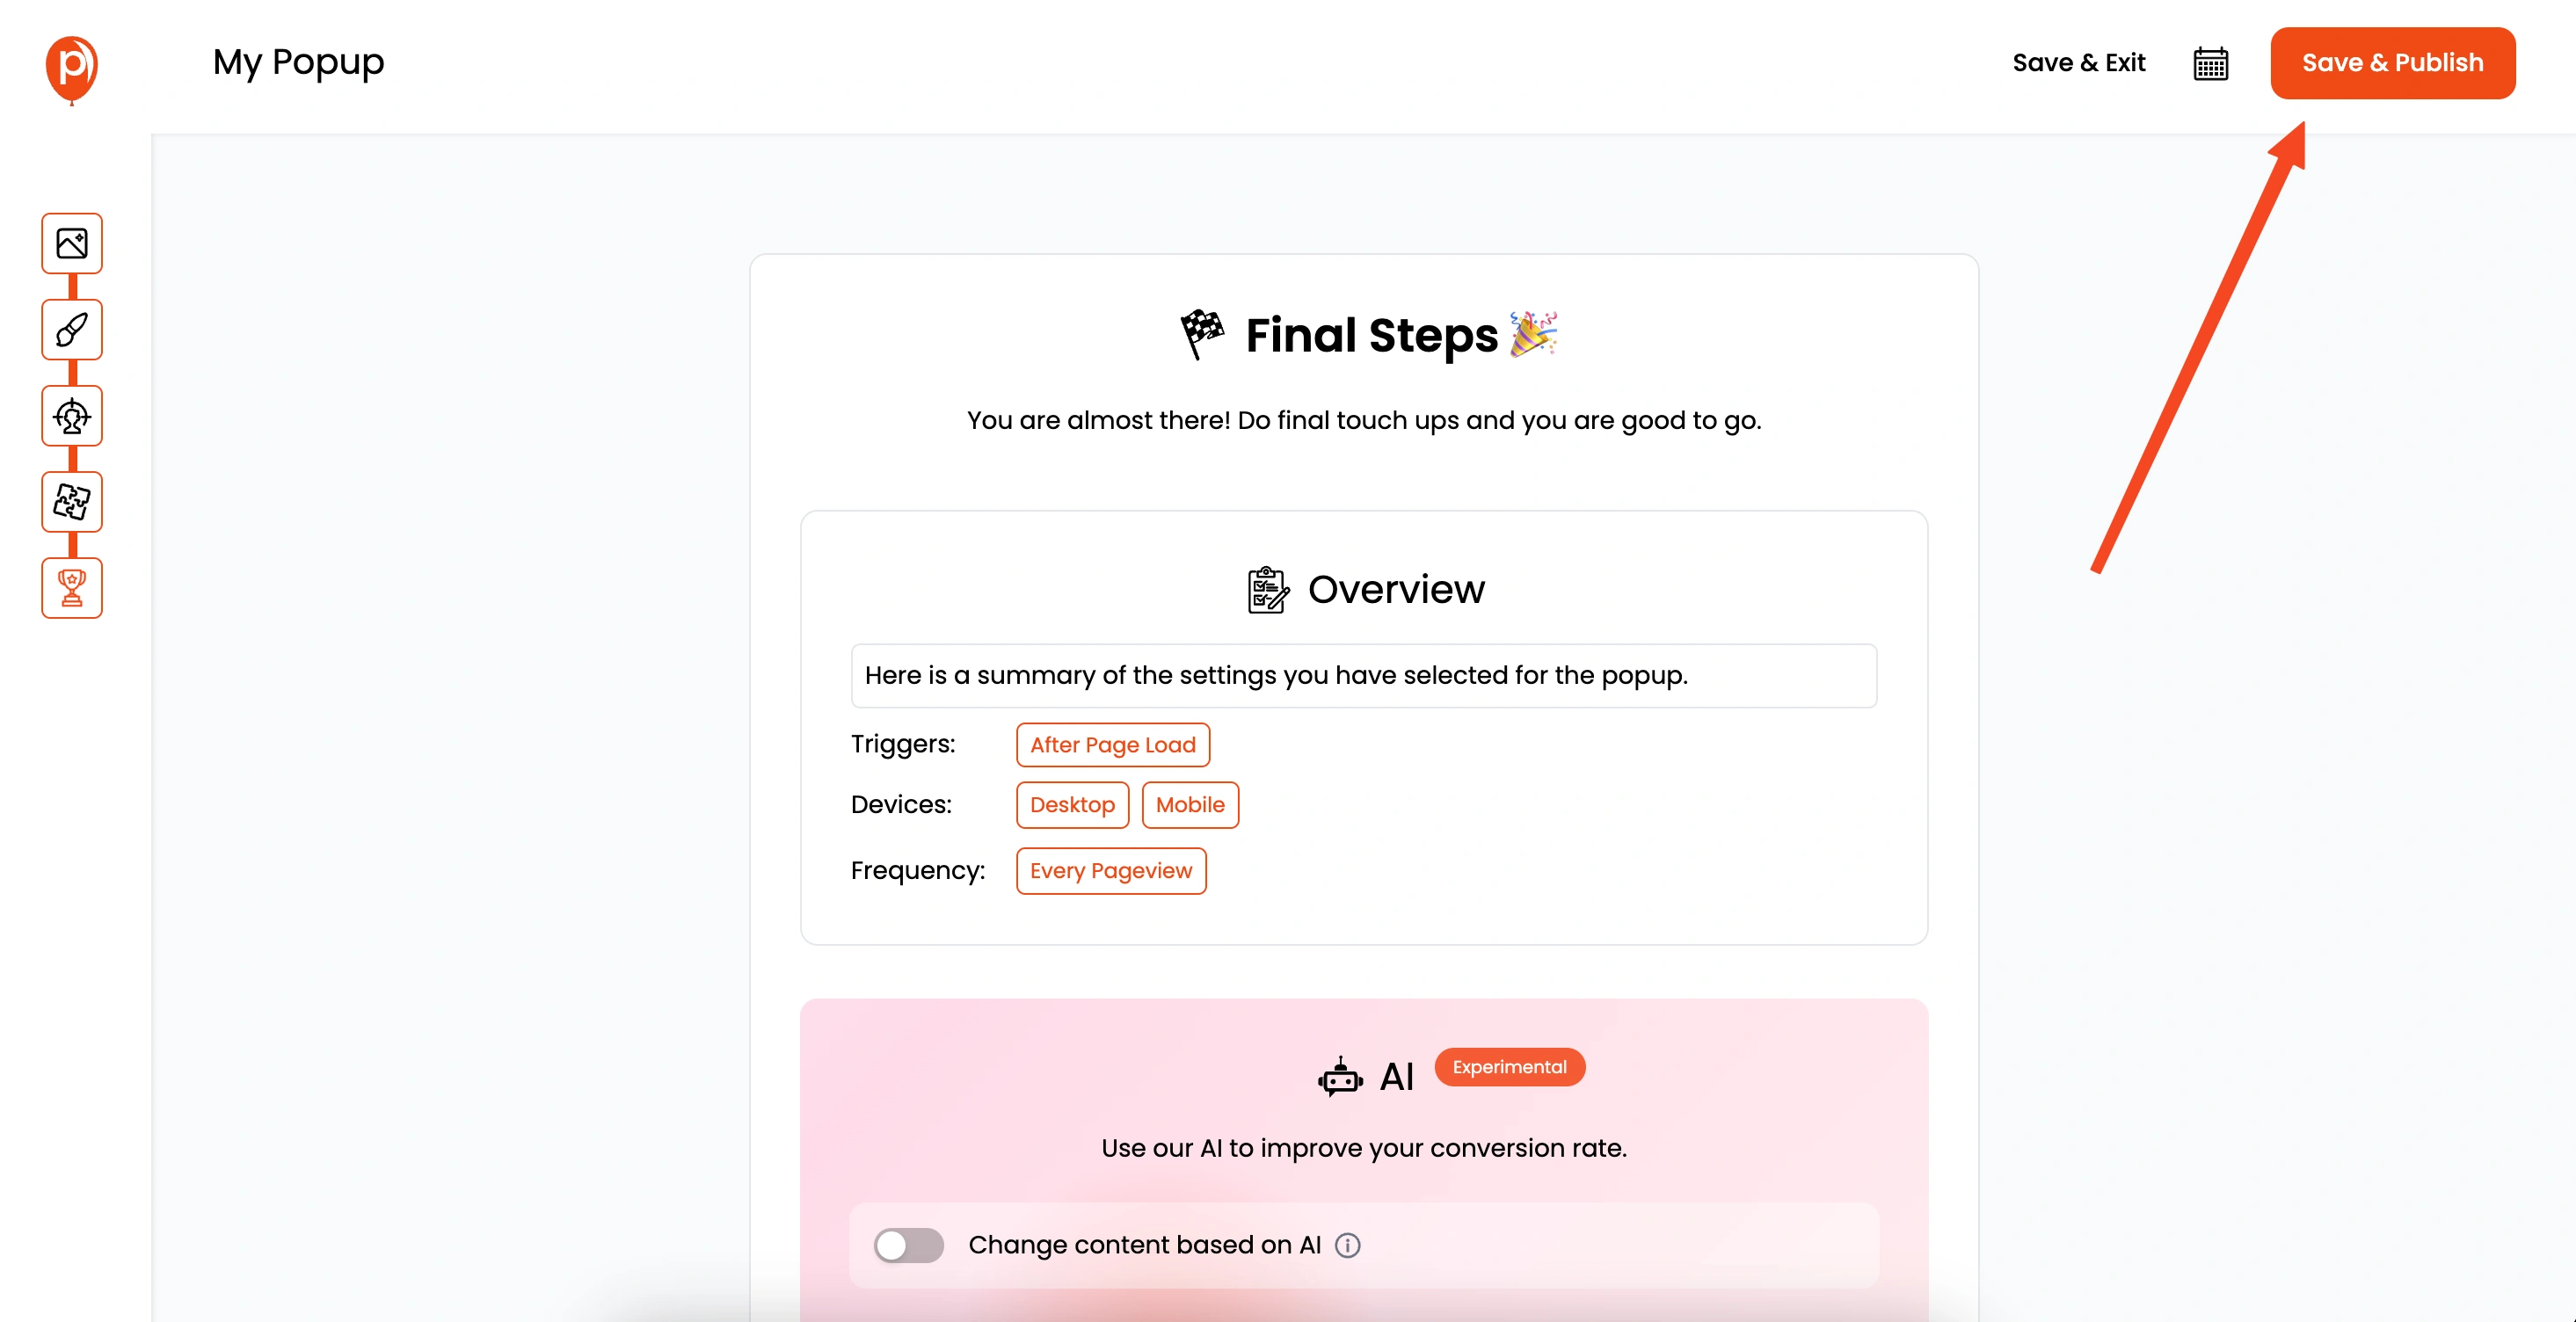
Once you've customized your design, set your display conditions, and connected your integrations, save and publish the popup. Now your popup is ready to be added to your website.
8. Copy the Custom Code
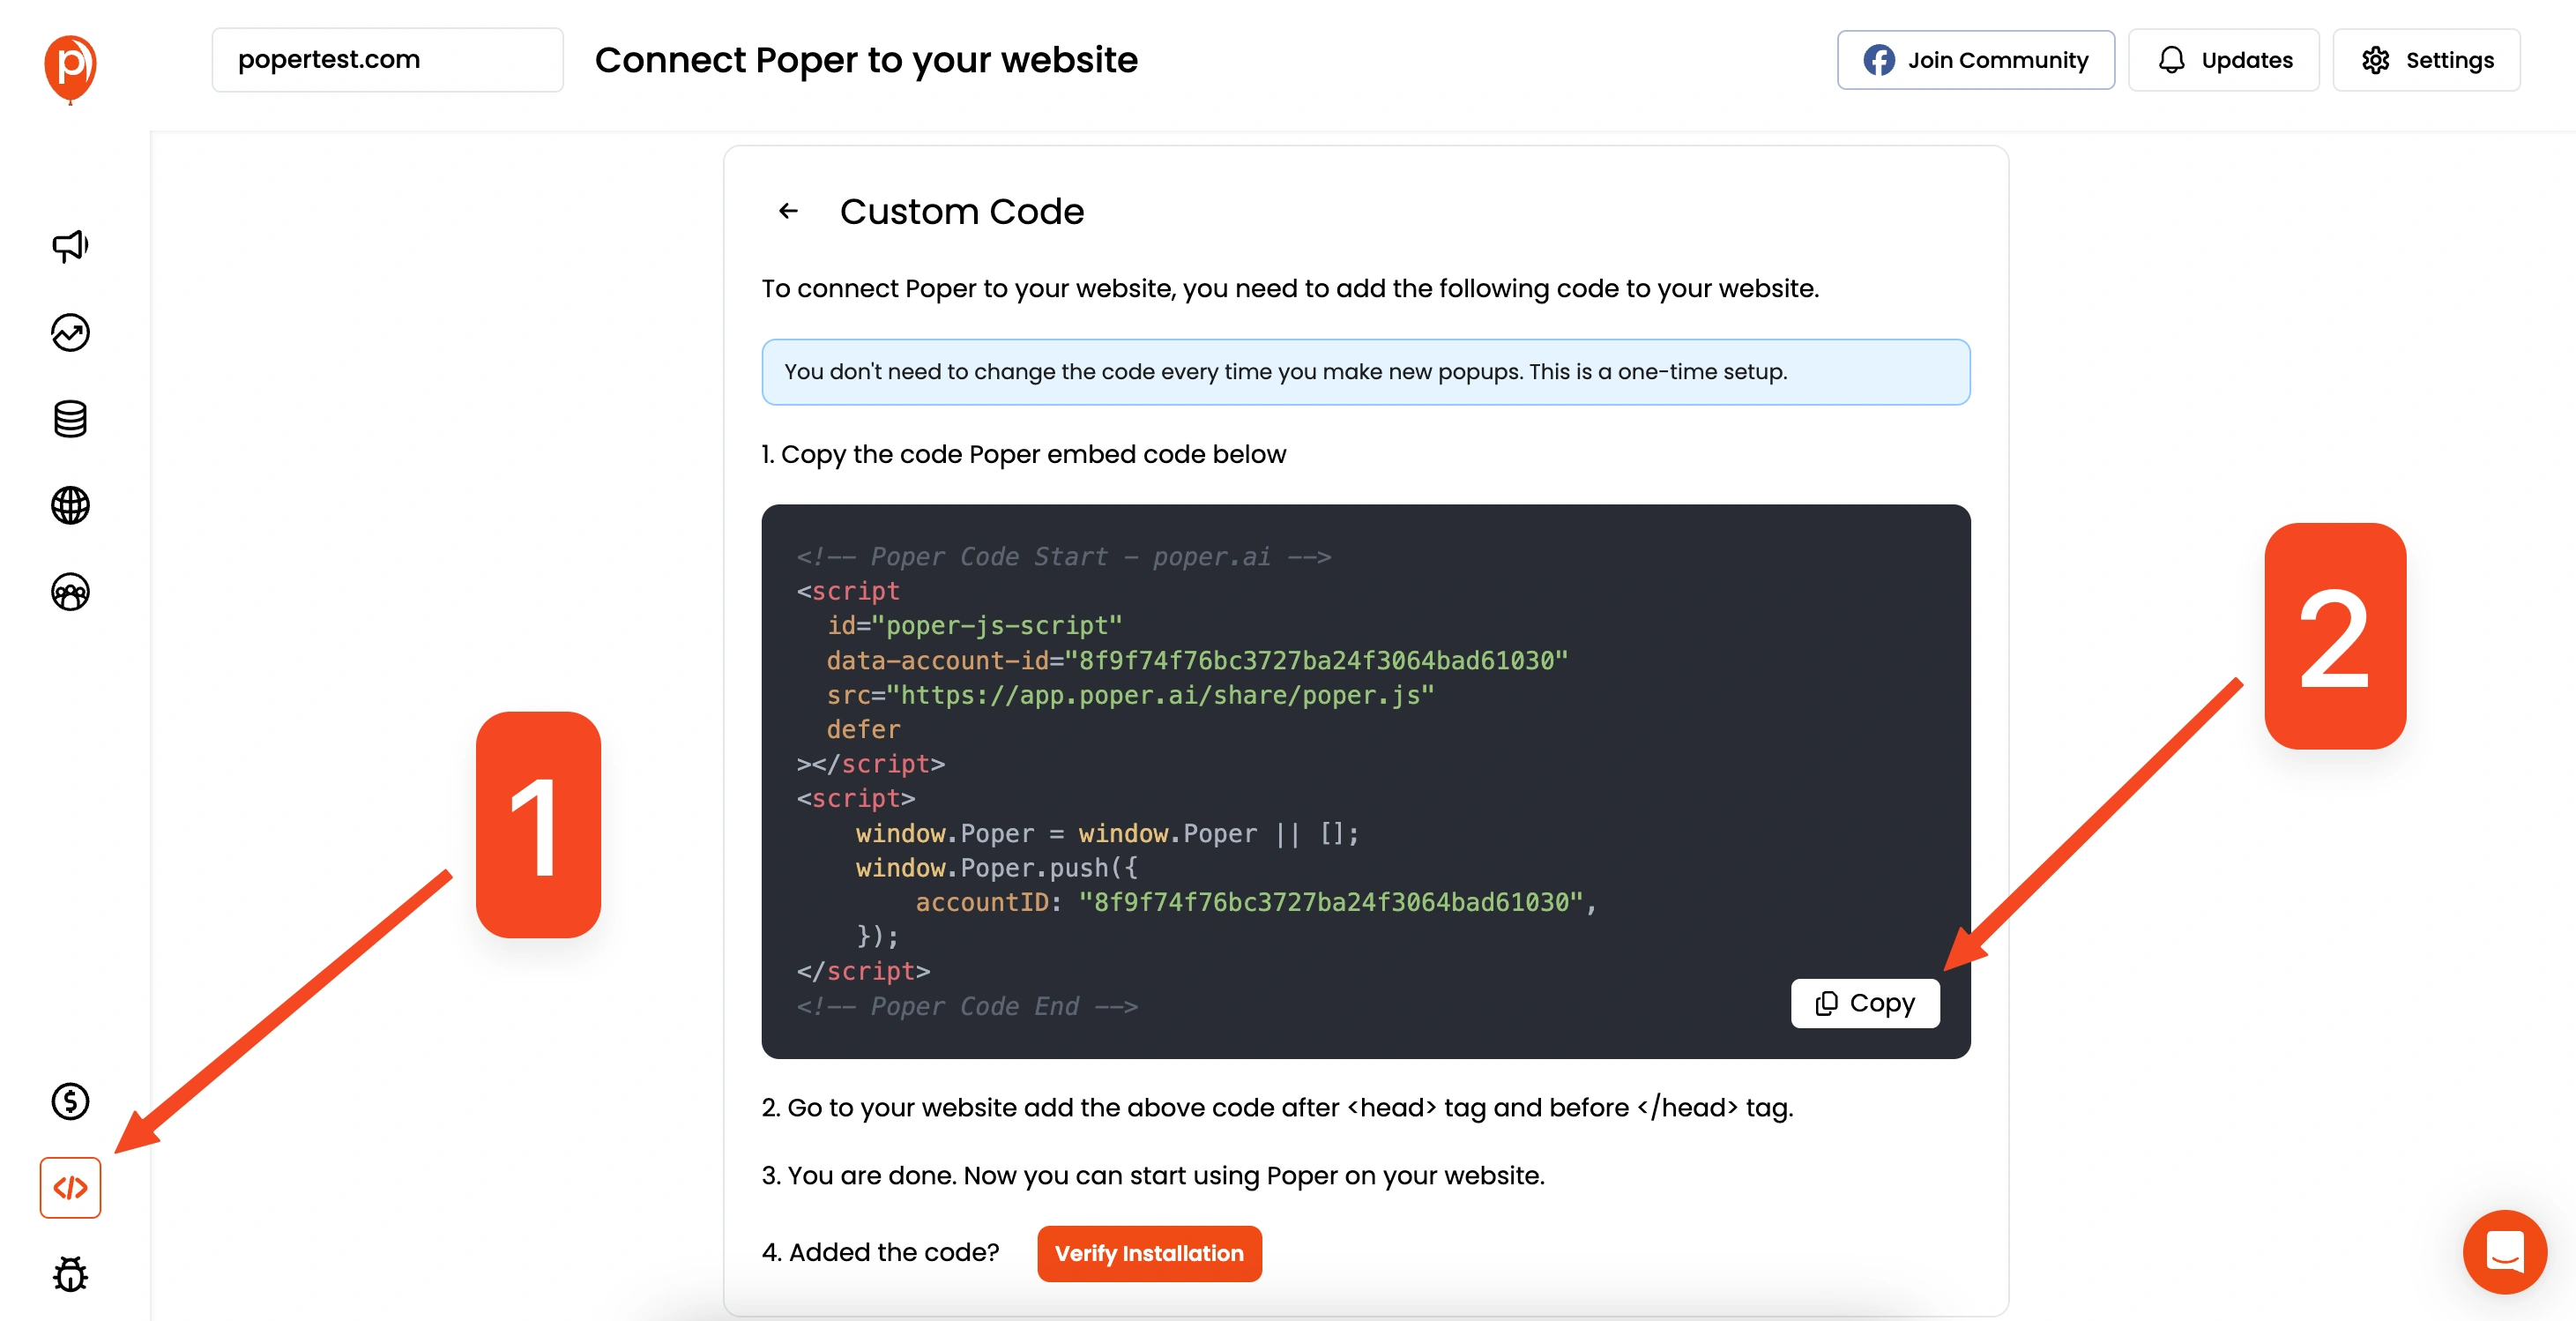
Navigate to your Poper Dashboard, then find the "Code" section. There you will find "Custom Code". Click on "Custom Code" and copy the provided code. This is the code you'll need to paste into your Magento site to make the popup appear.
9. Paste the Code into Magento
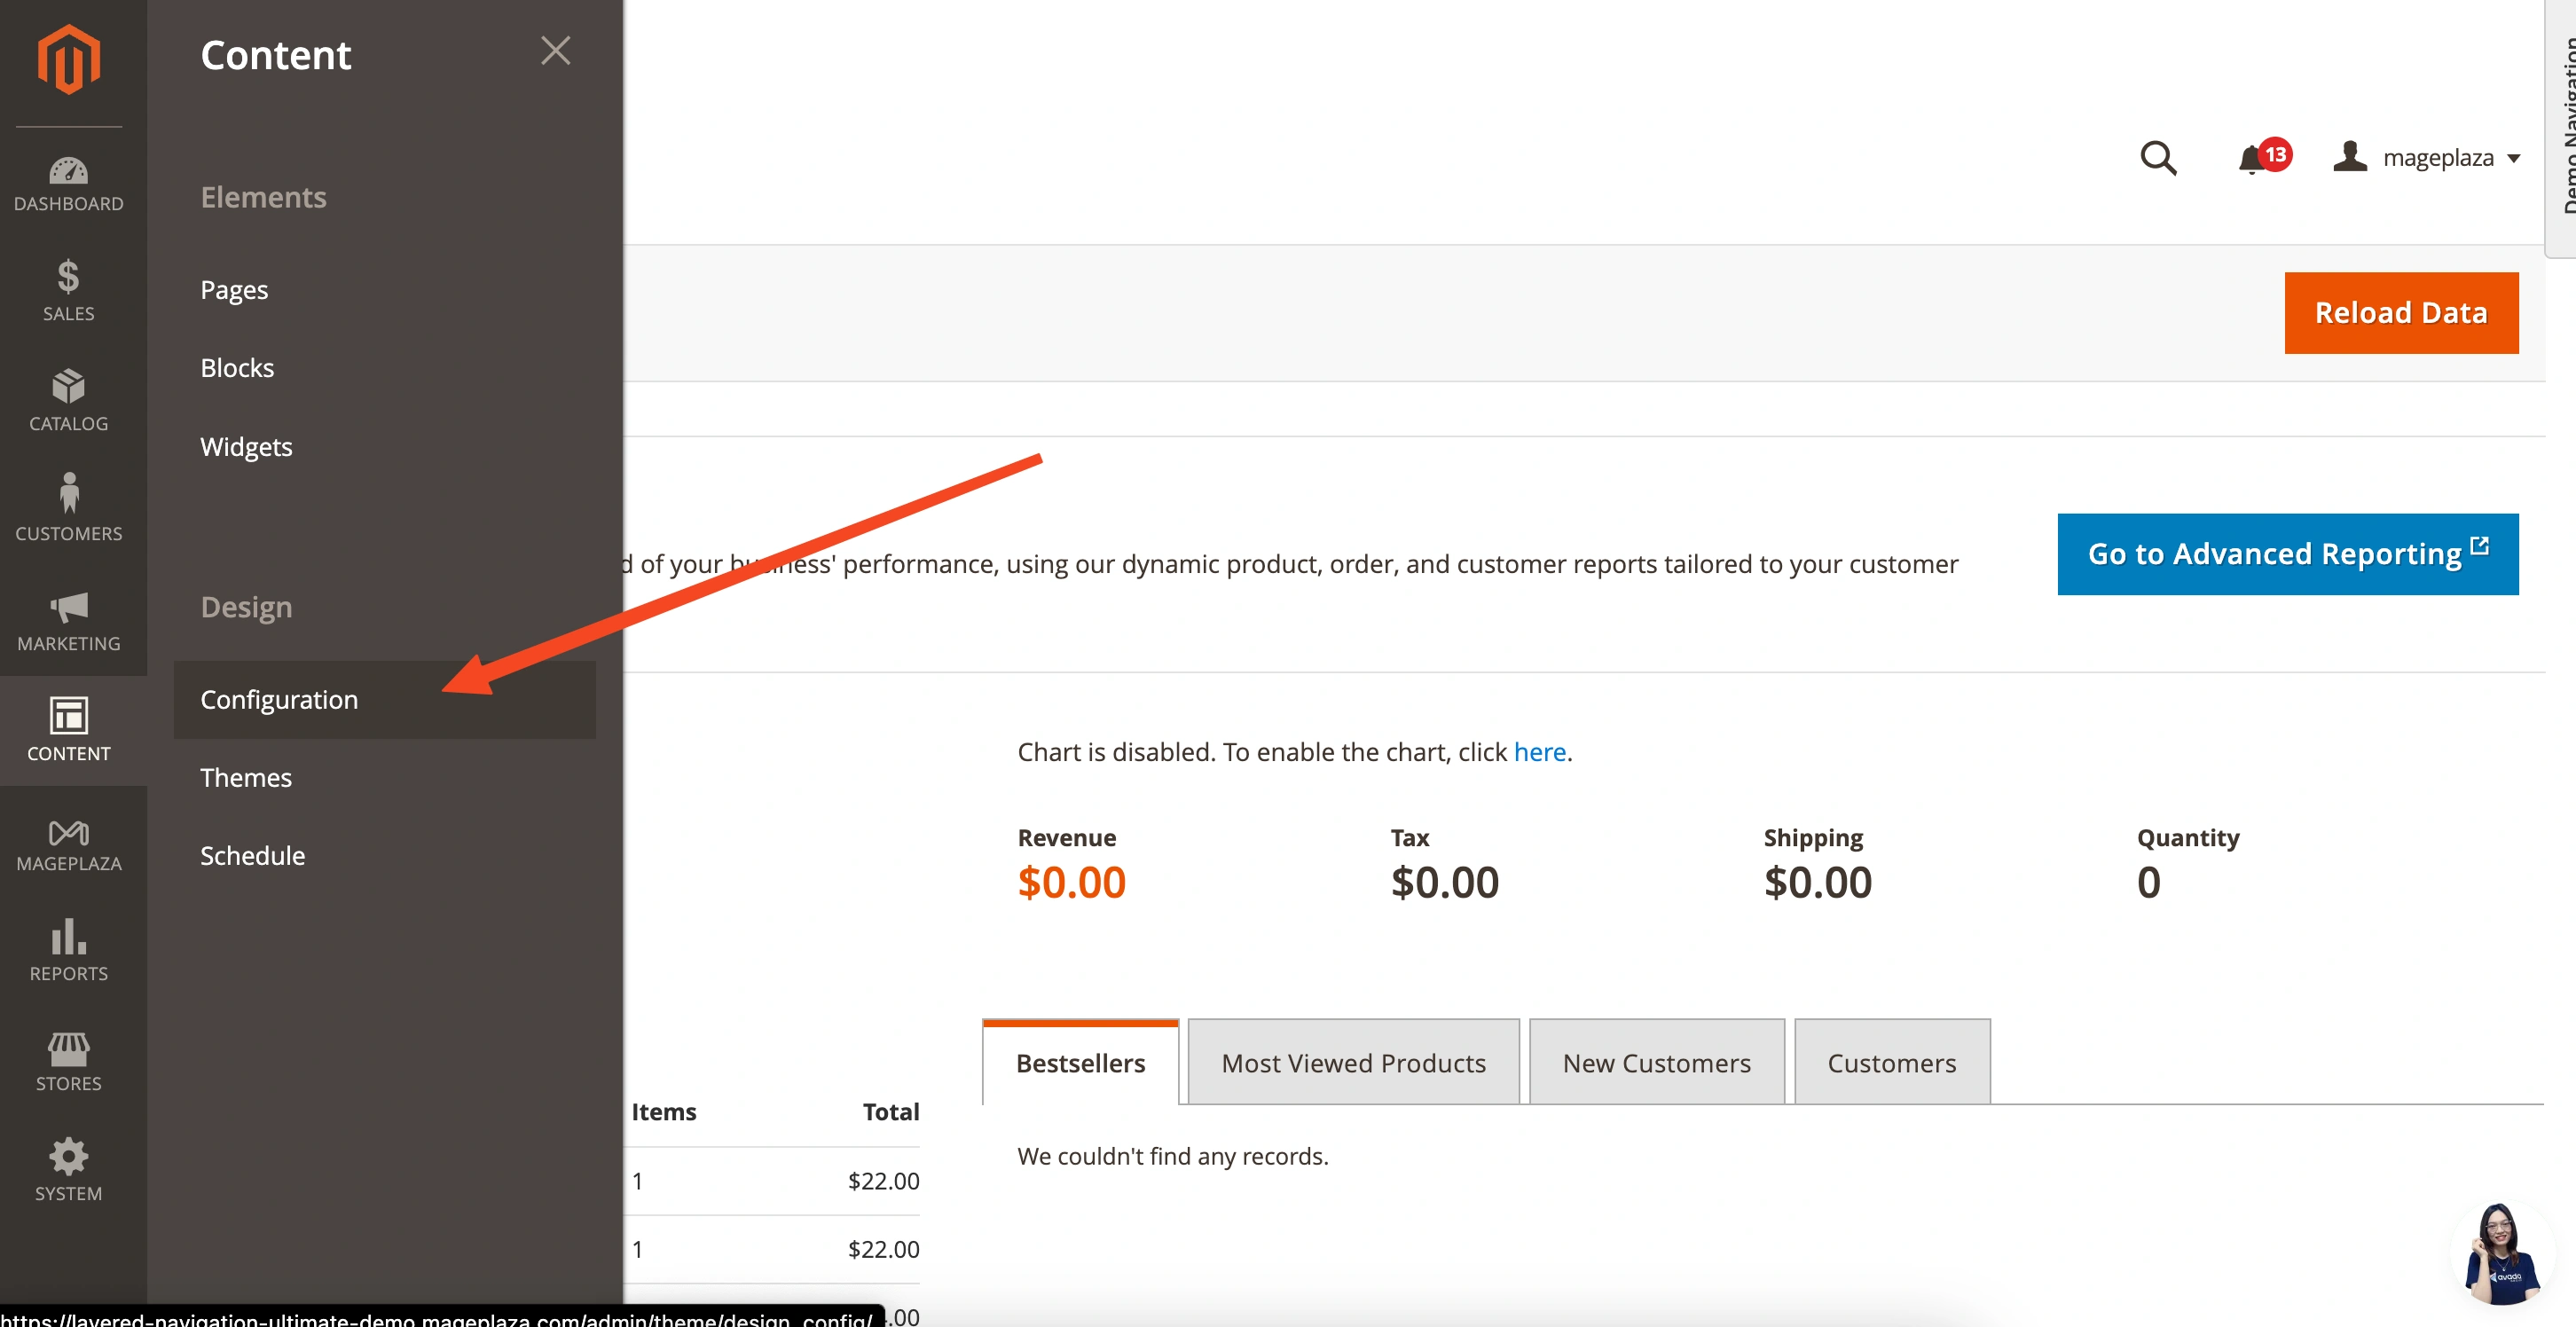
Now, let's jump into Magento. Go to "Content" and then "Configuration" from the left navigation bar. Click on "Edit Configuration" to start editing.
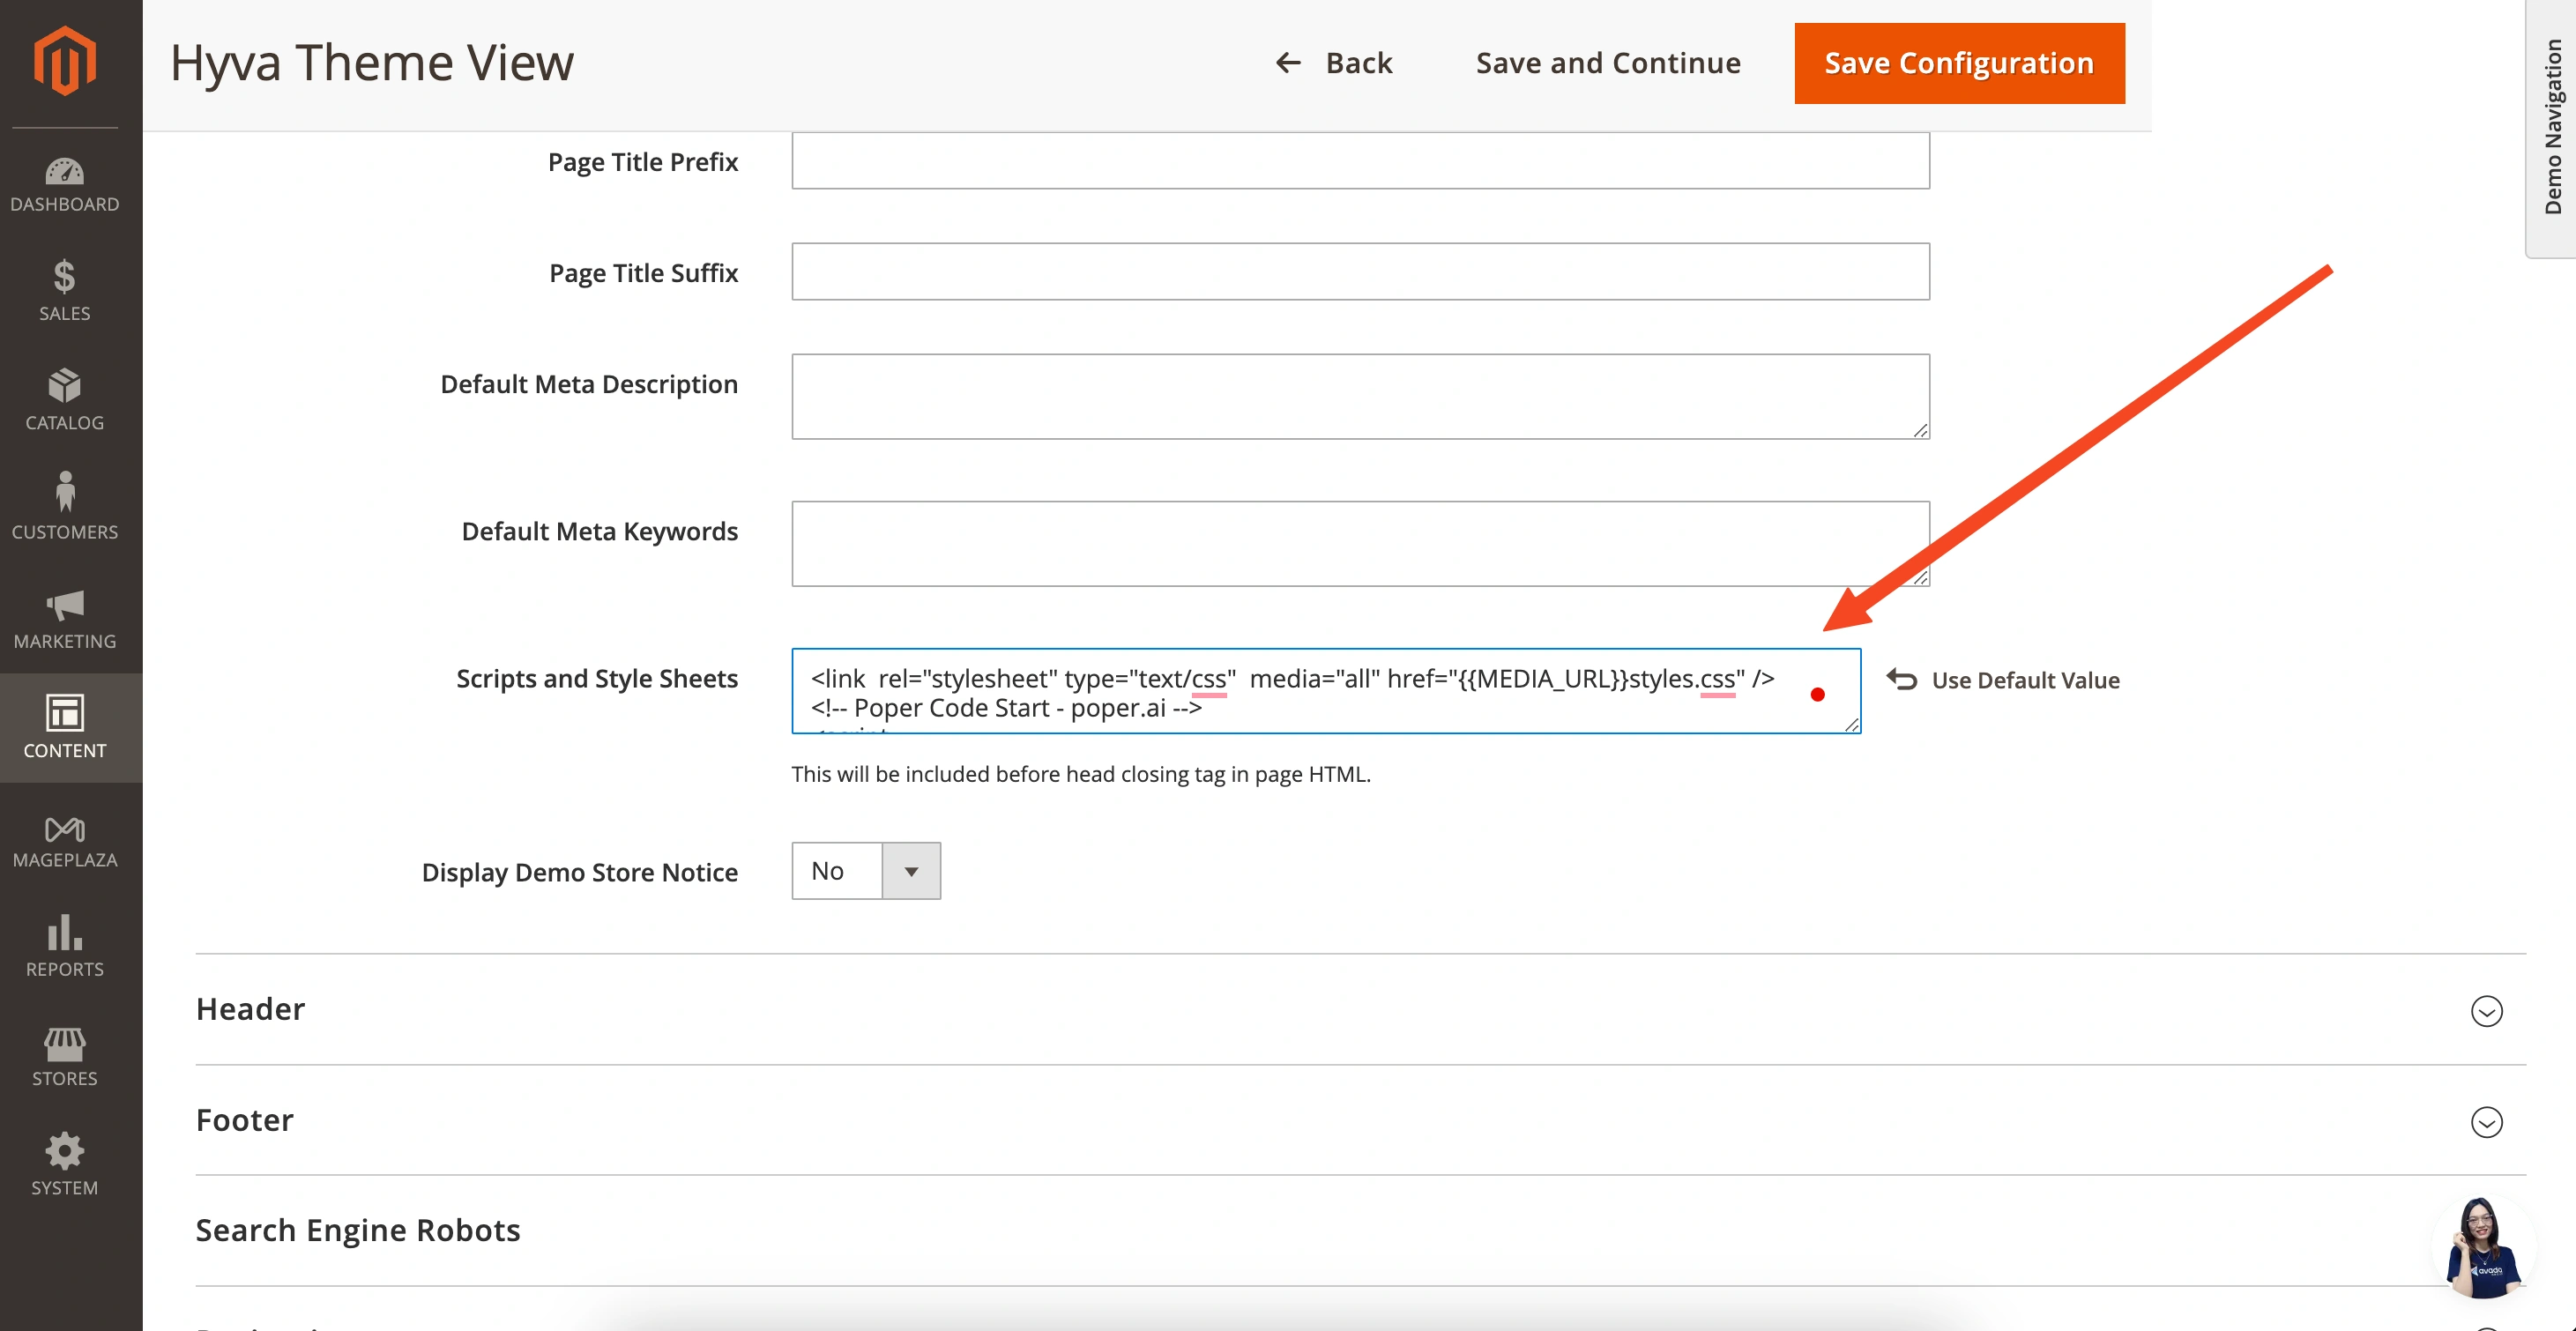
Expand the "Other Settings" tab. You'll see a box labeled "Script & Stylesheets." Paste the code you just copied from Poper into this box. After you've done so, click on the "Save Configuration" button.
10. Test Your Popup
That's it! Now, go to your Magento website and check if the popup appears correctly based on the conditions you set. If you followed all the steps, your newsletter signup popup should be up and running.
I hope this guide helps you set up your newsletter popup on Magento using Poper. If you have any further questions, feel free to reach out.


