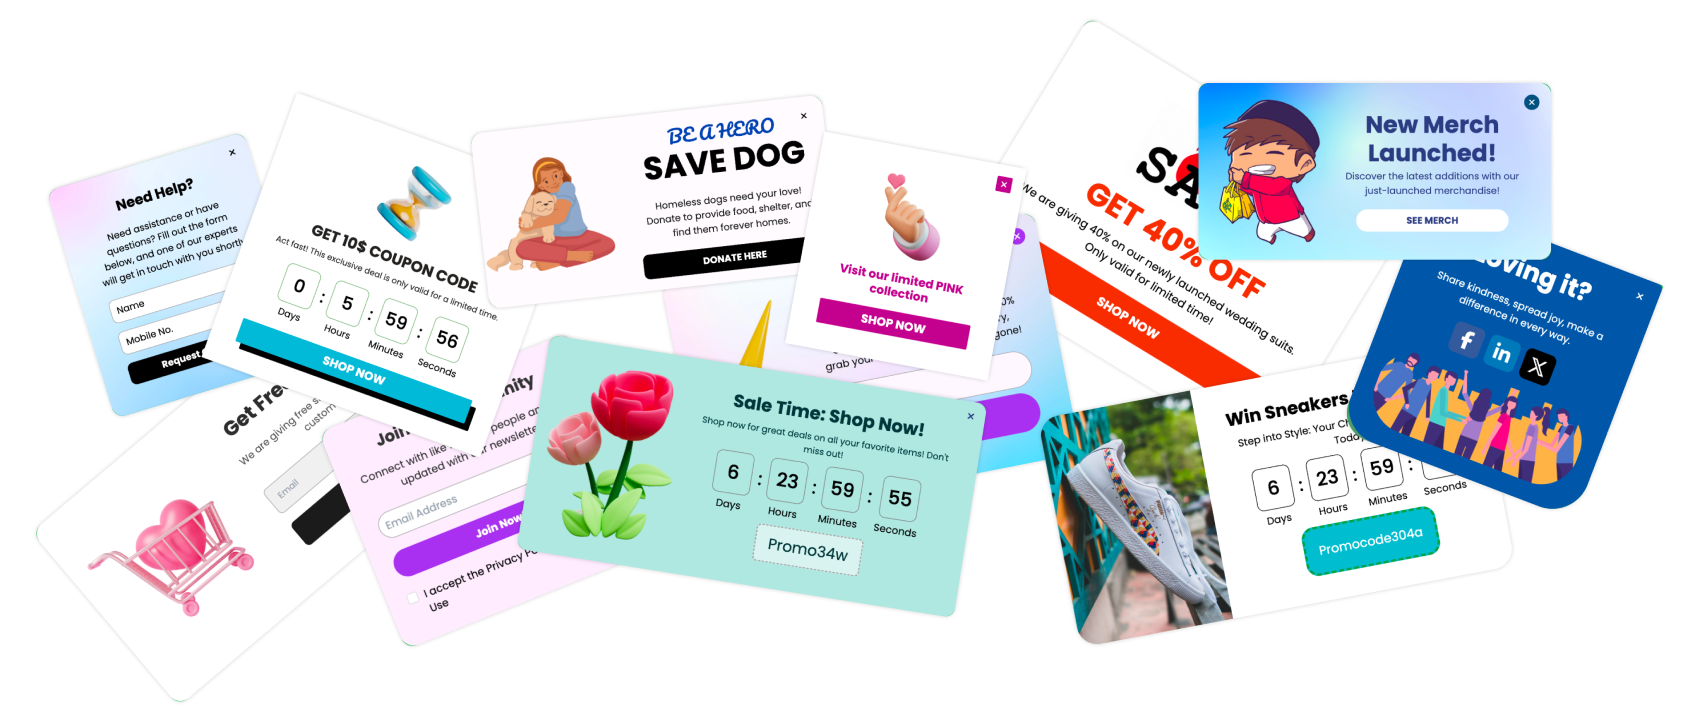
Often, we want to provide more information or actions when someone interacts with a specific element on a website. A common example is showing a popup when an image is clicked. This guide will walk you through the steps to achieve this using Poper.
1. Create a Poper Account
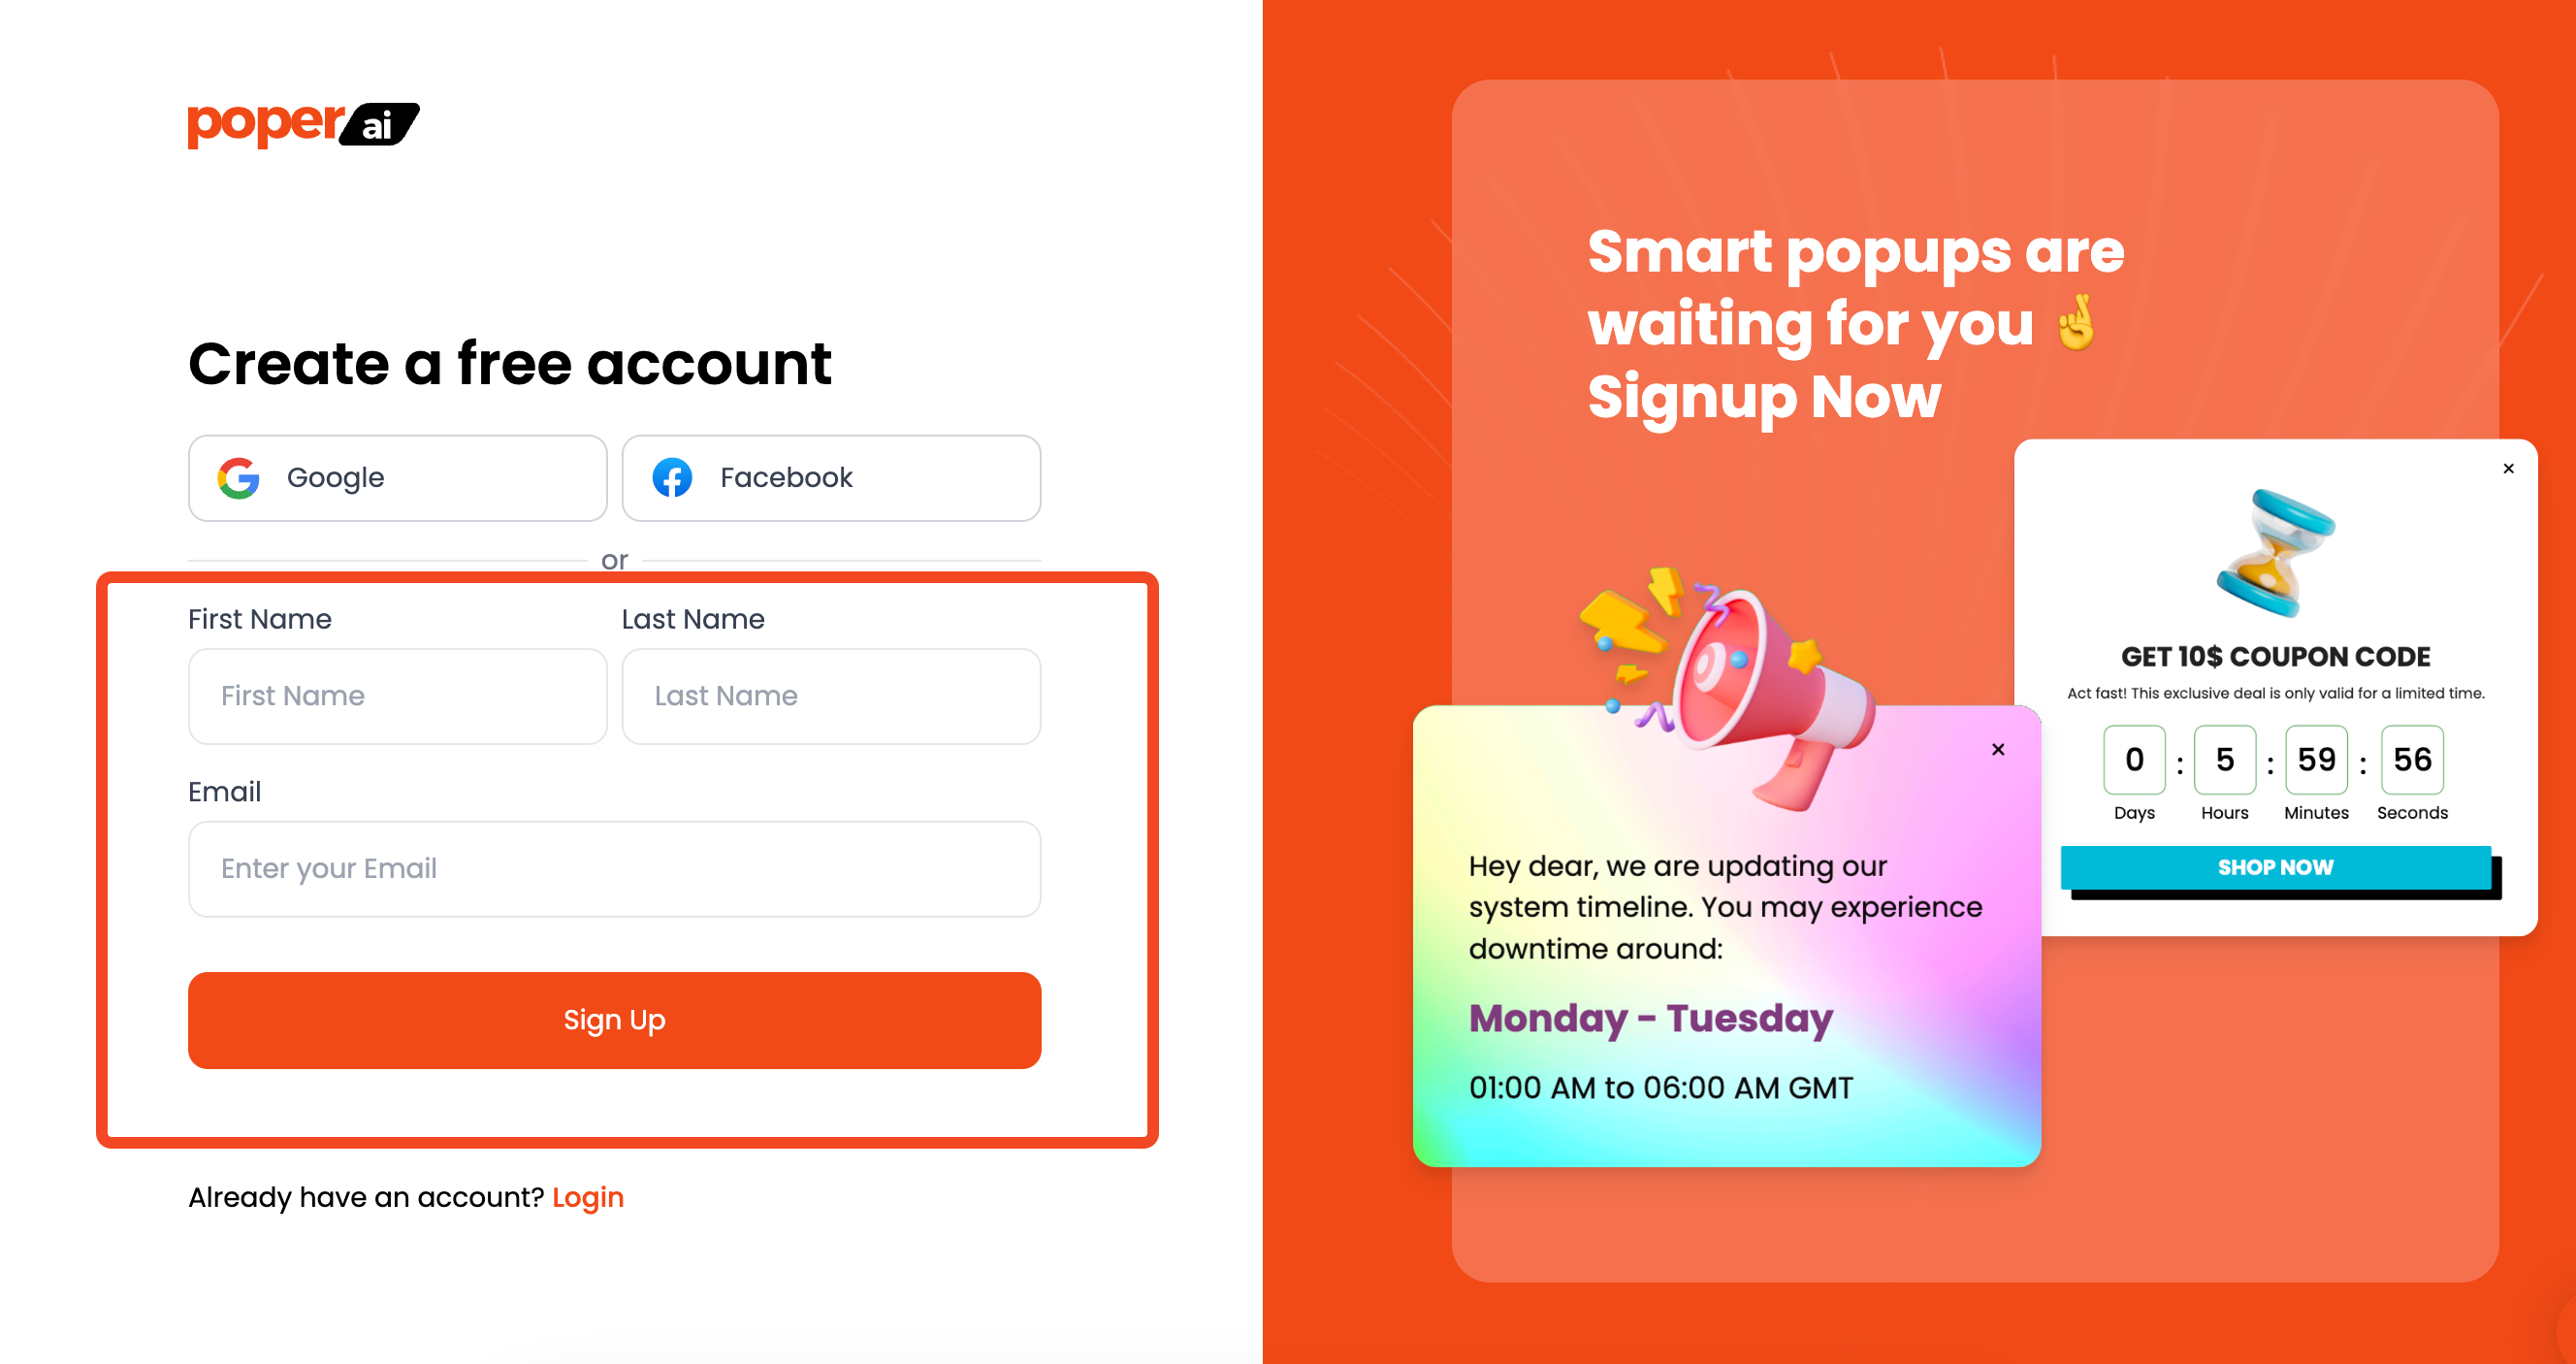
First things first, you'll need a Poper account. Go ahead and sign up for Poper. This is where you'll create and manage your popups, connect them to your website, and more.
2. Add Your Domain and Create a New Popup
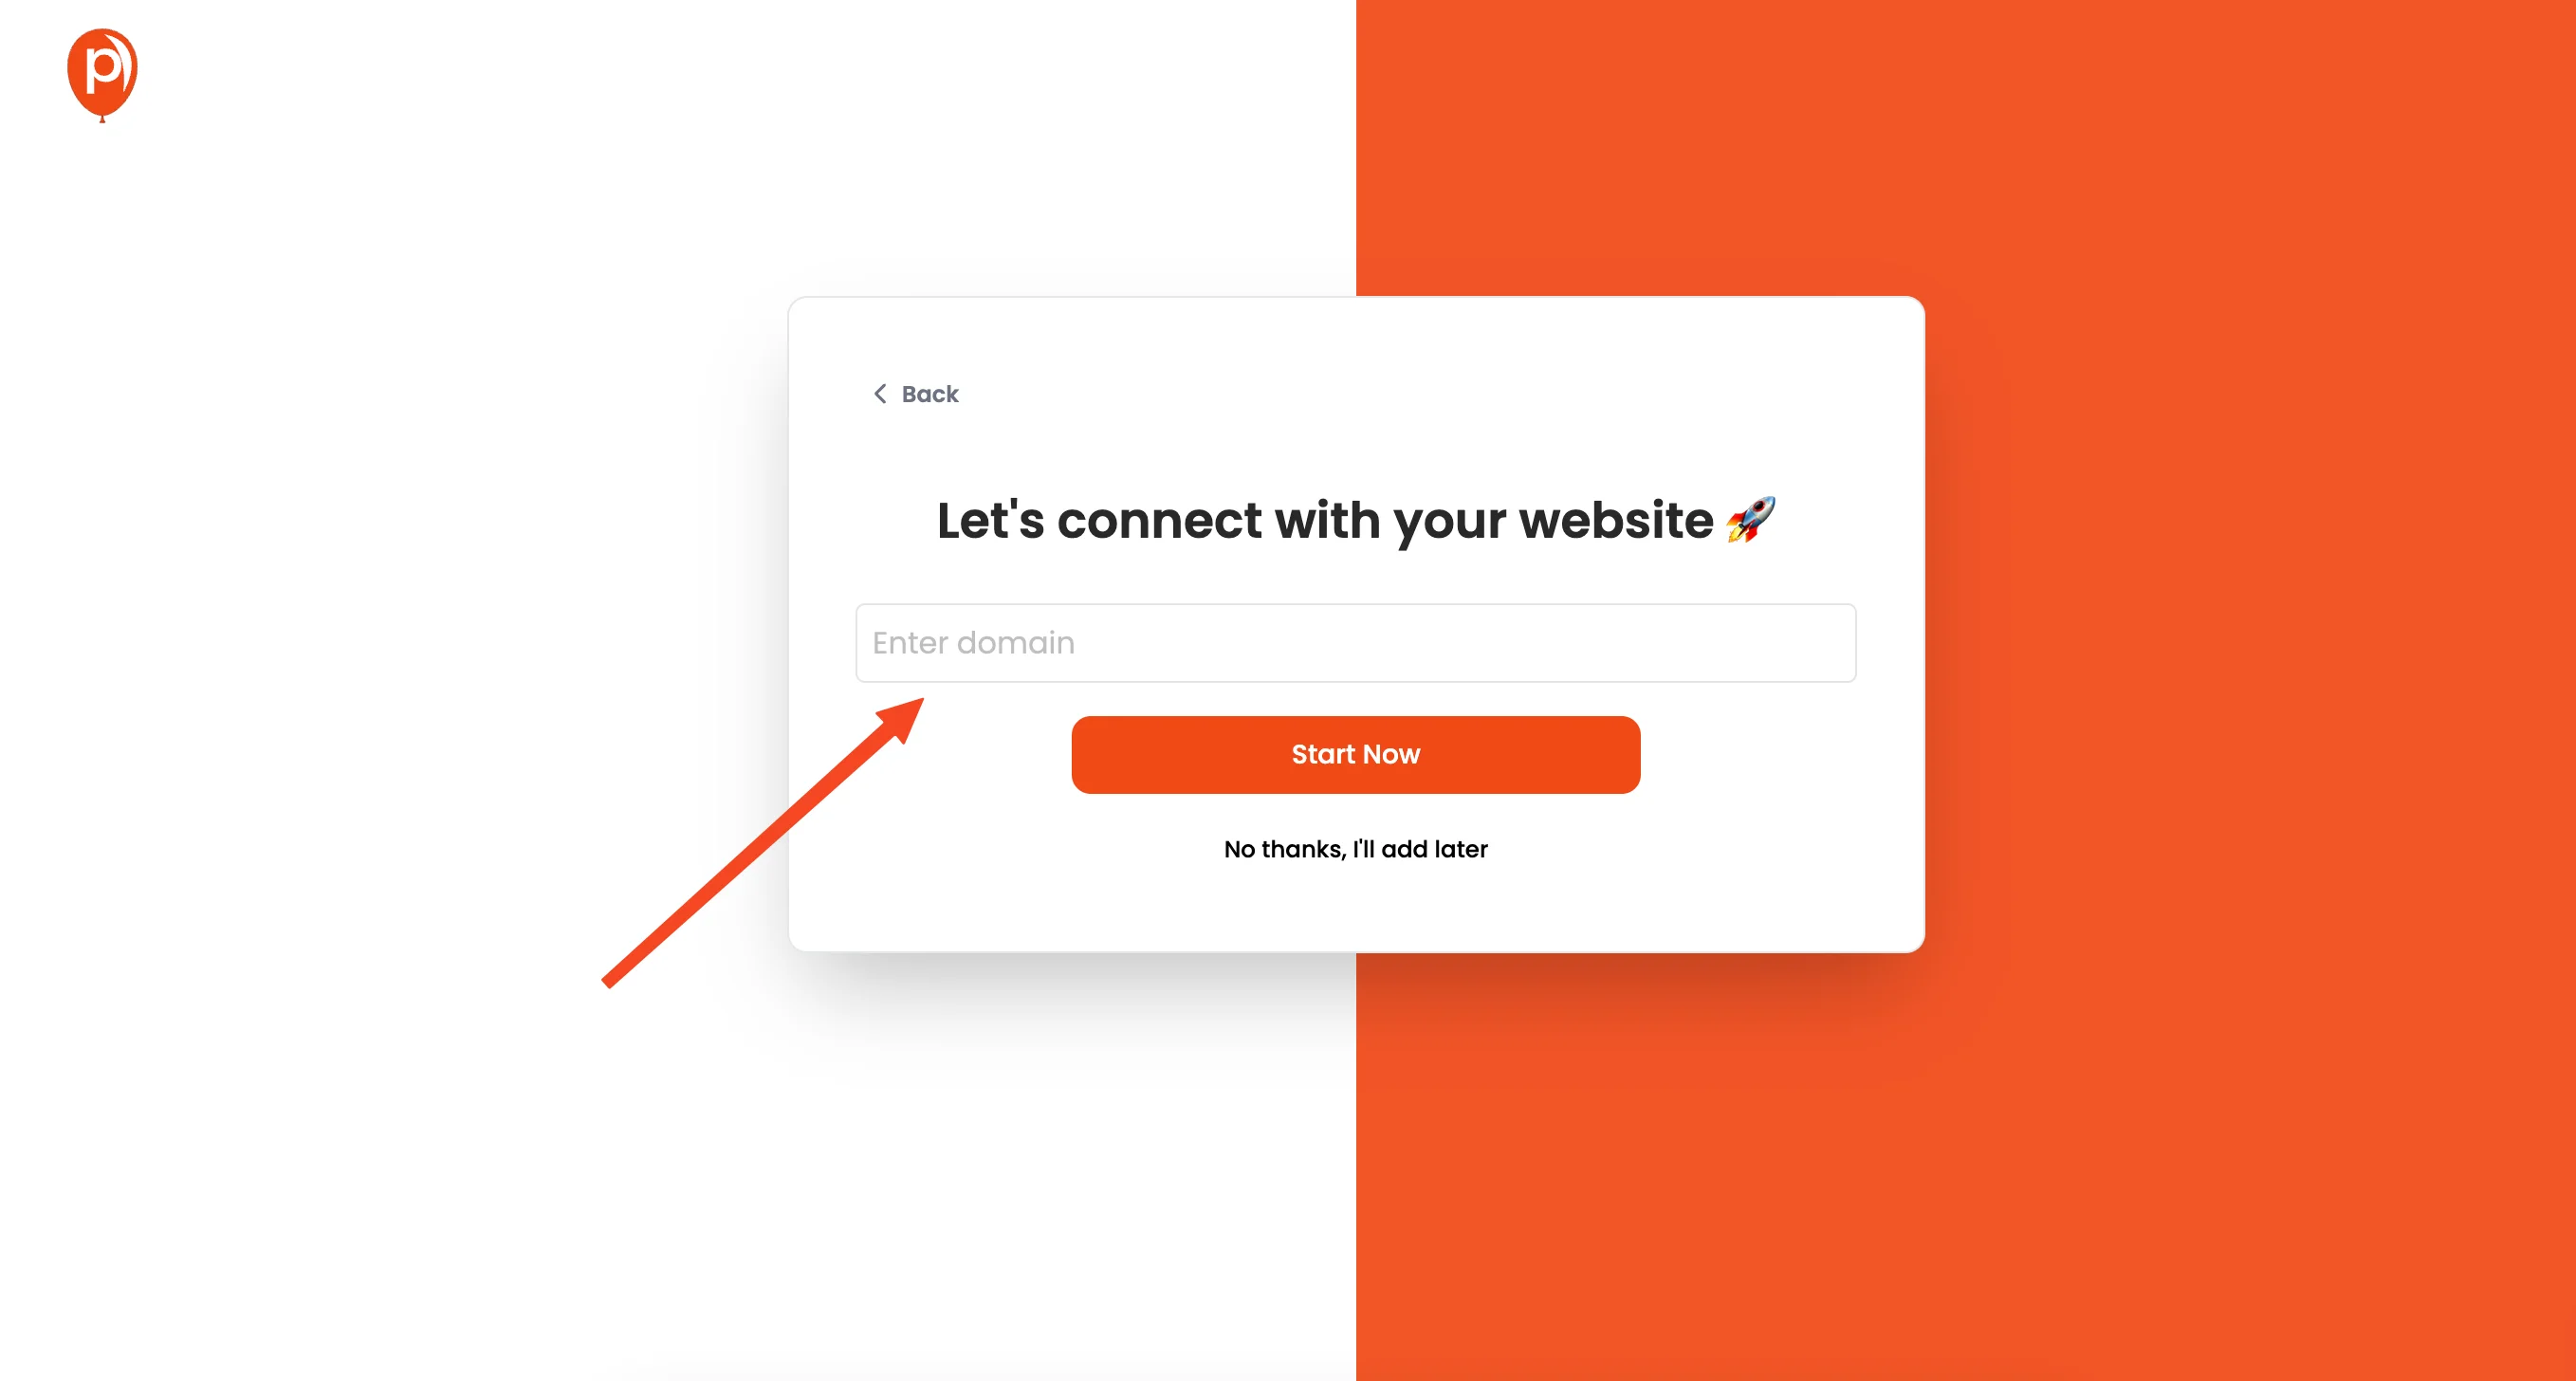
Once you're logged in, the next step is to add your website's domain to Poper. This lets Poper know where to display your creations. After that, we'll move on to creating your first popup. Click on the "New Popup" button to get started.
3. Choose a Template
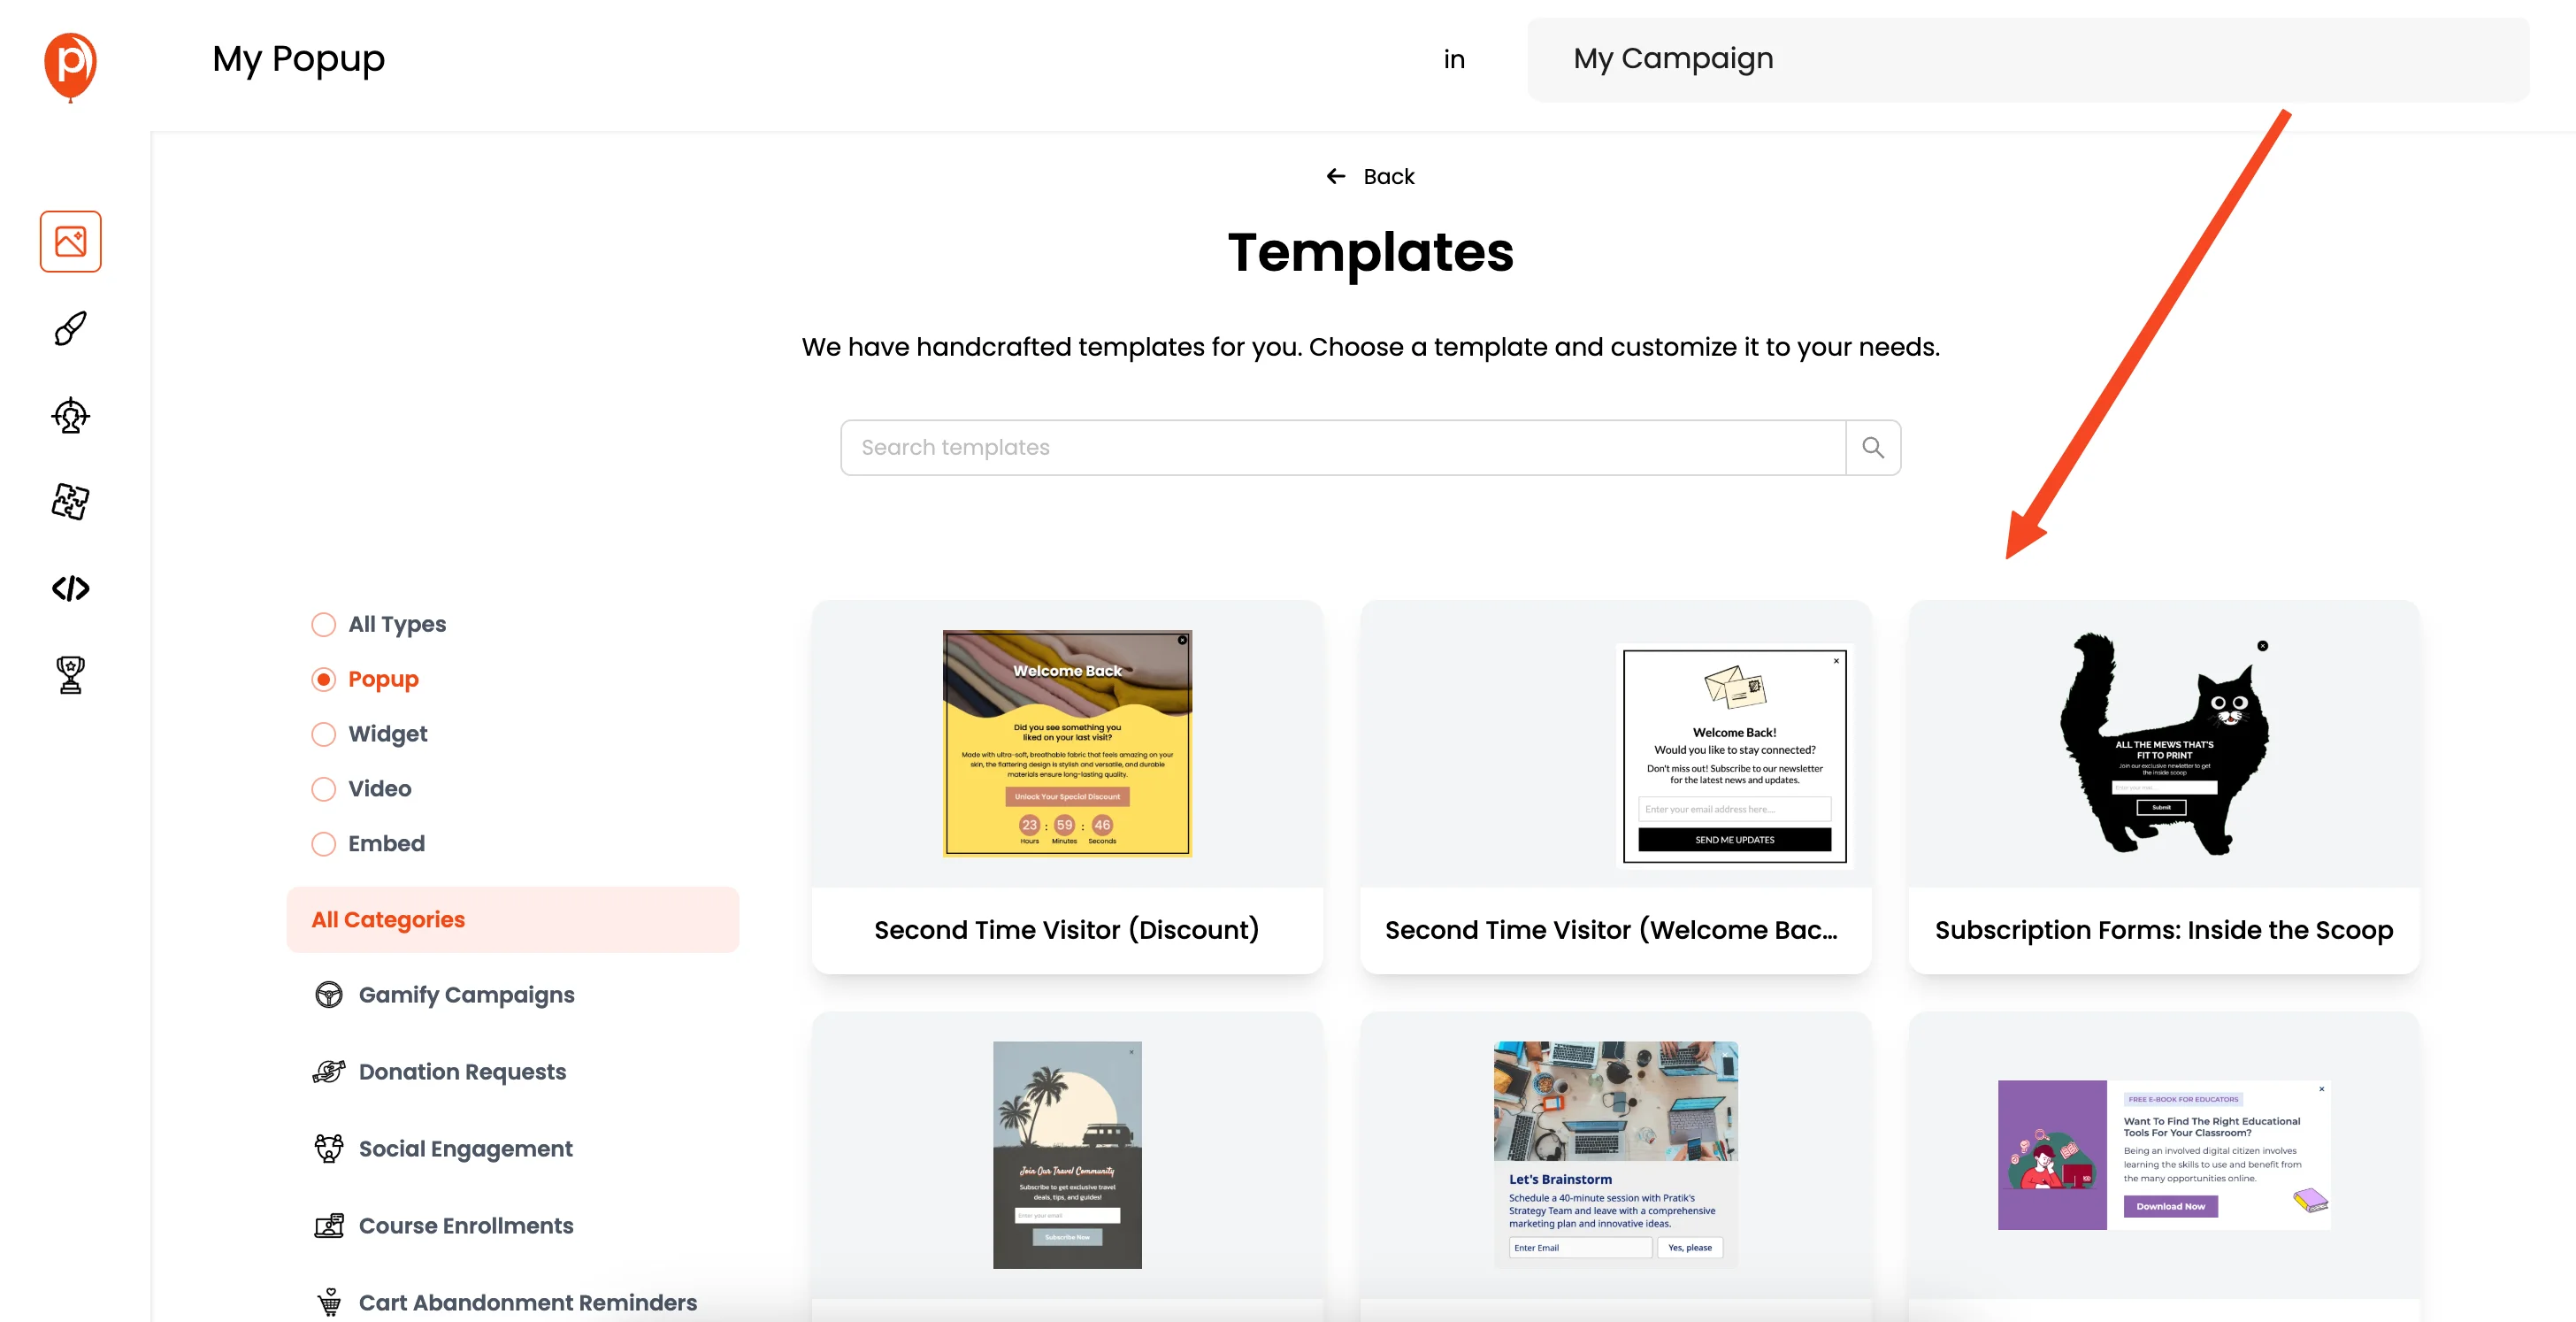
Now, you have the option to either build a popup from scratch or use one of our pre-designed templates. I highly recommend browsing the templates to see if any fit your use case. They can save you a lot of time. Many of our customers find these templates ideal for launching marketing campaigns quickly.
4. Customize Your Popup
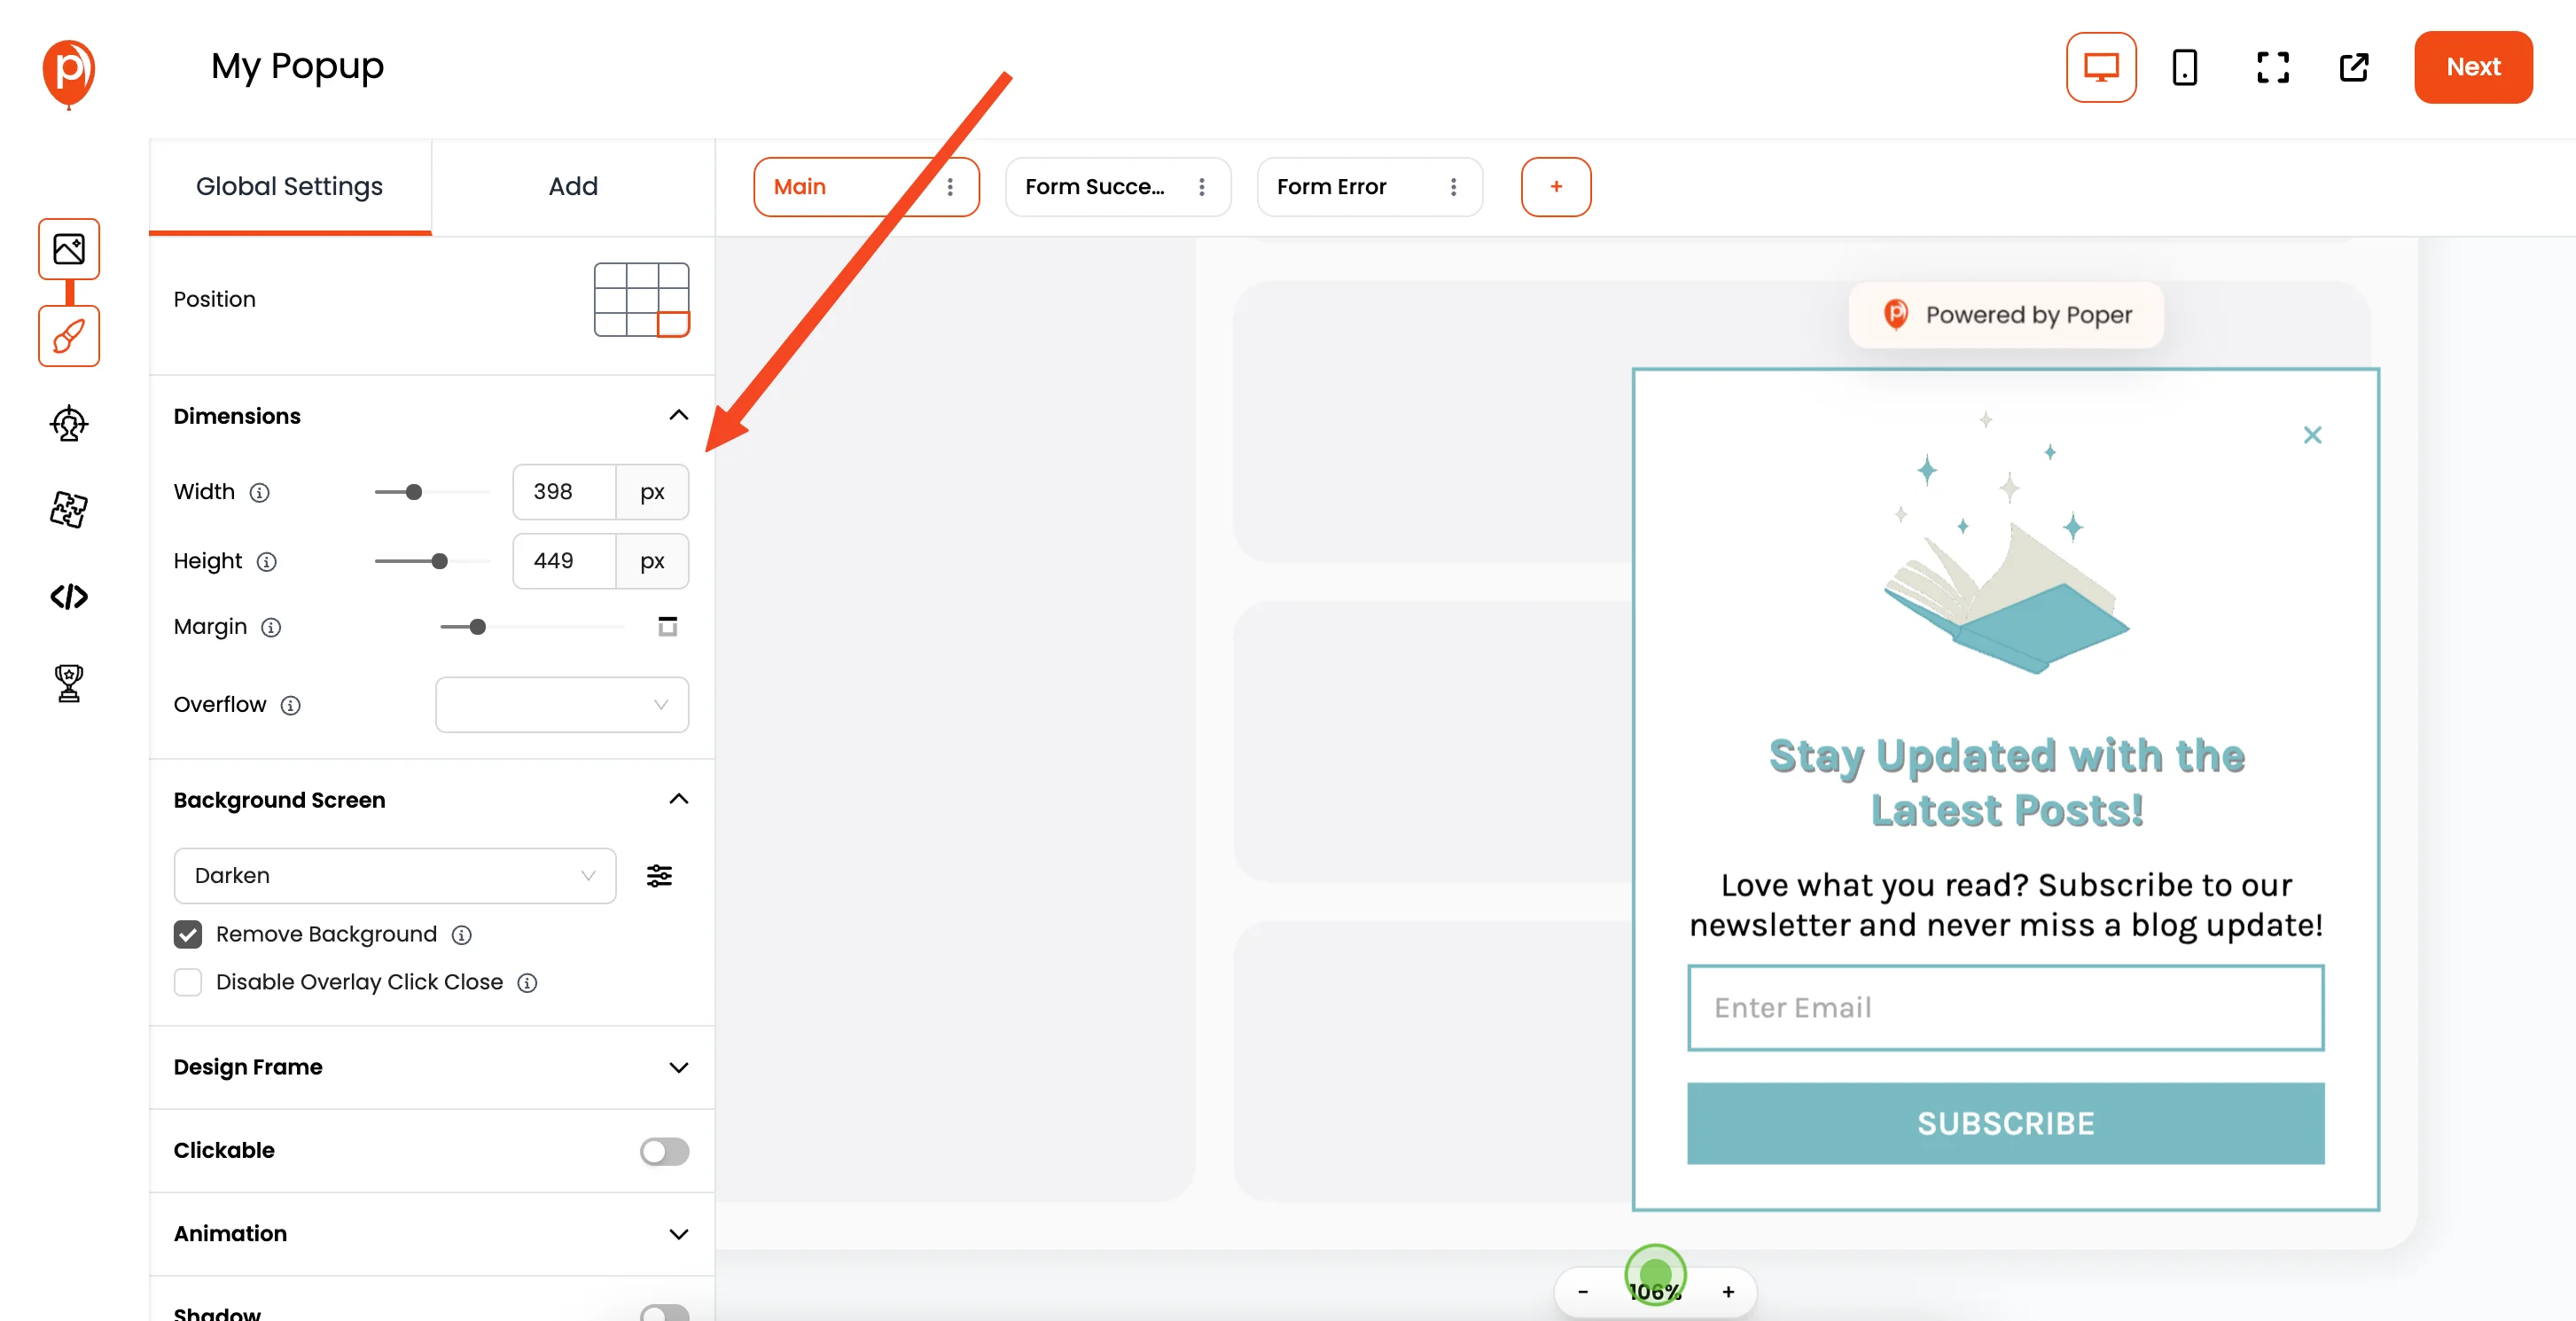
Once you've selected a template (or chosen to start from scratch), you'll be taken to the popup editor. Here, you can fully customize your popup to match your brand. You can adjust fonts, colors, images, and more. Take your time to make it look exactly how you want it.
5. Move to the Display Conditions
After you’re satisfied with how your popup looks, click “Next”. This takes you to the Display Conditions page. Here, we can define how and when the popup appears.
6. Configure the "On Click" Trigger
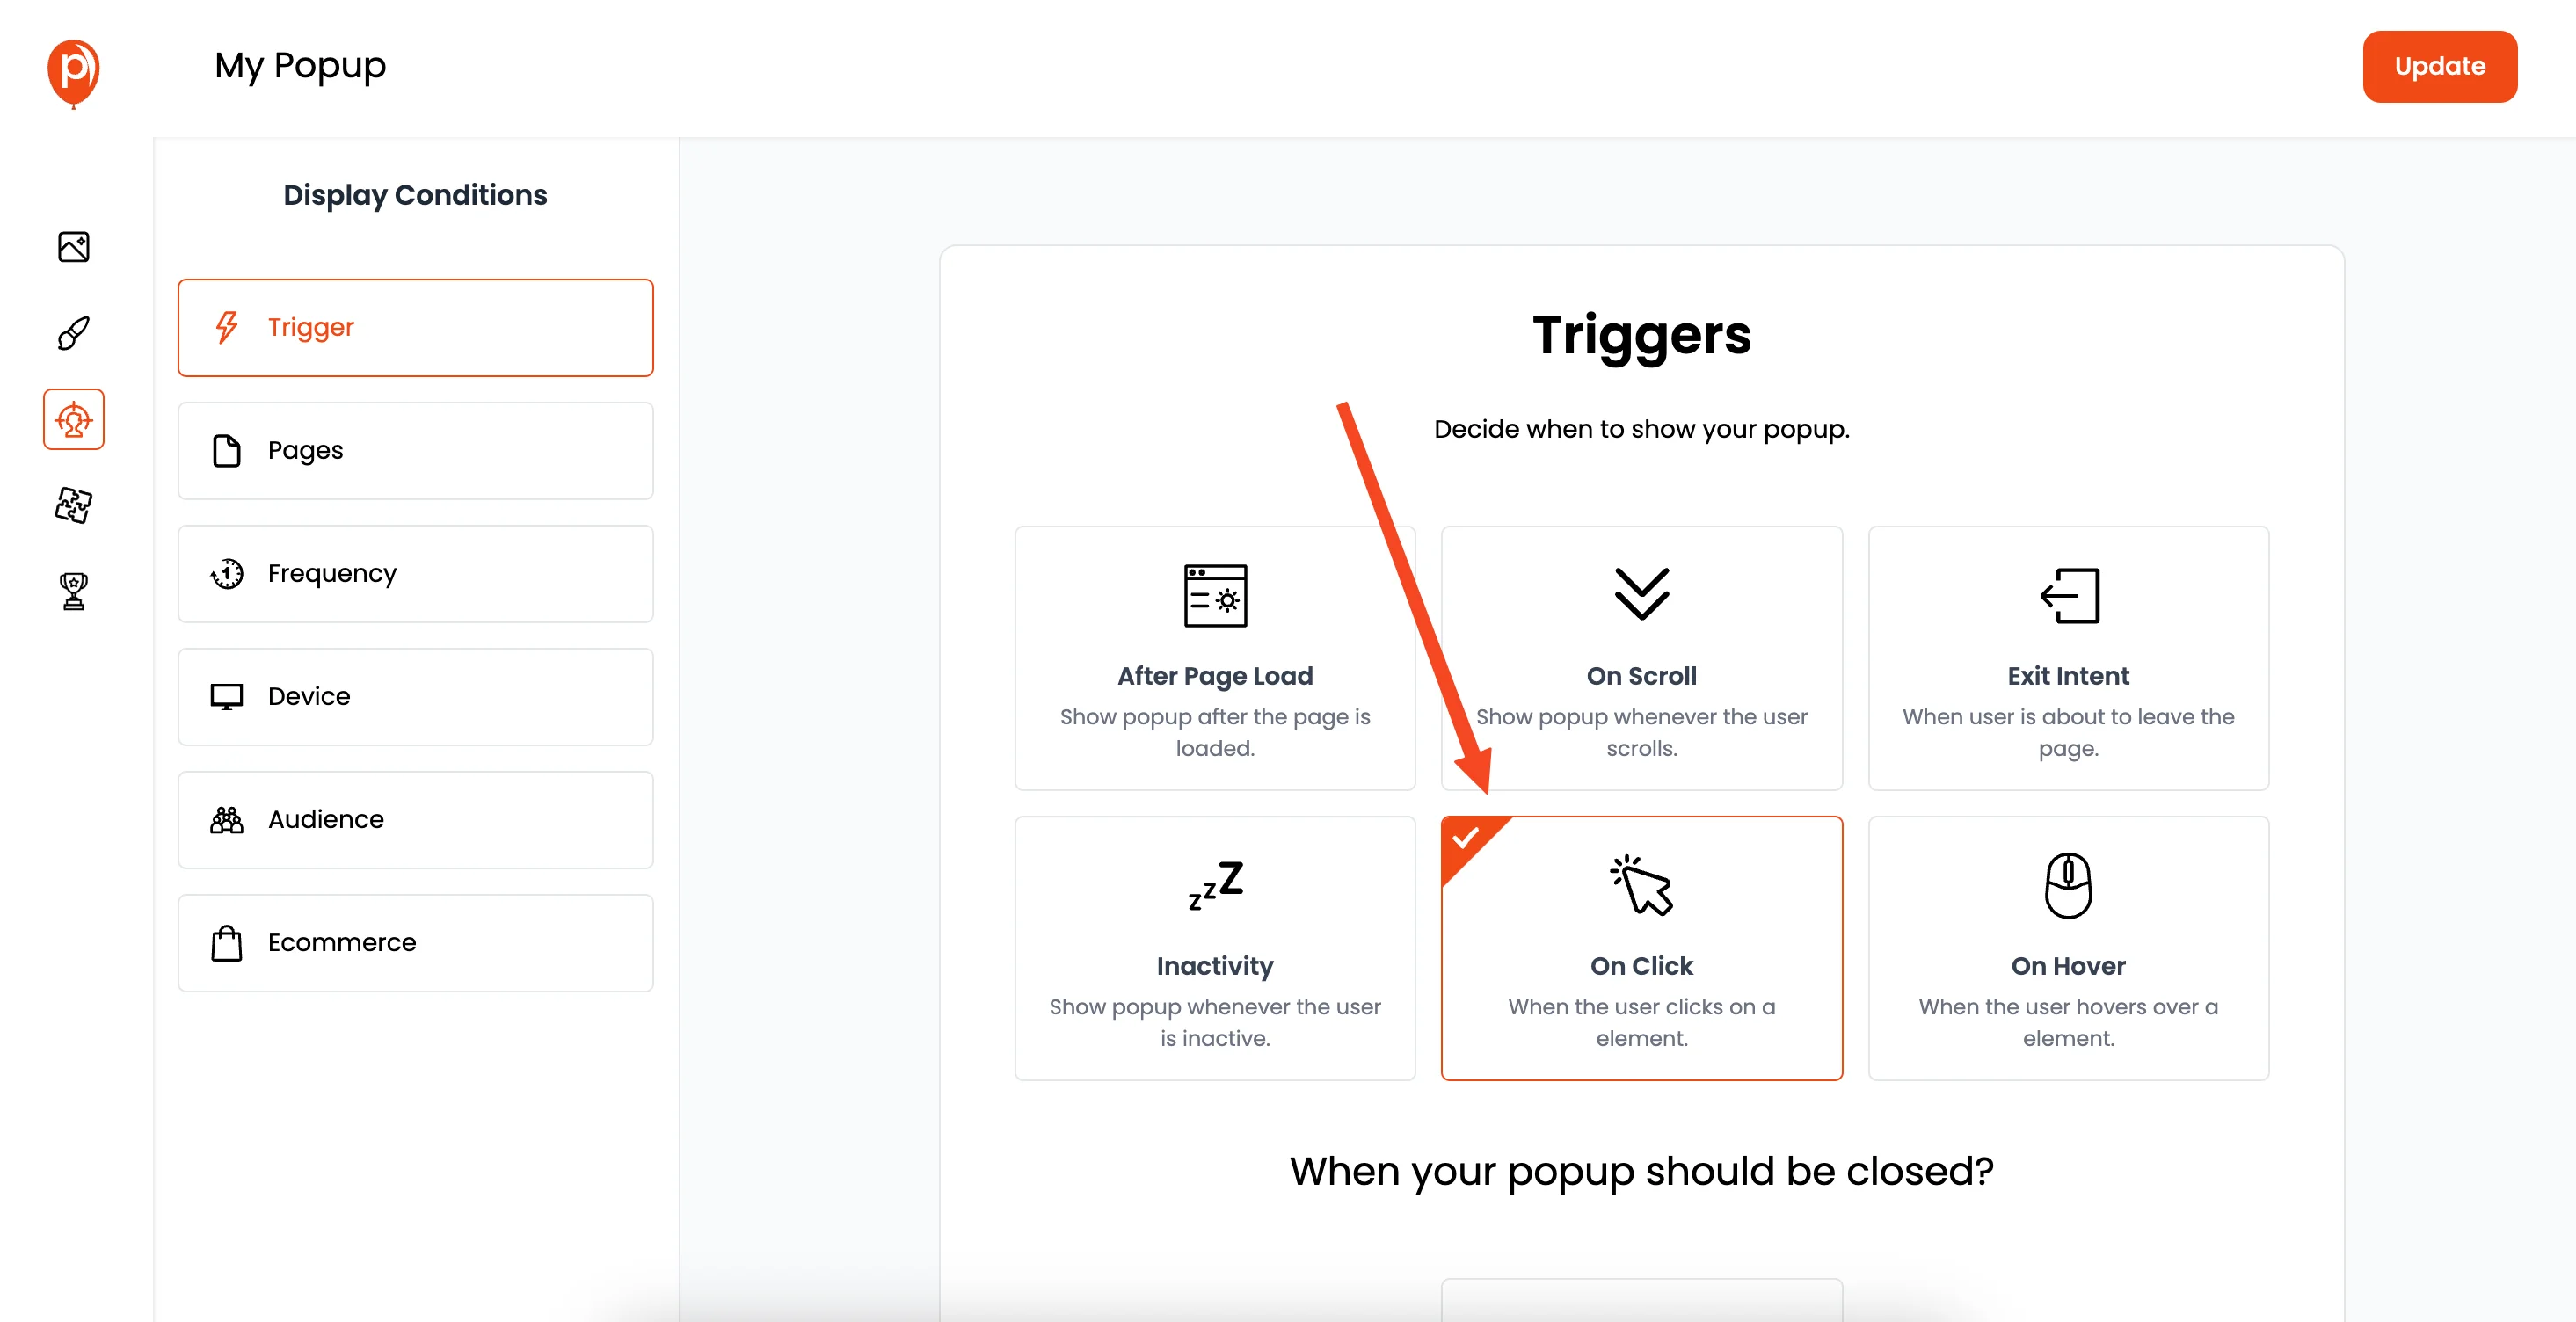
In the Display Conditions page, under the Triggers tab, you'll find the "On Click" option. Select this, and now you need to specify which element on your website, when clicked, will trigger the popup.
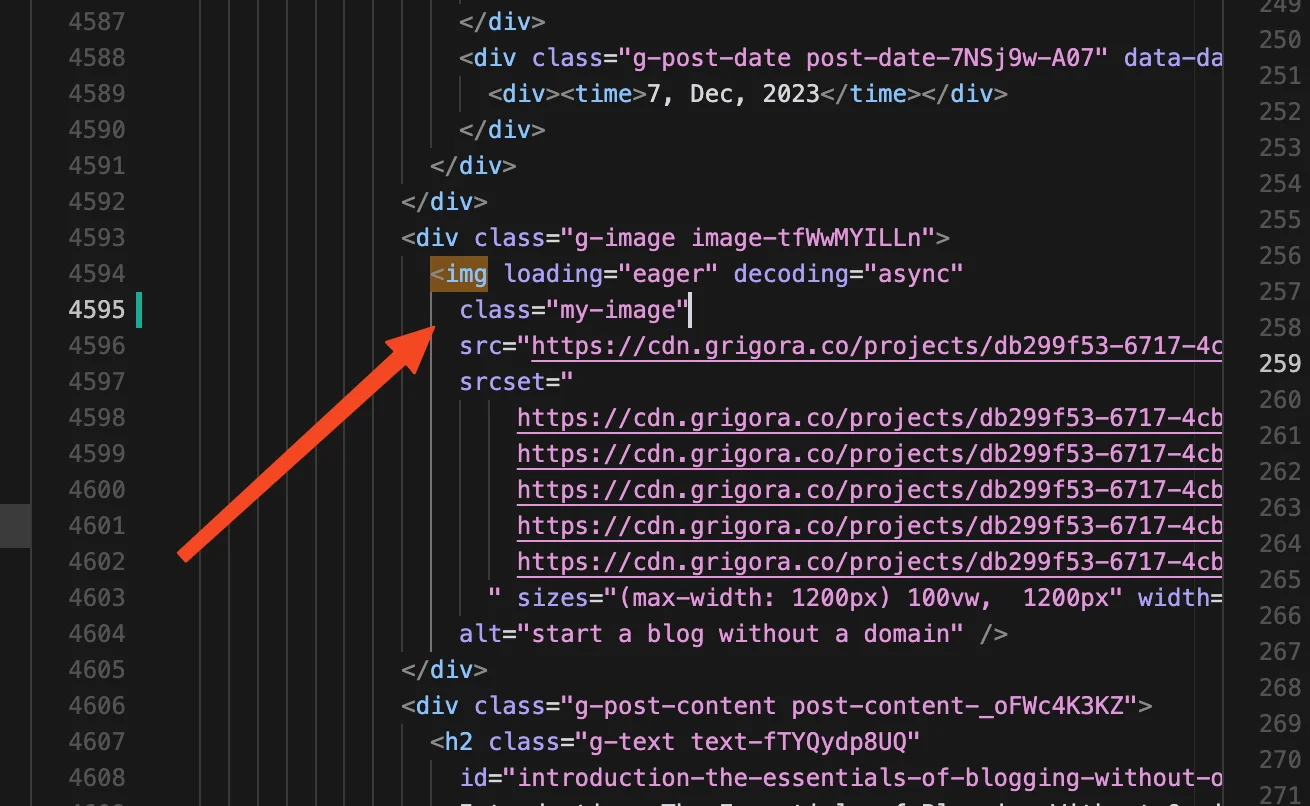
This is done with a CSS selector. For example, if your image has a CSS class name of "my-image," you would enter .my-image in the field.
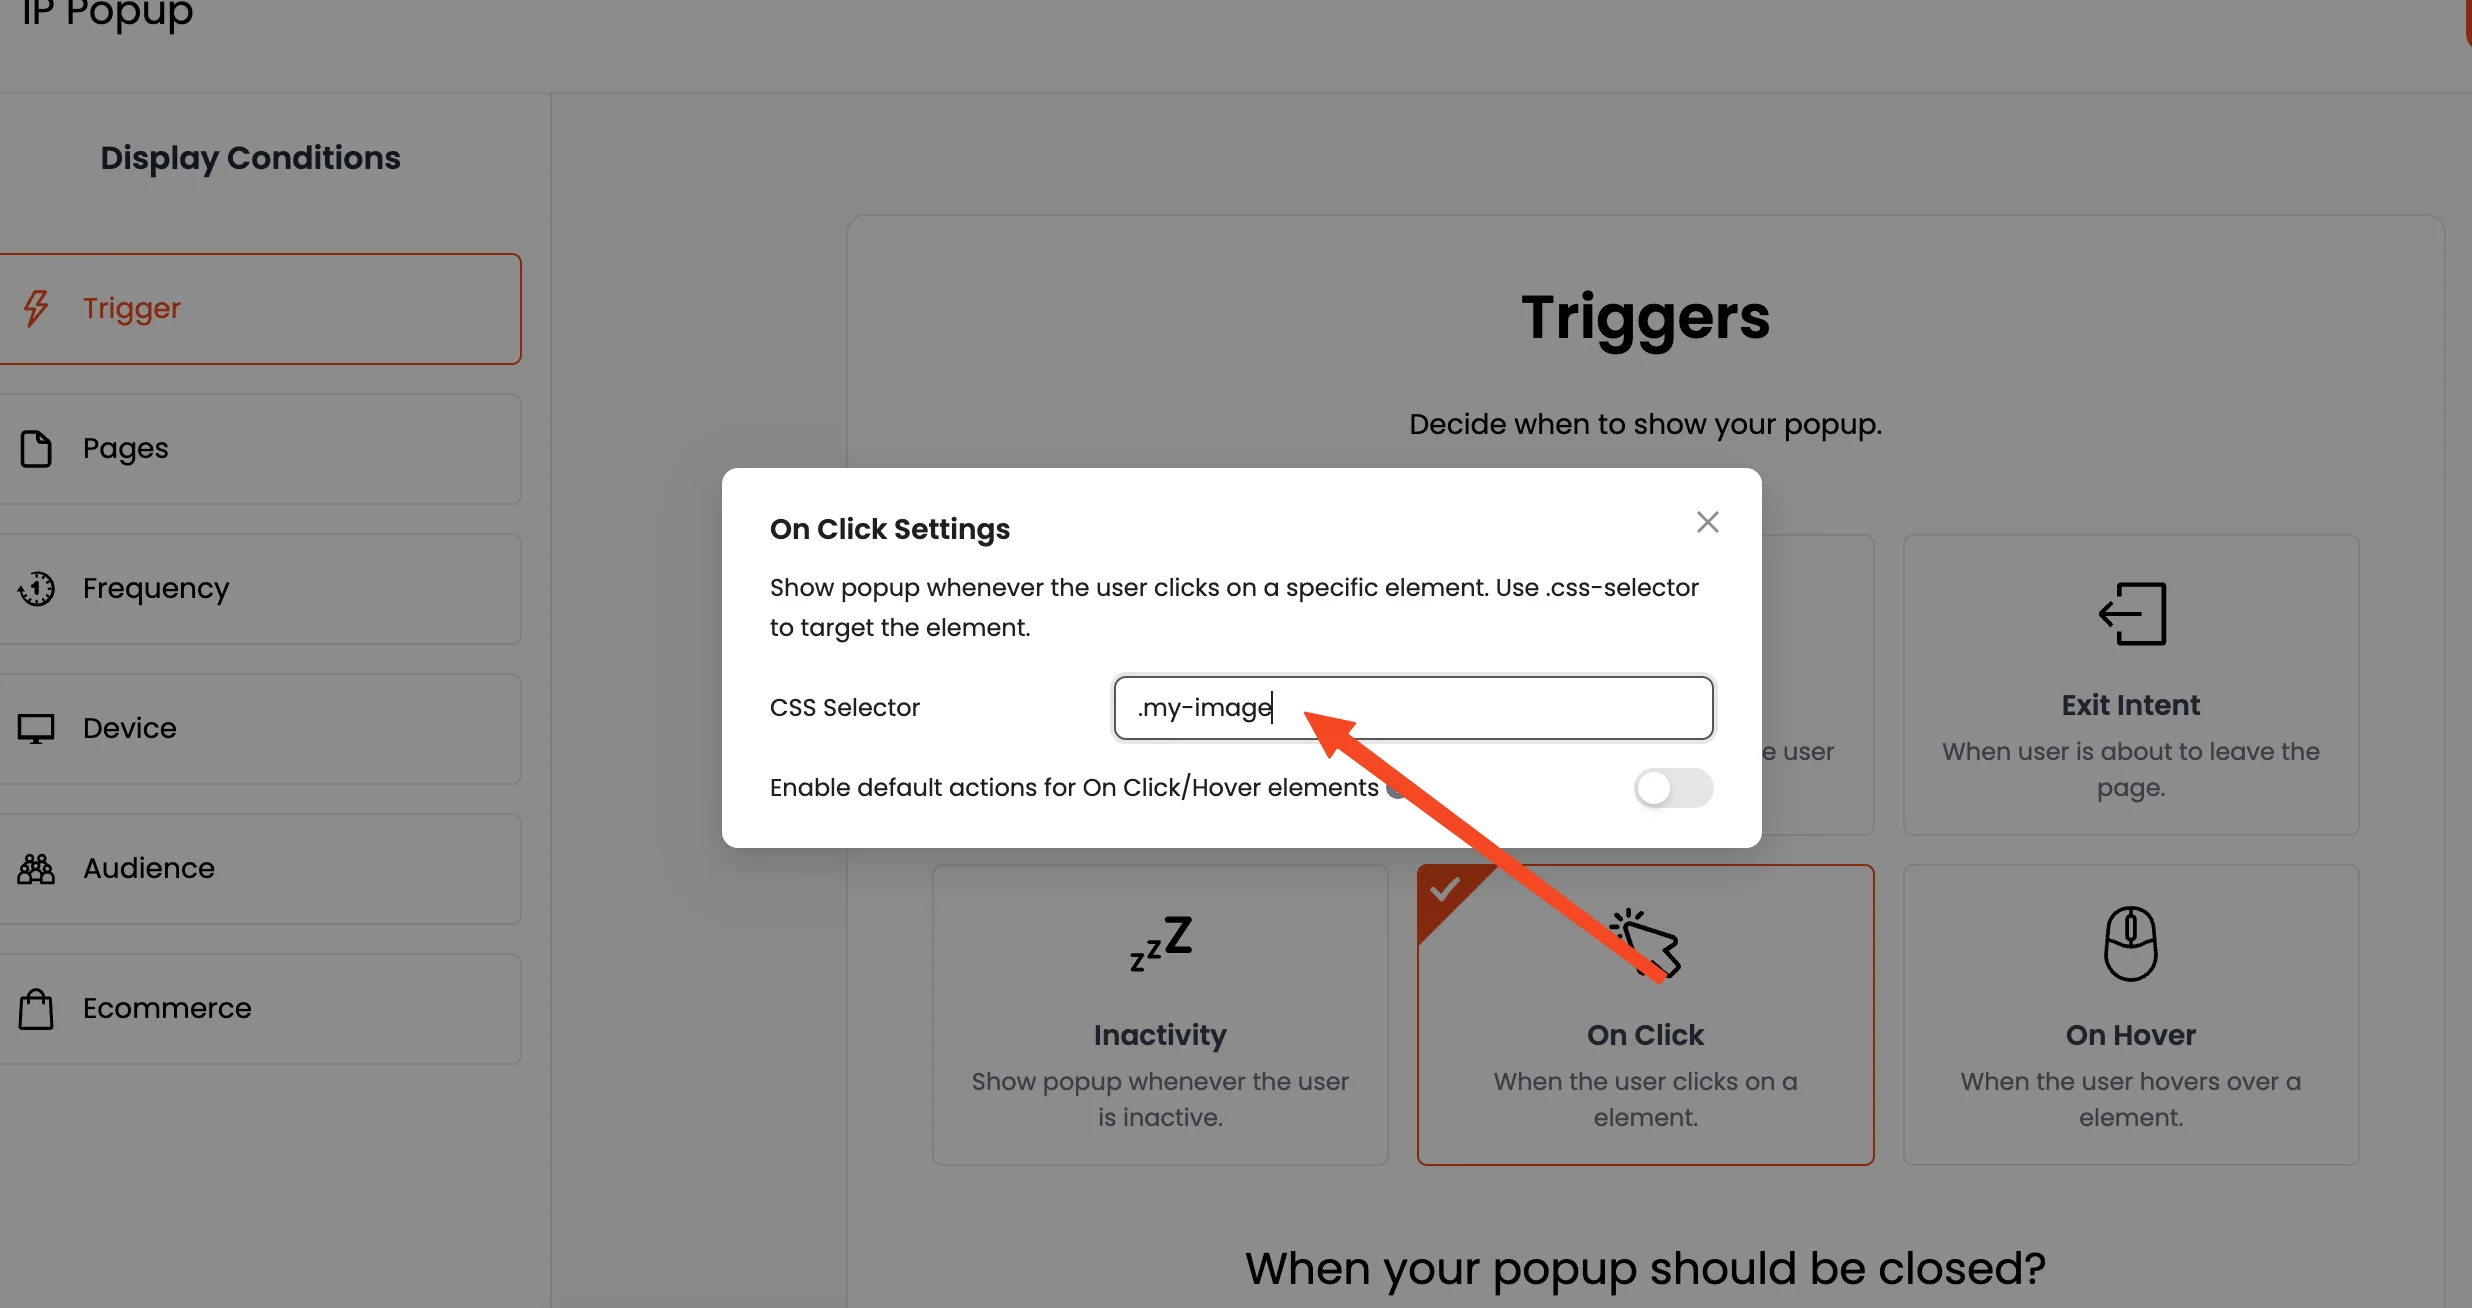
You can also get more specific by defining target pages, audience demographics, and more to ensure the popup is only seen by the right people.
7. Connect to Integrations
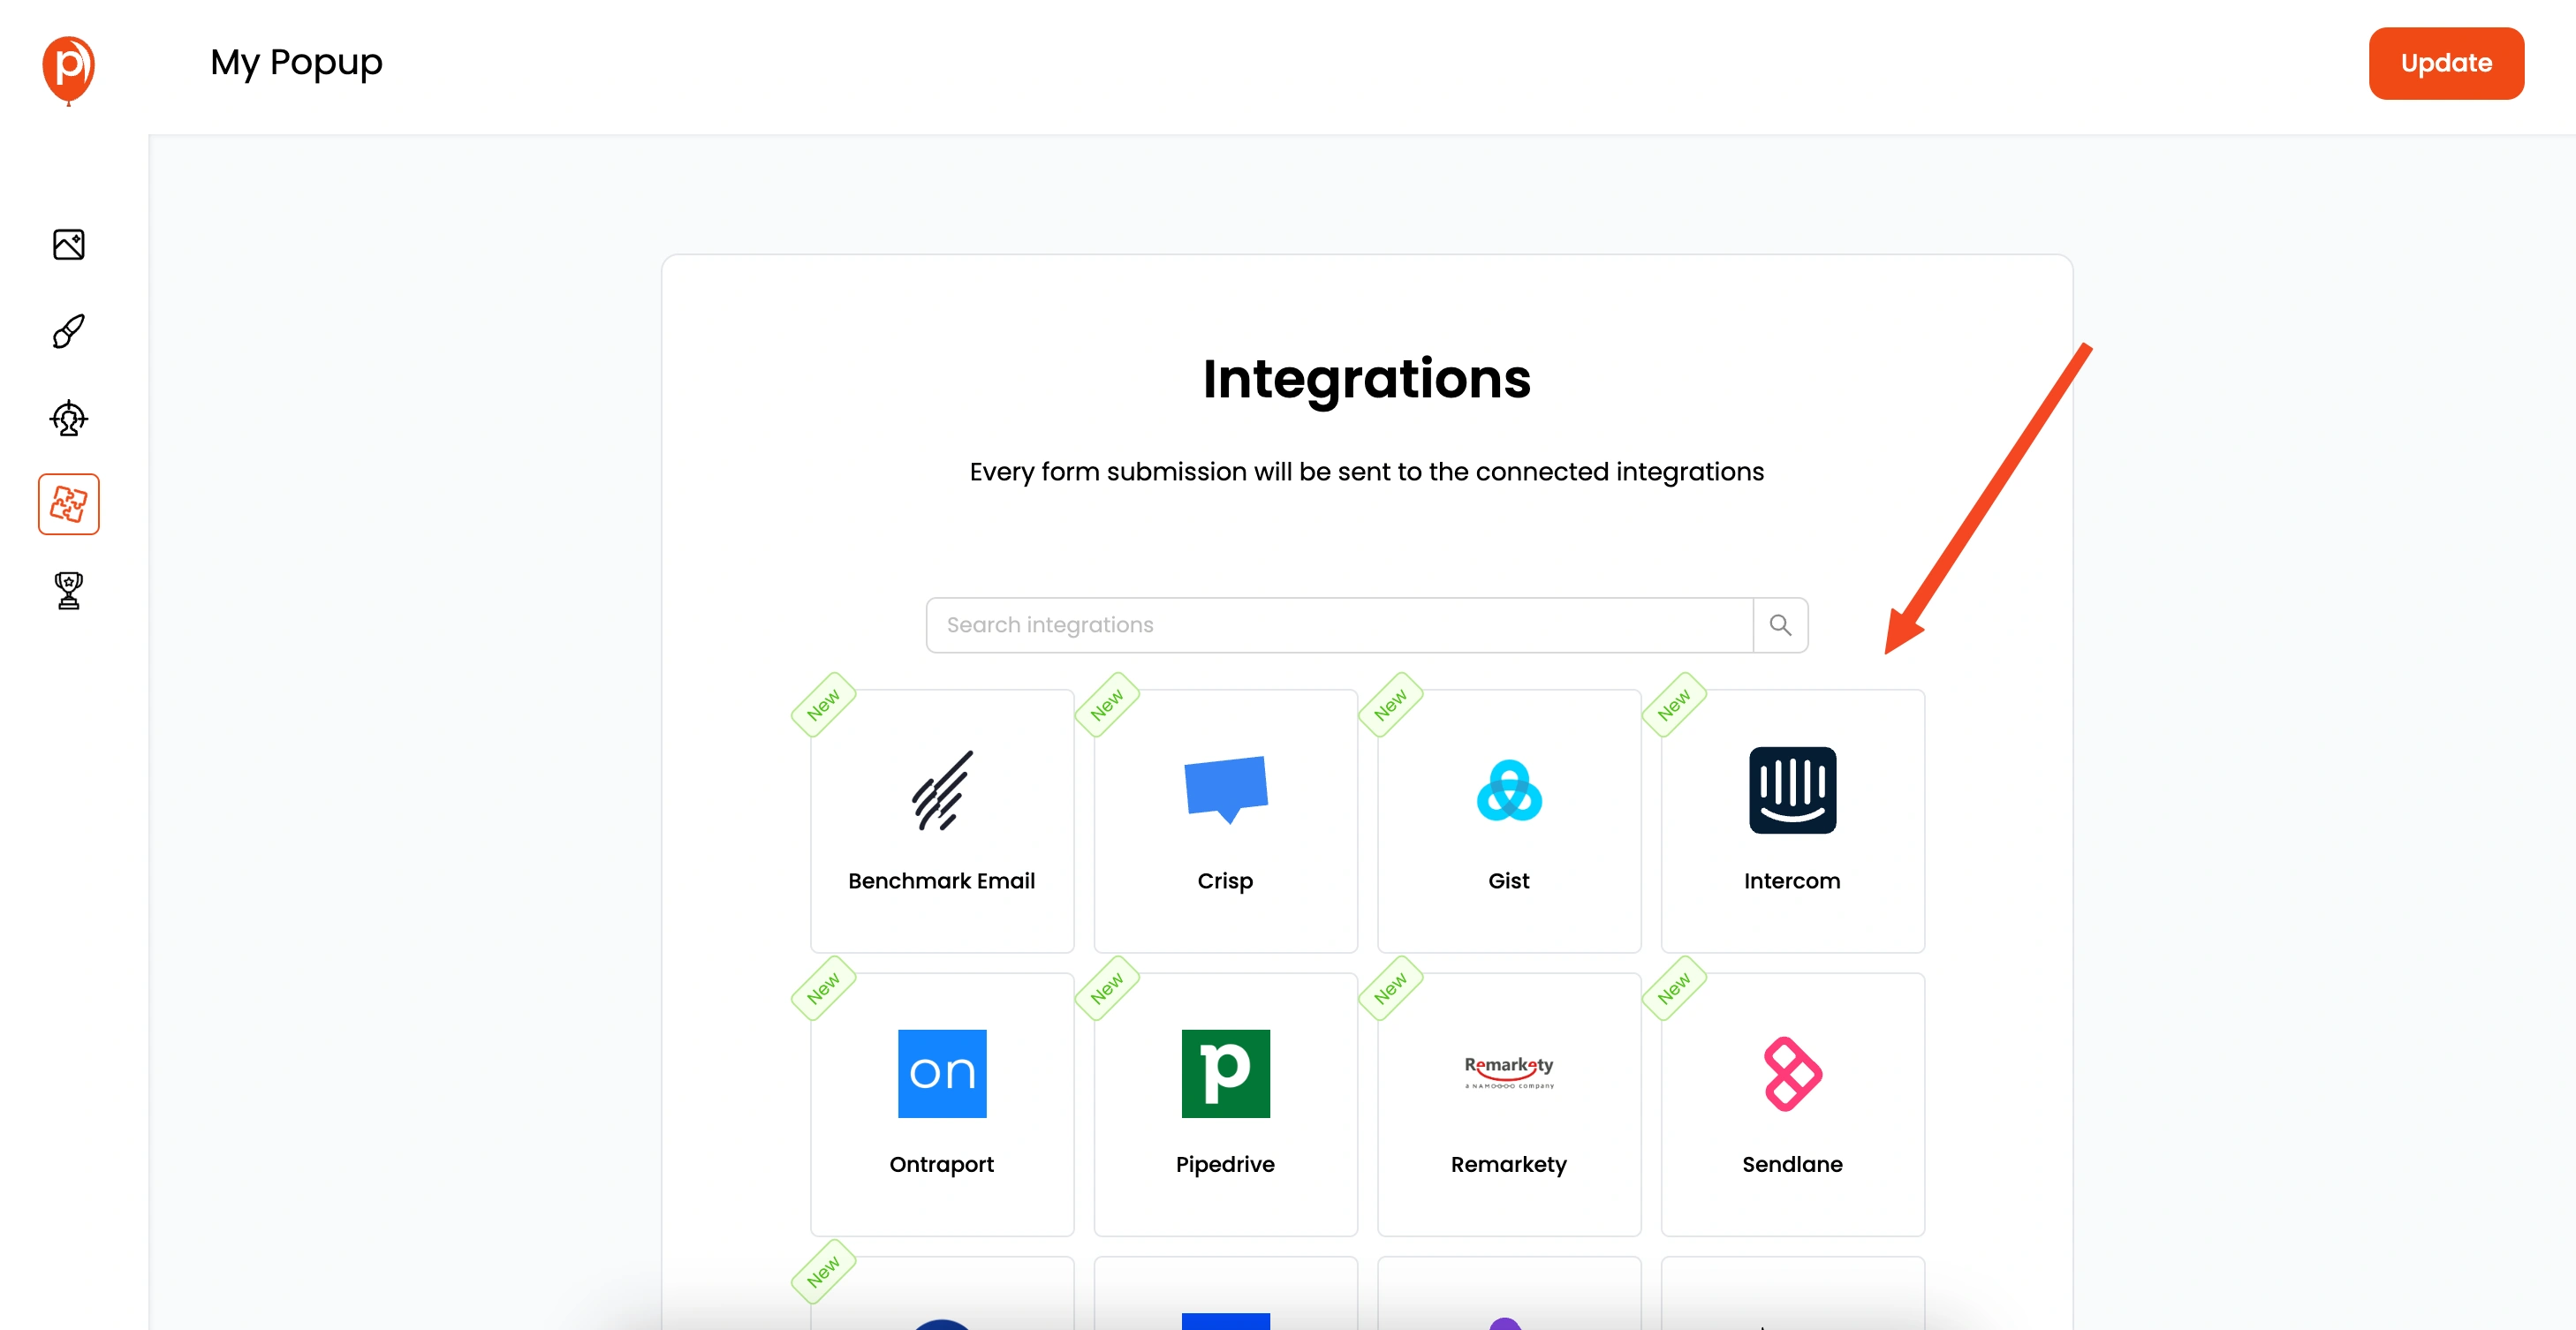
Click "Next" again to move to the integrations page. Here you can connect Poper to various marketing platforms, such as email marketing tools like Omnisend, Mailchimp, Klaviyo, and more. Integrate these tools so the data collected by your popup can be seamlessly passed to your favourite platforms.
8. Save and Publish Your Popup
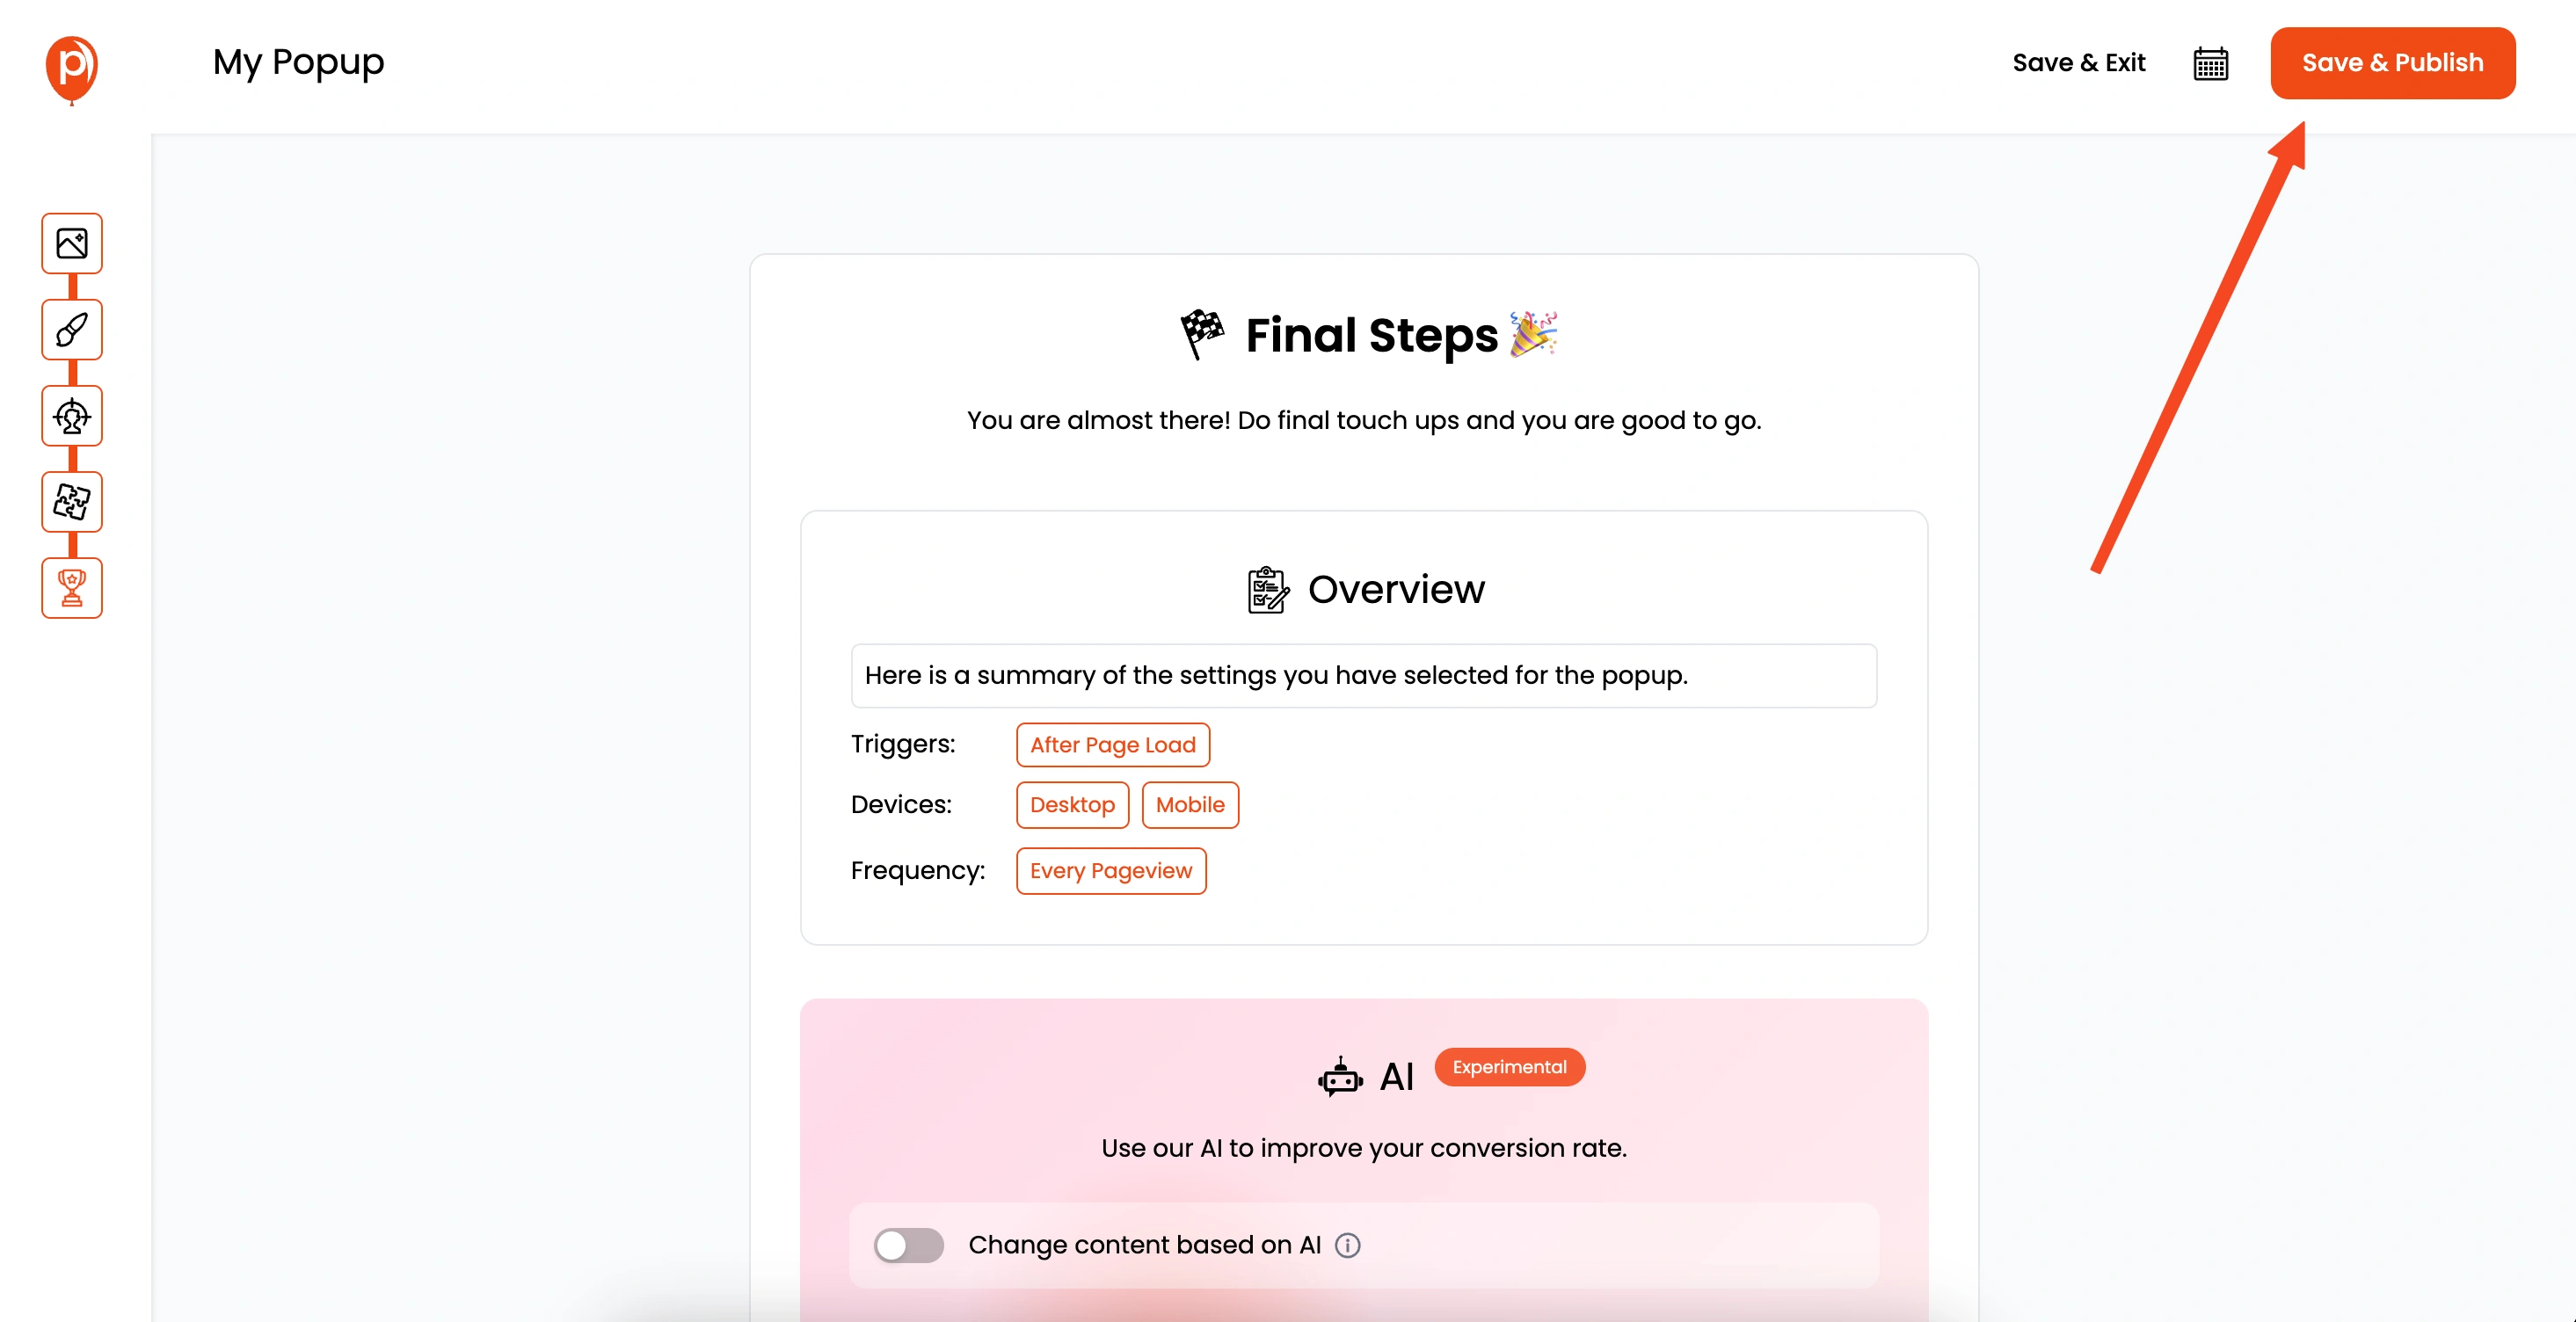
After setting up your integrations, it's time to save and publish the popup. Click the respective buttons, and now your popup is ready to be used on your website!
9. Get Your Poper Code
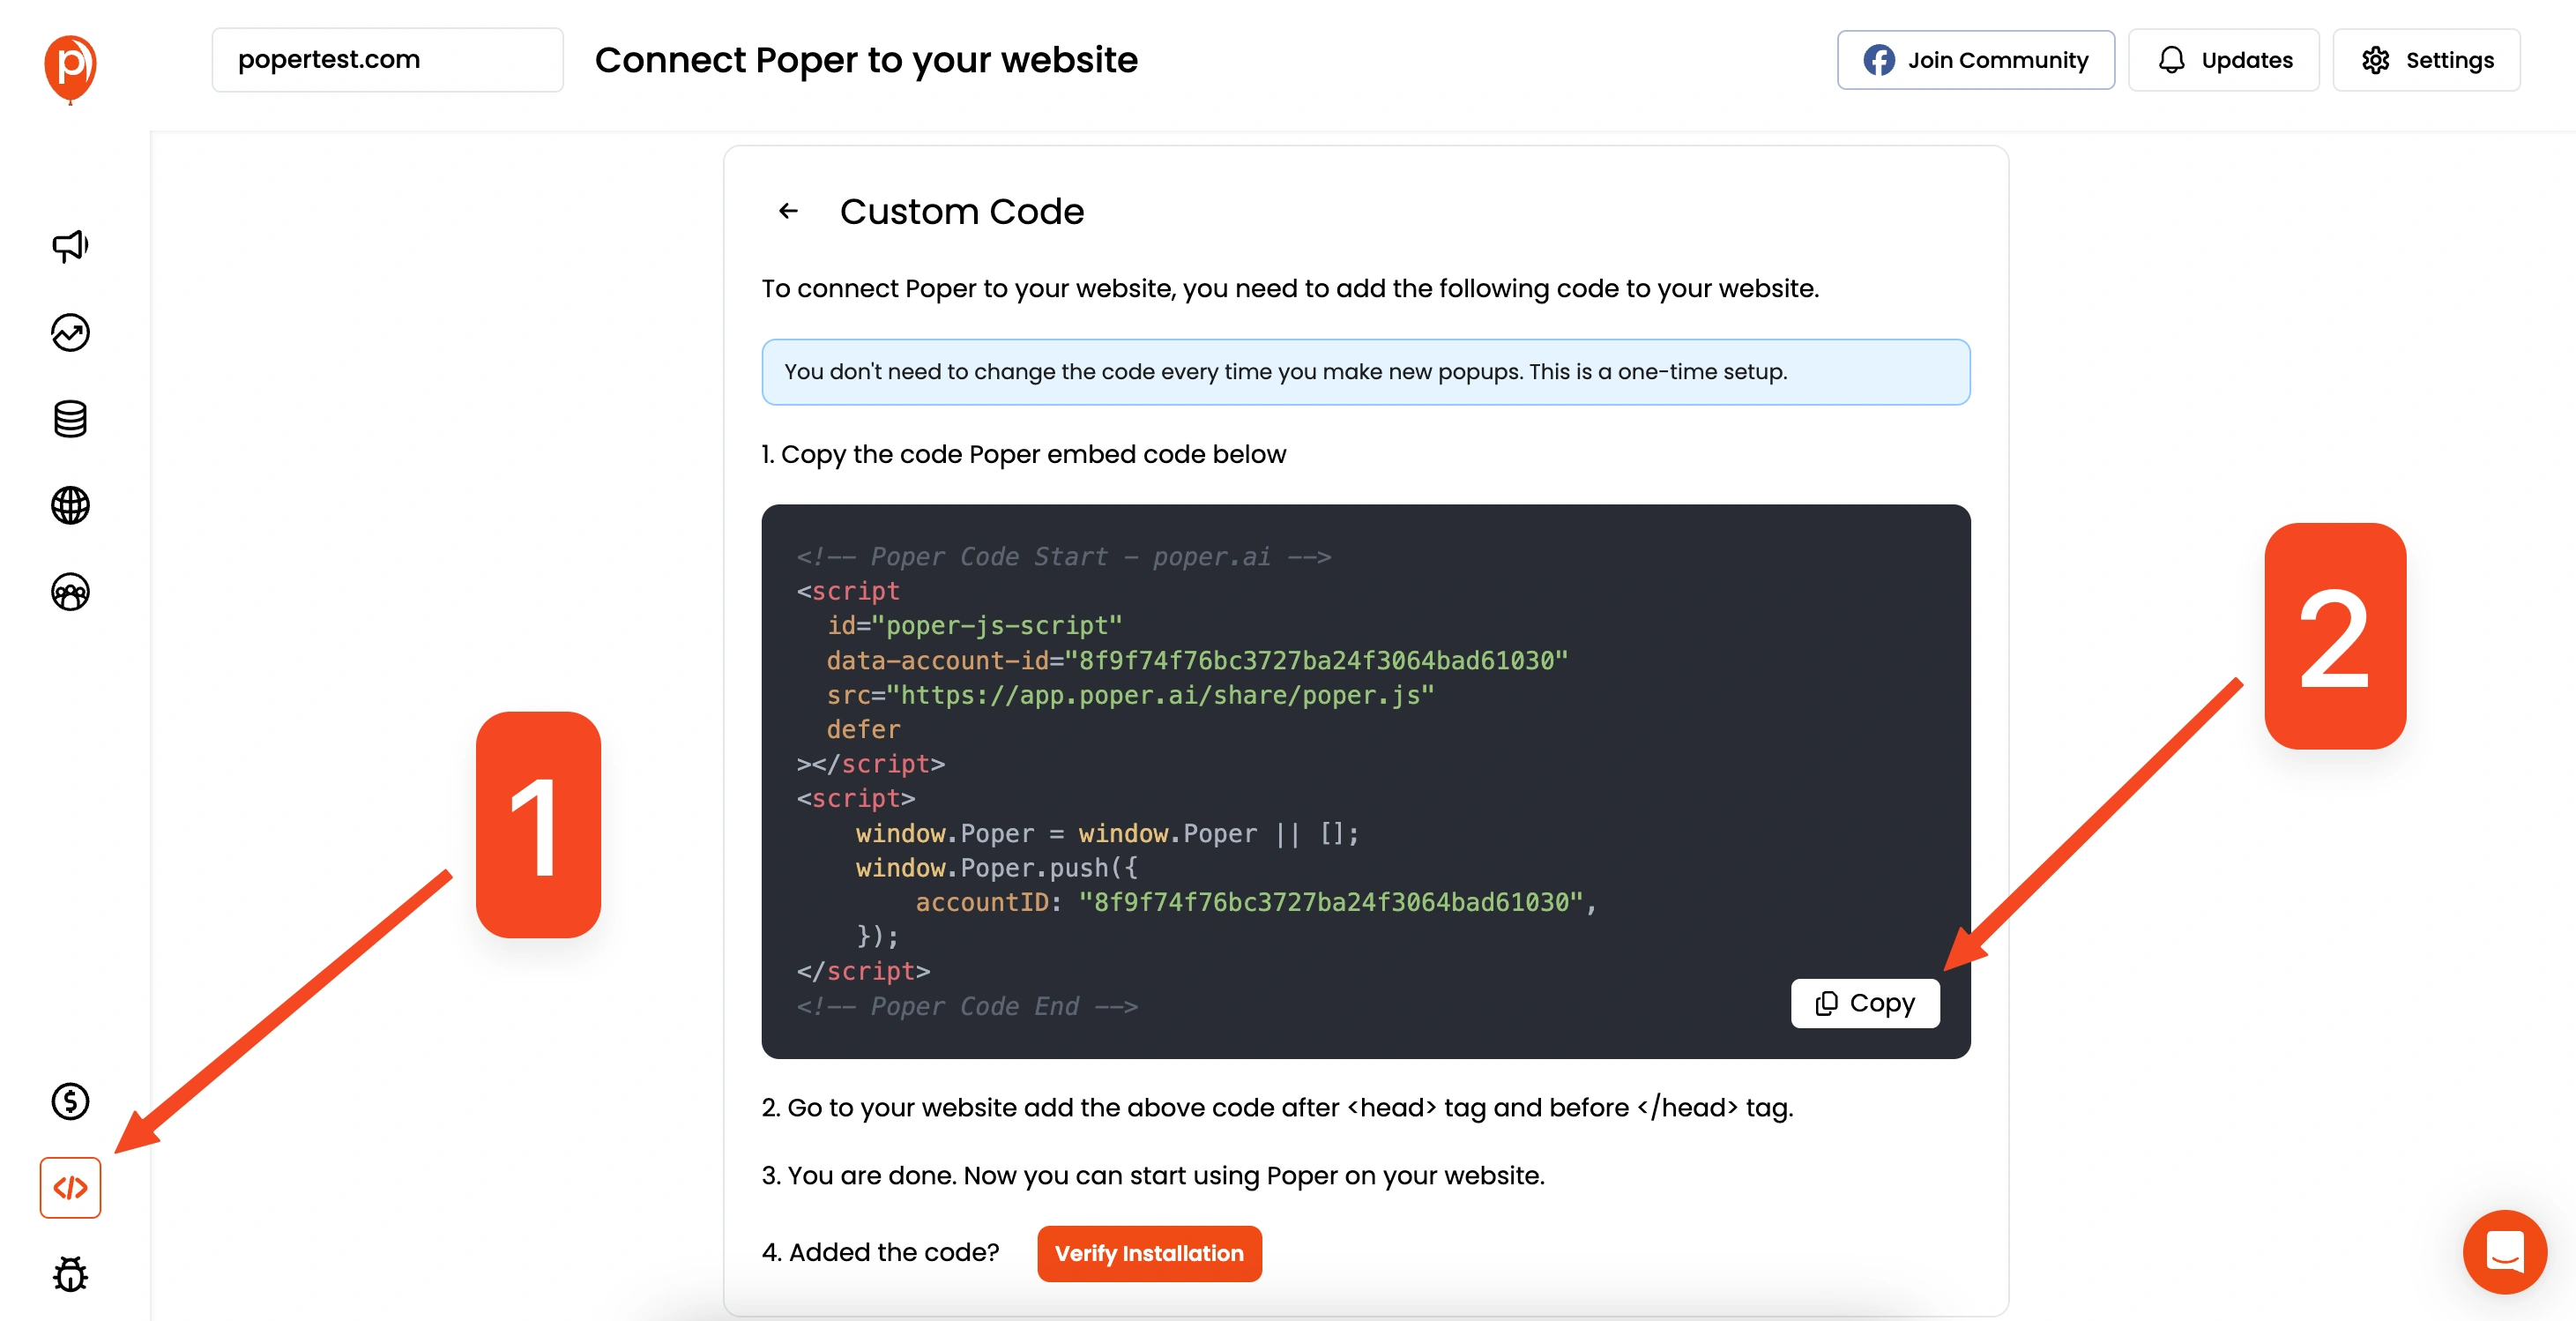
Now, we have to embed the code into your website. On the left navigation bar you’ll find code section, click on it. Here, select the "Custom Code" option. Copy the code snippet provided, as you'll need this for the next step.
10. Add the Code to Your Website
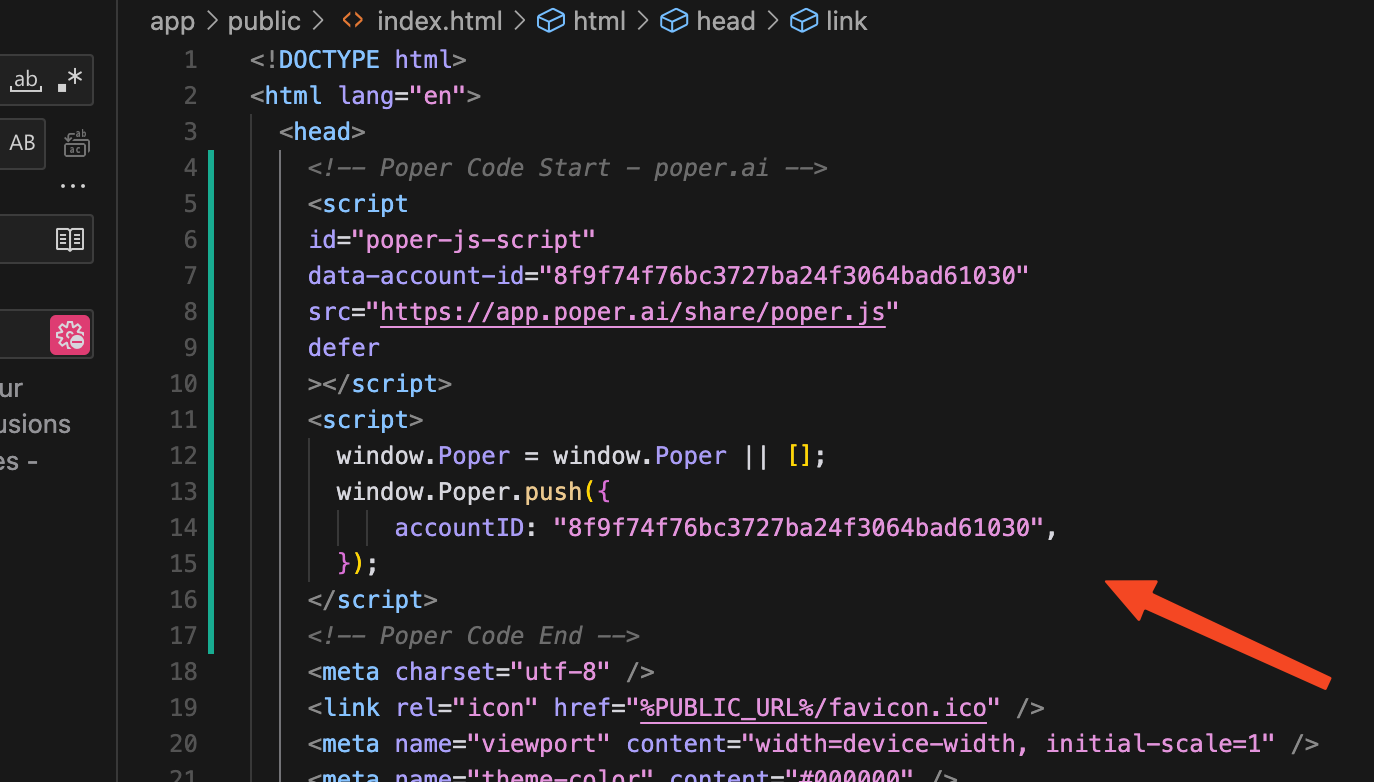
Go to your website’s HTML code. Paste the custom code into the <head></head> section of your website. If you're using a shared header file, like header.php, you might only need to do it once, otherwise you'll have to copy this code in all the index.html files.
11. Test it Out
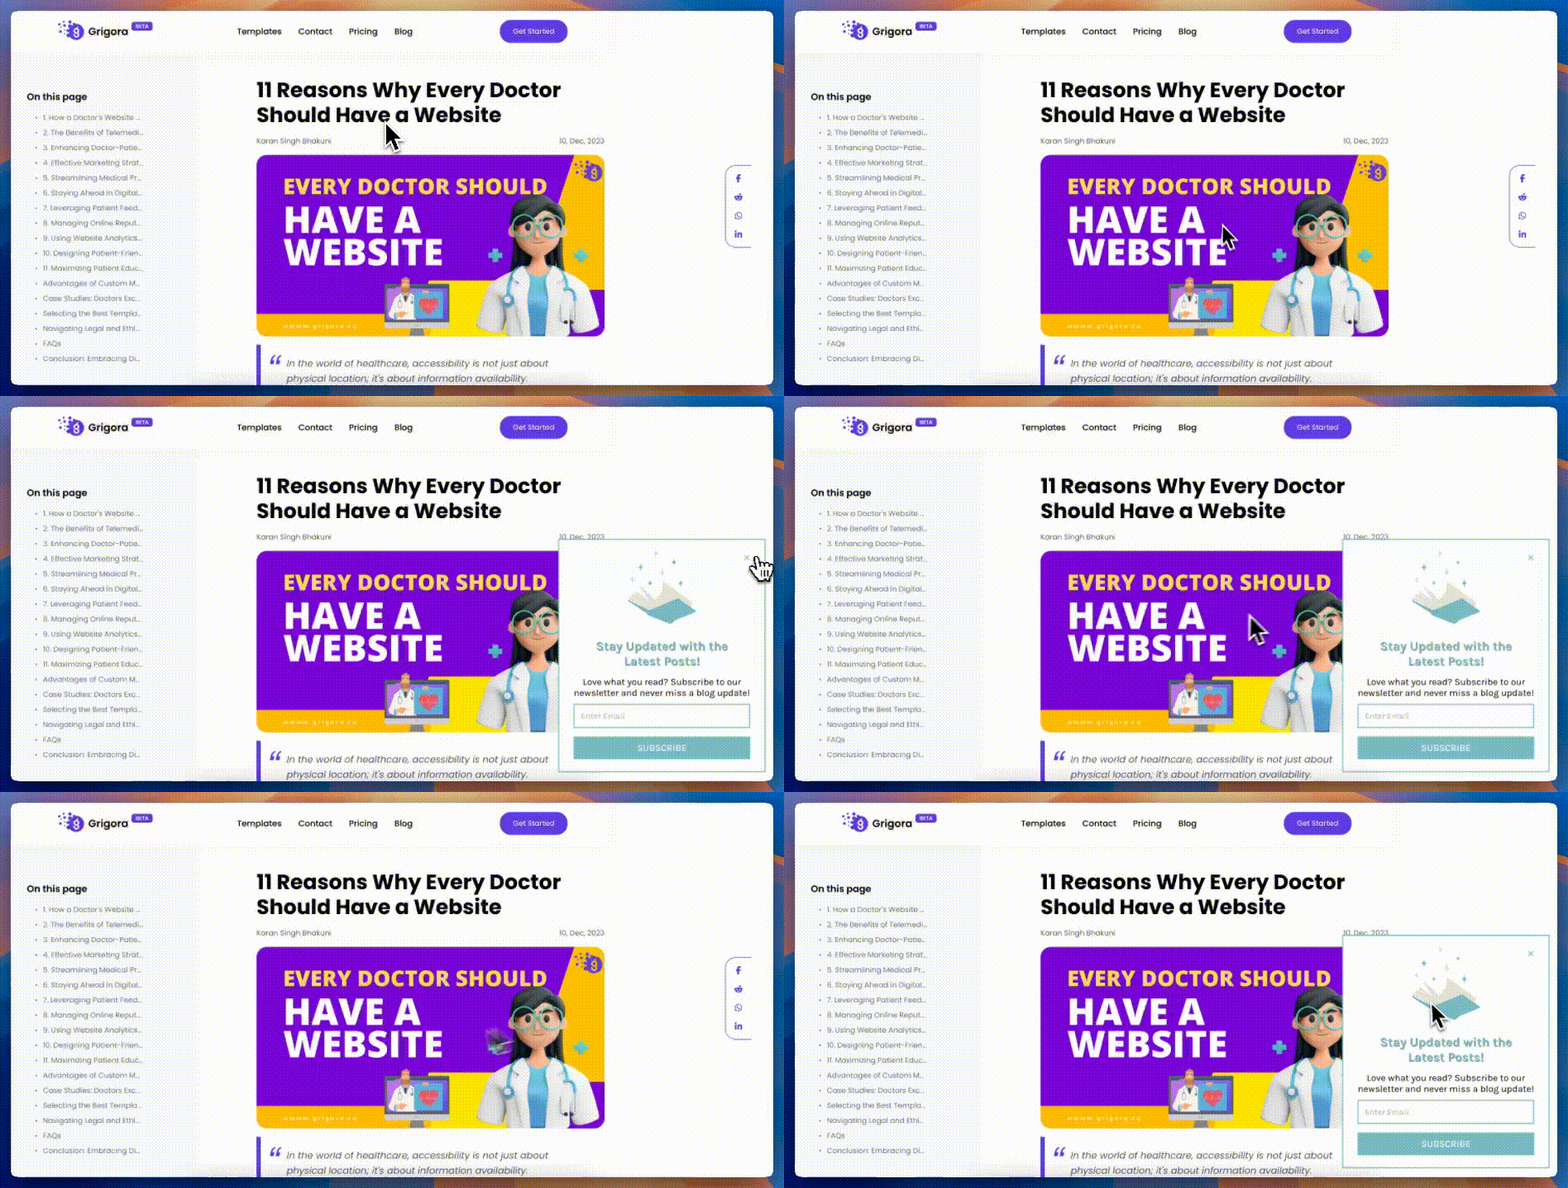
Now, save your changes and deploy your website. Go to your website and click on the image you set as the trigger. Your popup should appear exactly as you designed it.
And that's it! You've successfully created a popup that appears when an image is clicked.

