Sometimes, you want to show a popup when someone hovers over an element on your website.
A Mouseover Popup Image Viewer enhances the user experience by displaying additional information or visuals when users hover over an element. These popups offer a seamless way to present more content without cluttering the page.
Benefits of Using Mouseover Popups:
Keeps Pages Clean: No need to overload your page with excessive information.
Quick Information Delivery: Provides instant context or previews on hover.
Increases Engagement: Encourages users to explore more content.
Ideal for Multiple Use Cases: Perfect for e-commerce, portfolios, blogs, and more.
These are often called Hover Popups, and they're great for adding extra info without cluttering your page. Let's walk through how you can set this up with Poper.
Step 1: Head to the Image to Popup Tool
First, jump over to the Image to Popup tool within Poper. You can find it here: https://www.poper.ai/image-to-popup/ It’s designed to make this process super straightforward.
Step 2: Upload Your Image
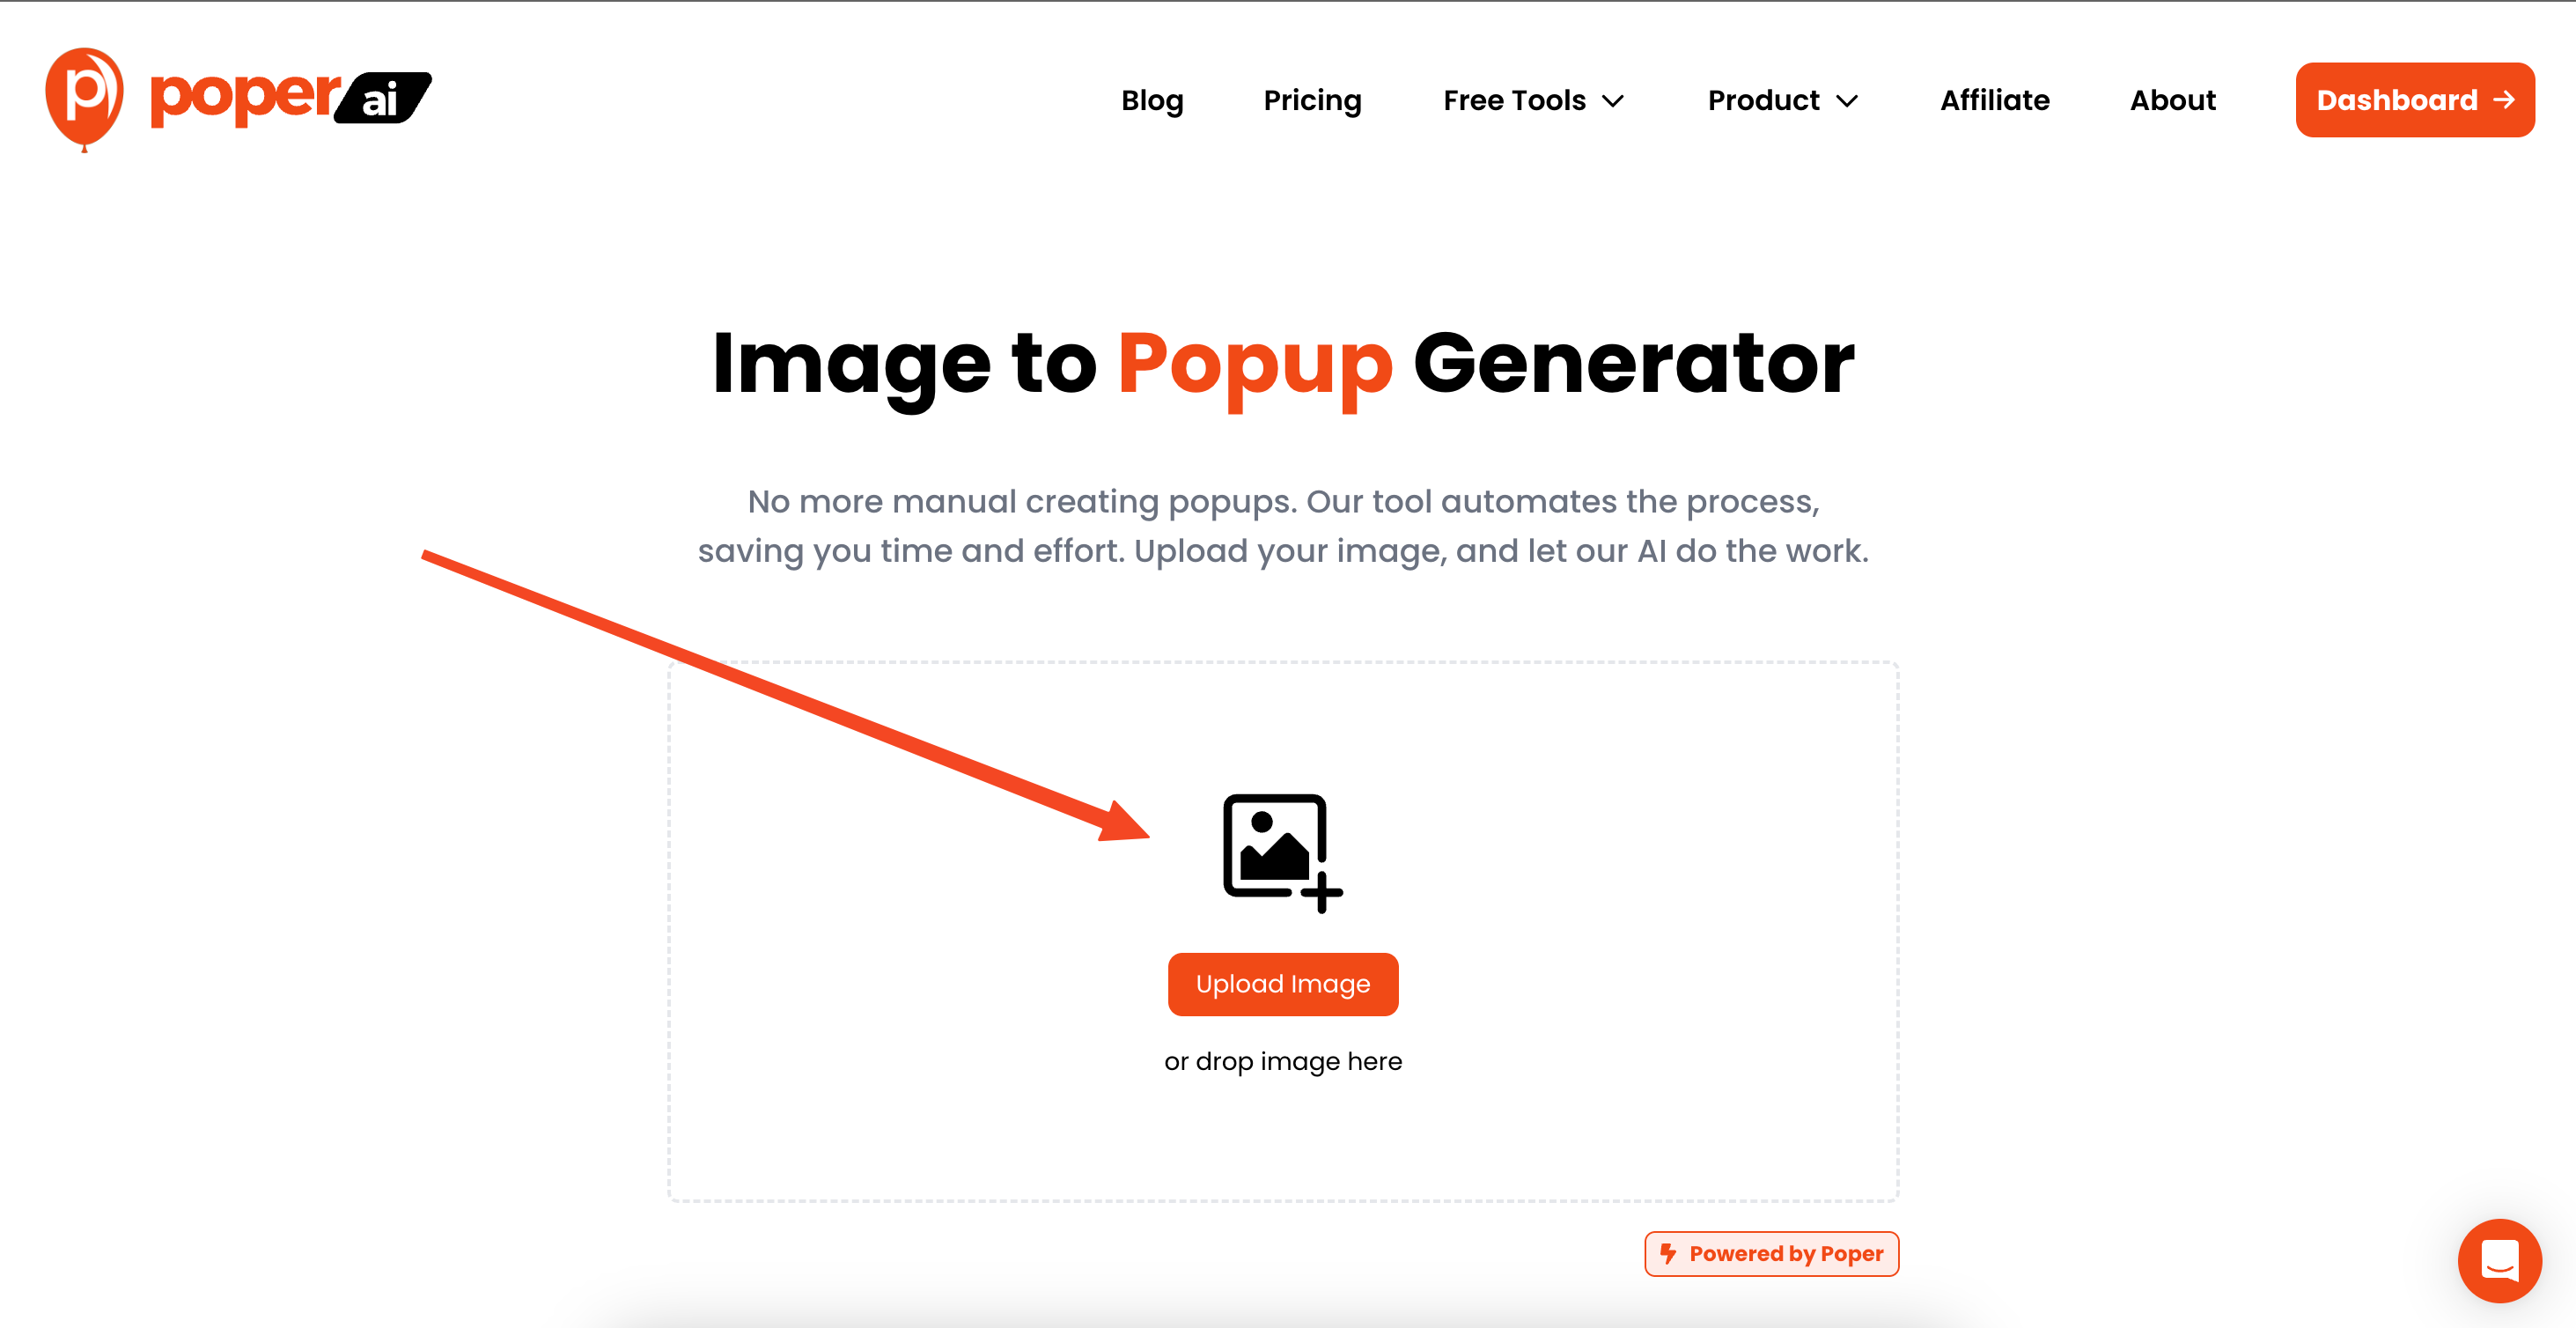
Next, upload the image you want to display in the popup. The tool will automatically create a basic popup based on your image.
Step 3: Customize the Popup’s Appearance
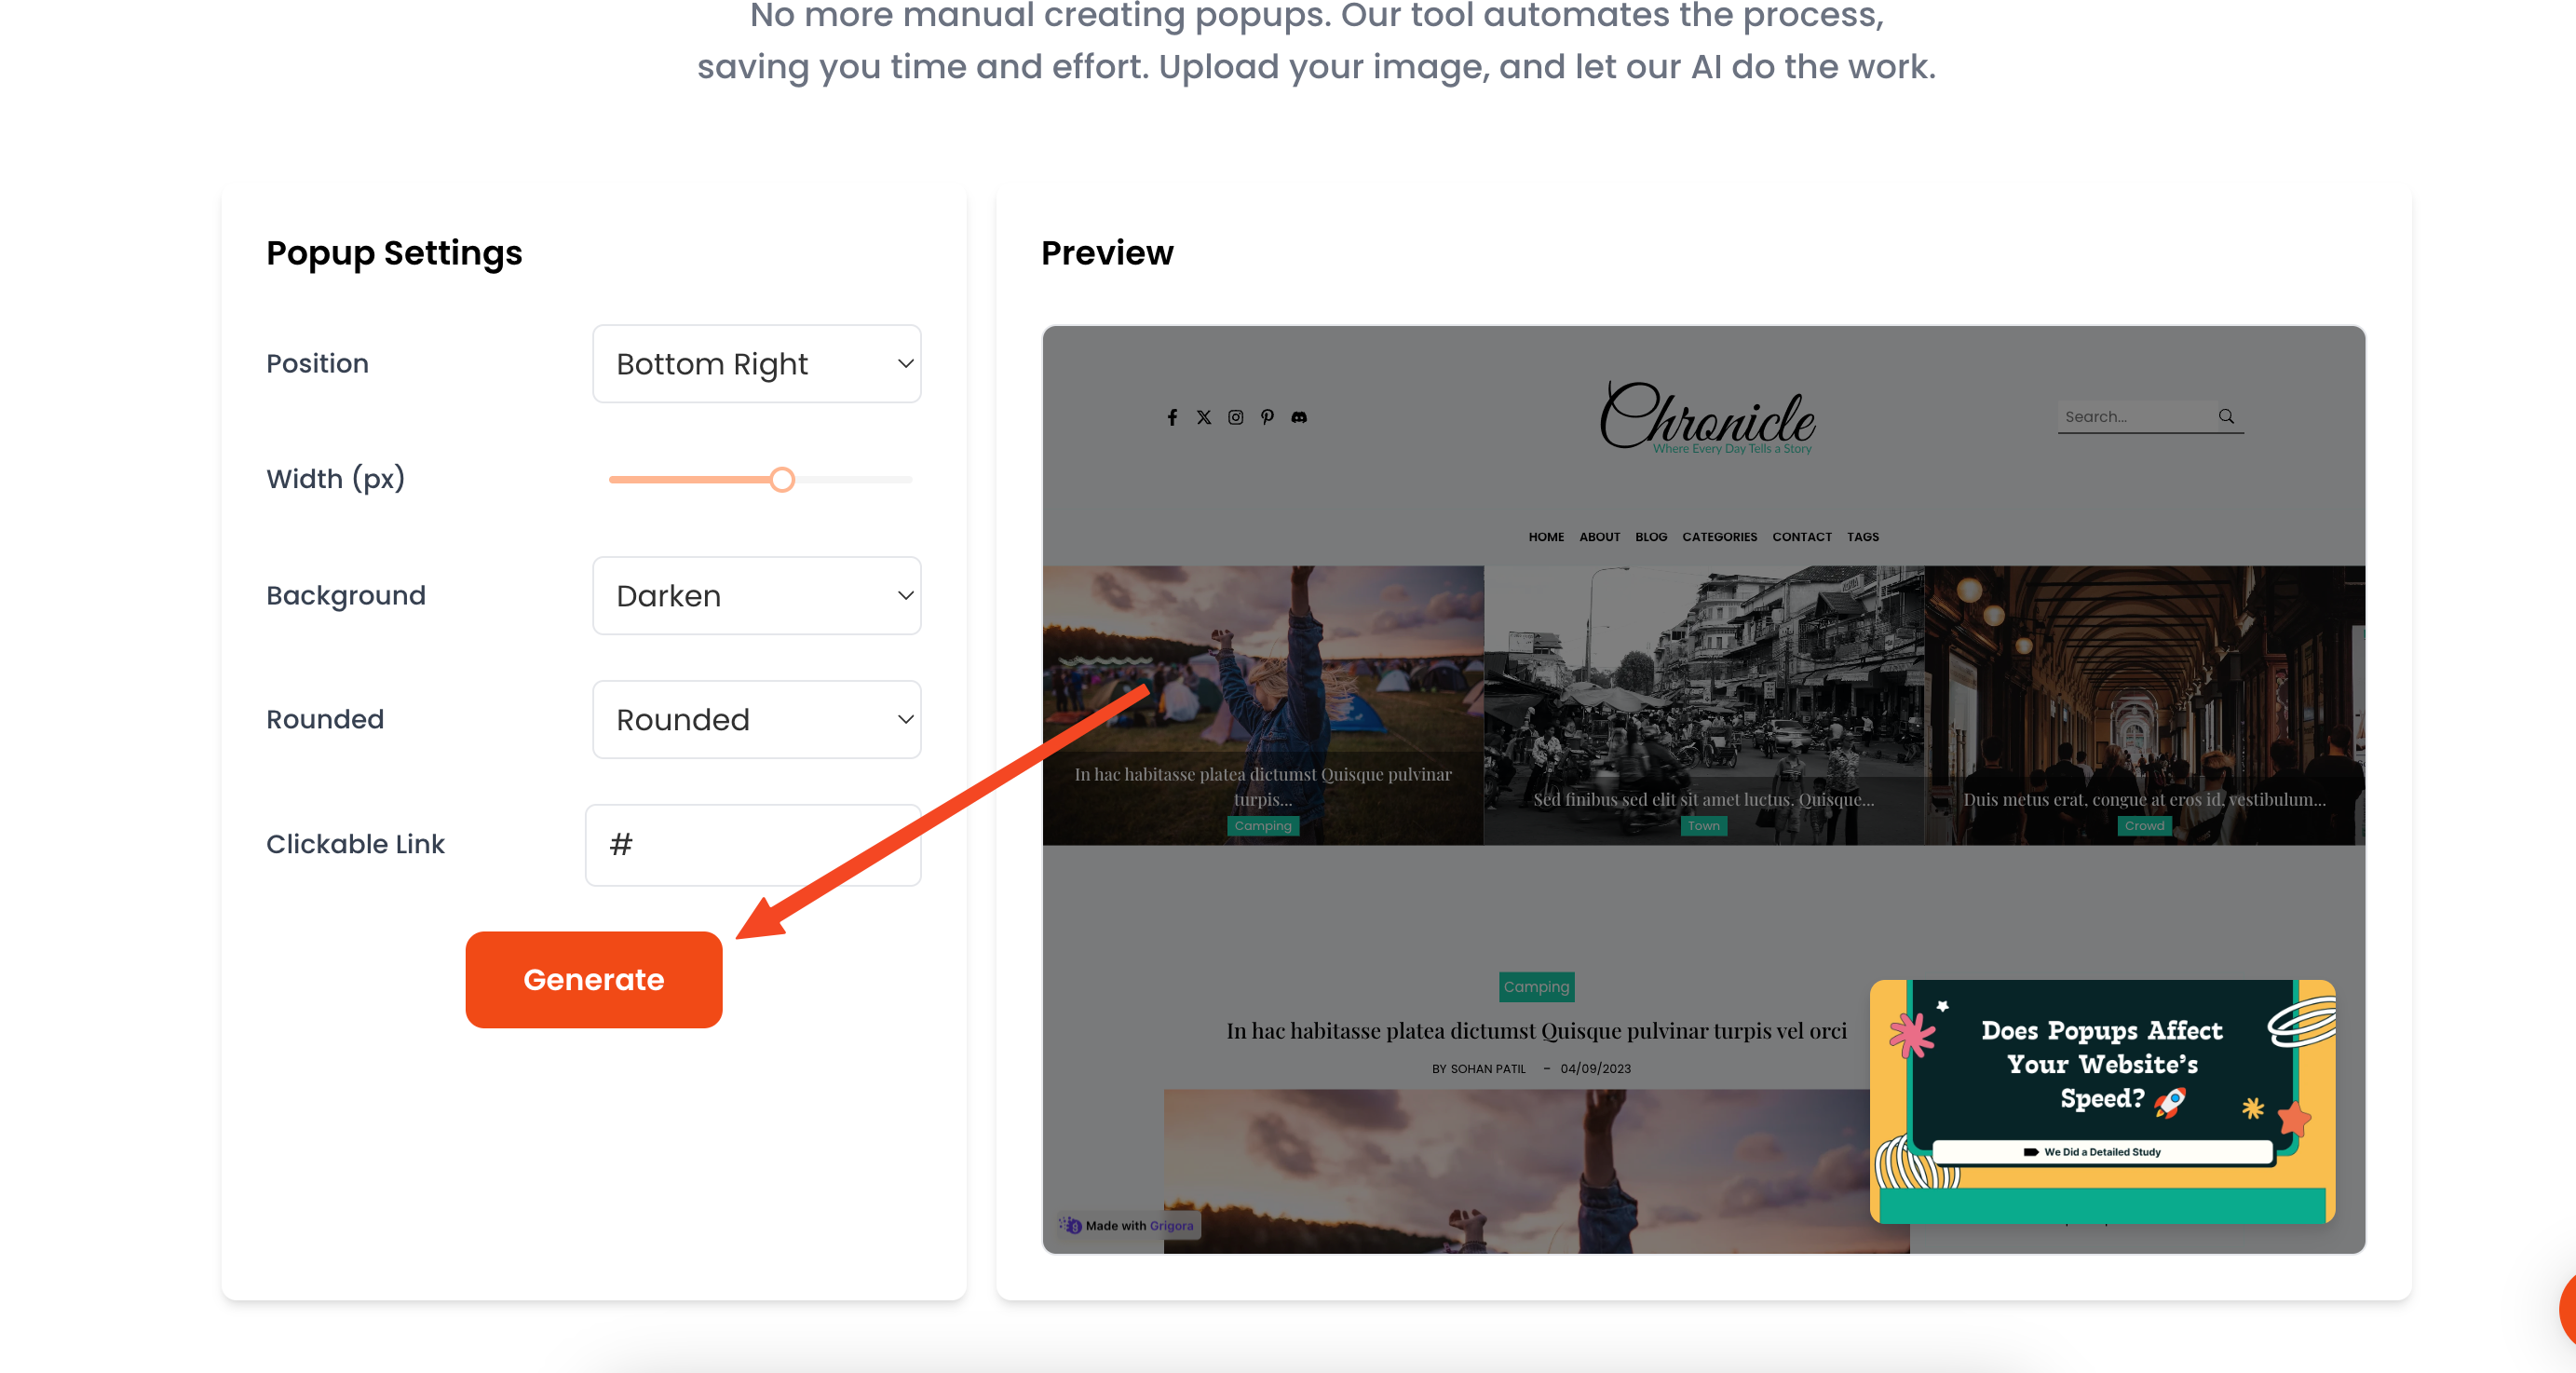
Now for the fun part: customization! Once your image is uploaded, you'll land in the popup editor. Here, you can tweak the design to perfectly match your website's look and feel. This includes fonts, colors, and more. Make sure it looks great!
Step 4: Log In and Add Your Website
If you're not already, log in to your Poper account. You'll be prompted to enter the website where you want to display the popup.
Step 5: Set Display Conditions to "Button Hover"
Click “Next” to navigate to the Display Conditions page. This is where we tell Poper when to show the popup.
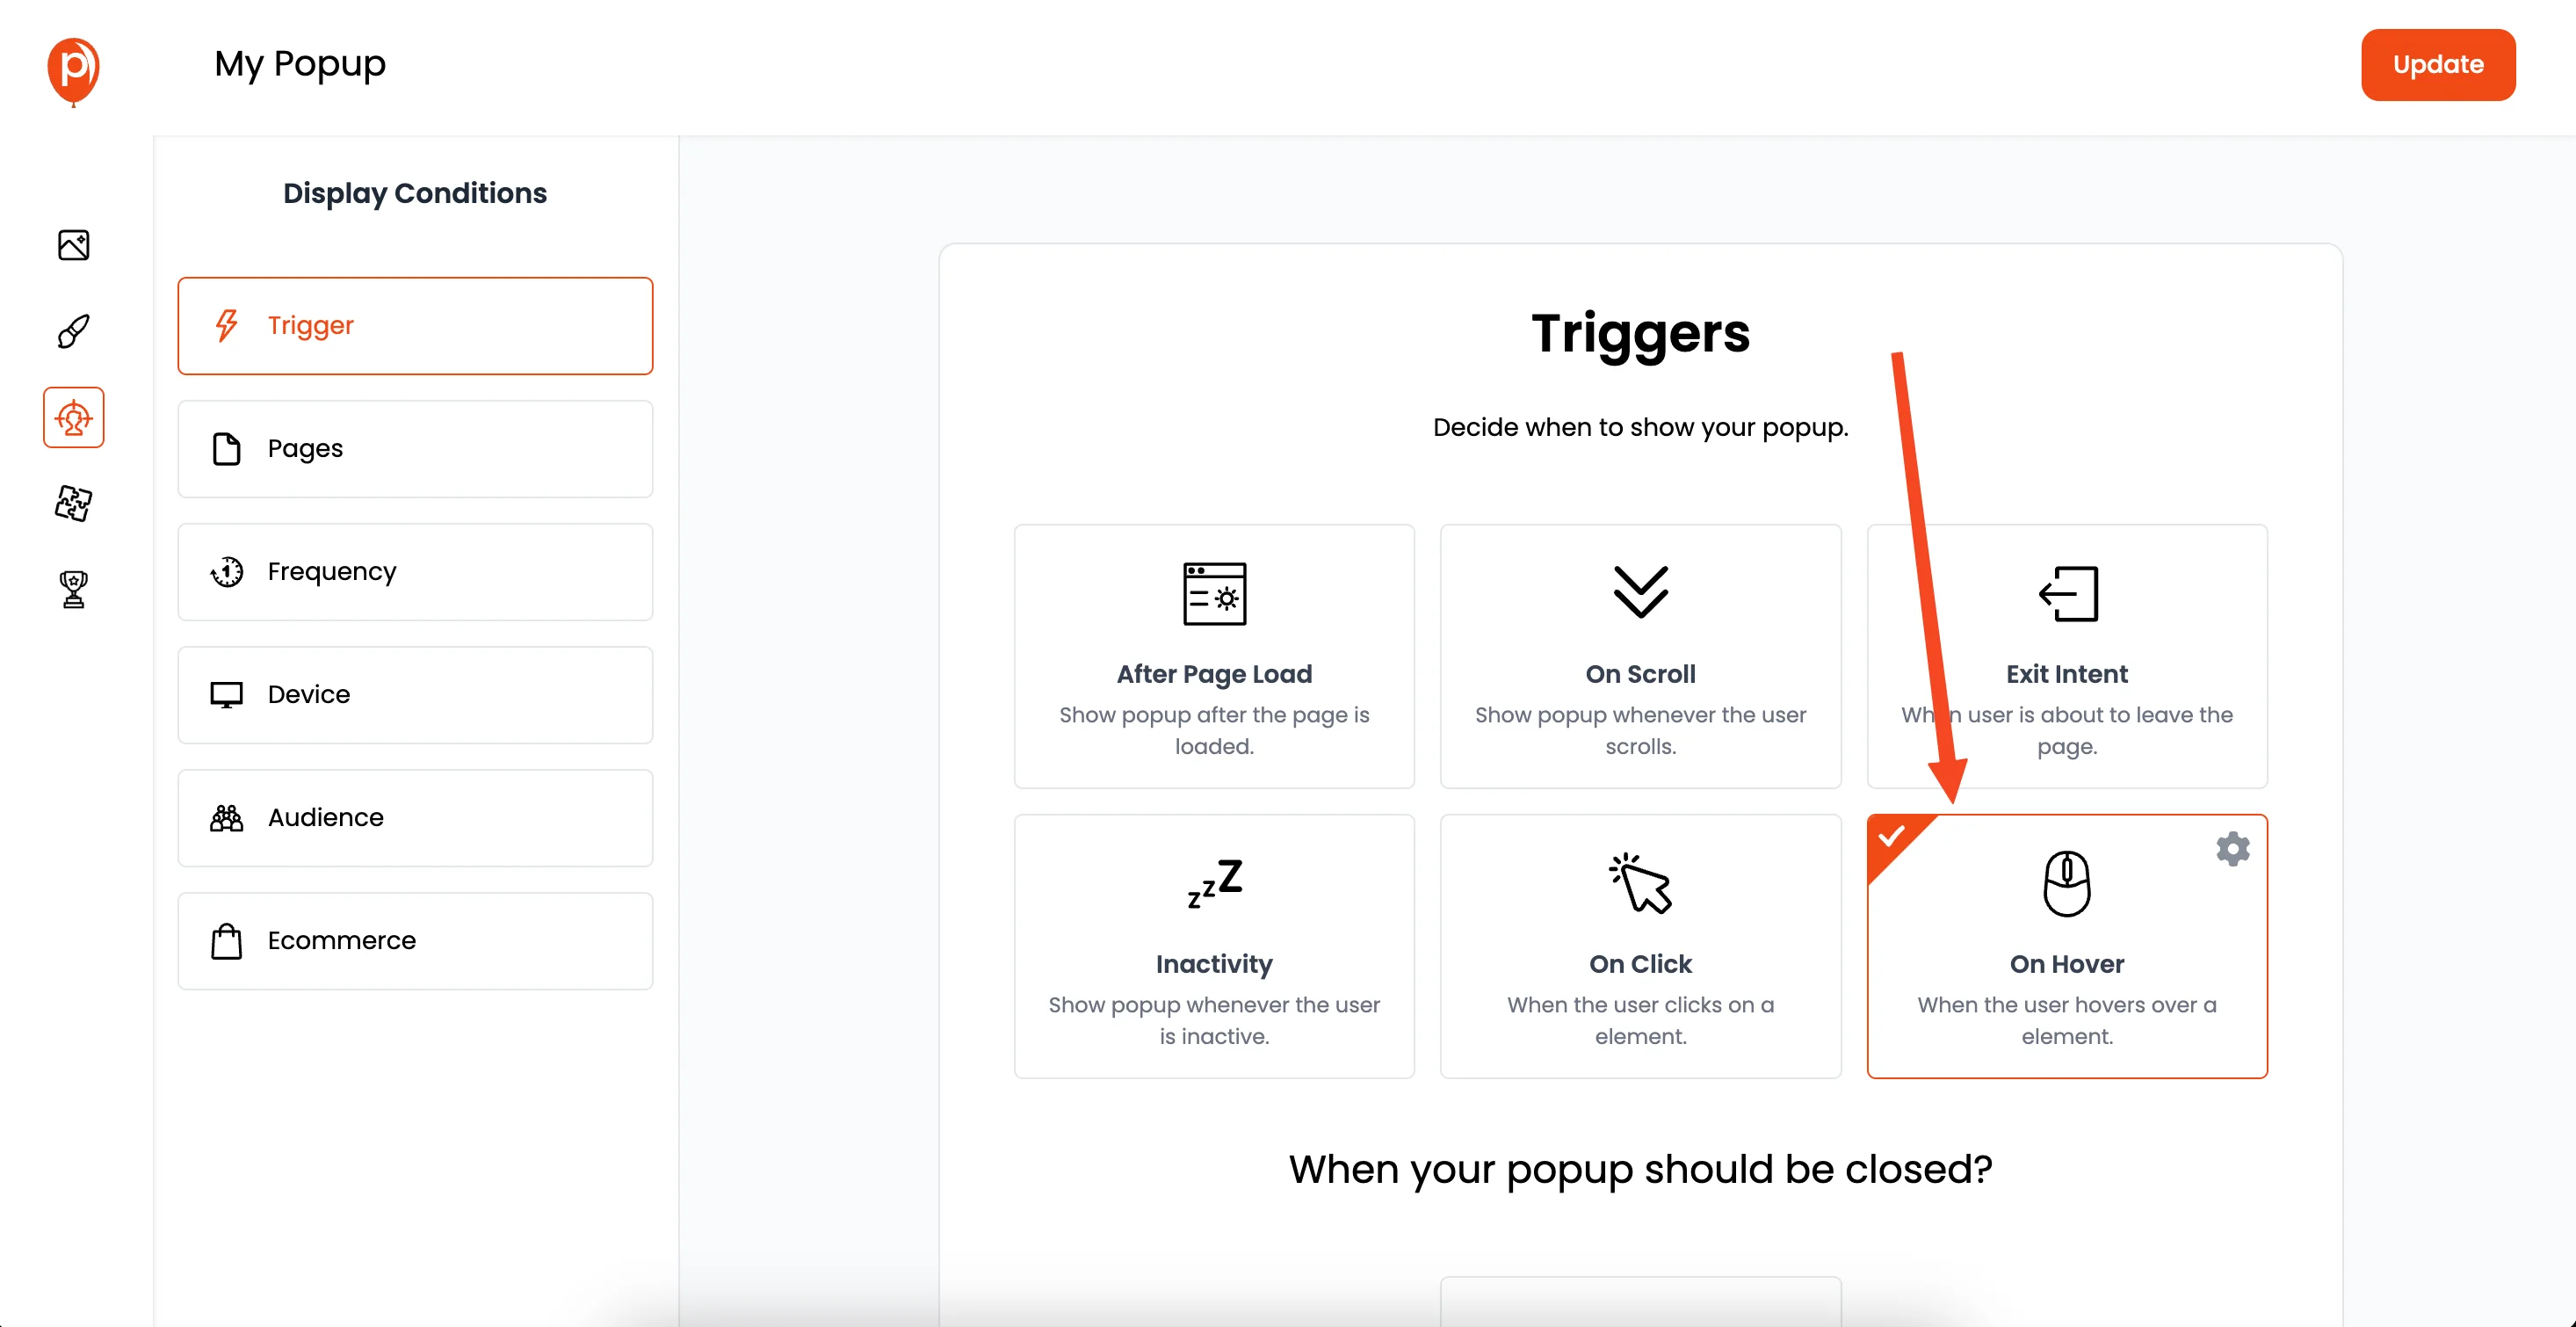
To trigger the popup on hover, you’ll need to add a CSS targeting rule.
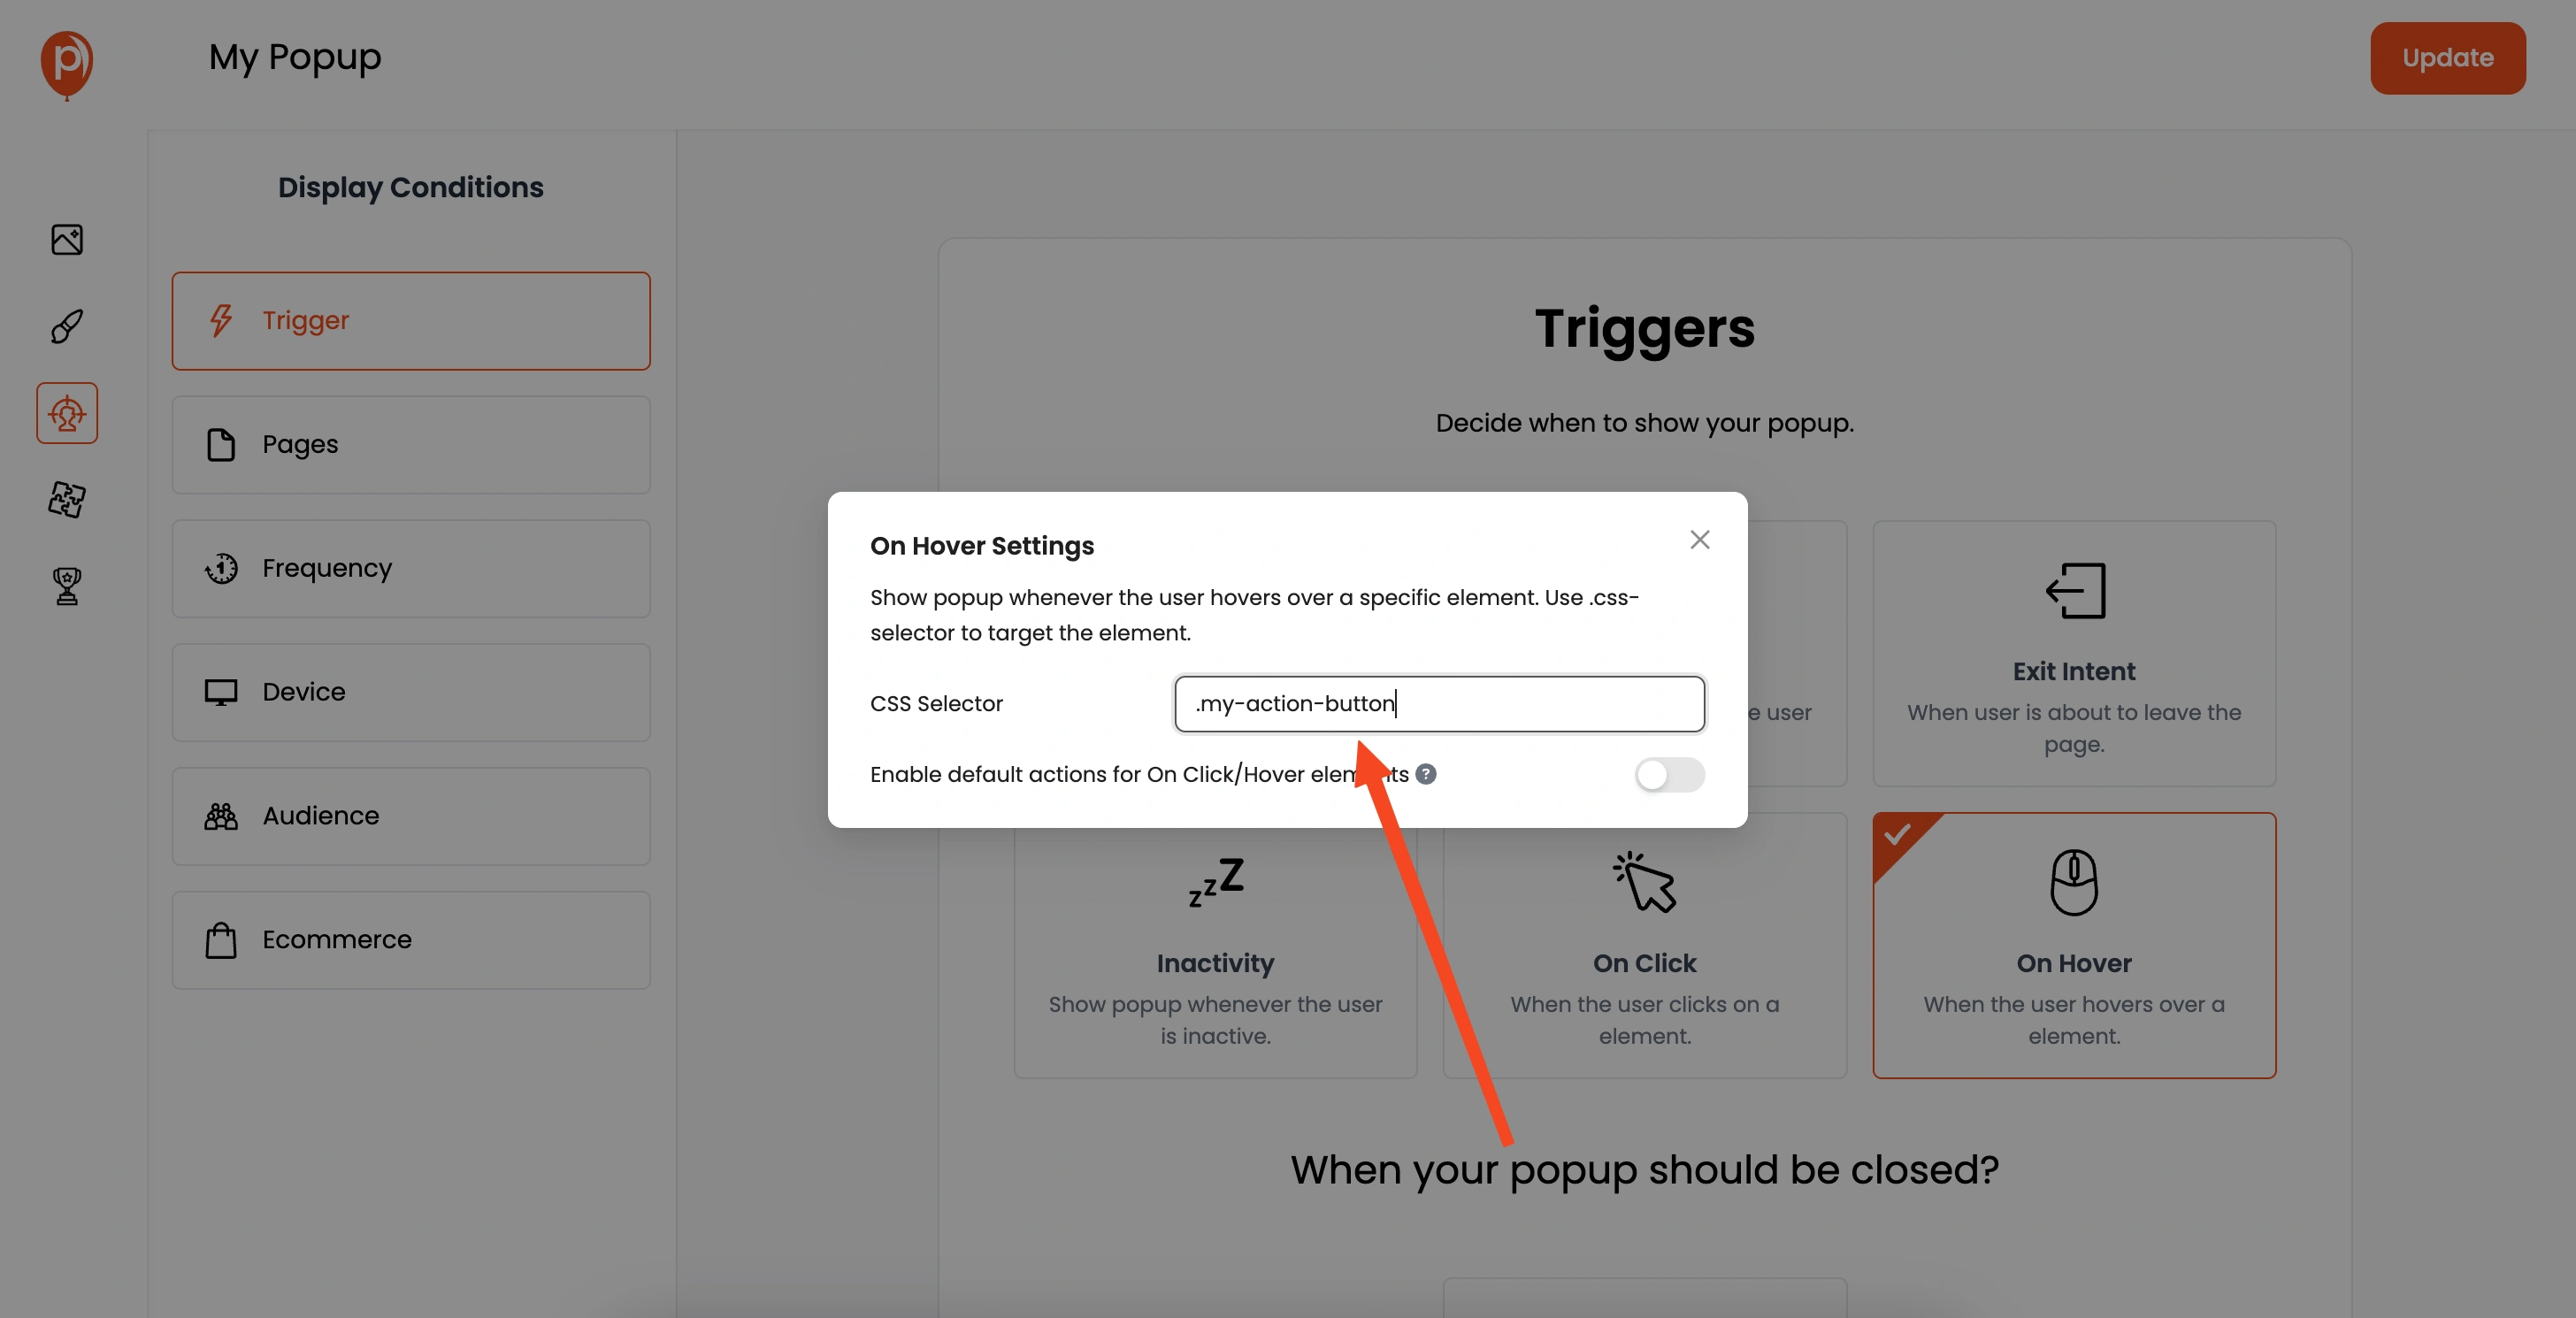
For example, if you want the popup to appear when hovering over a button with the class "my-action-button", you would enter ".my-action-button" in the CSS targeting field.
Step 6: Add the Class Name to Your HTML Button
Now, make sure your HTML button actually has that class! Add the className "my-action-button" to your button in your website's HTML code. This tells Poper which element to "listen" to for the hover event.
Step 7: Target Your Audience (Optional)
While you're in Display Conditions, you can also refine who sees the popup. This is entirely optional, but helpful. You can target specific pages, audience demographics, and more. This ensures the popup is only shown to the users who are most relevant.
Step 8: Save & Publish
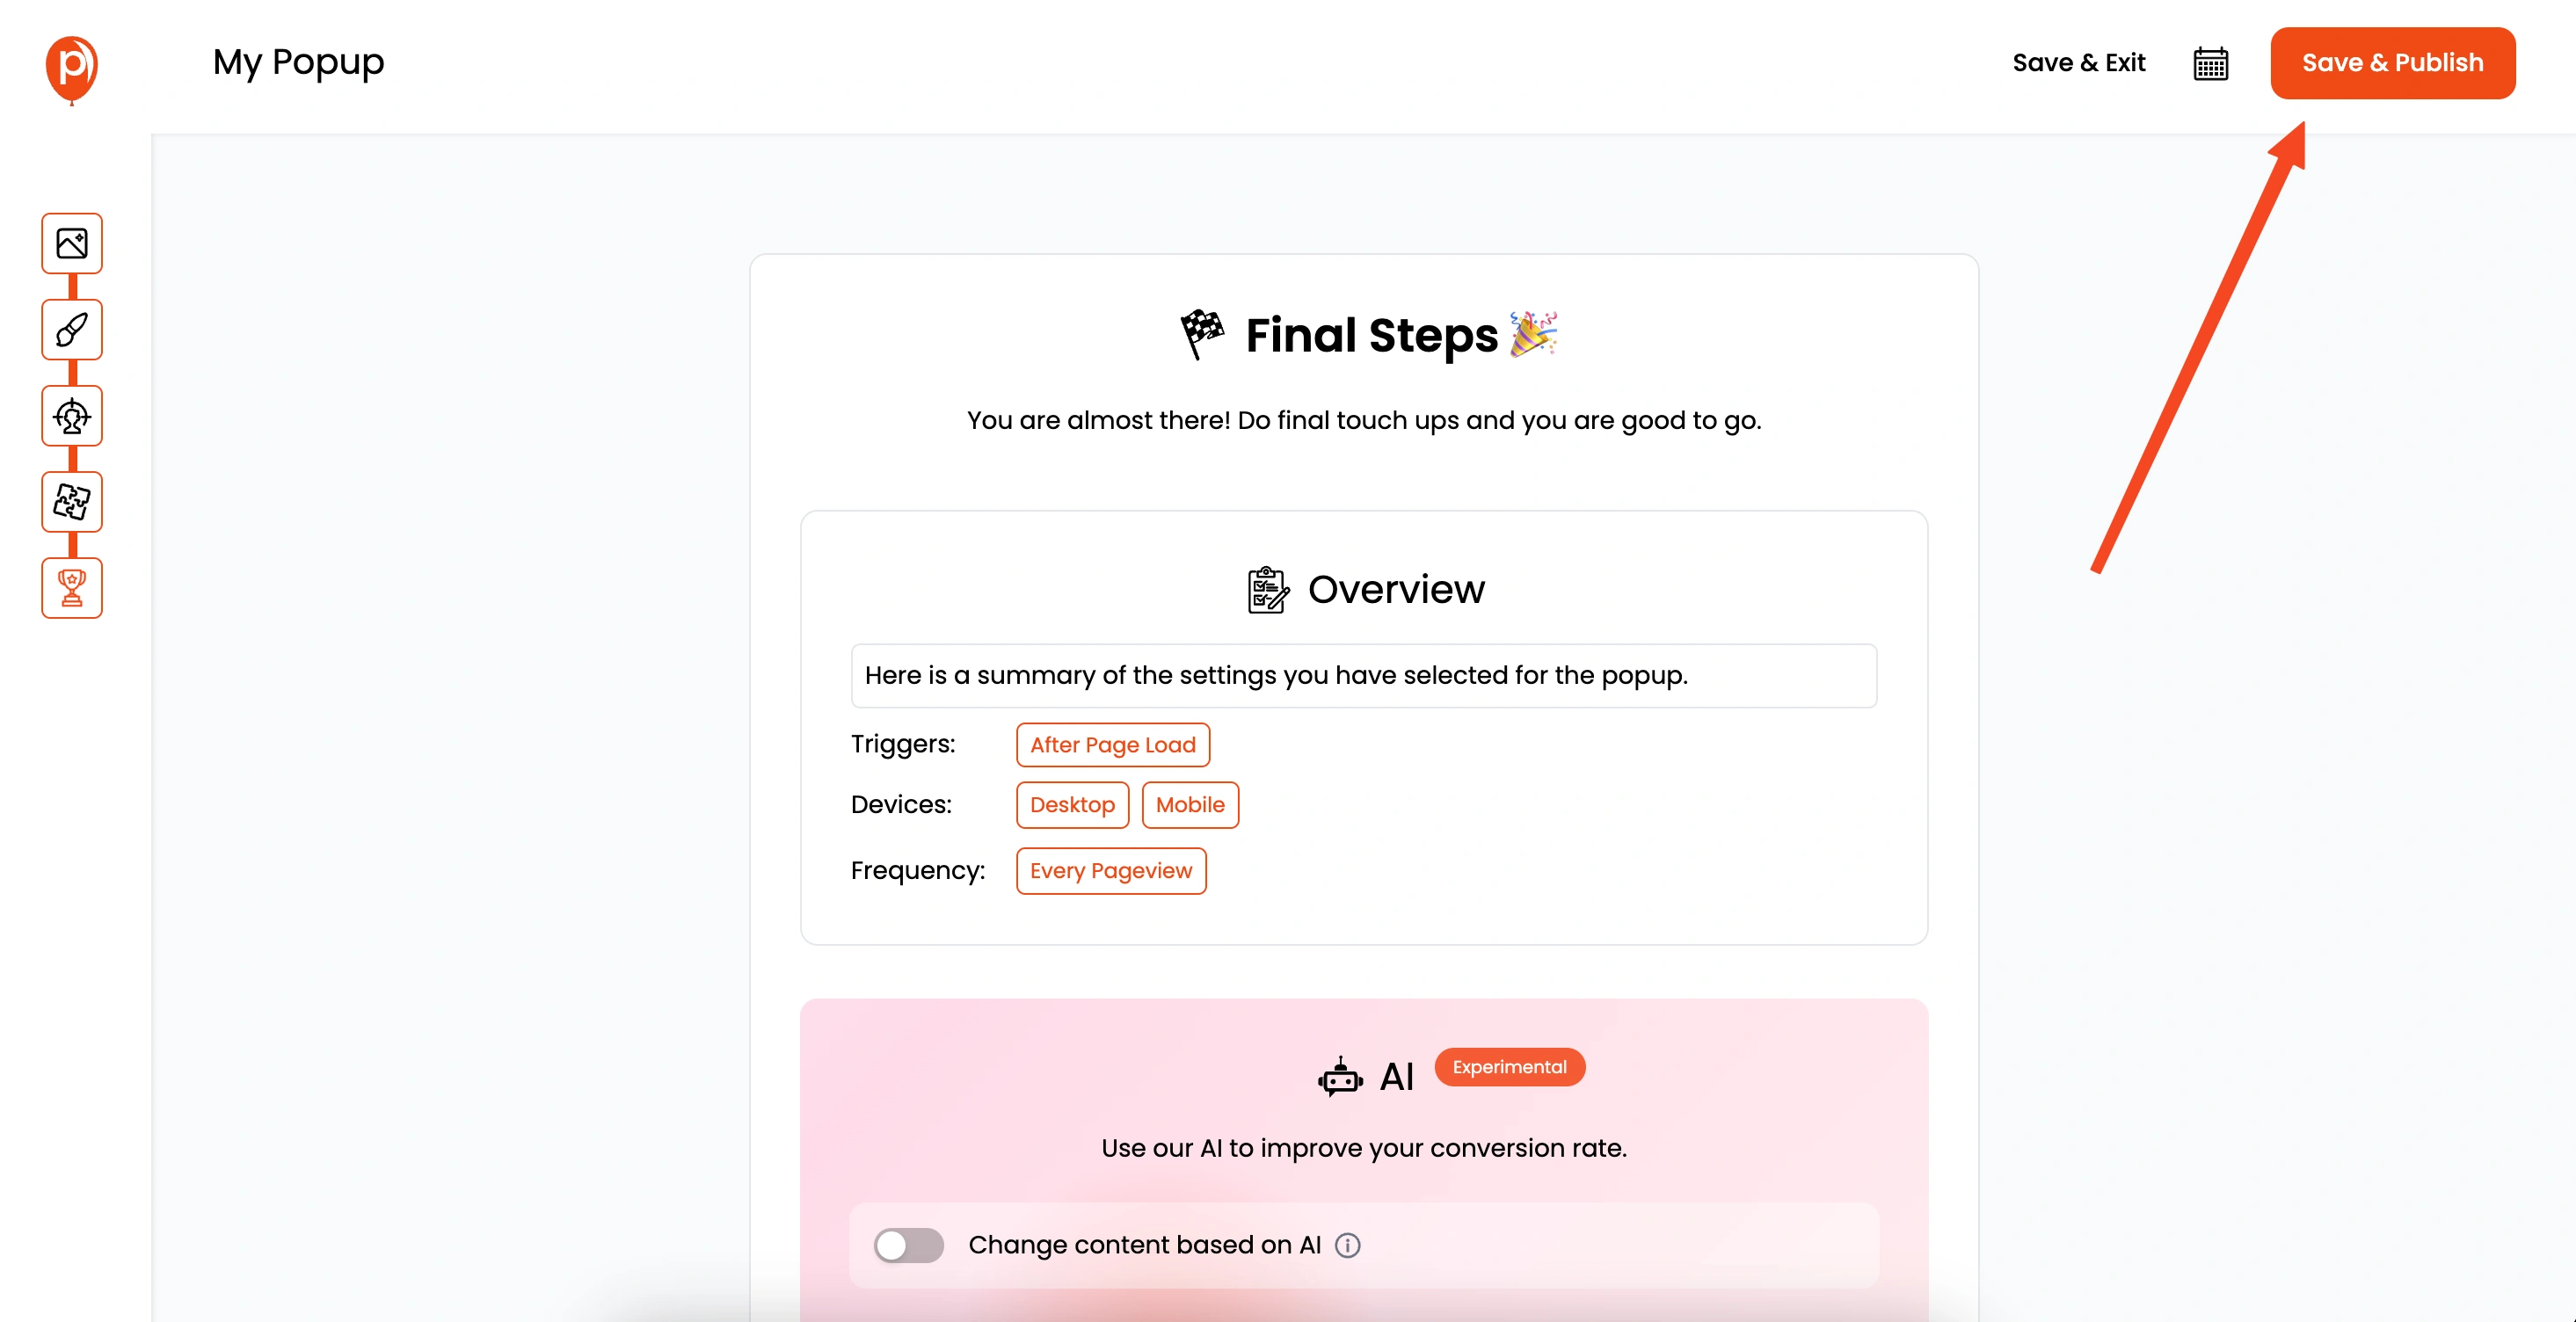
Once you’re happy with your settings, click "Save & Publish." This activates the popup on your site according to the rules you’ve set.
Step 9: Connect Your Website to Poper
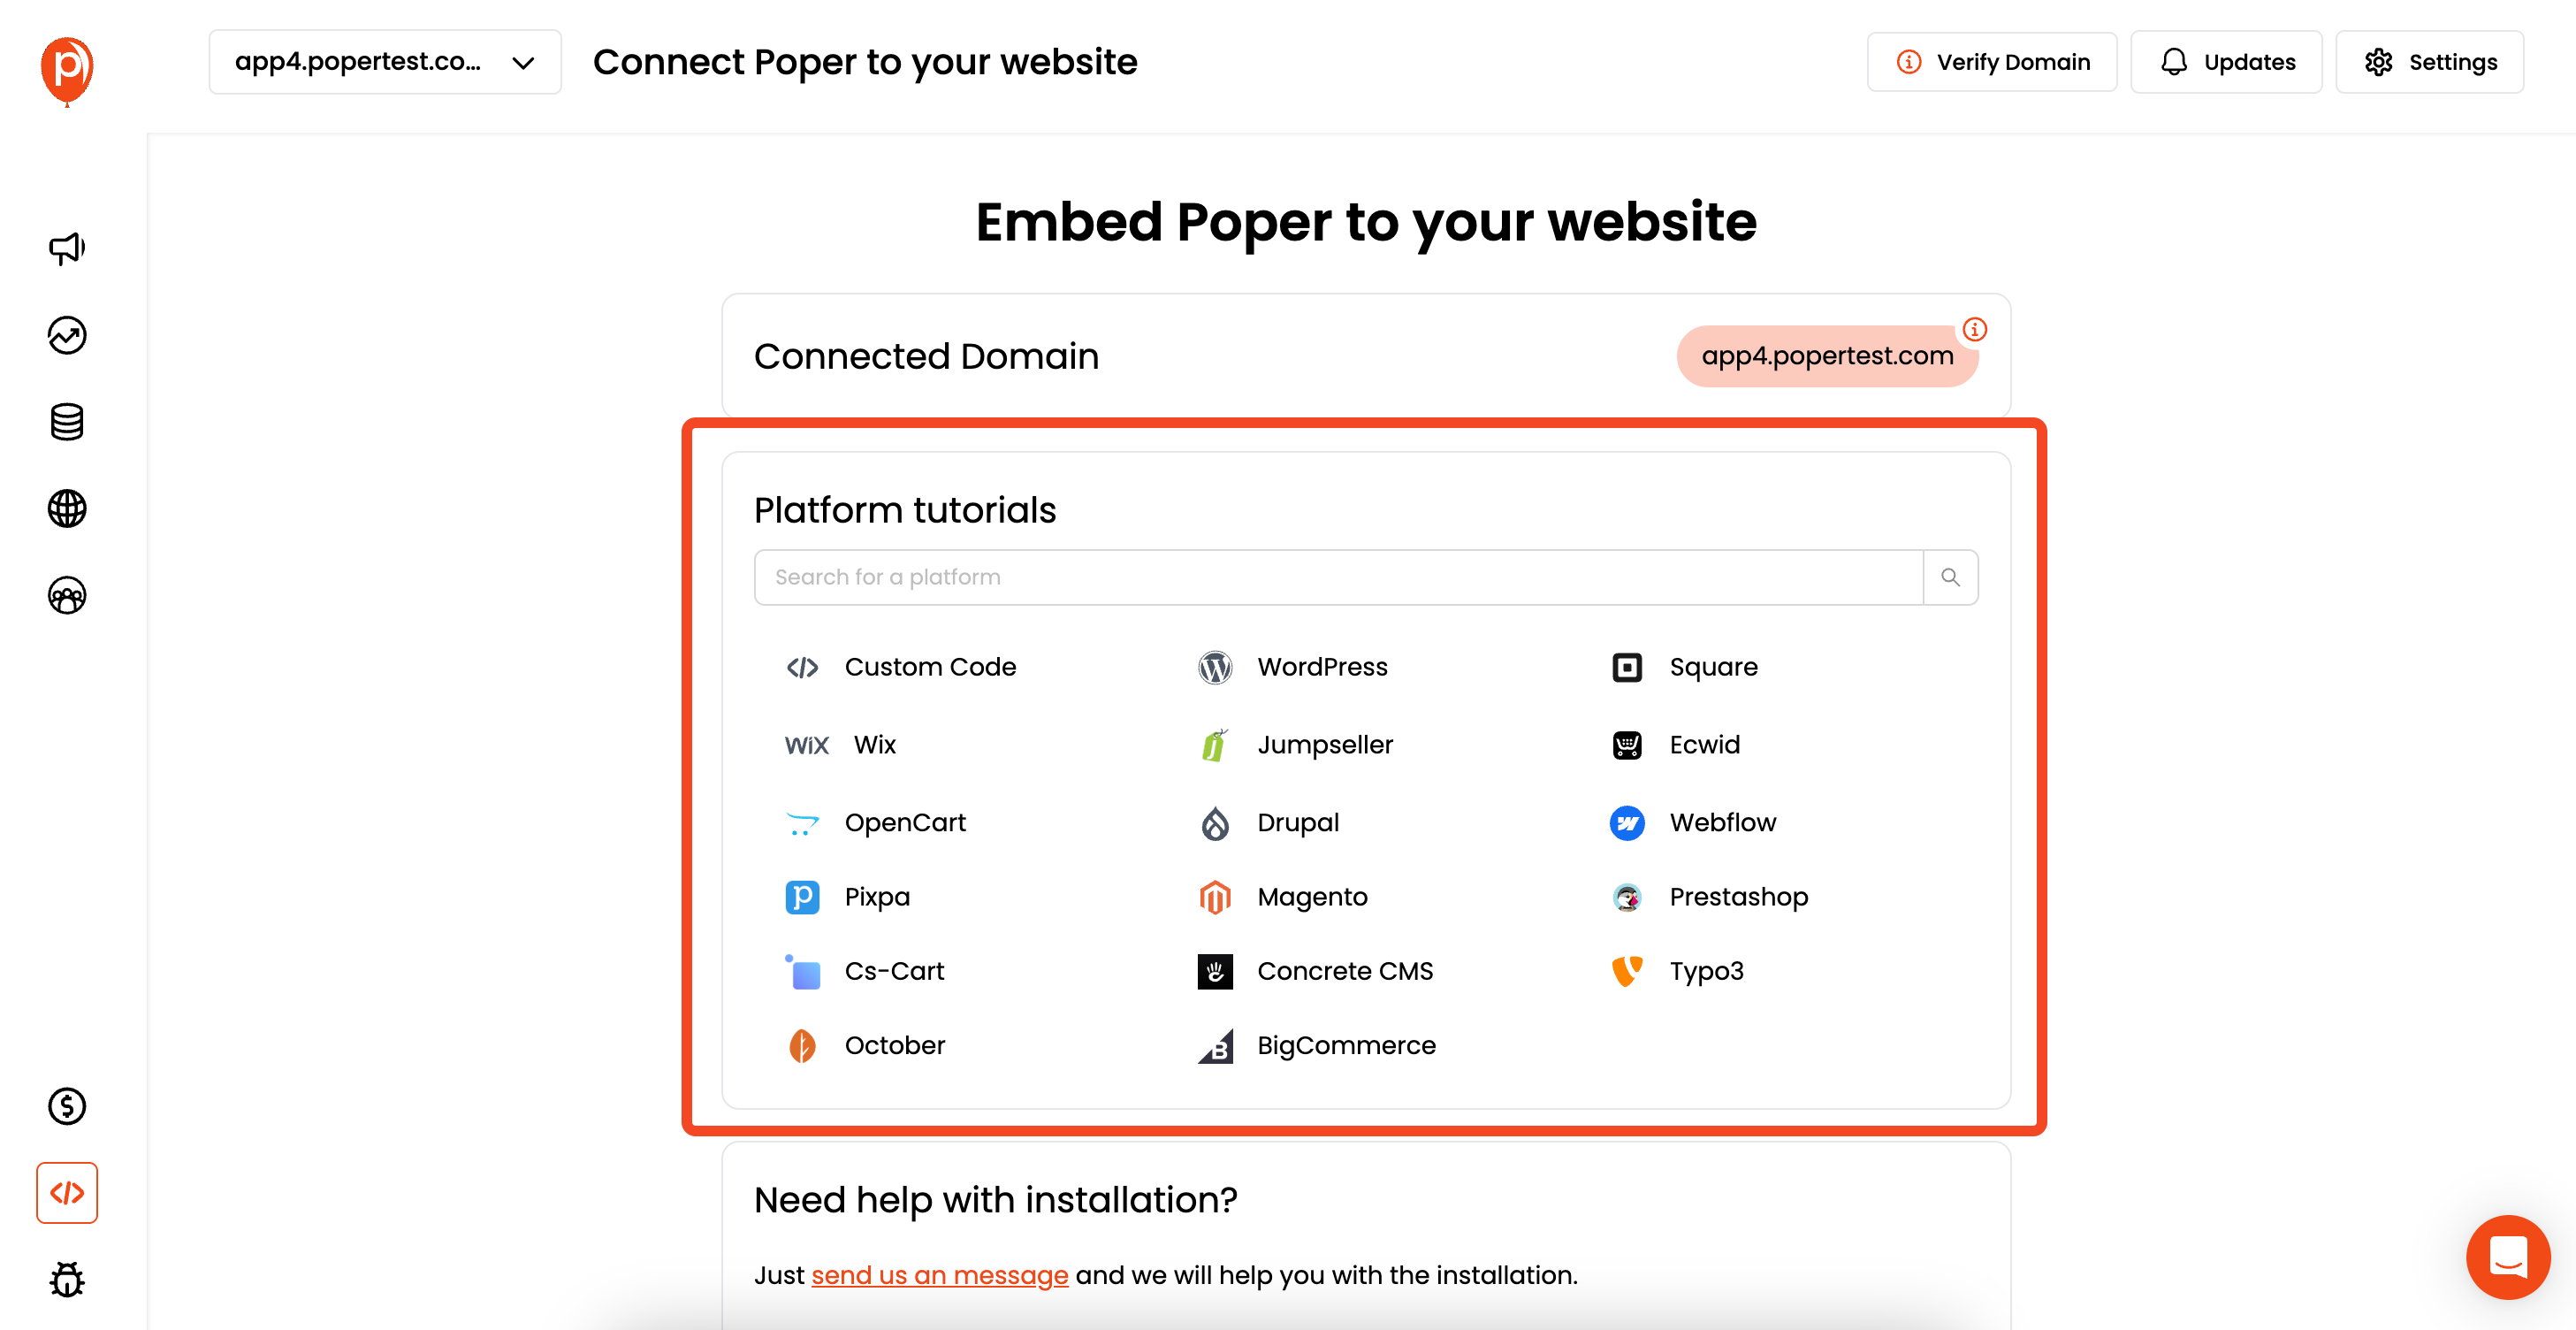
Almost there! From the left navigation bar, go to the "Code" section. Select your platform (e.g., WordPress, Shopify, HTML) and follow the provided instructions to connect your website to Poper. This step is crucial for the popup to actually appear on your site.
That's it! With these steps, your hover popup should now be live on your website. It's a simple yet effective way to engage your audience with relevant information.
How Does a Mouseover Popup Image Viewer Work?
A Mouseover Popup Image Viewer works by using CSS selectors to detect when a user hovers over a target element. This action triggers the popup to display relevant content or images. Poper makes it easy by letting you:
Set CSS rules to define hover targets.
Customize popup design to match your website’s branding.
Apply hover triggers to images, buttons, or any HTML element.
Use Cases for Mouseover Popup Image Viewers
Mouseover popups have a wide range of practical applications, including:
E-commerce Sites: Display product zoom or additional info on hover.
Portfolio Websites: Show project descriptions or testimonials.
Blog Pages: Add author bios or related content previews.
Educational Platforms: Provide definitions or explanations with tooltips.
Service-Based Websites: Highlight key services and features dynamically.
How to Track and Analyze Mouseover Popup Performance
To measure the success of your mouseover popups, track performance using Poper’s built-in analytics.
Key Metrics to Monitor:
Popup Views: Track how often your popup is triggered.
Engagement Rate: Measure user interactions with the popup.
Conversion Rate: See how many users take the desired action after viewing the popup.
Common Mistakes to Avoid When Setting Up Hover Popups
To ensure your mouseover popups work effectively, avoid these mistakes:
Using Too Many Popups: Overloading pages with popups frustrates users.
Incorrect CSS Selectors: Ensure the correct class name is added to your HTML.
Ignoring Mobile Responsiveness: Test how popups behave on different devices.
Frequently Asked Questions (FAQs)
How do I delay the hover popup?
You can add a delay using CSS to prevent immediate popups:
.my-action-button:hover + .poper-popup {
display: block;
transition-delay: 0.3s;
}Does Poper support mobile devices?
Yes, Poper ensures responsive popups that work across all devices.

