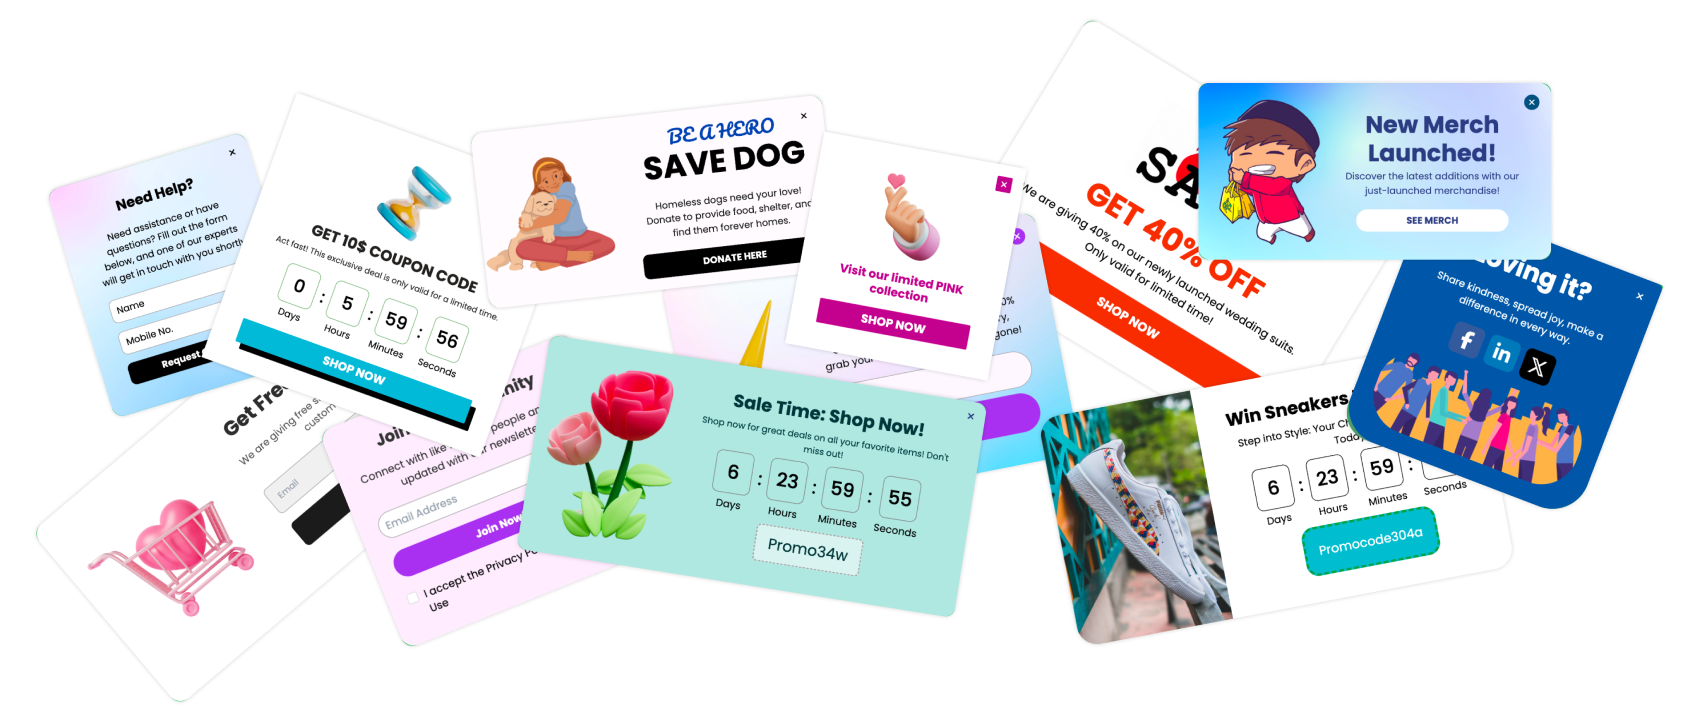
Semplice is a fantastic WordPress theme, and many of you use it for its flexibility and design capabilities. However, one common challenge is creating popups, as Semplice doesn't have a built-in option for this.
I often hear from users needing to trigger a popup when someone clicks a button within their Semplice site.
In this article, I'll walk you through how to achieve this using Poper.
1. Create a Poper Account
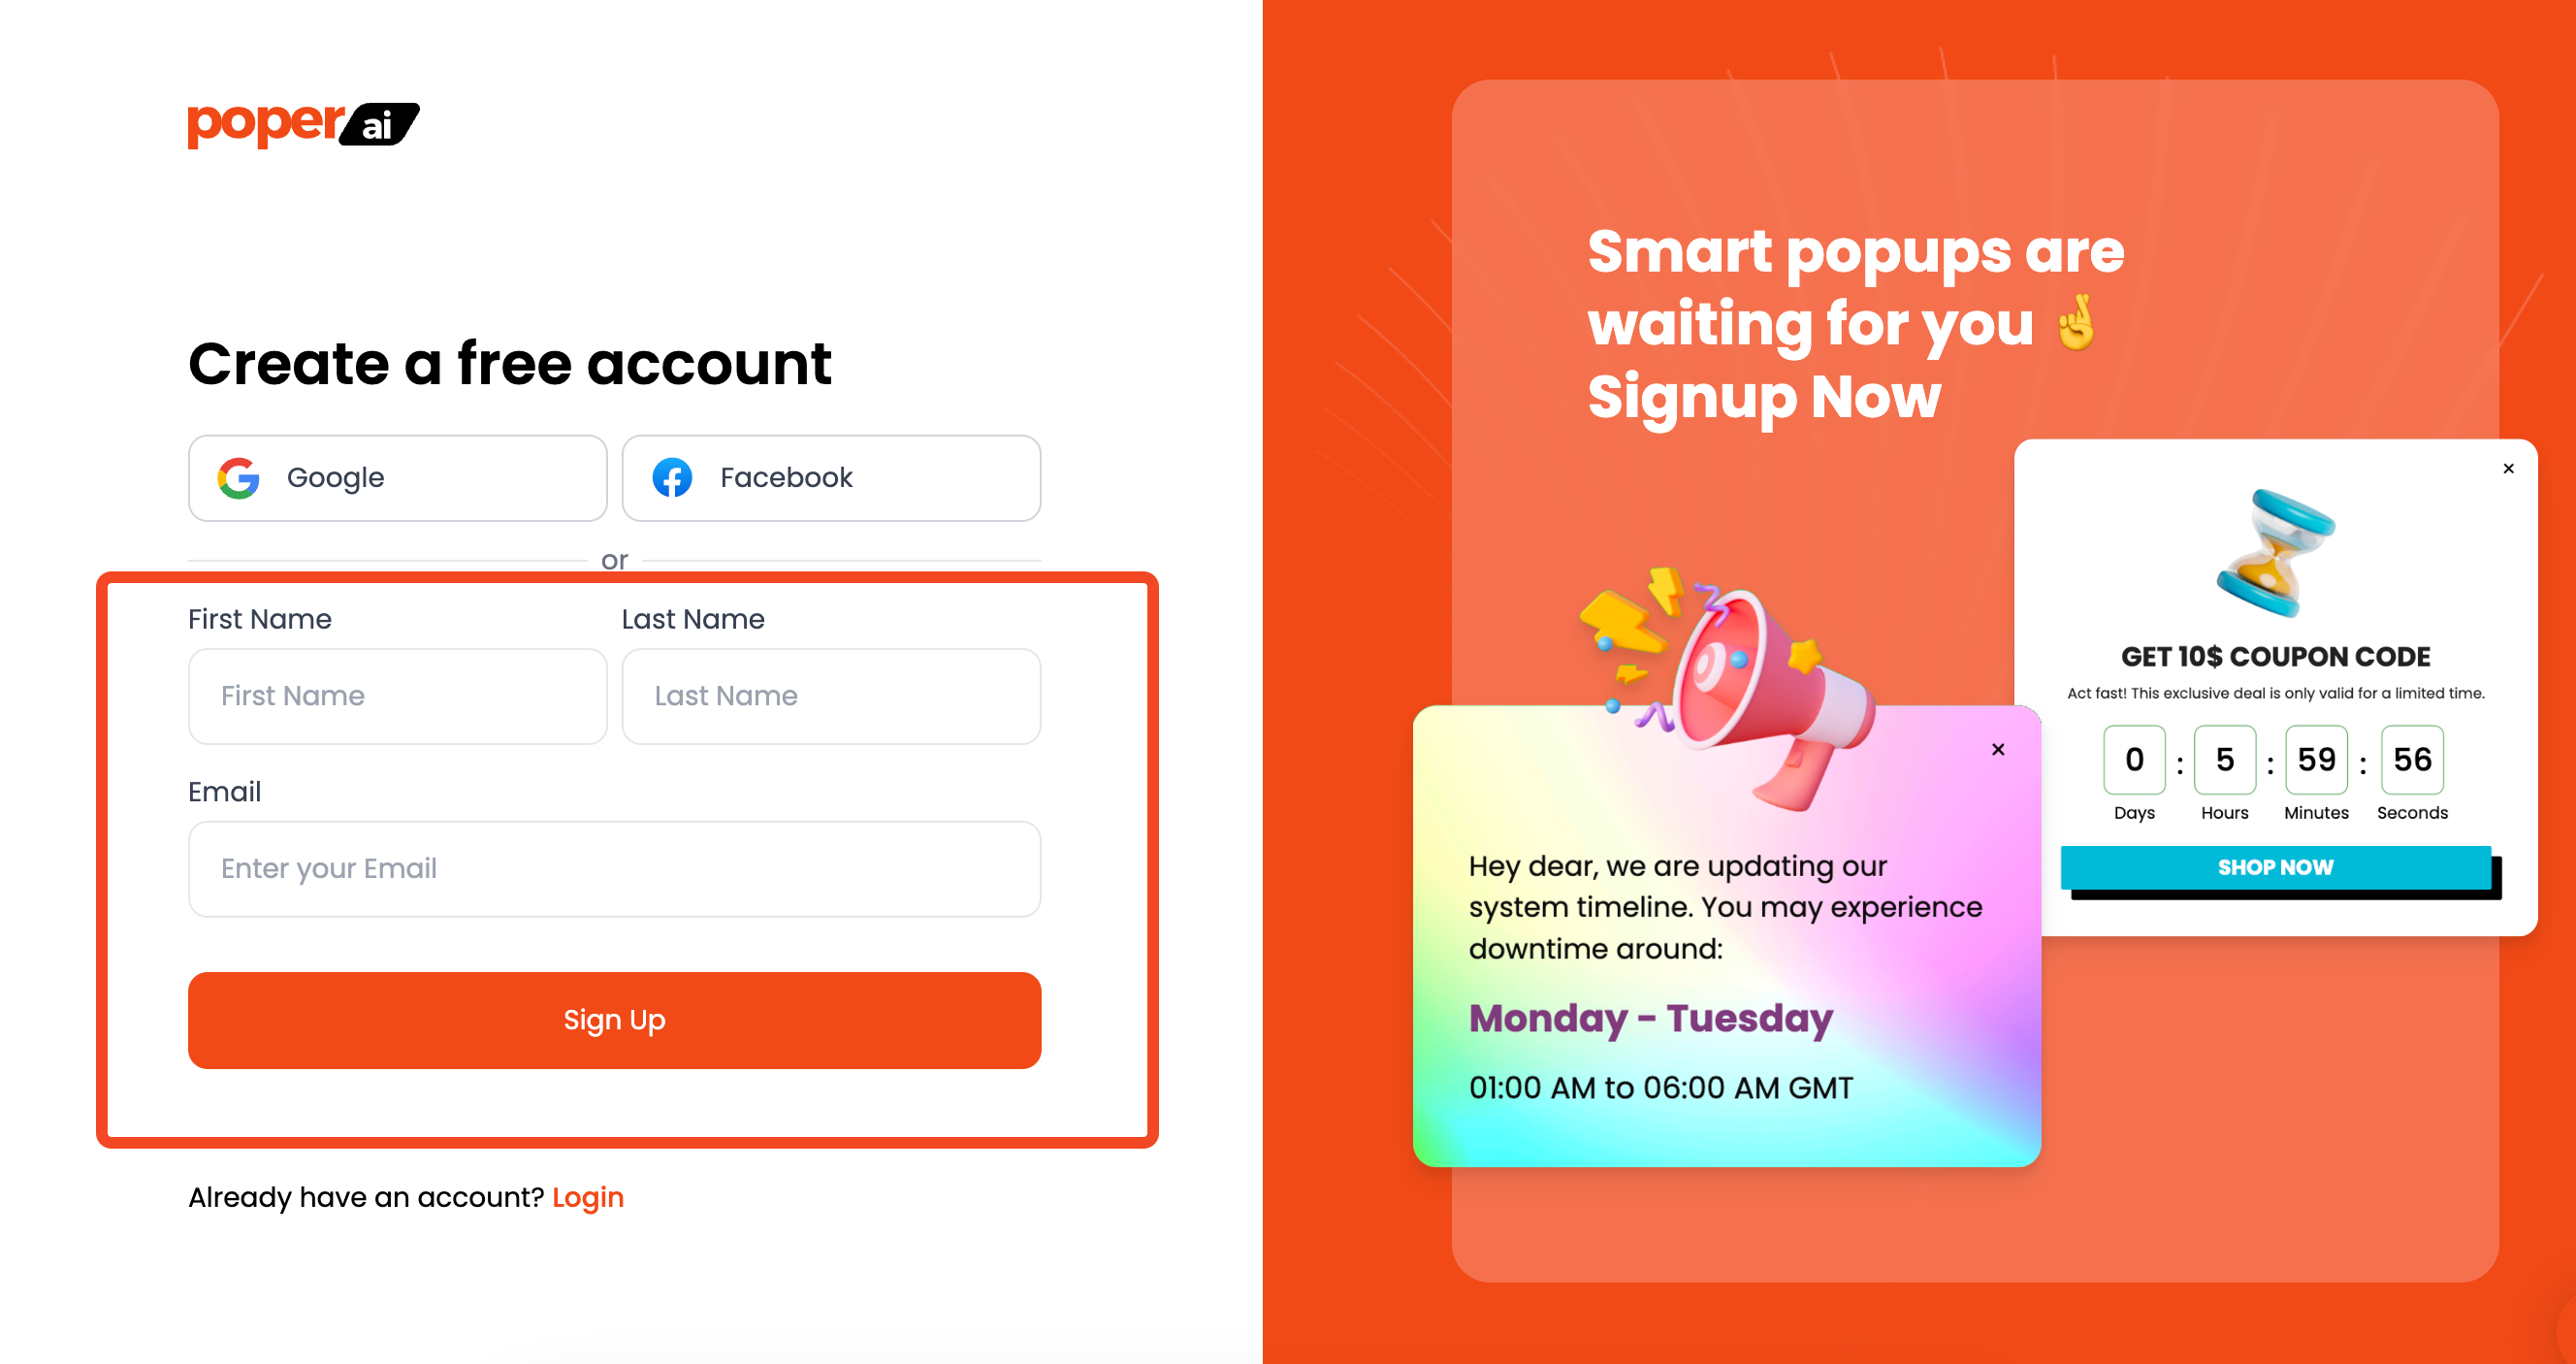
First things first, you’ll need an account with Poper. If you don't have one already, sign up now. Poper is where you'll build and manage your popups, including setting them to appear on button clicks.
2. Add Your Domain and Start a New Popup
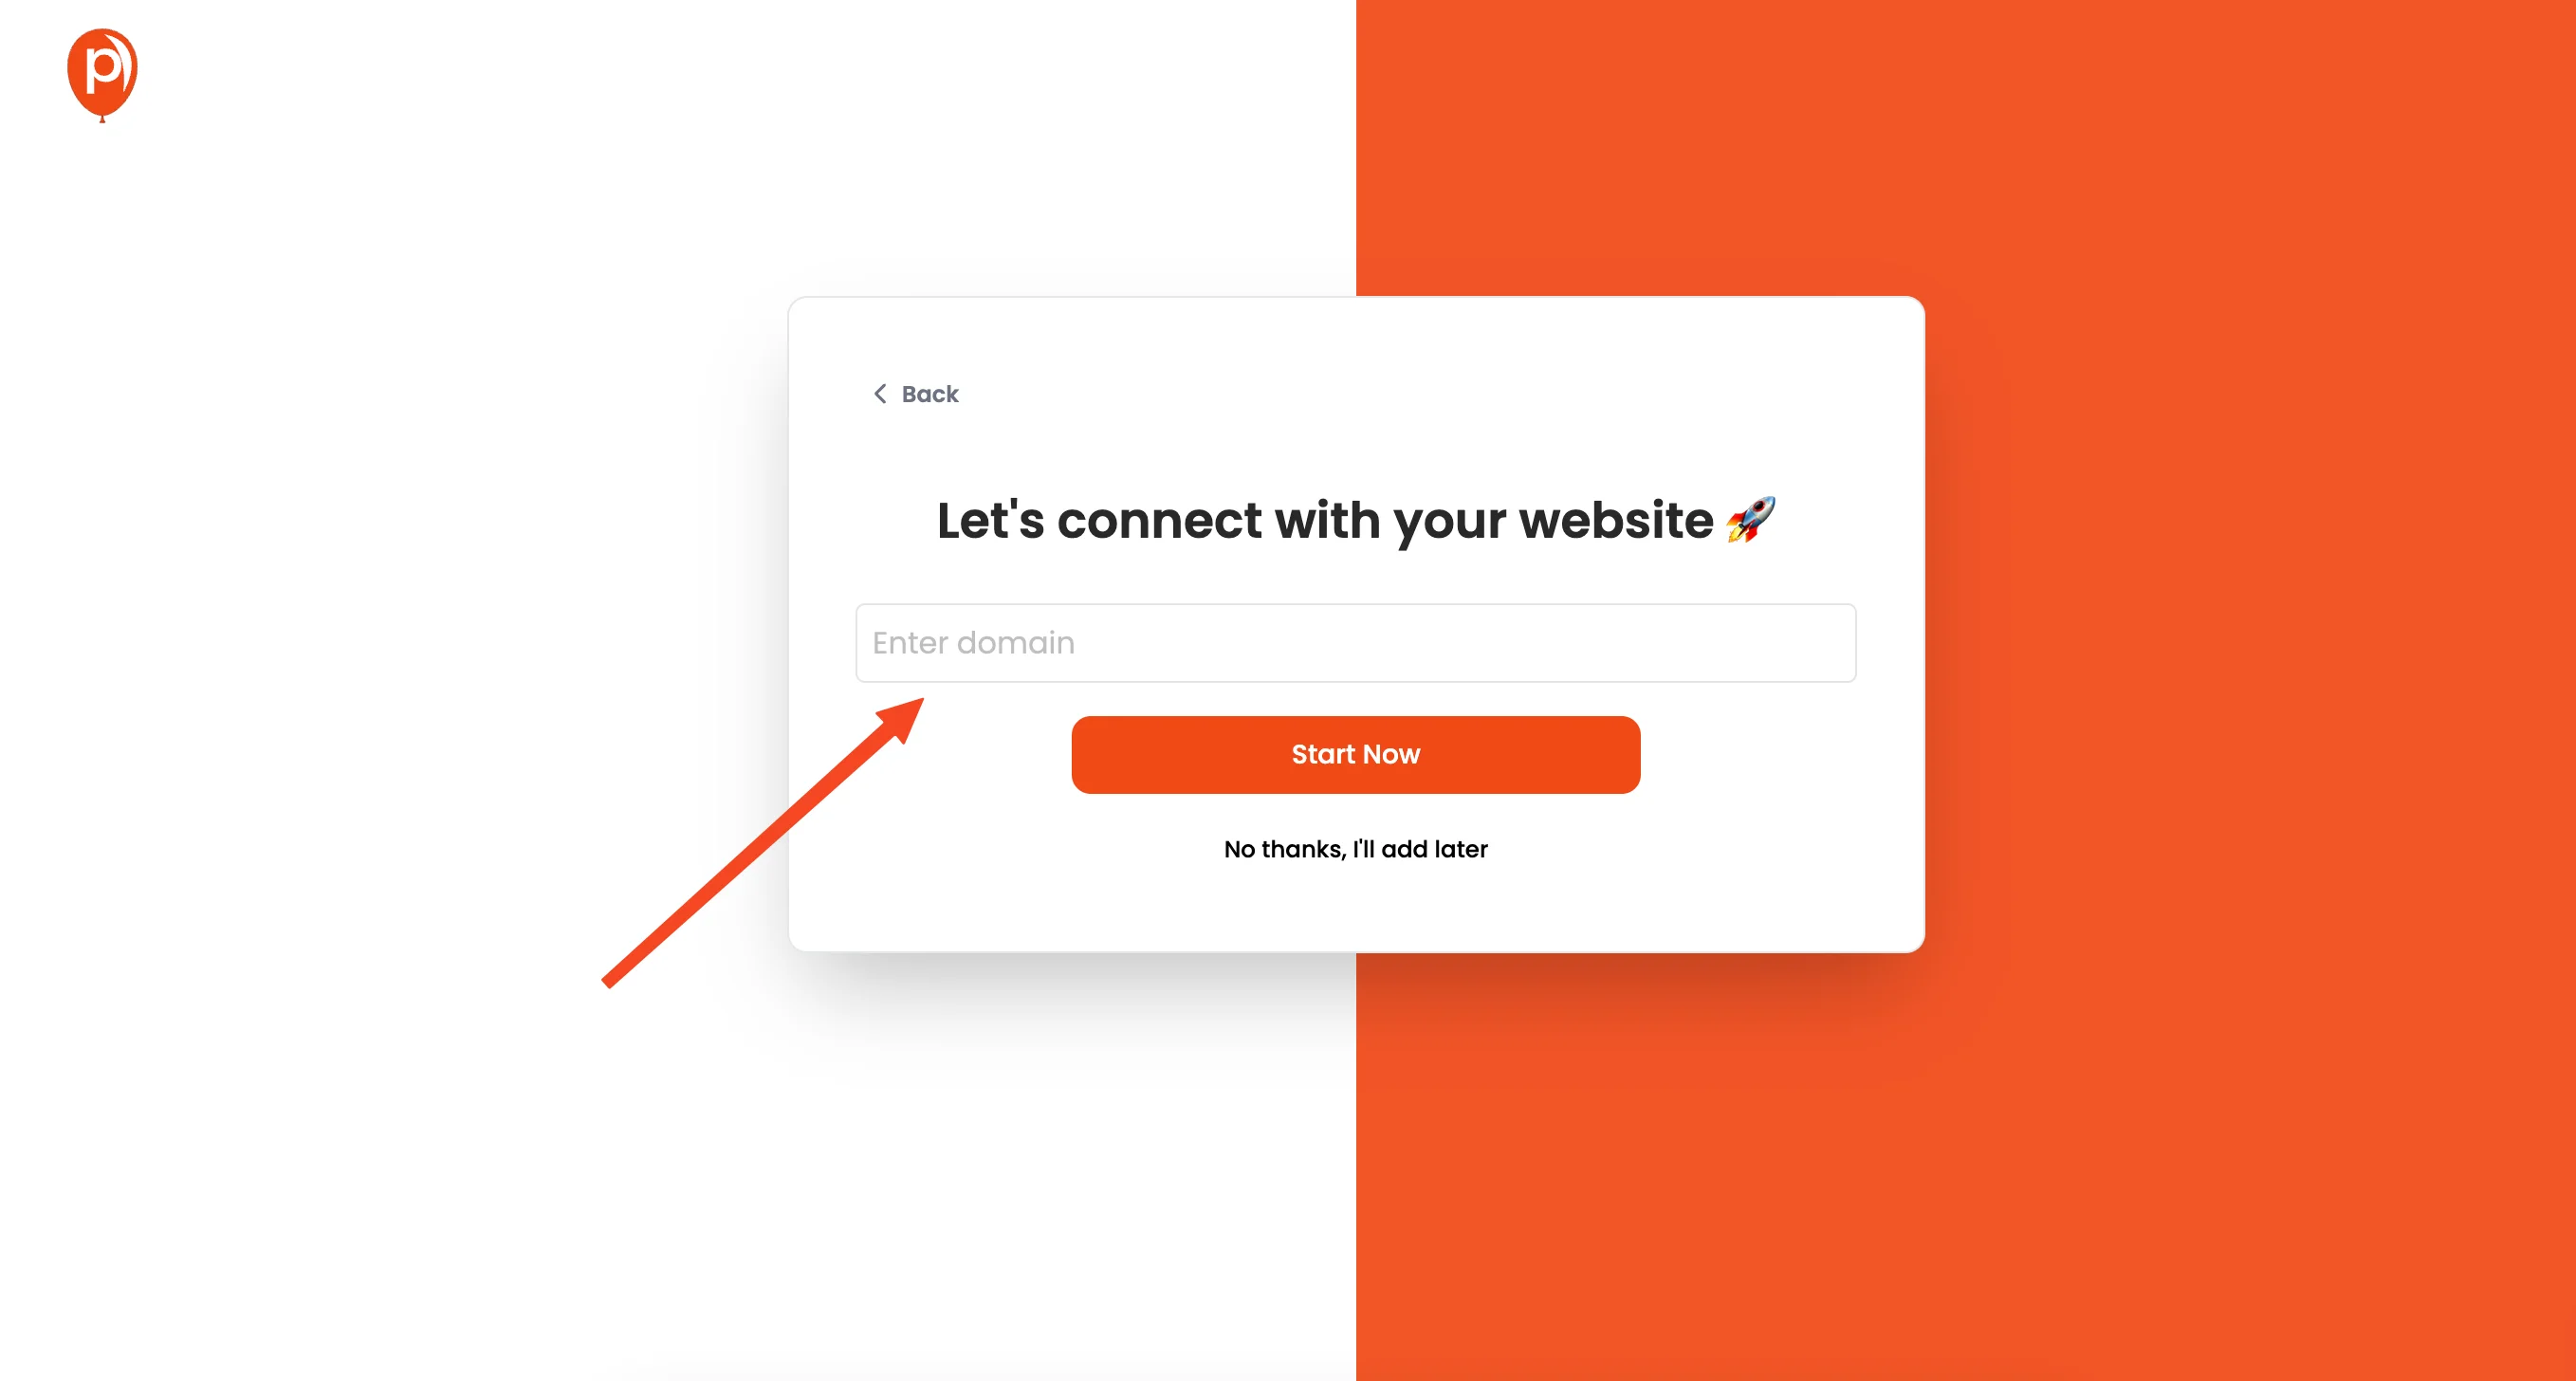
Once you're logged into your Poper account, you'll need to add your WordPress domain. This lets Poper know where to display your creations. Next, it's time to create your first popup. Click on the "New Popup" button to get started.
3. Choose a Template
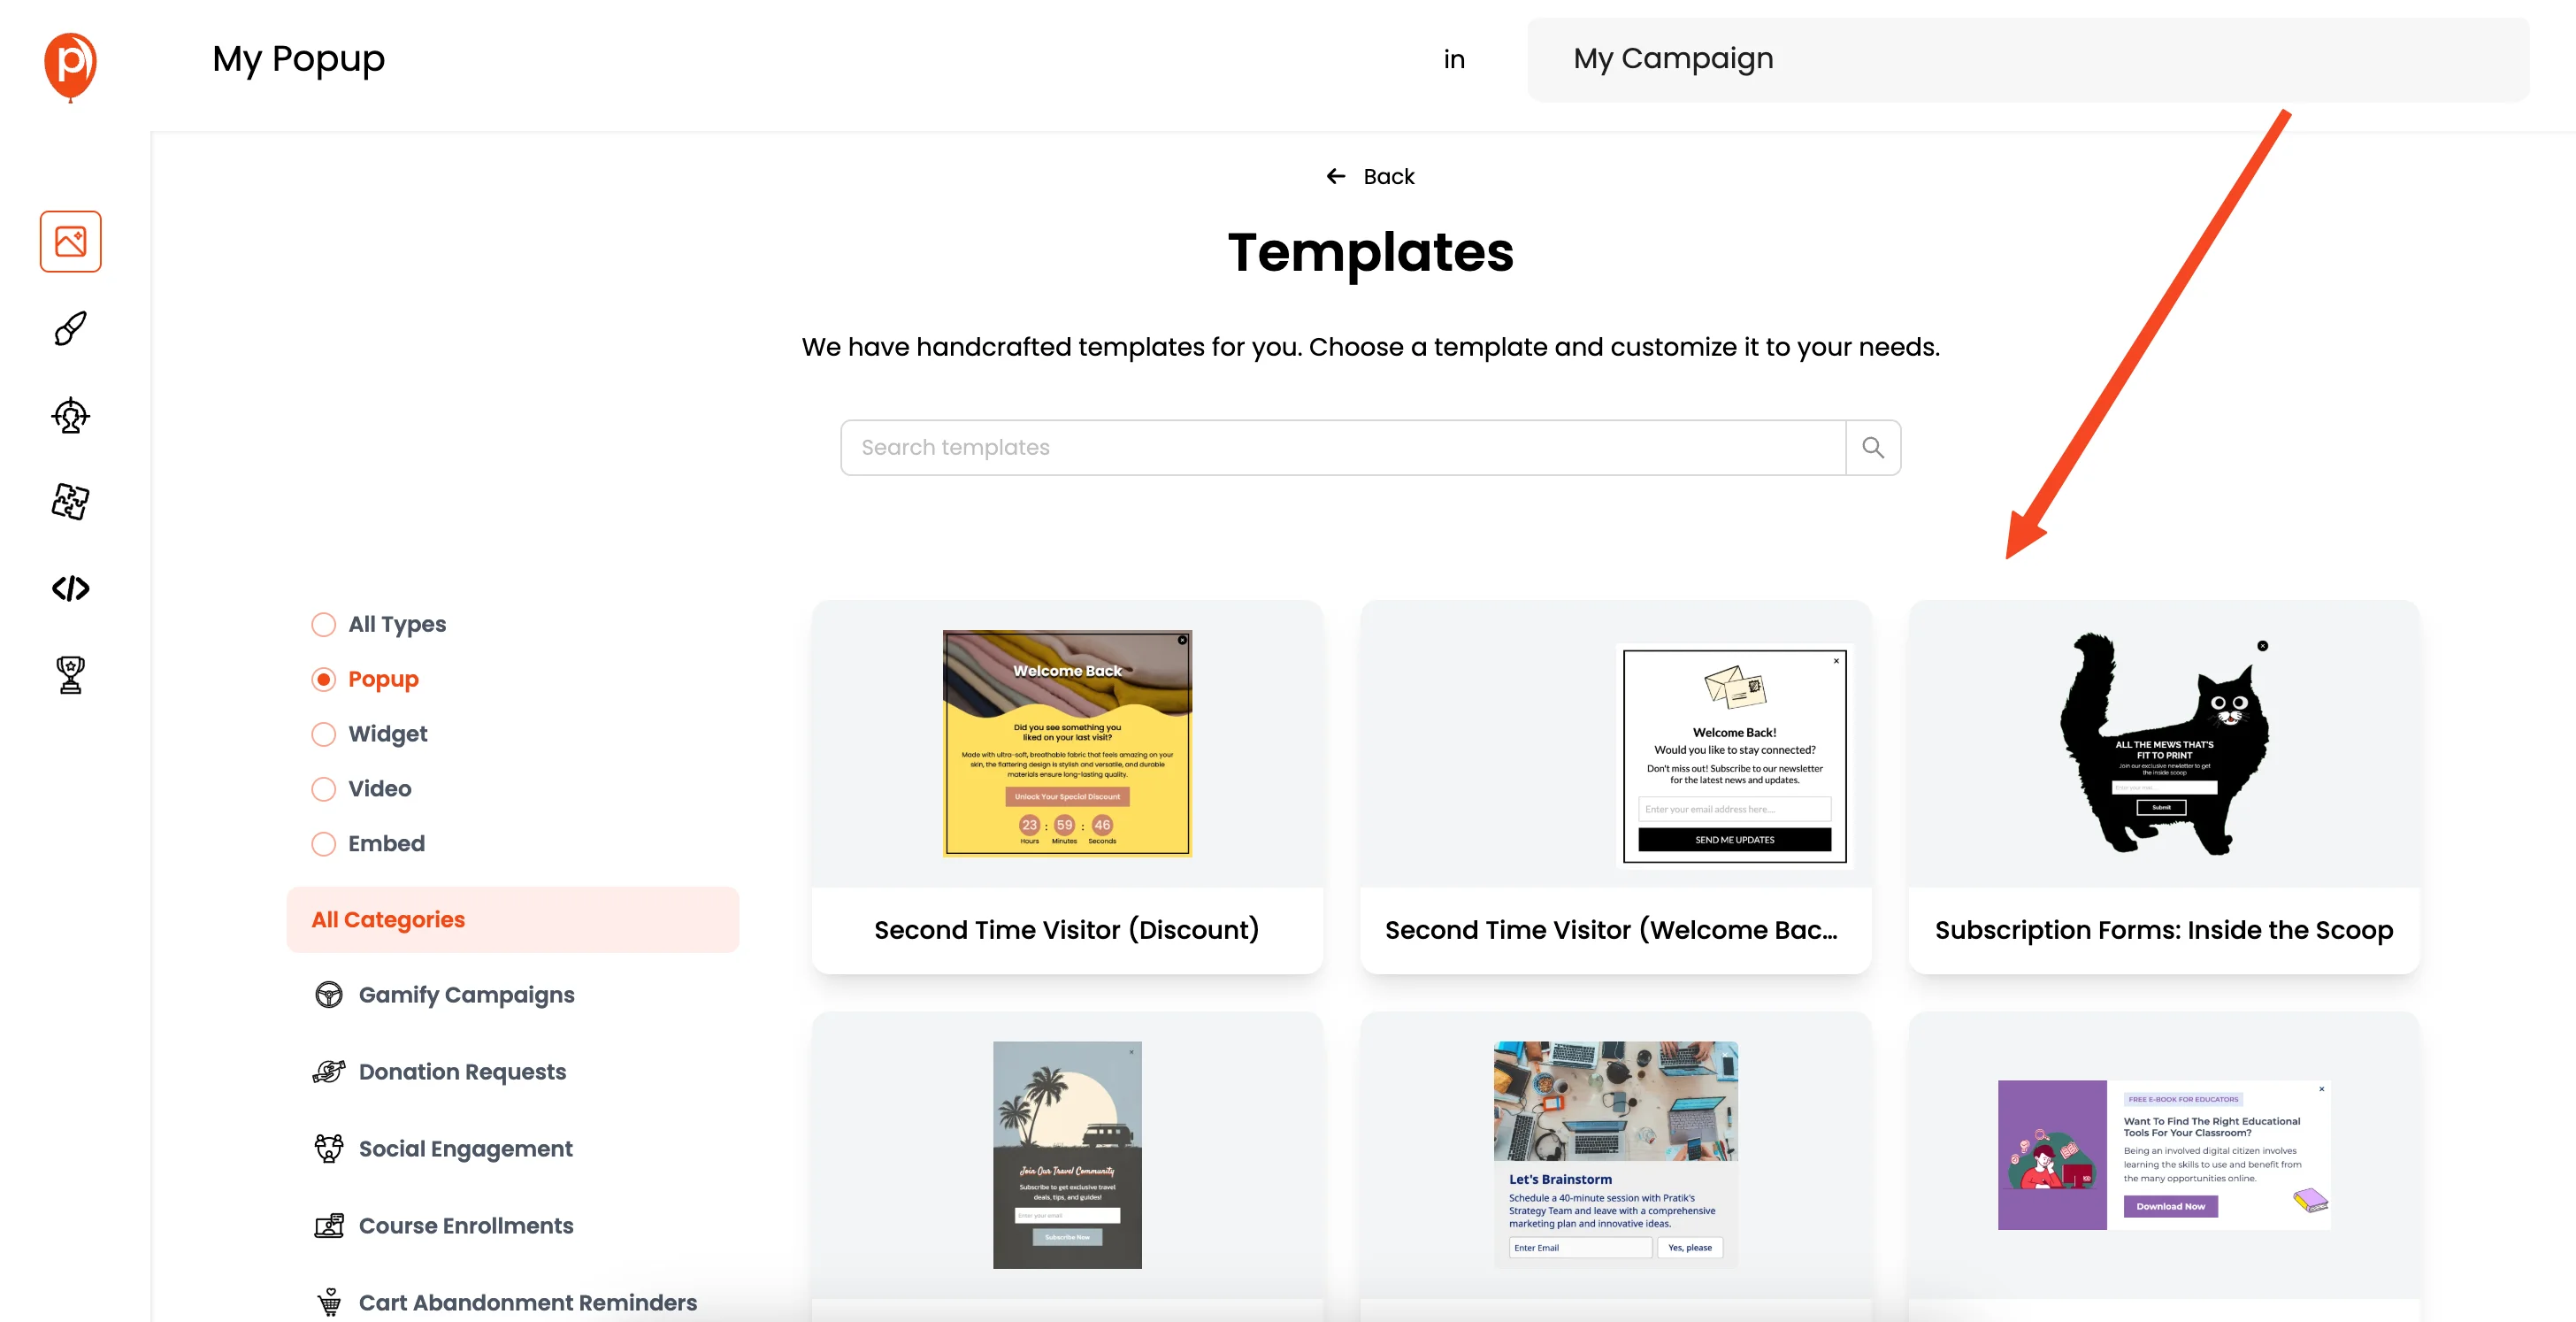
You have two options here: You can either choose a pre-designed template or start with a blank canvas. If you’re looking for a quick start, browse through our template library. We’ve got plenty of templates that are ready to go, covering various purposes such as marketing campaigns and email capture. Feel free to explore and pick what suits your needs.
4. Customize Your Popup Design
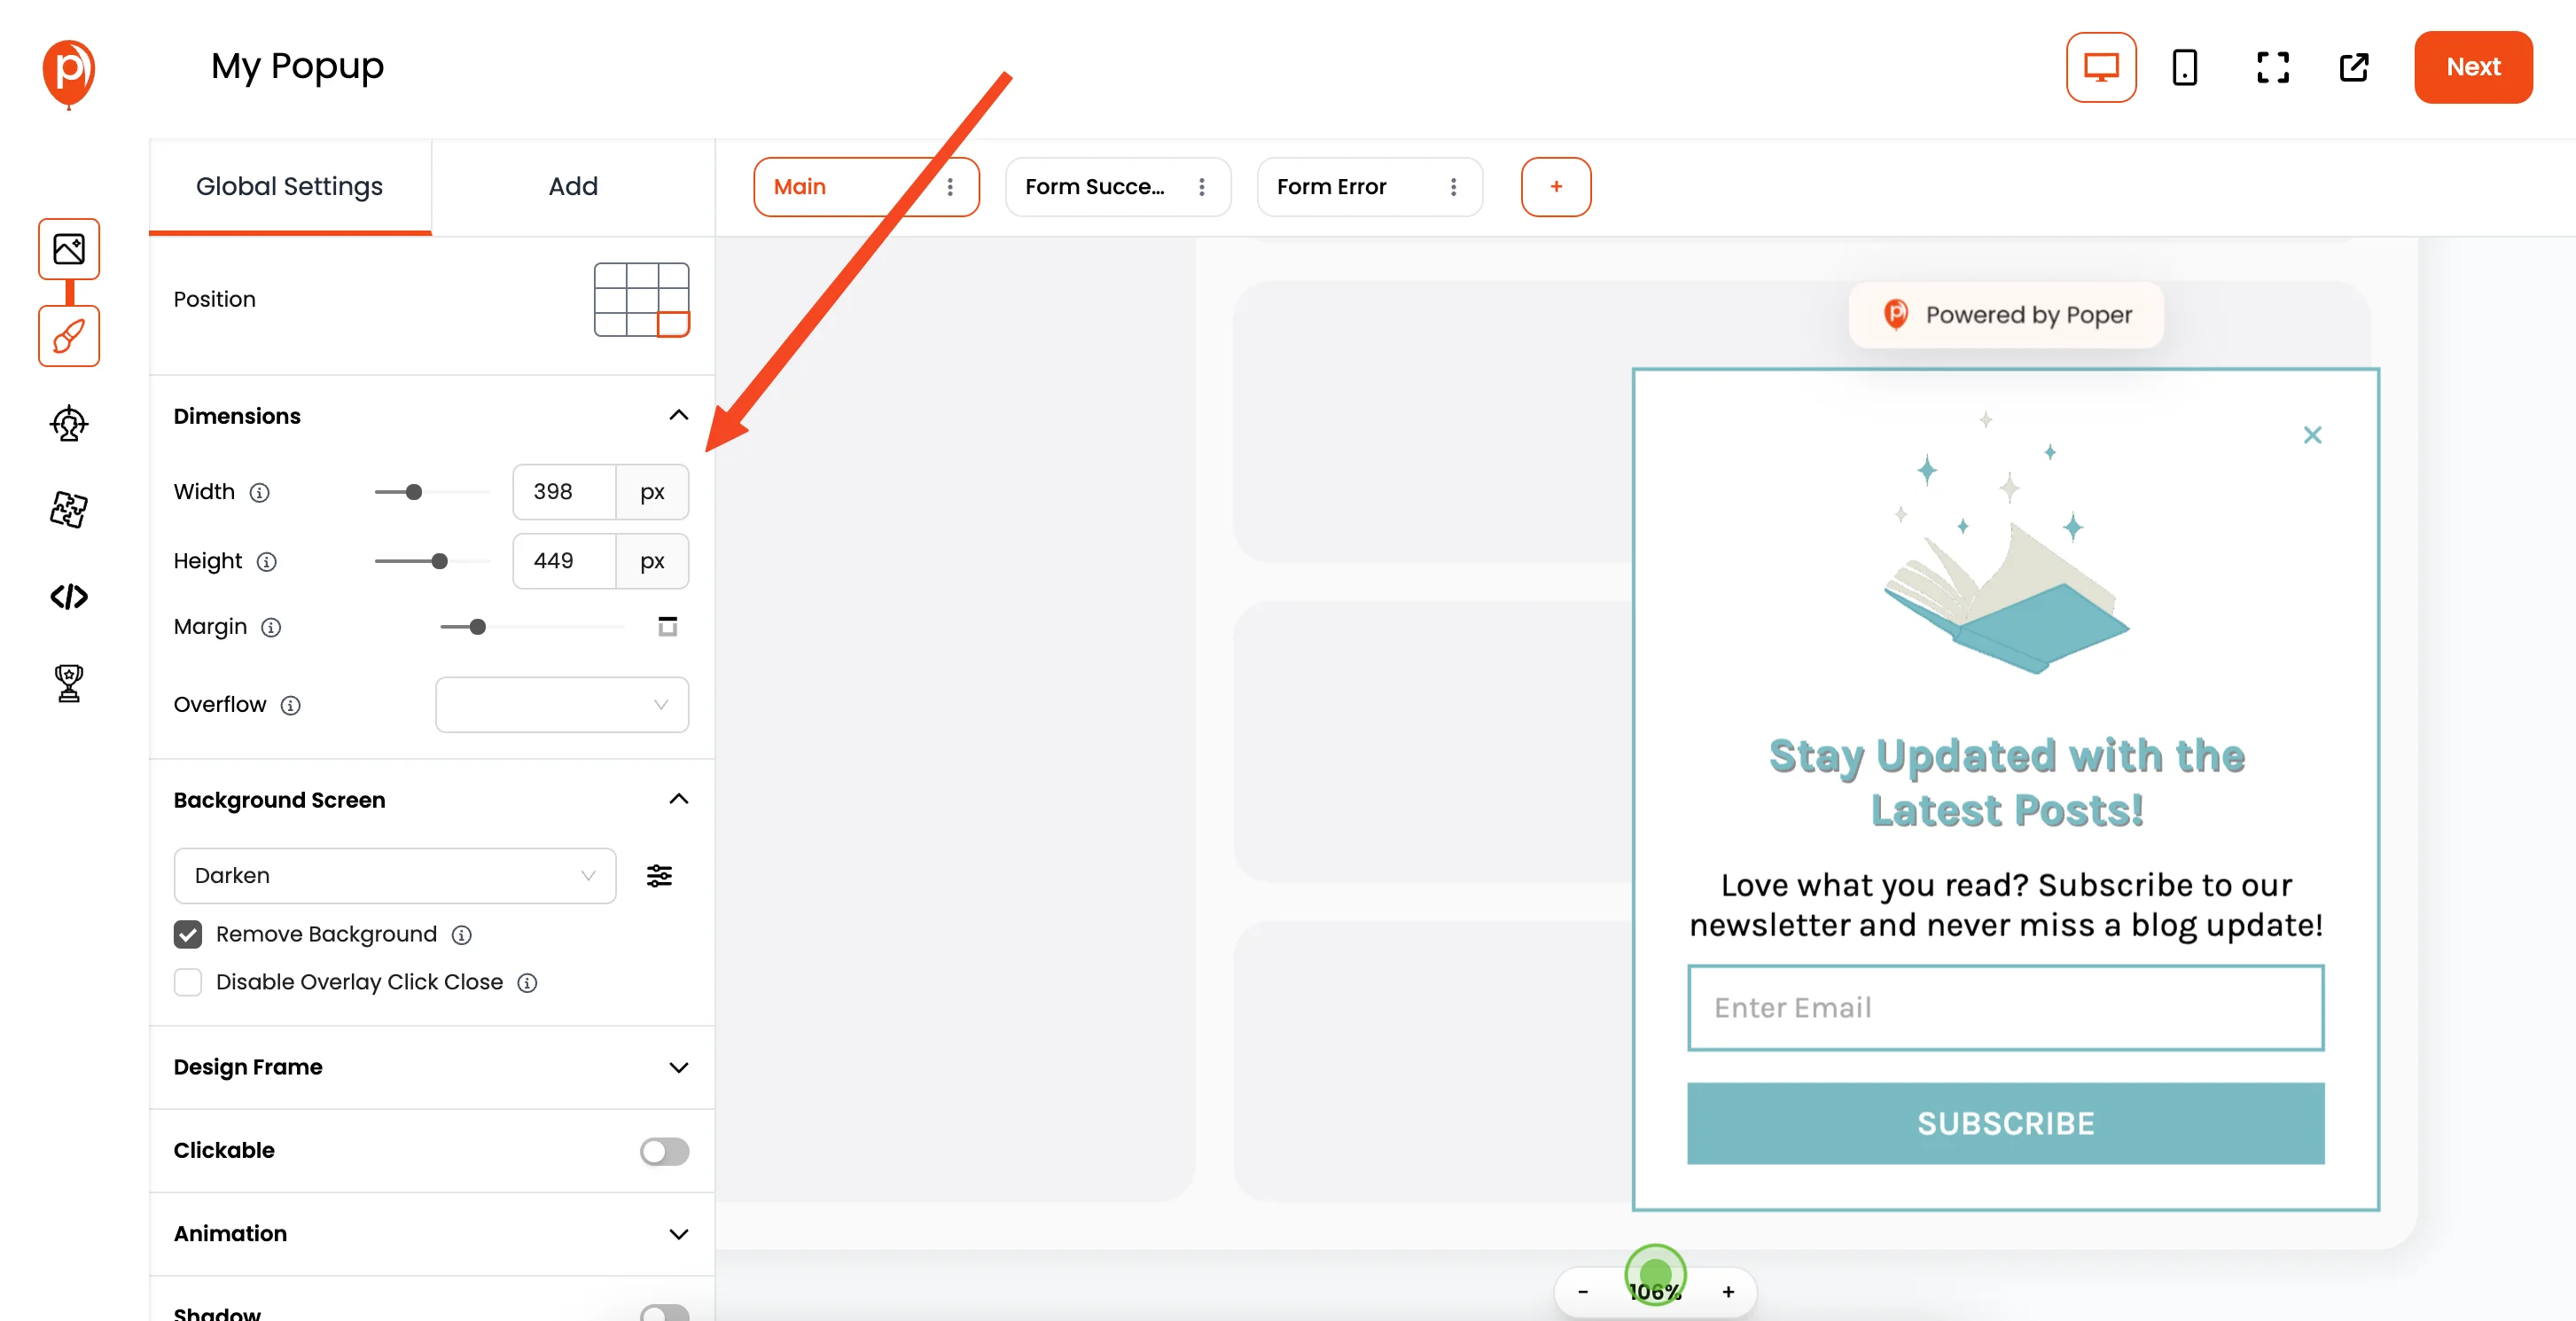
After picking your template, you'll be taken to the popup editor. This is where you personalize your popup to match your brand. Customize everything, from fonts and colors to the actual content inside the popup. You can take your time here until you’re fully happy with the design.
5. Set the "On Click" Trigger
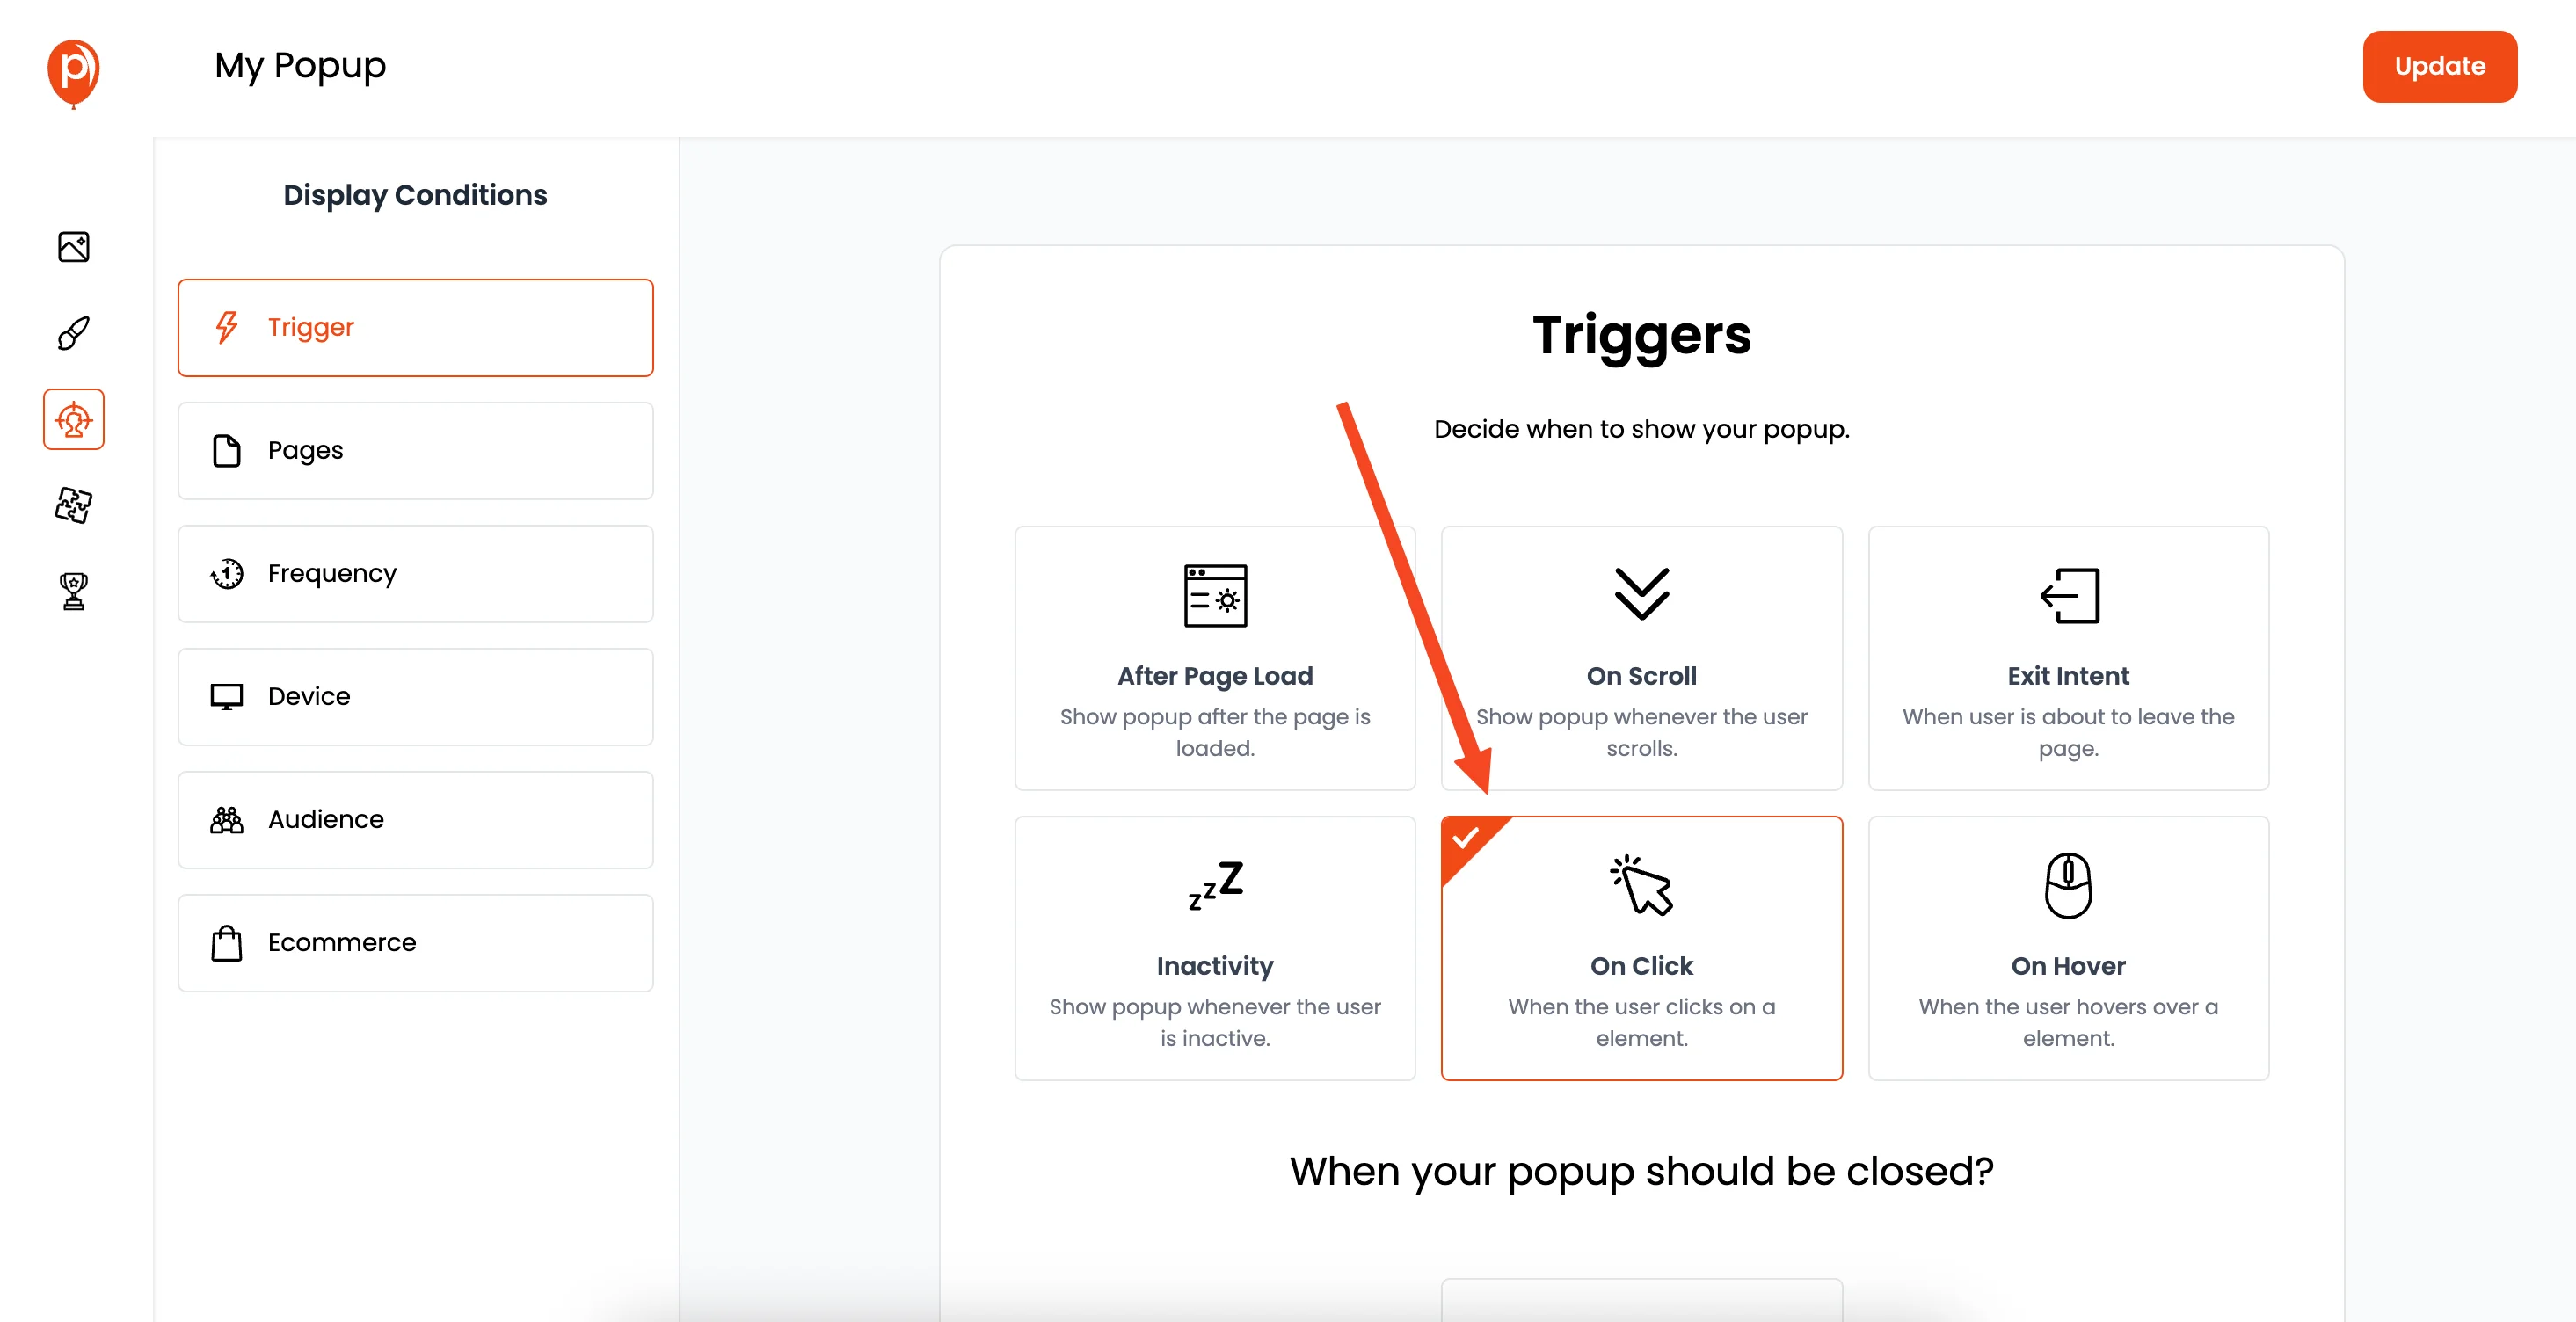
Once your design is complete, click "Next" to proceed to the Display Conditions page. Here, navigate to the "Triggers" tab. You'll find an "On Click" trigger option – select it. This is where you'll define what button click will activate your popup by adding a CSS selector. Don't worry; we’ll cover how to get that next.
6. Add a CSS Class to Your Semplice Button
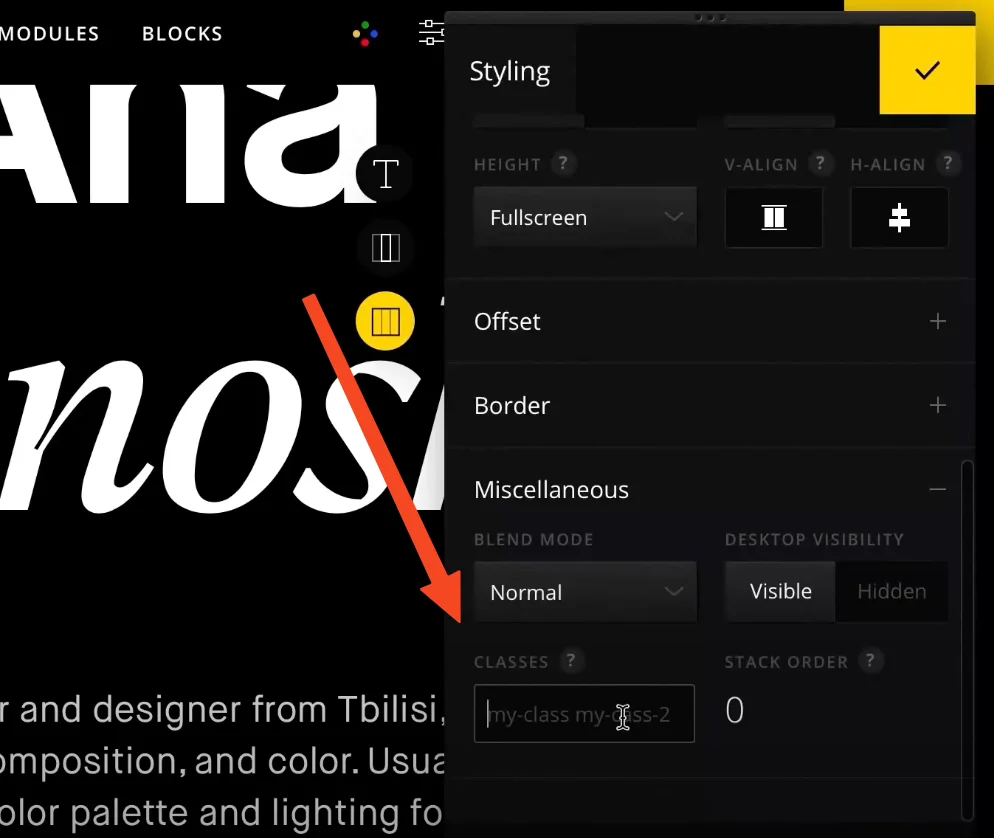
Now, jump over to your Semplice Theme Editor. Select the button you want to trigger your popup and go to Settings, then “Styling”, then “Miscellaneous,” and finally, you’ll find “Classes”. Add the class my-popup-btn.
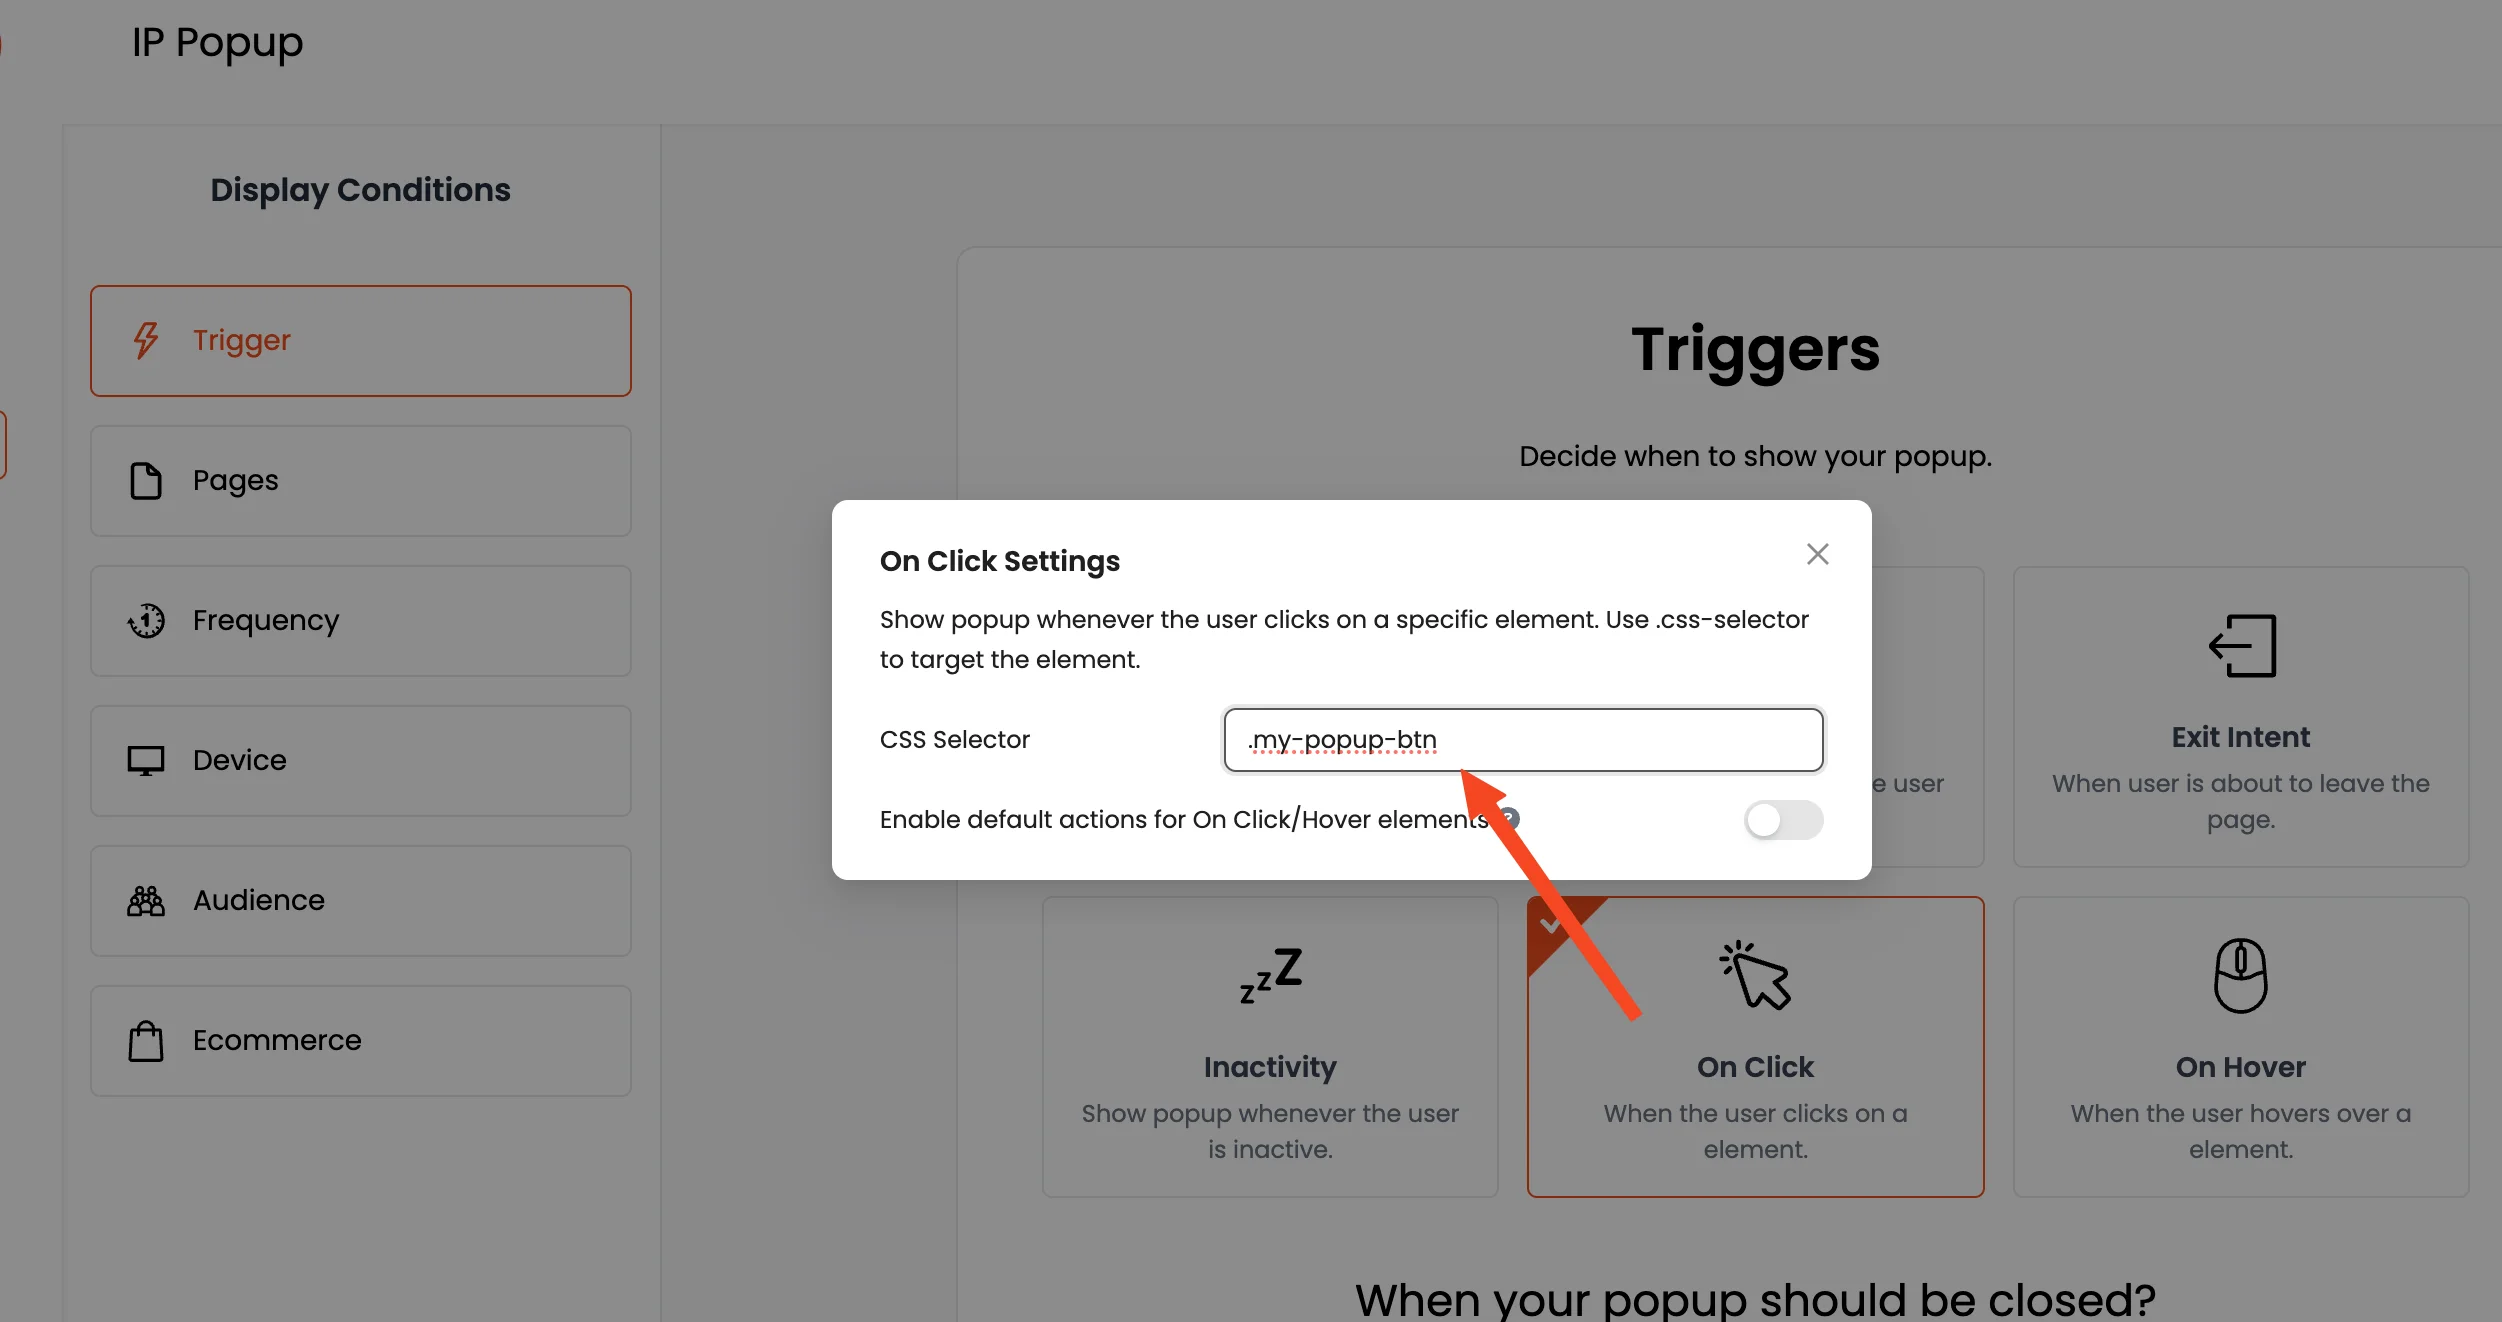
Go back to Poper's "On Click" trigger settings, and enter .my-popup-btn in the CSS selector field. Now, when this button is clicked, it will trigger your popup.
7. Target Your Popup (Optional)
While on the Display Conditions page, you can further refine where your popup appears. You have the power to target specific pages, audience demographics, and more if needed.
8. Connect Your Integrations
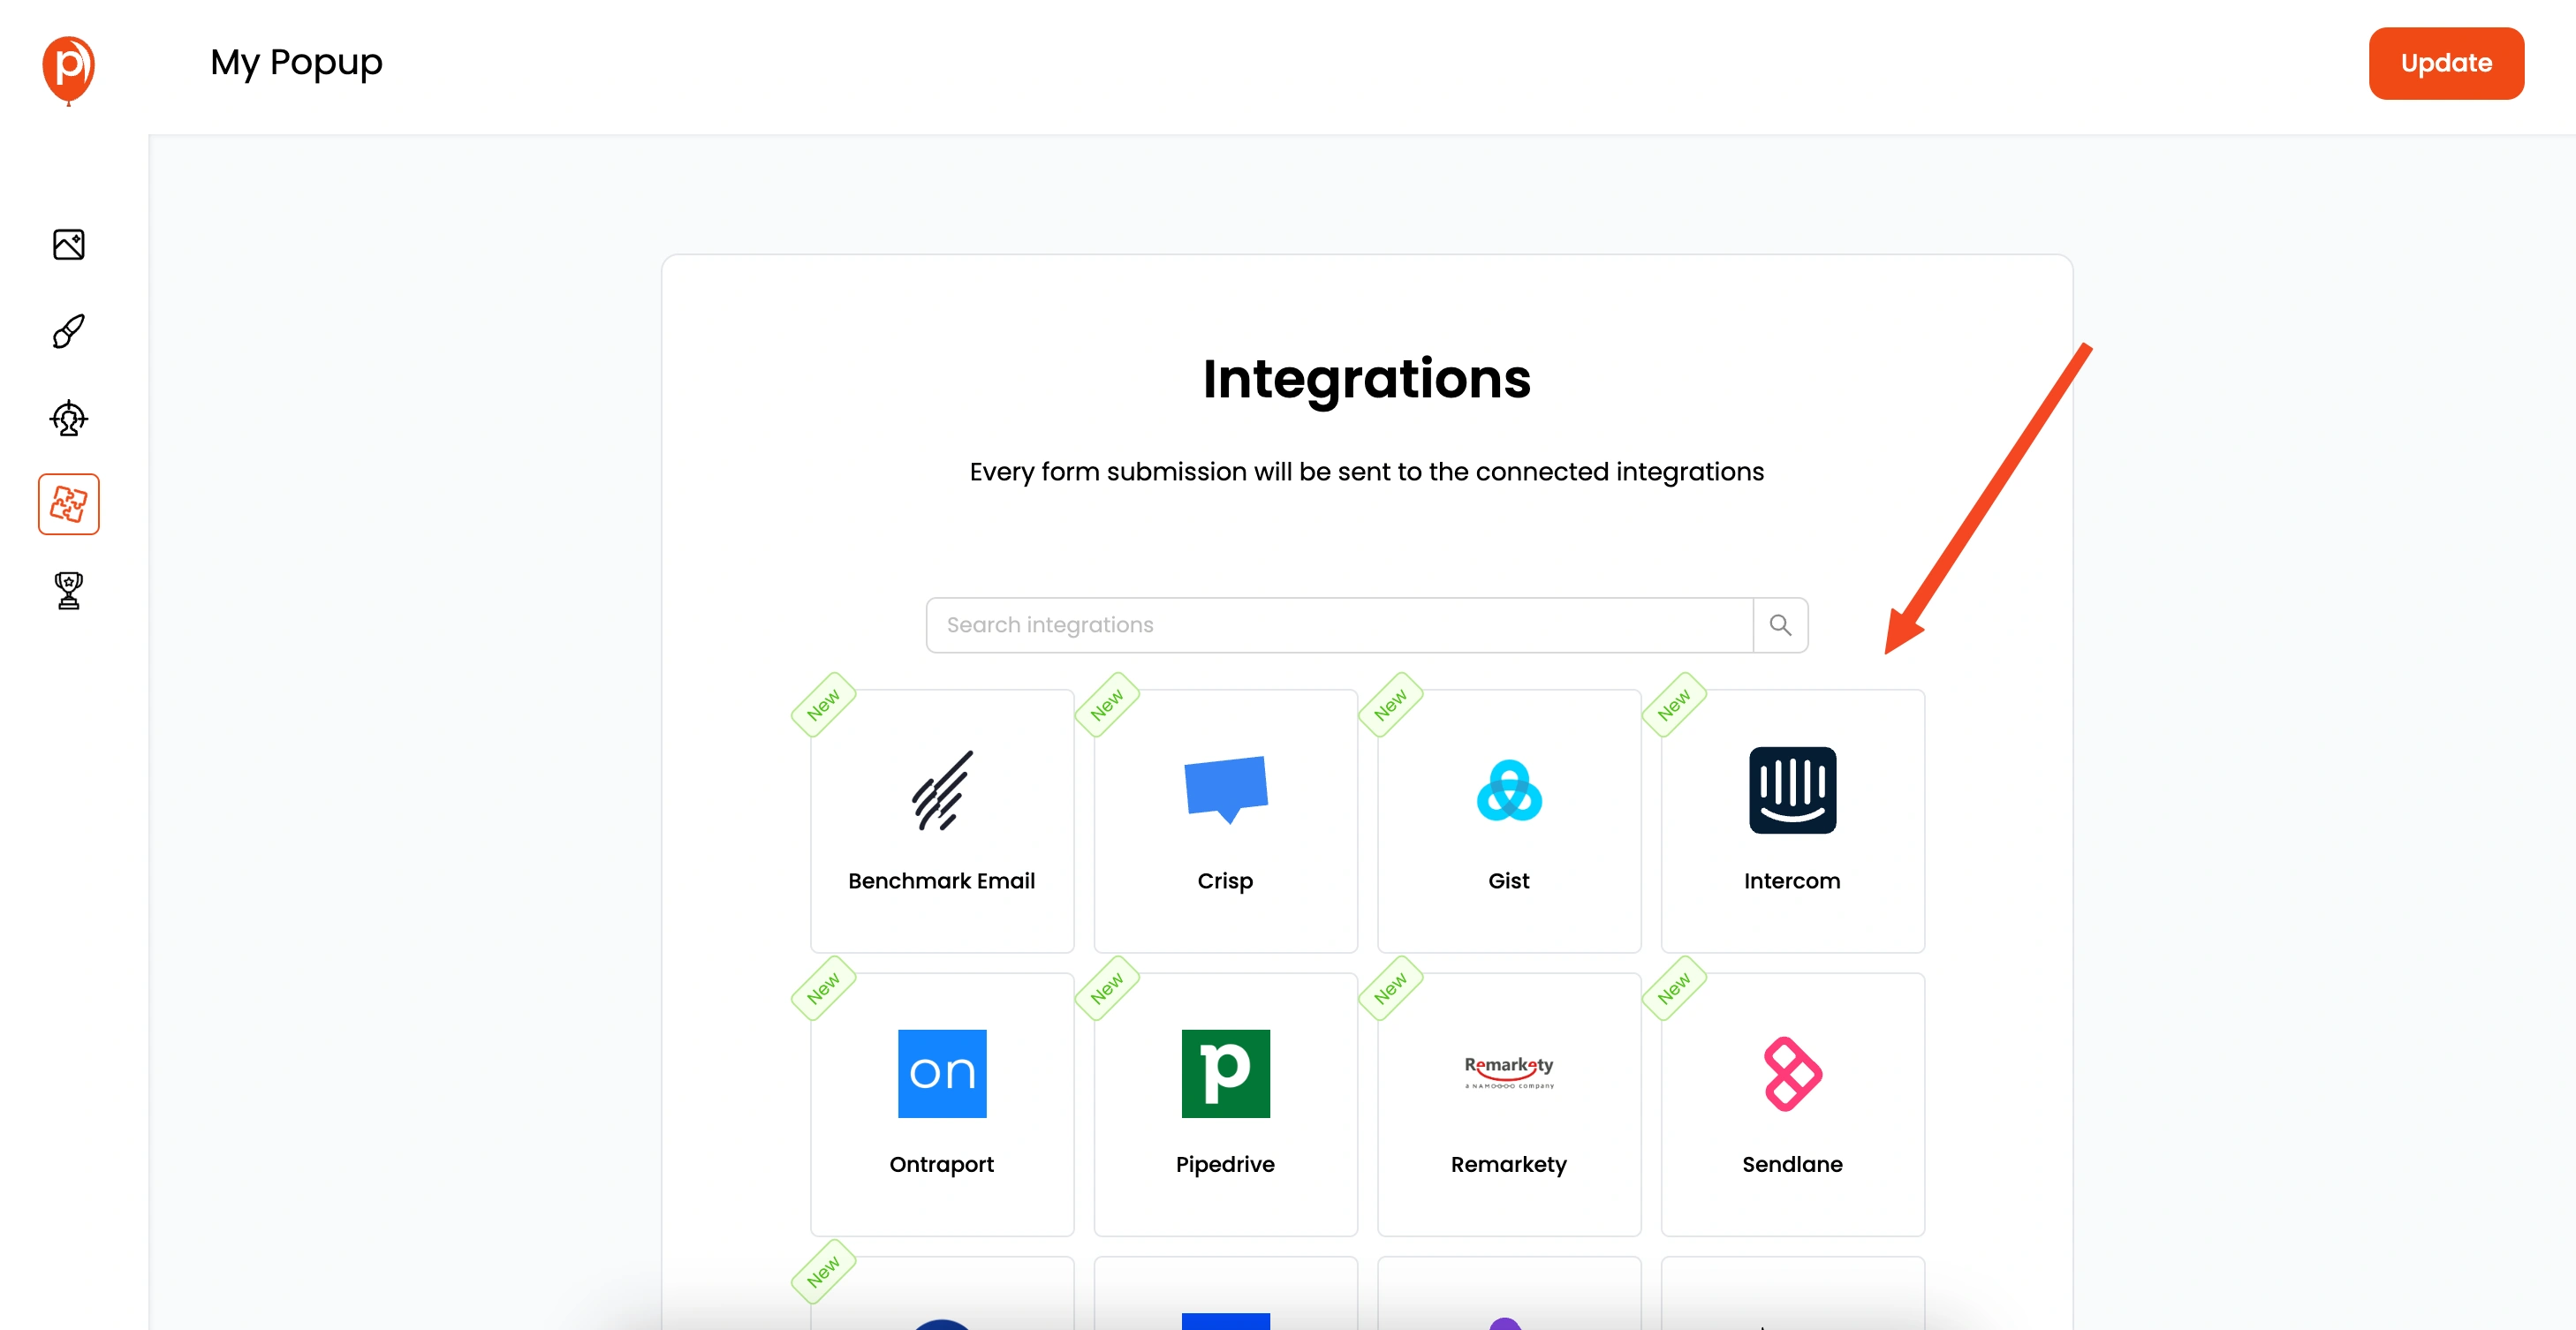
Click "Next" again to get to the Integrations page. Here you can connect Poper with various email marketing tools like Omnisend, Mailchimp, Klaviyo, and others. This is especially helpful if you want to capture user details directly into your marketing channels. Complete the steps to connect your favorite platforms.
9. Save and Publish Your Popup
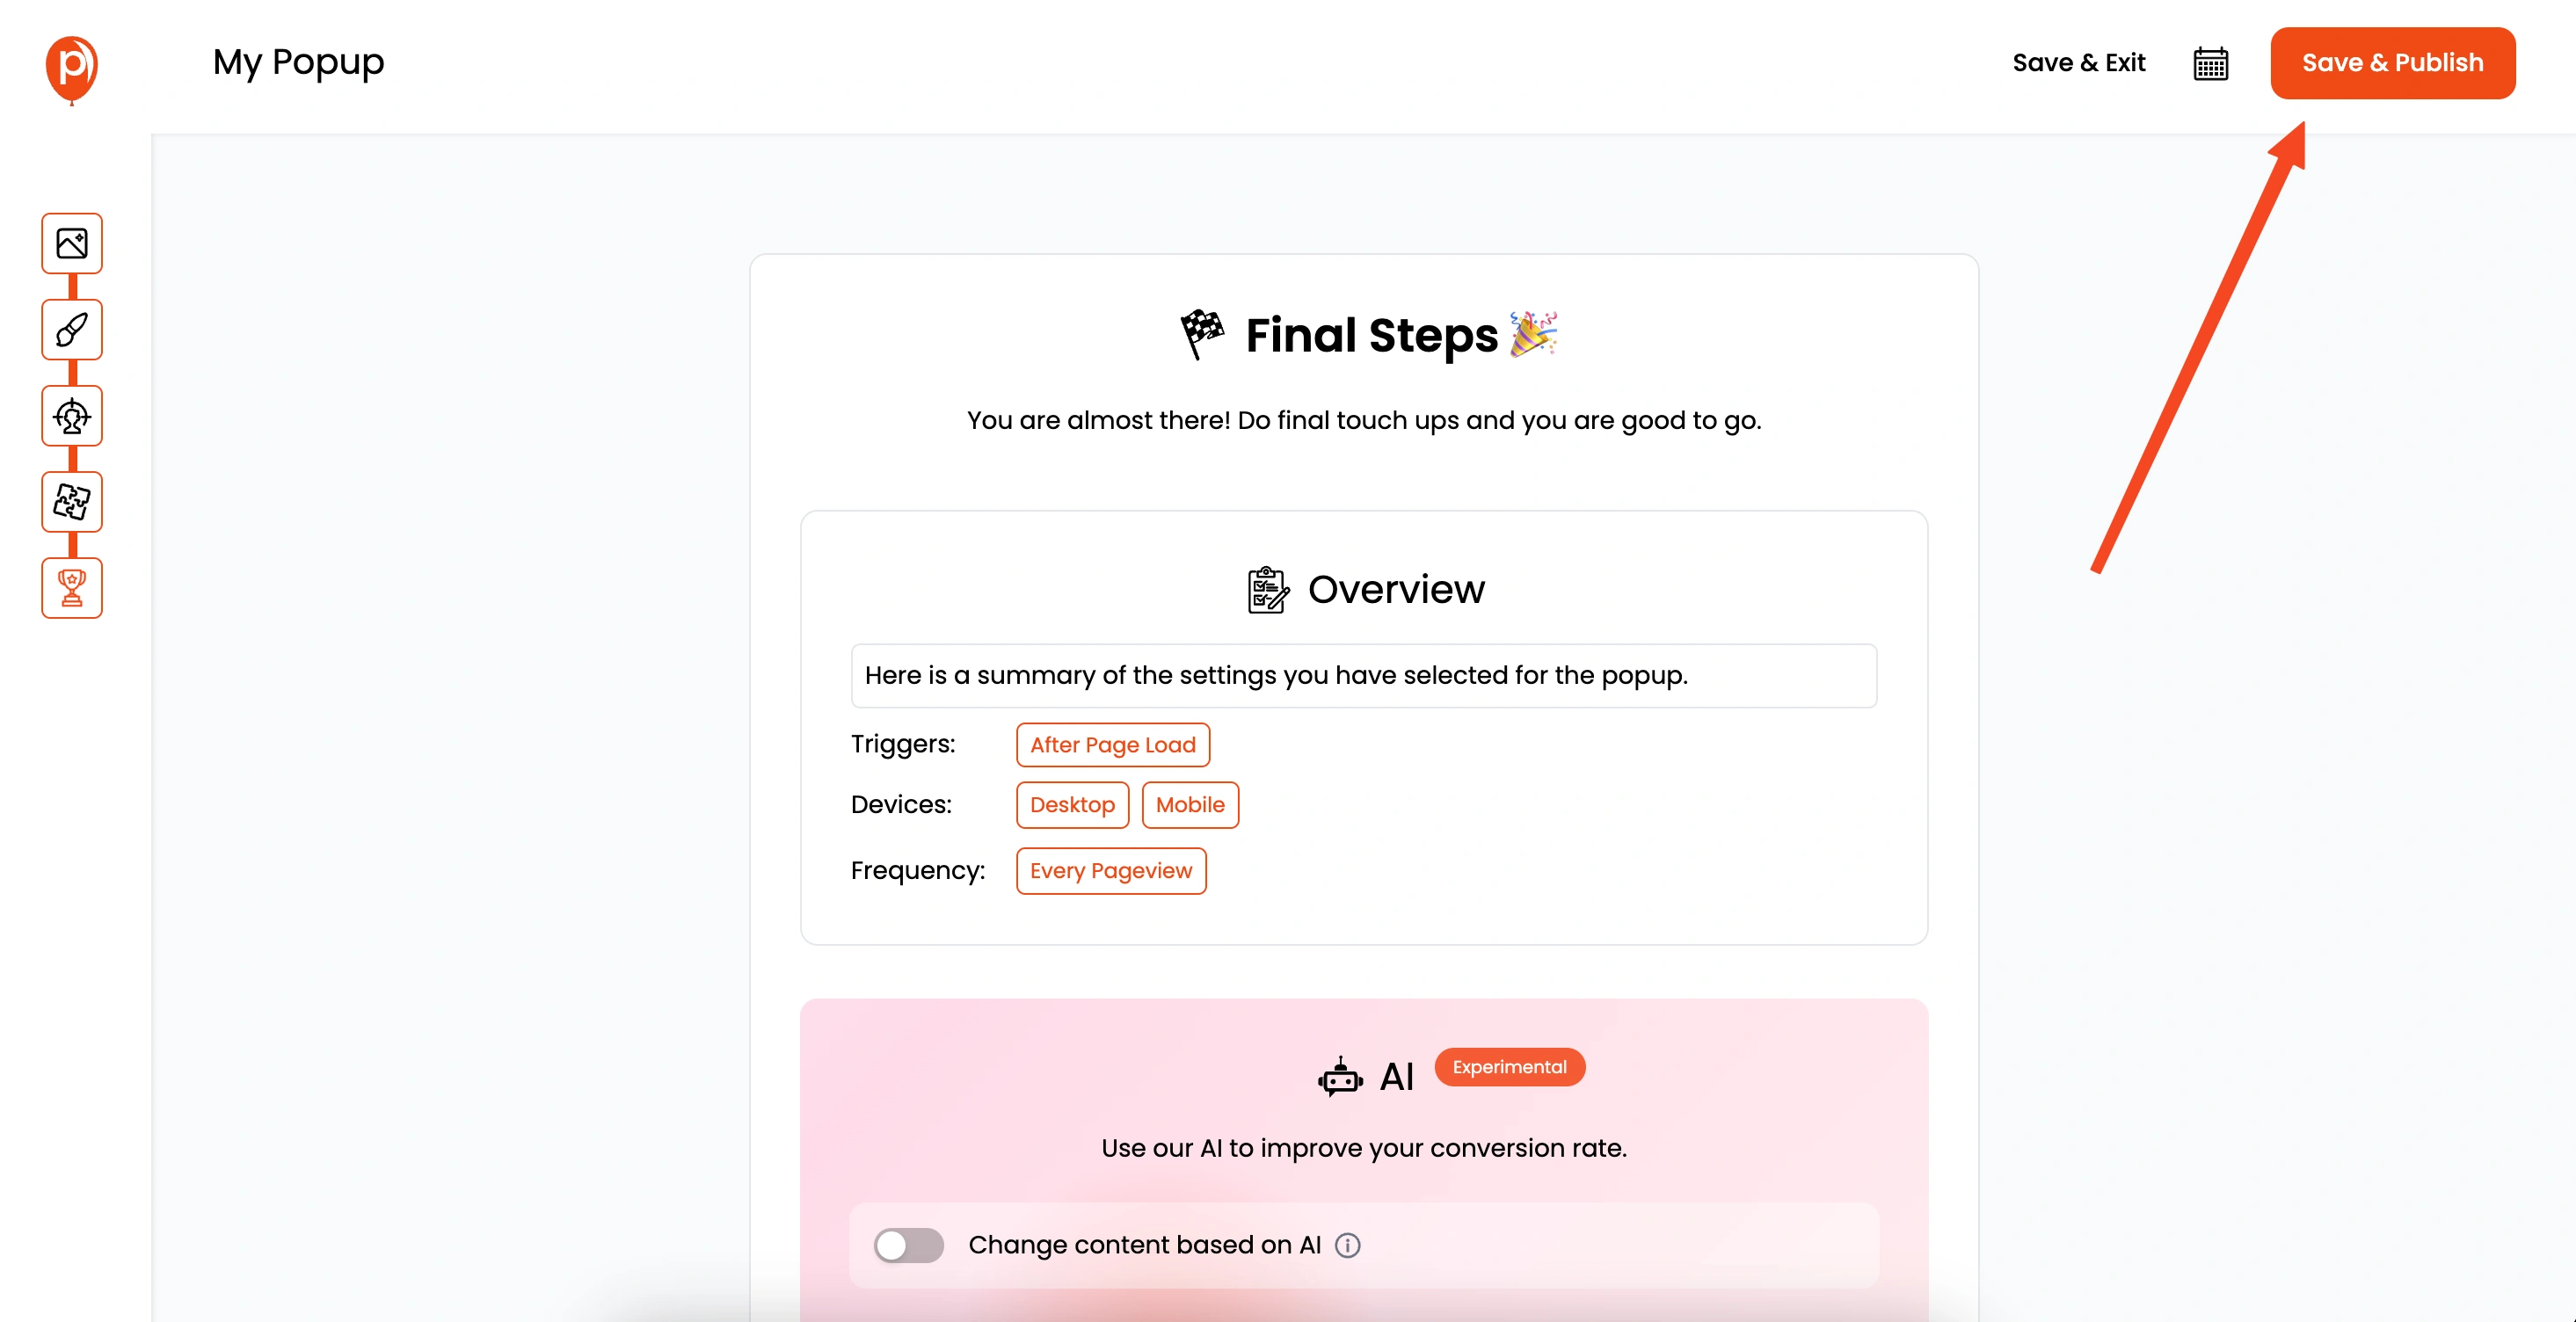
Once you're happy with your trigger settings and integrations, it's time to save and publish your popup. Click “Save & Publish” to make it live.
10. Install the Poper WordPress Plugin
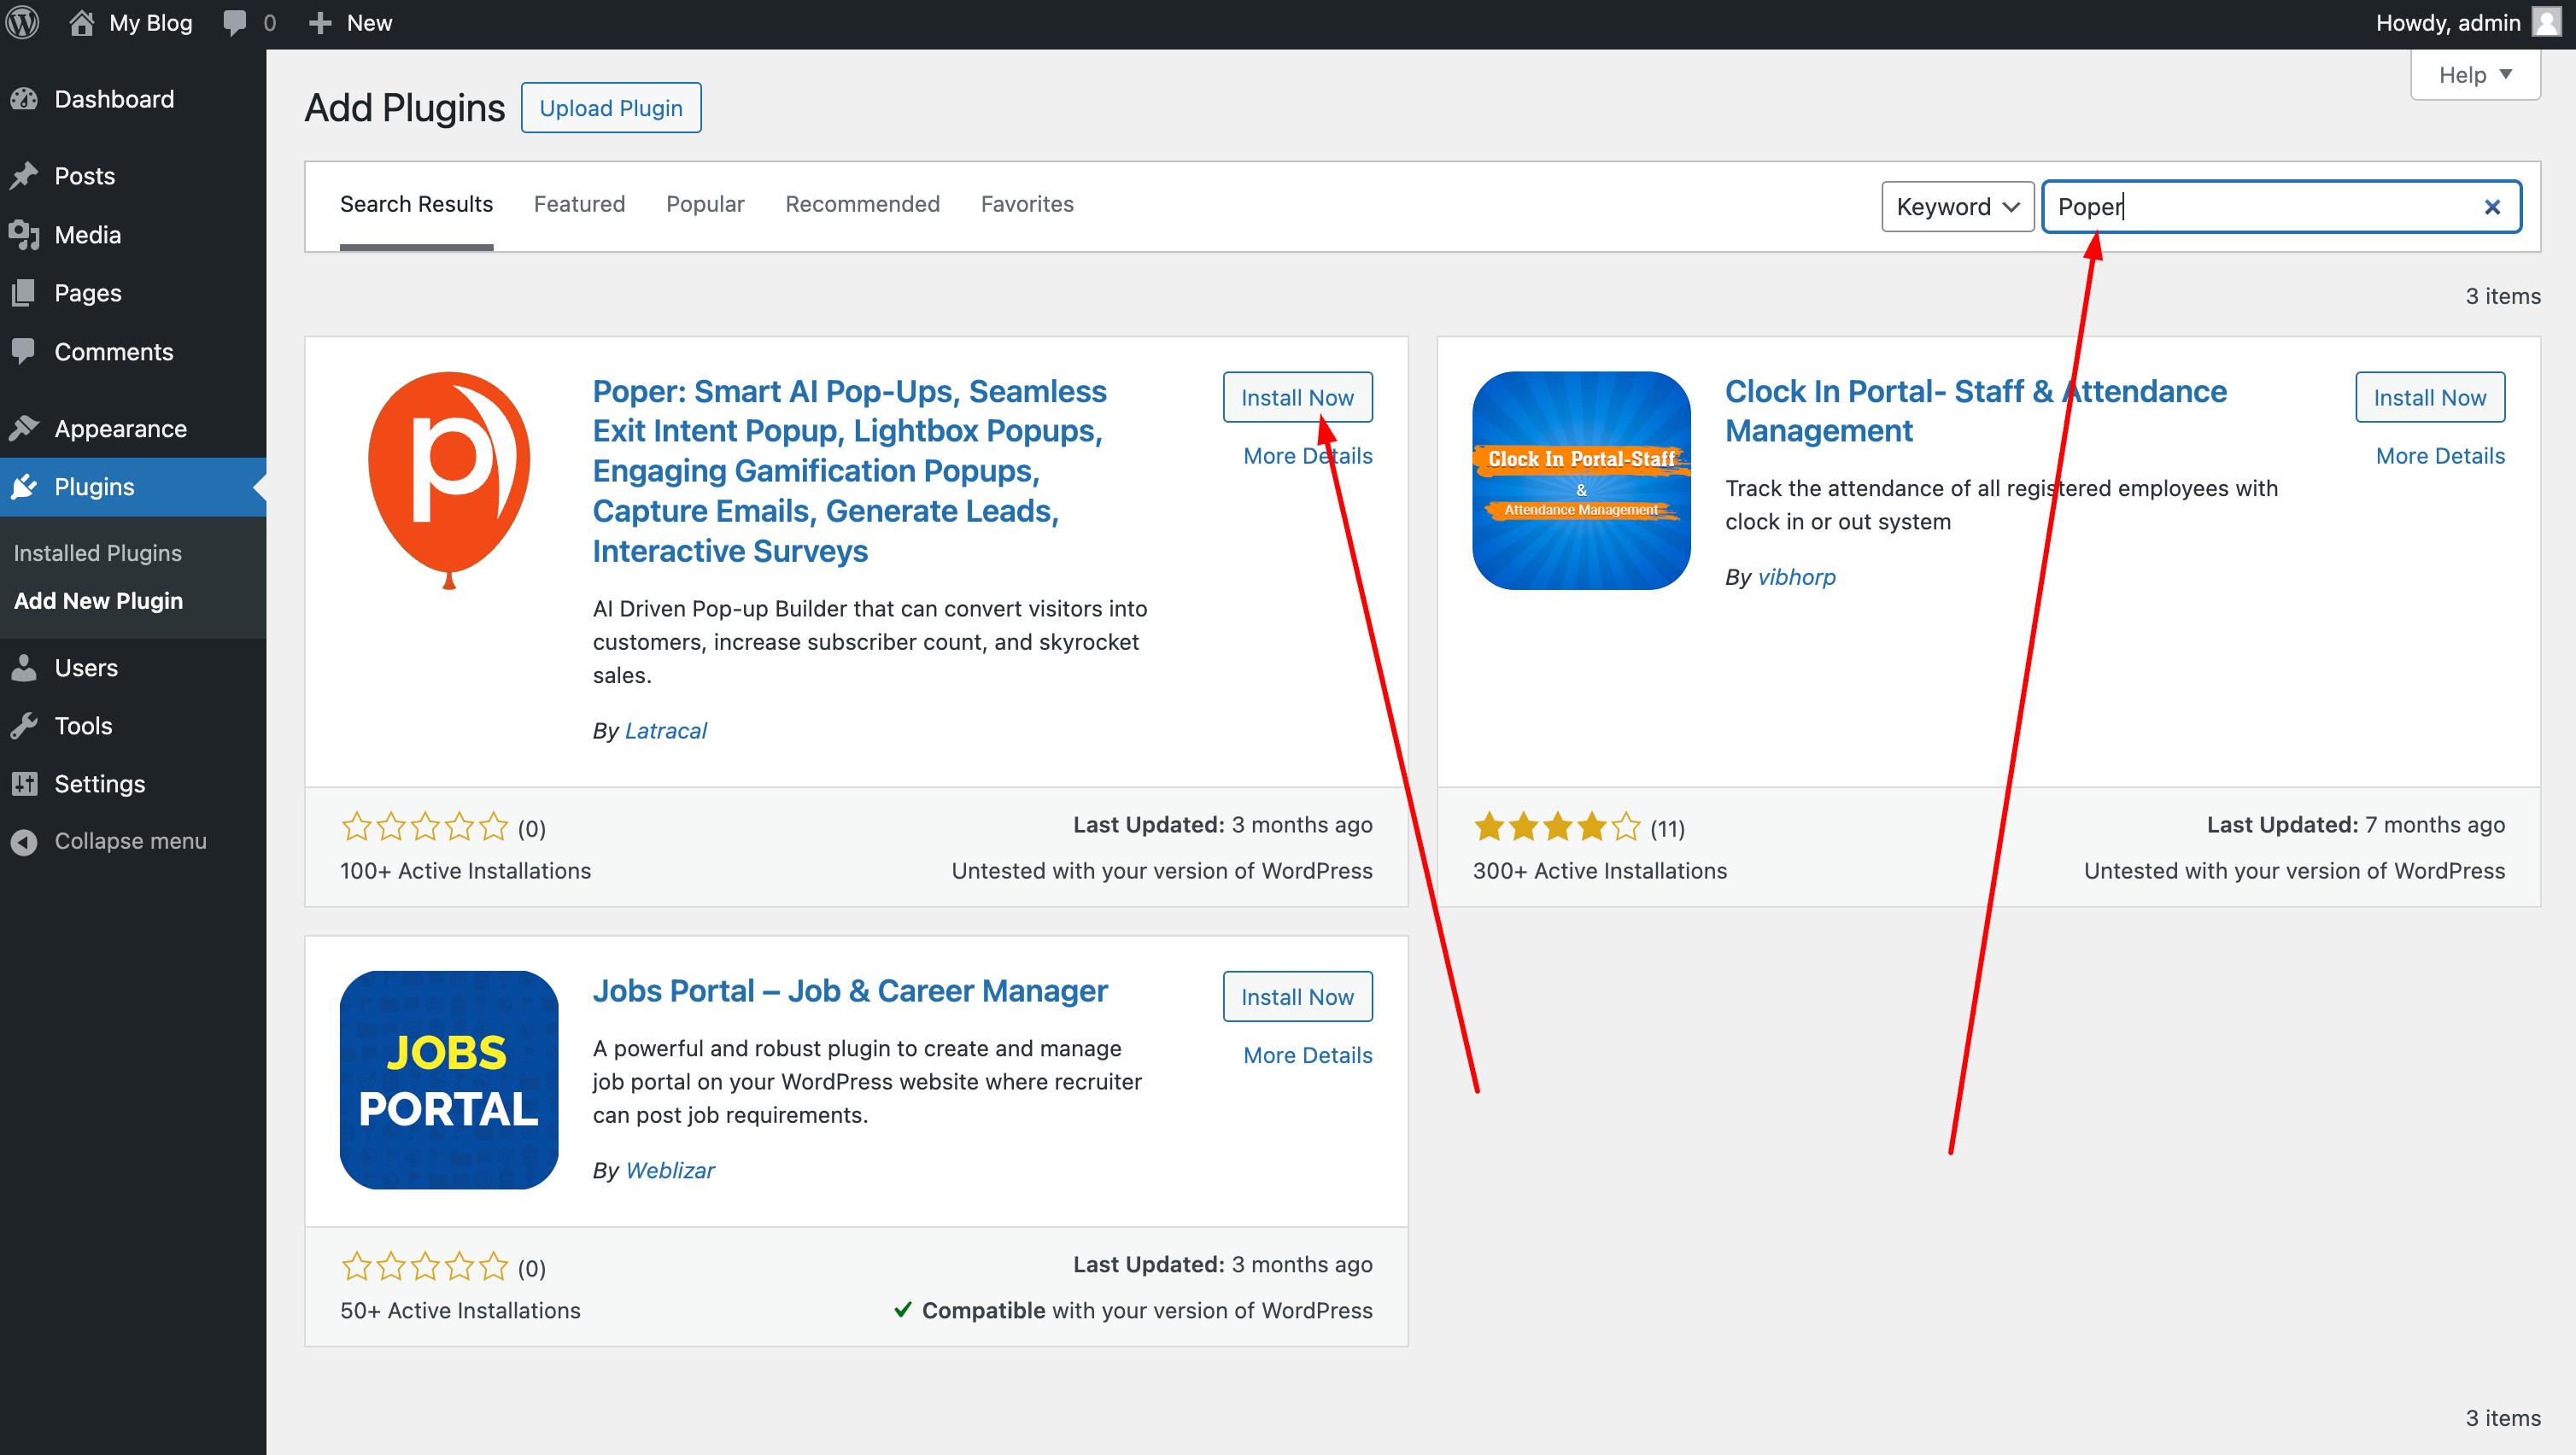
To get everything working on your WordPress site, you will need to install the Poper plugin. Head to the "Code" section from the left navigation bar in Poper. There, find the "WordPress" option, download the plugin, and install it on your WordPress site.
The plugin will guide you through the final steps. For more details, check this article on our support page: WordPress
11. Test Your Popup
With the plugin installed, your popup should be live. Visit your website and click the button you added the CSS class to. Your popup should appear, working exactly as configured.

